Lassen Volcanic National Park

California has everything: beaches, deserts, forests, mountains, islands…and volcanoes and hydrothermal basins! Tucked away in northeastern California’s remote wilderness, it’s easy to forget that a mini Yellowstone with active fumeroles, mudpots, and bubbling ponds actually exists in California. Even with its lesser known name and comparatively unspectacular hikes, I knew I had to check off this national park off my list. It is in my home state after all.

By now we’ve become experts at road tripping, especially in the United States, and we were delighted to easily find boondocking turf literally outside of the national park thanks to the myriads of old logging roads. As we drove in from the south, we turned off of CA-89 onto 29N22 West, and immediately found the perfect spot to spend the night. It was only 3.5 miles from the pay station and Kohm Yah-mah-nee Visitor Center. For our second night after driving through the park at Manzanita Lake, we turned right at the stop sign to head north on CA-89, drove 2 miles, turned right at Forest Rte 32N13, and discovered plenty of free camping spots. Spending 2 nights outside of the national park saved us at least $40!

During our weekend visit to Lassen, we marveled at the park’s largest hydrothermal basin via Bumpass Hell, climbed the park’s highest peak, Lassen Peak, and strolled the perimeter of scenic Manzanita Lake. Because Lassen is a relatively small park by national park standards, a weekend is sufficient time to explore the park.

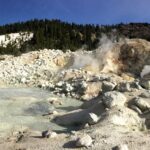
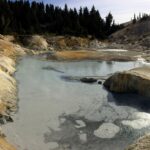
Bumpass Hell is an easy 3-mile out and back hike from the parking lot and the most popular hike at the park due to its geological features. But because we got an early start that morning, we practically enjoyed the thermal basins all to ourselves.

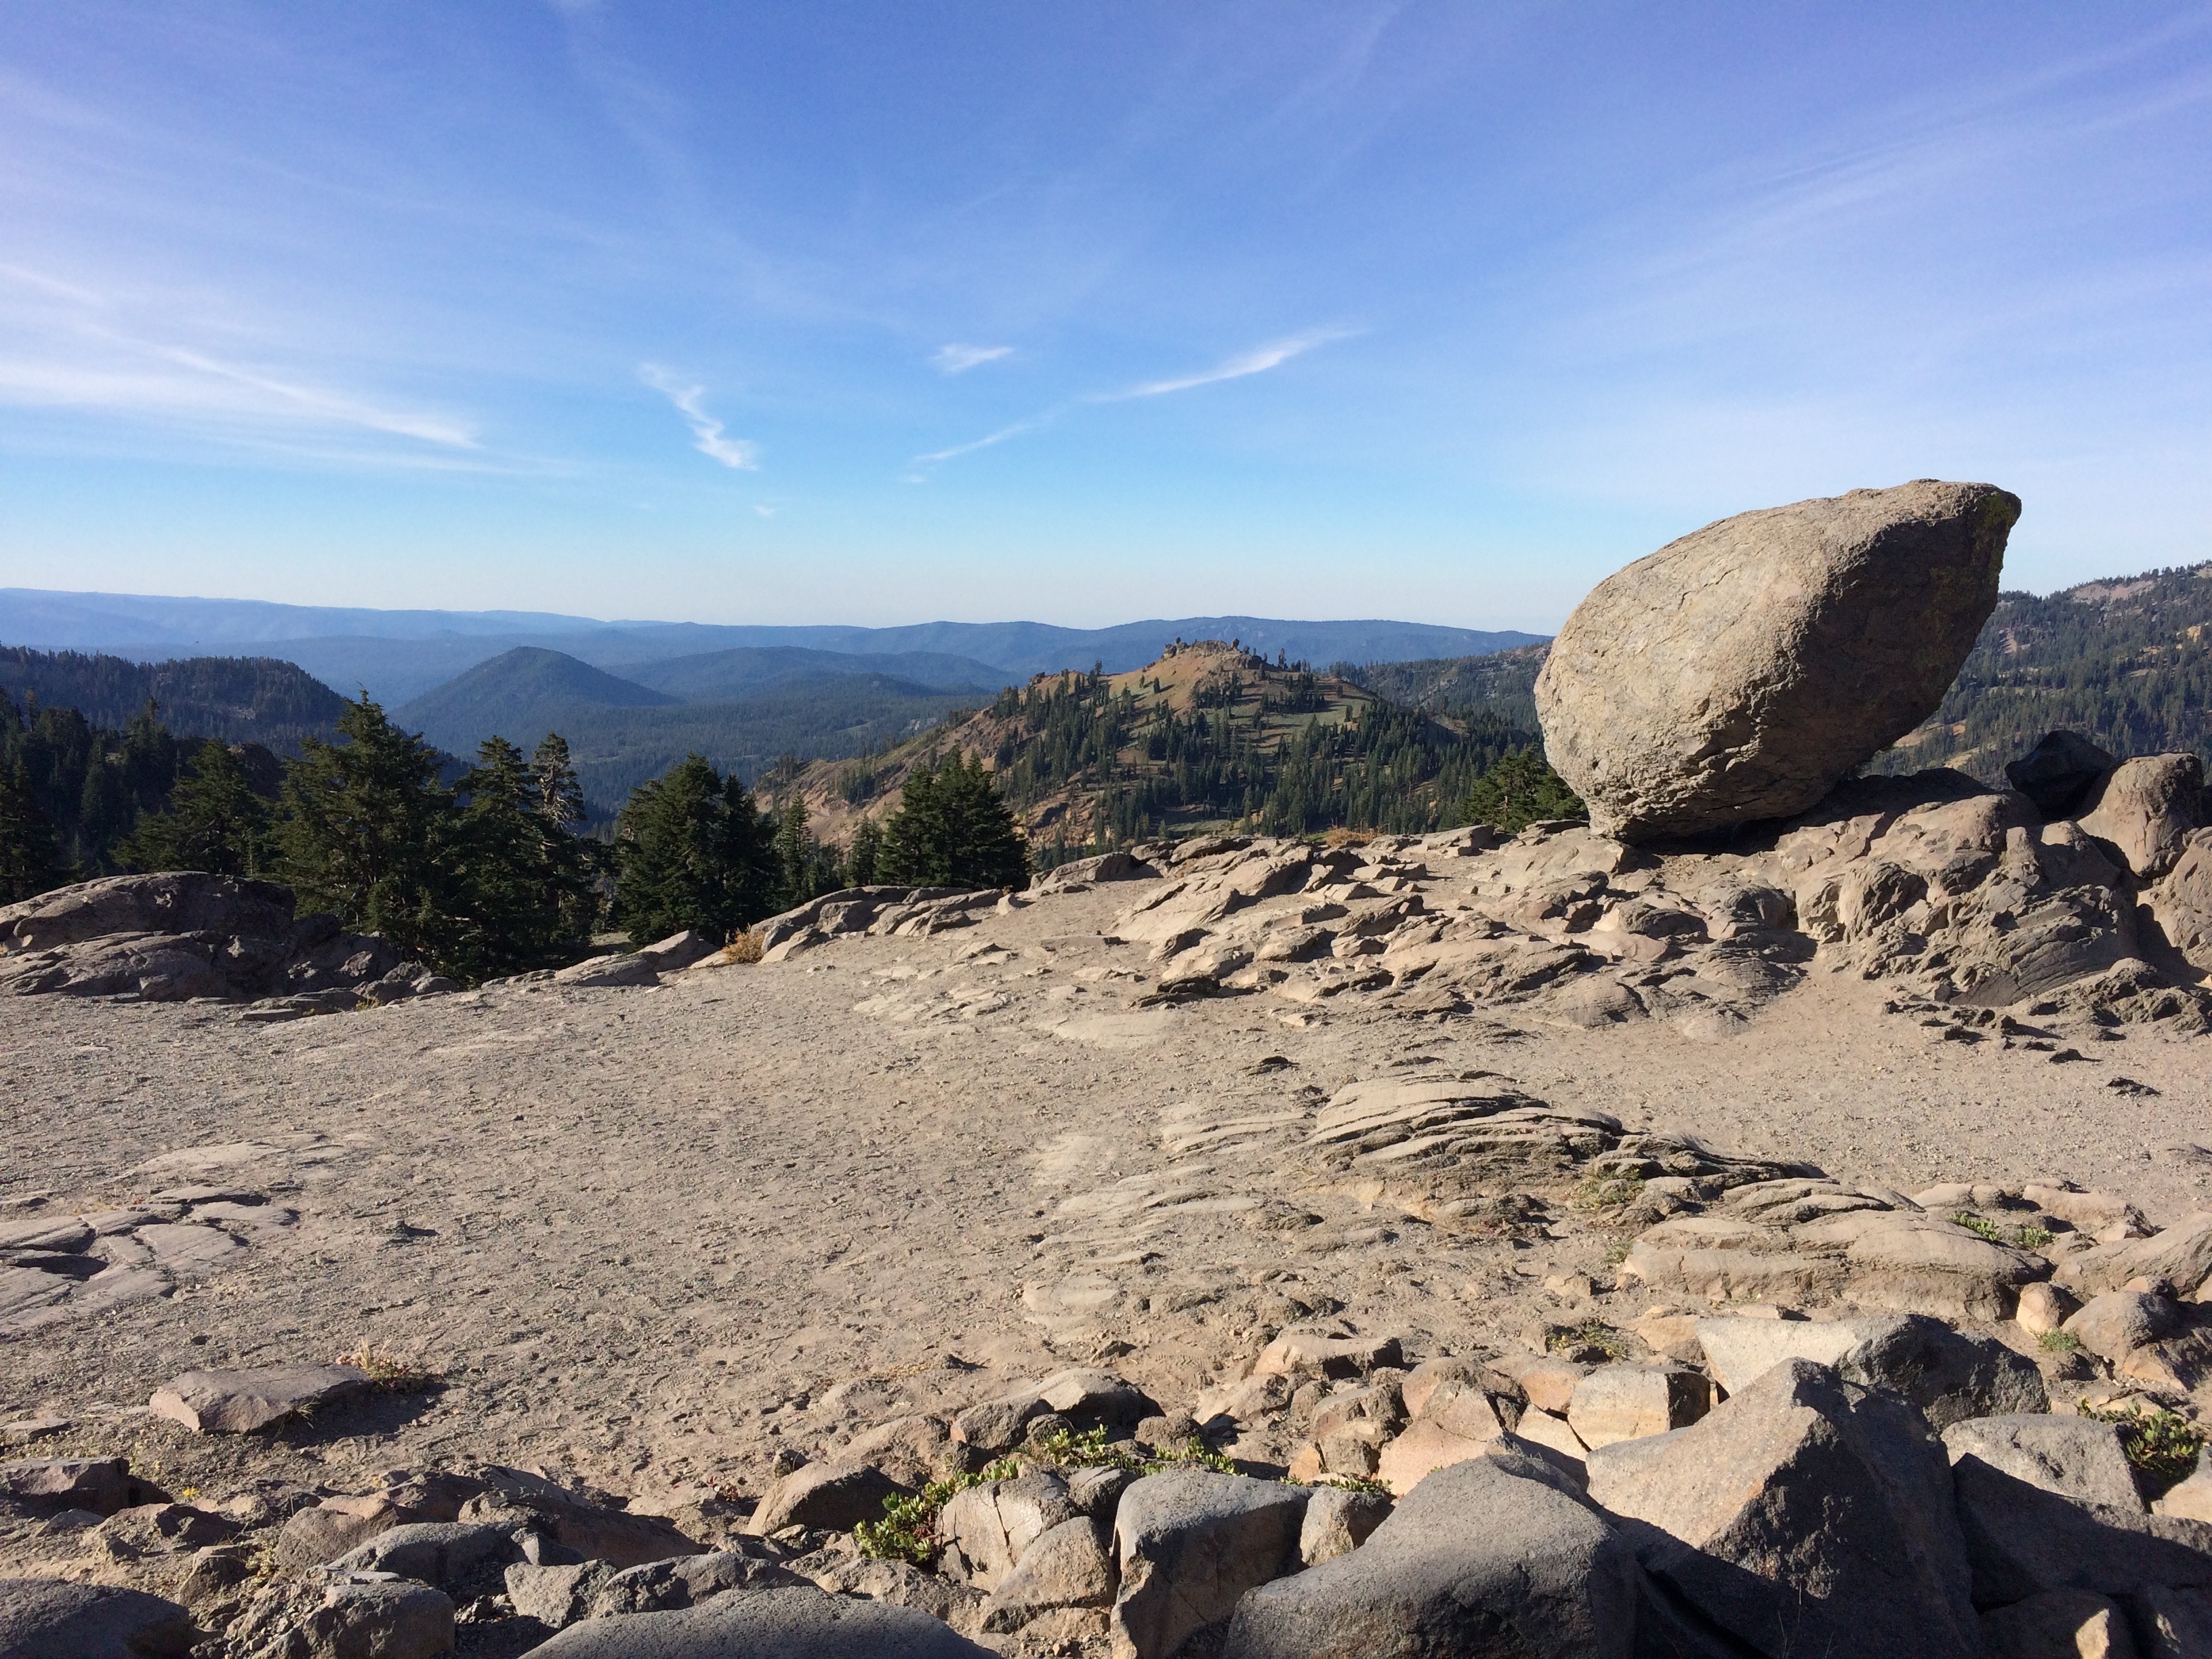
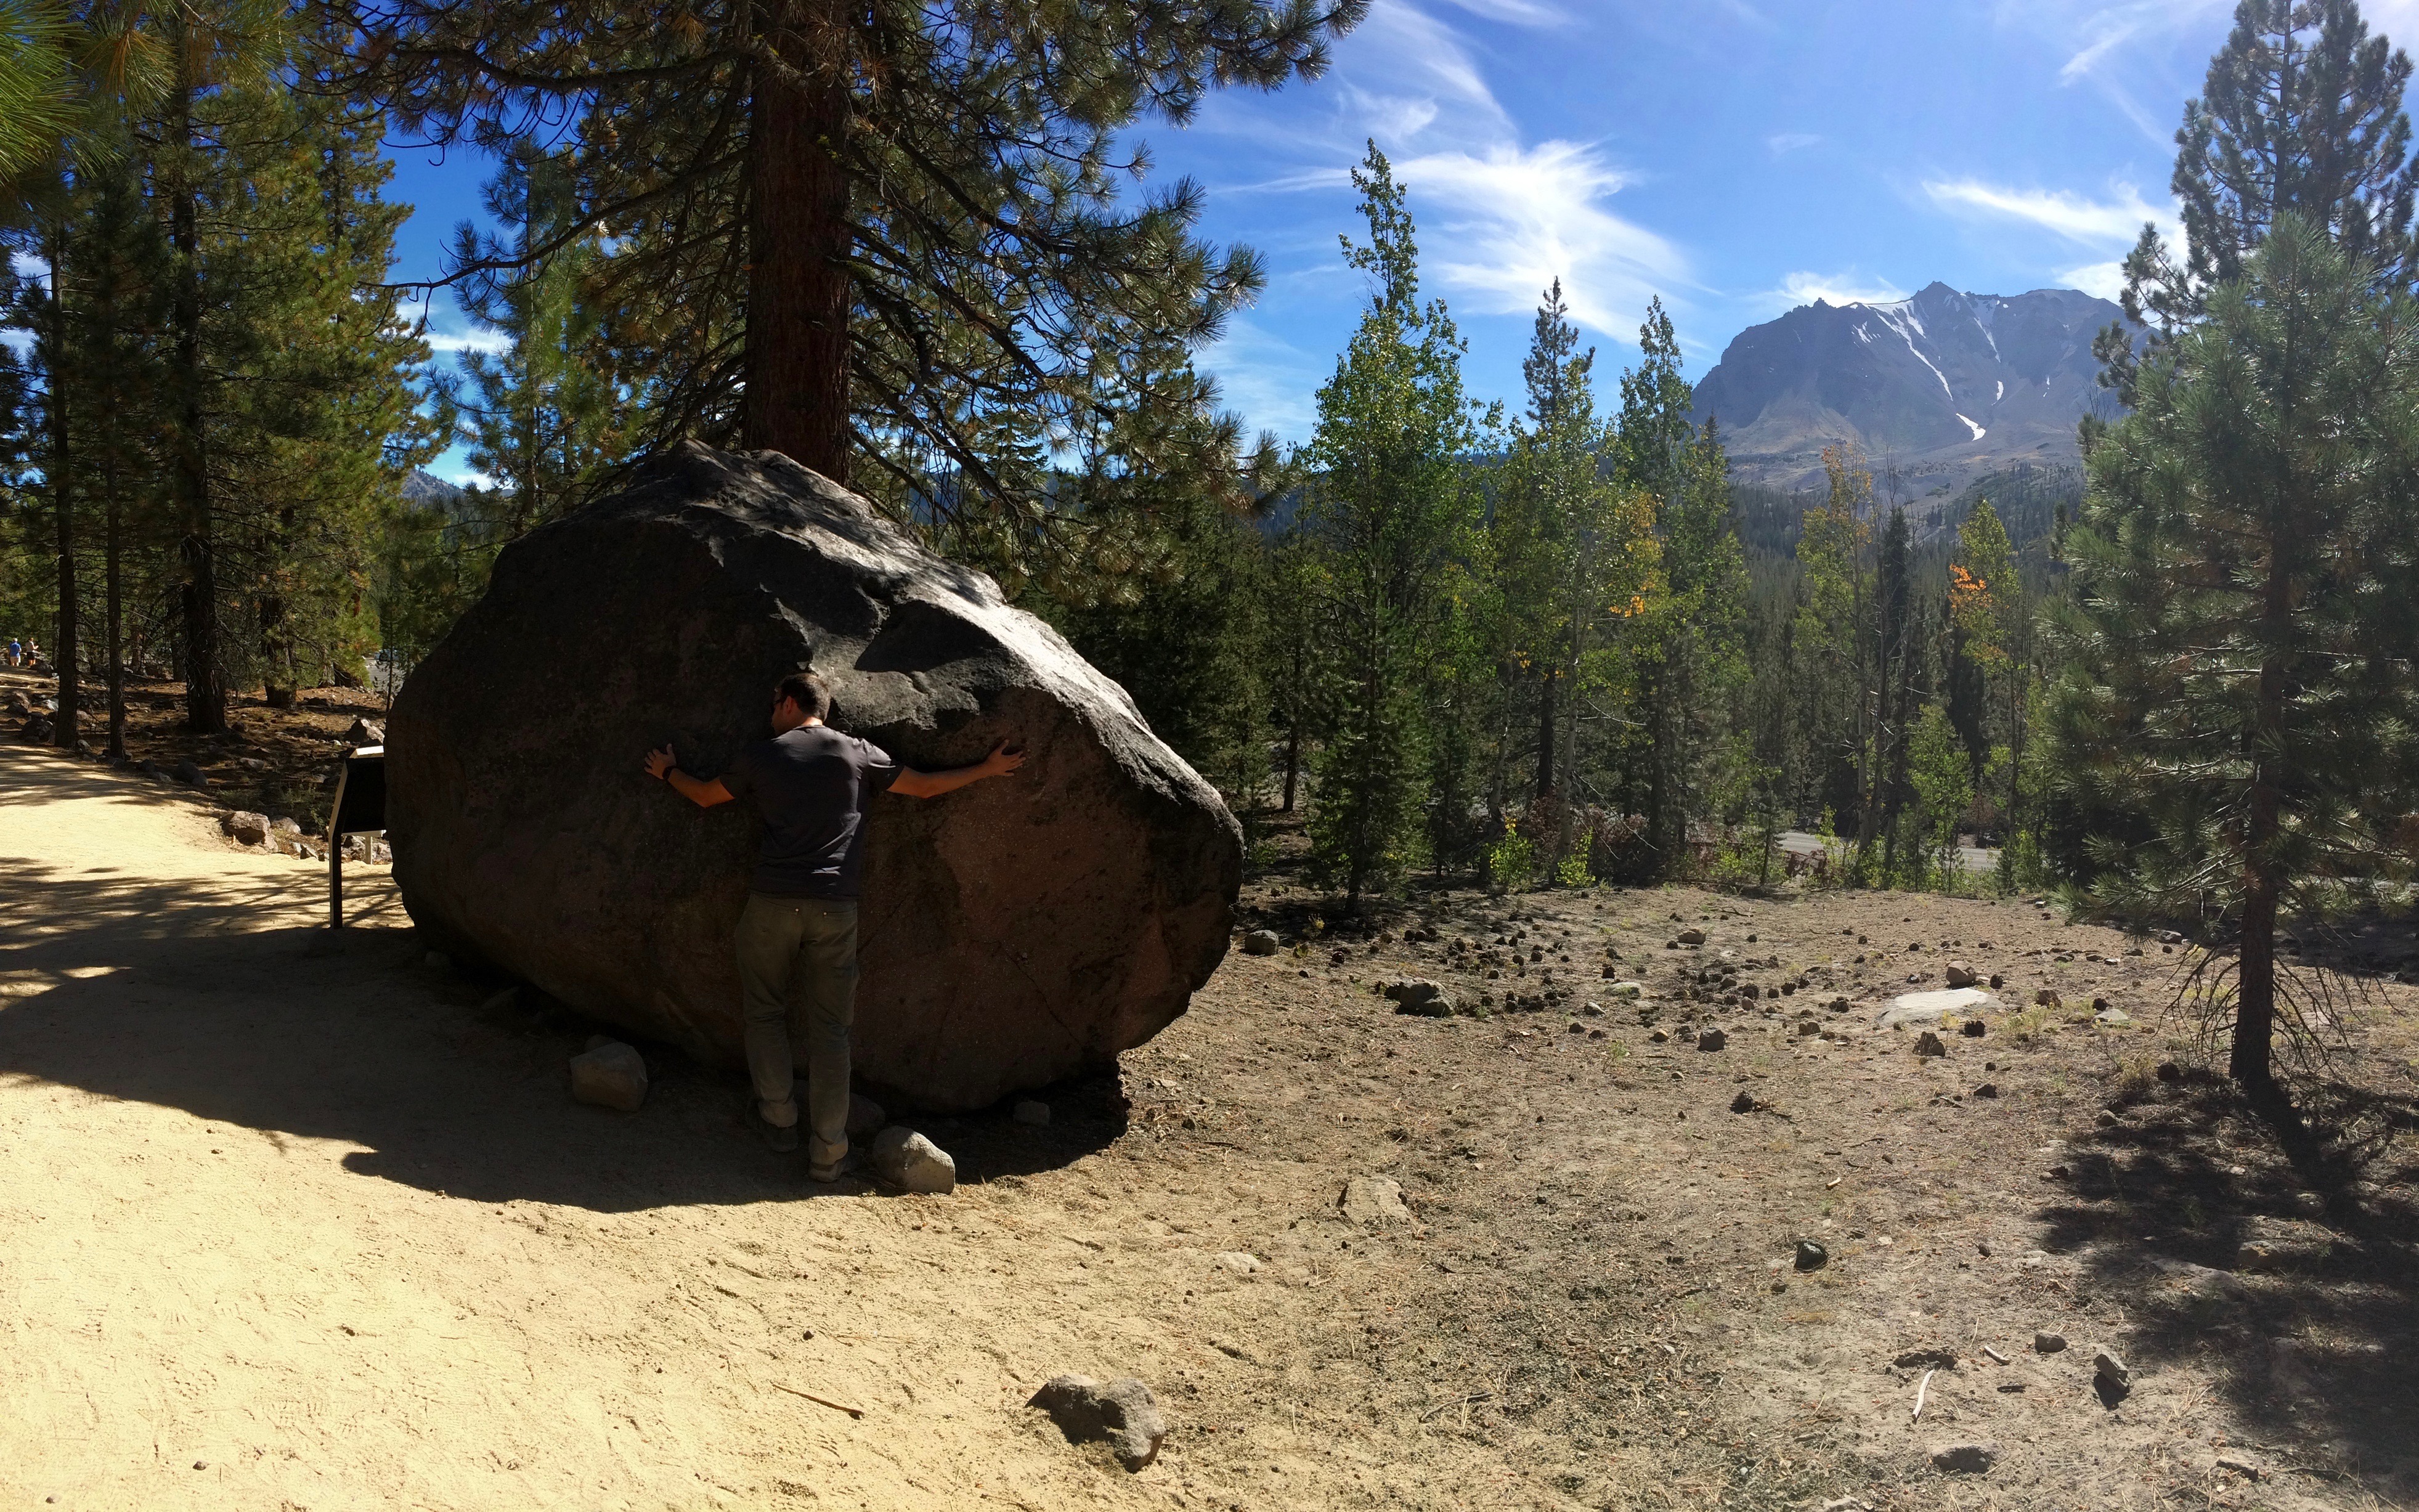
This massive rock was placed in the current Bumpass Hell parking lot by a glacier.img_5246

Beautiful and stinky.

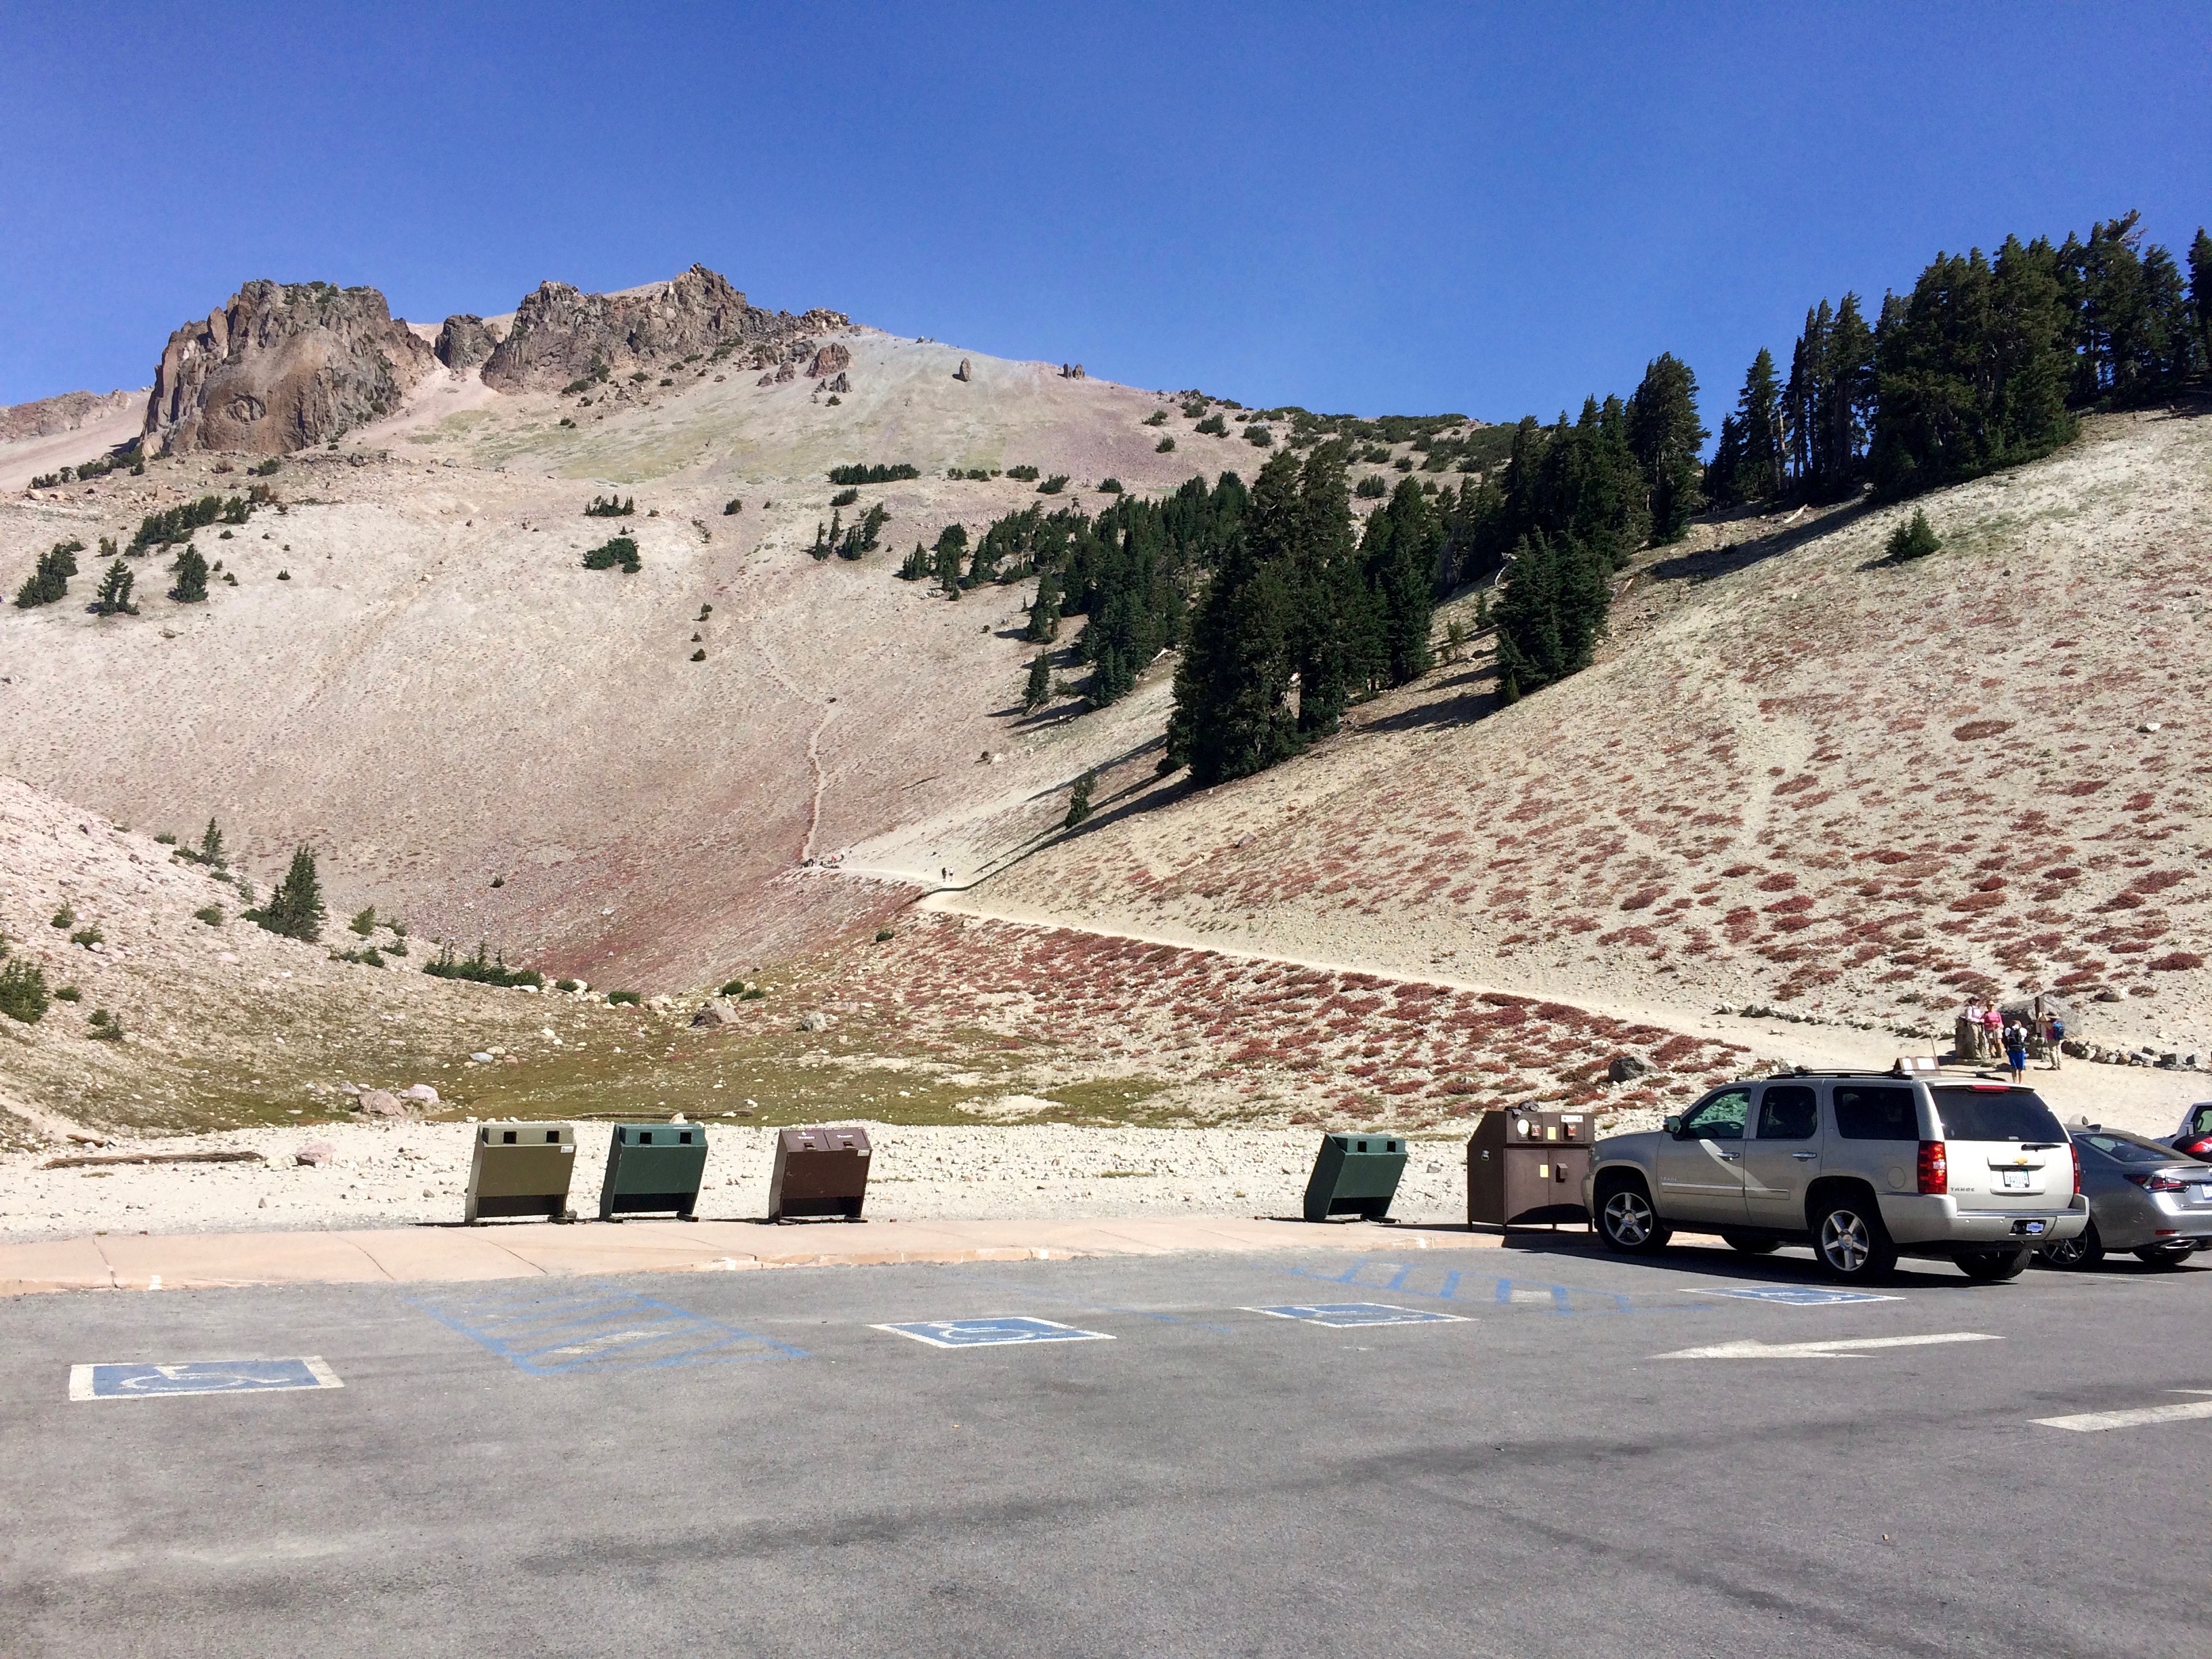
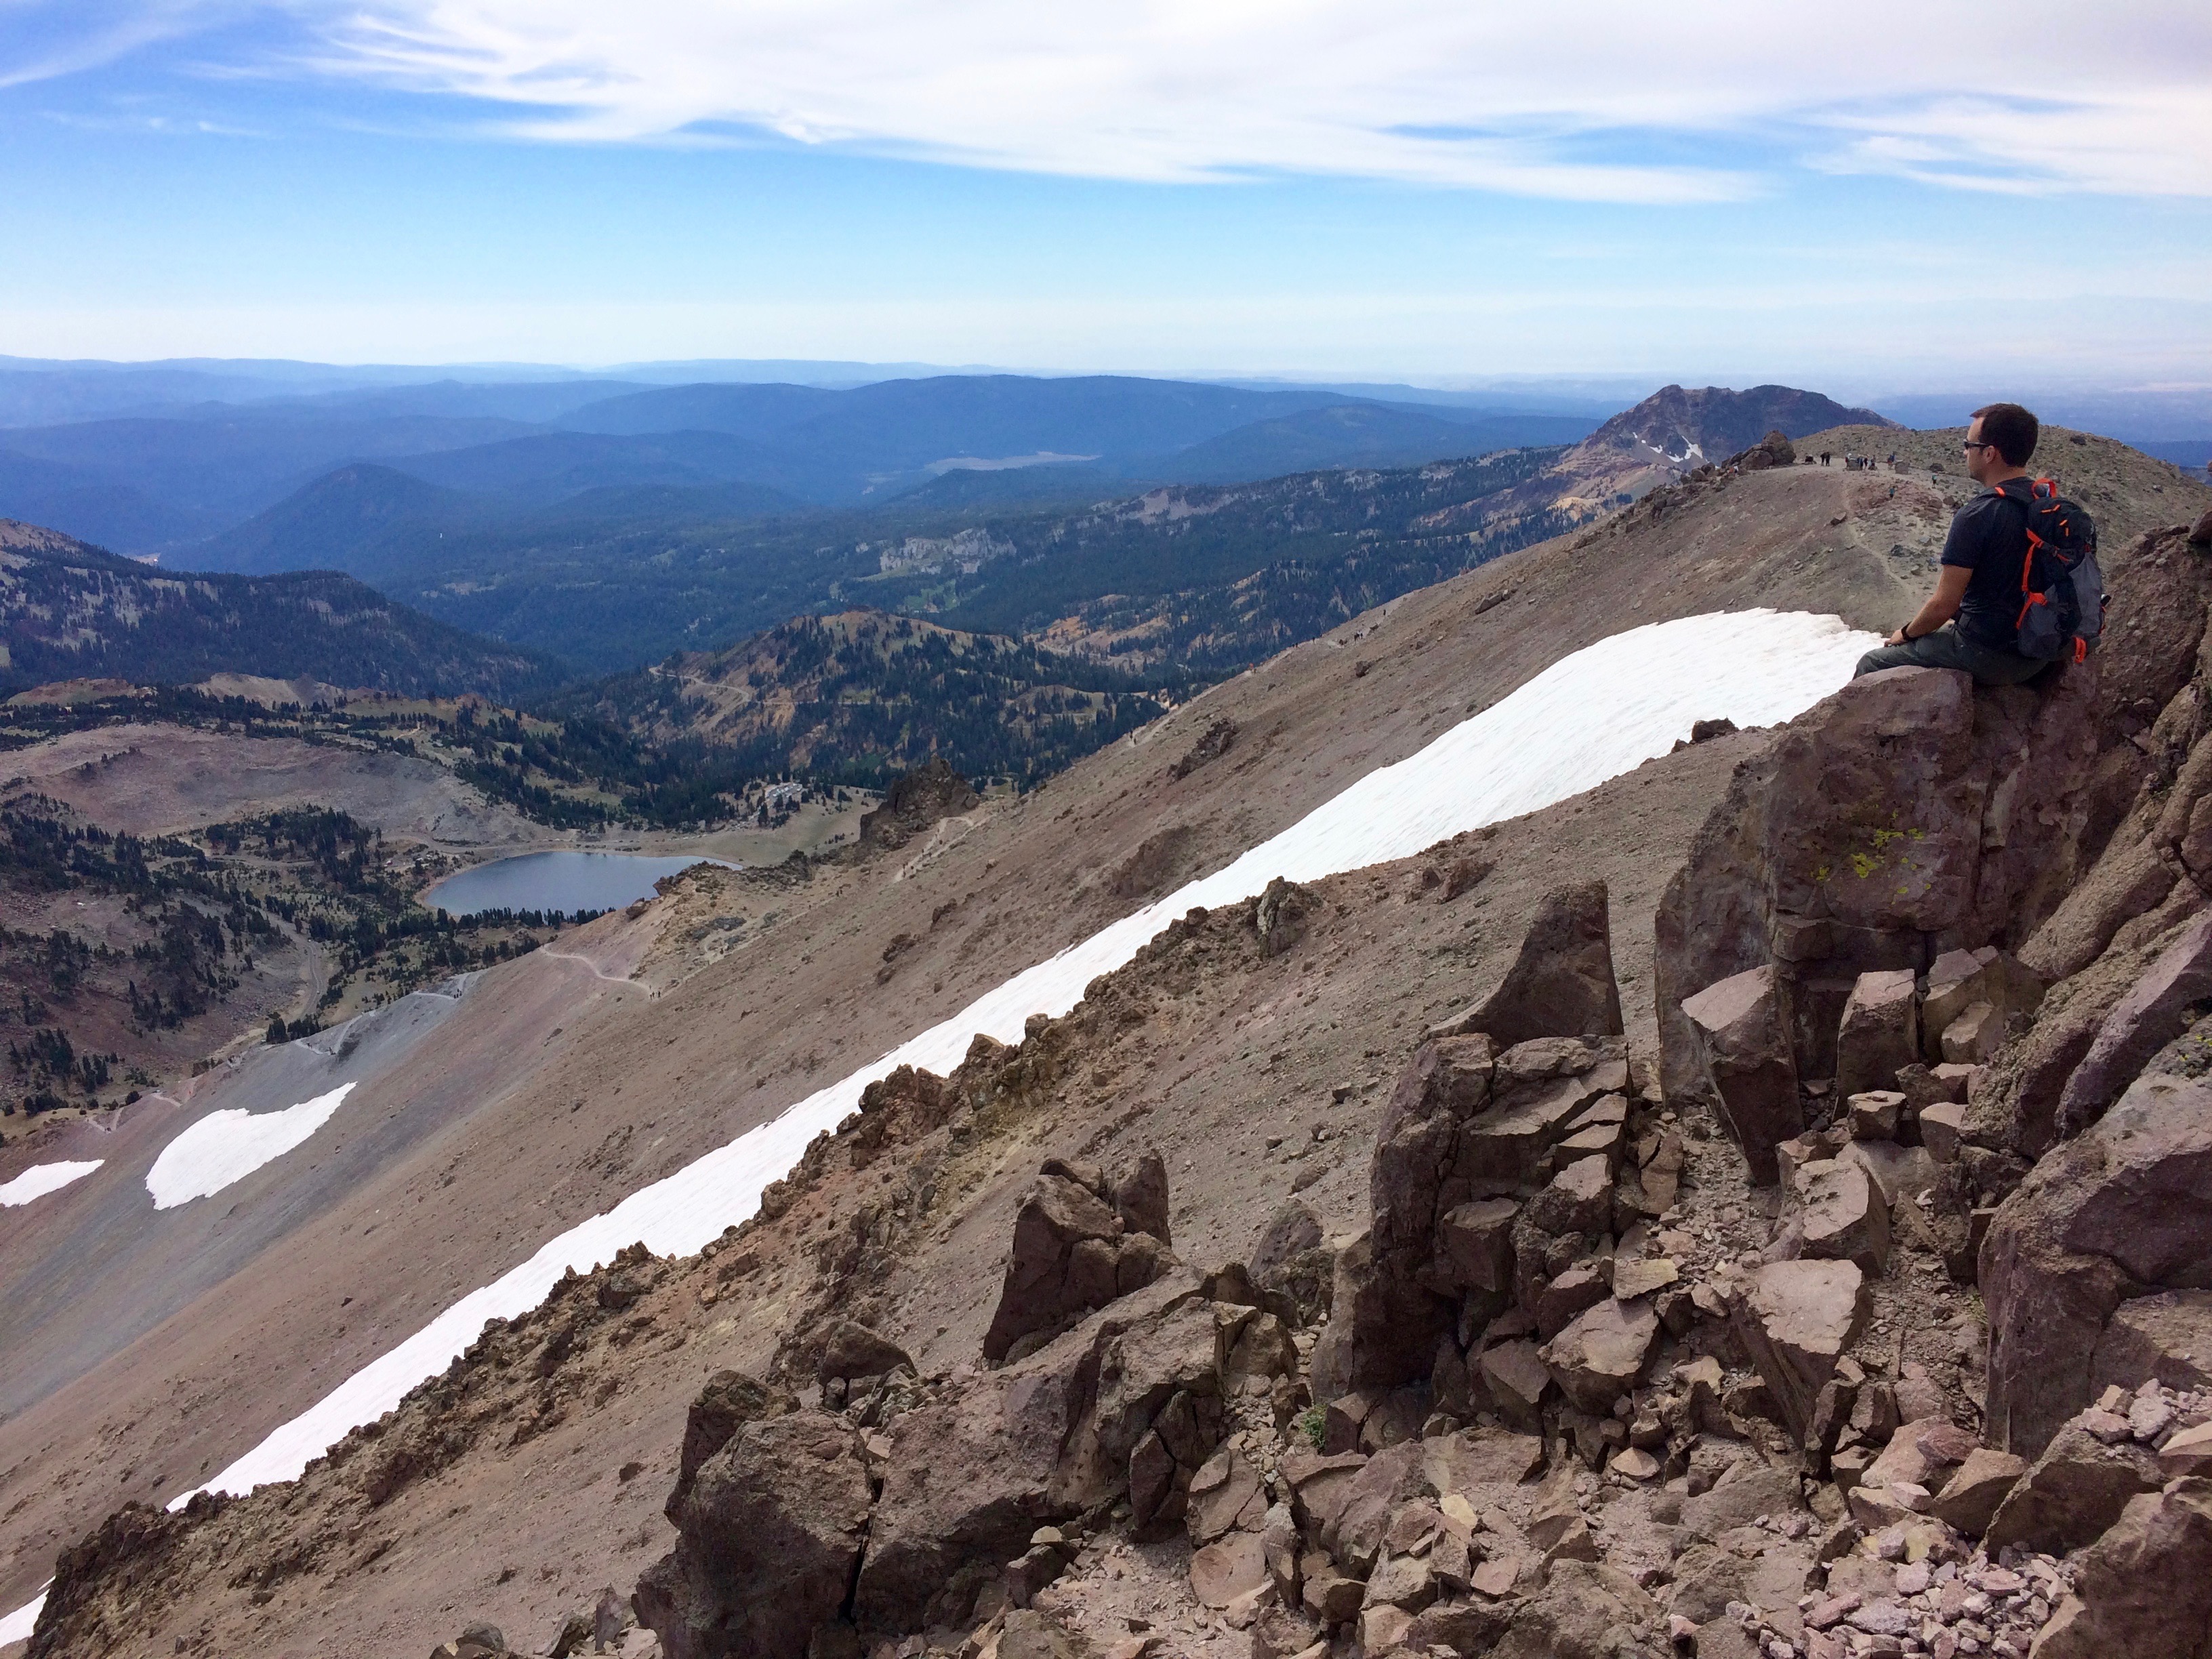
After our pleasant stroll through the active basin, we headed over to the Lassen Peak parking lot, just a short drive up the road and also the highest point of the road in the park at 8,512 feet. Lassen Peak caps out at 10,457 feet, making it almost a 2,000-foot elevation gain. At only 5-miles round trip, it was definitely the easiest mountain we’ve summited; it took us 1 hour and 20 minutes to summit and less than an hour to return. Plenty of families with children and even babies summited just as easily.img_5267

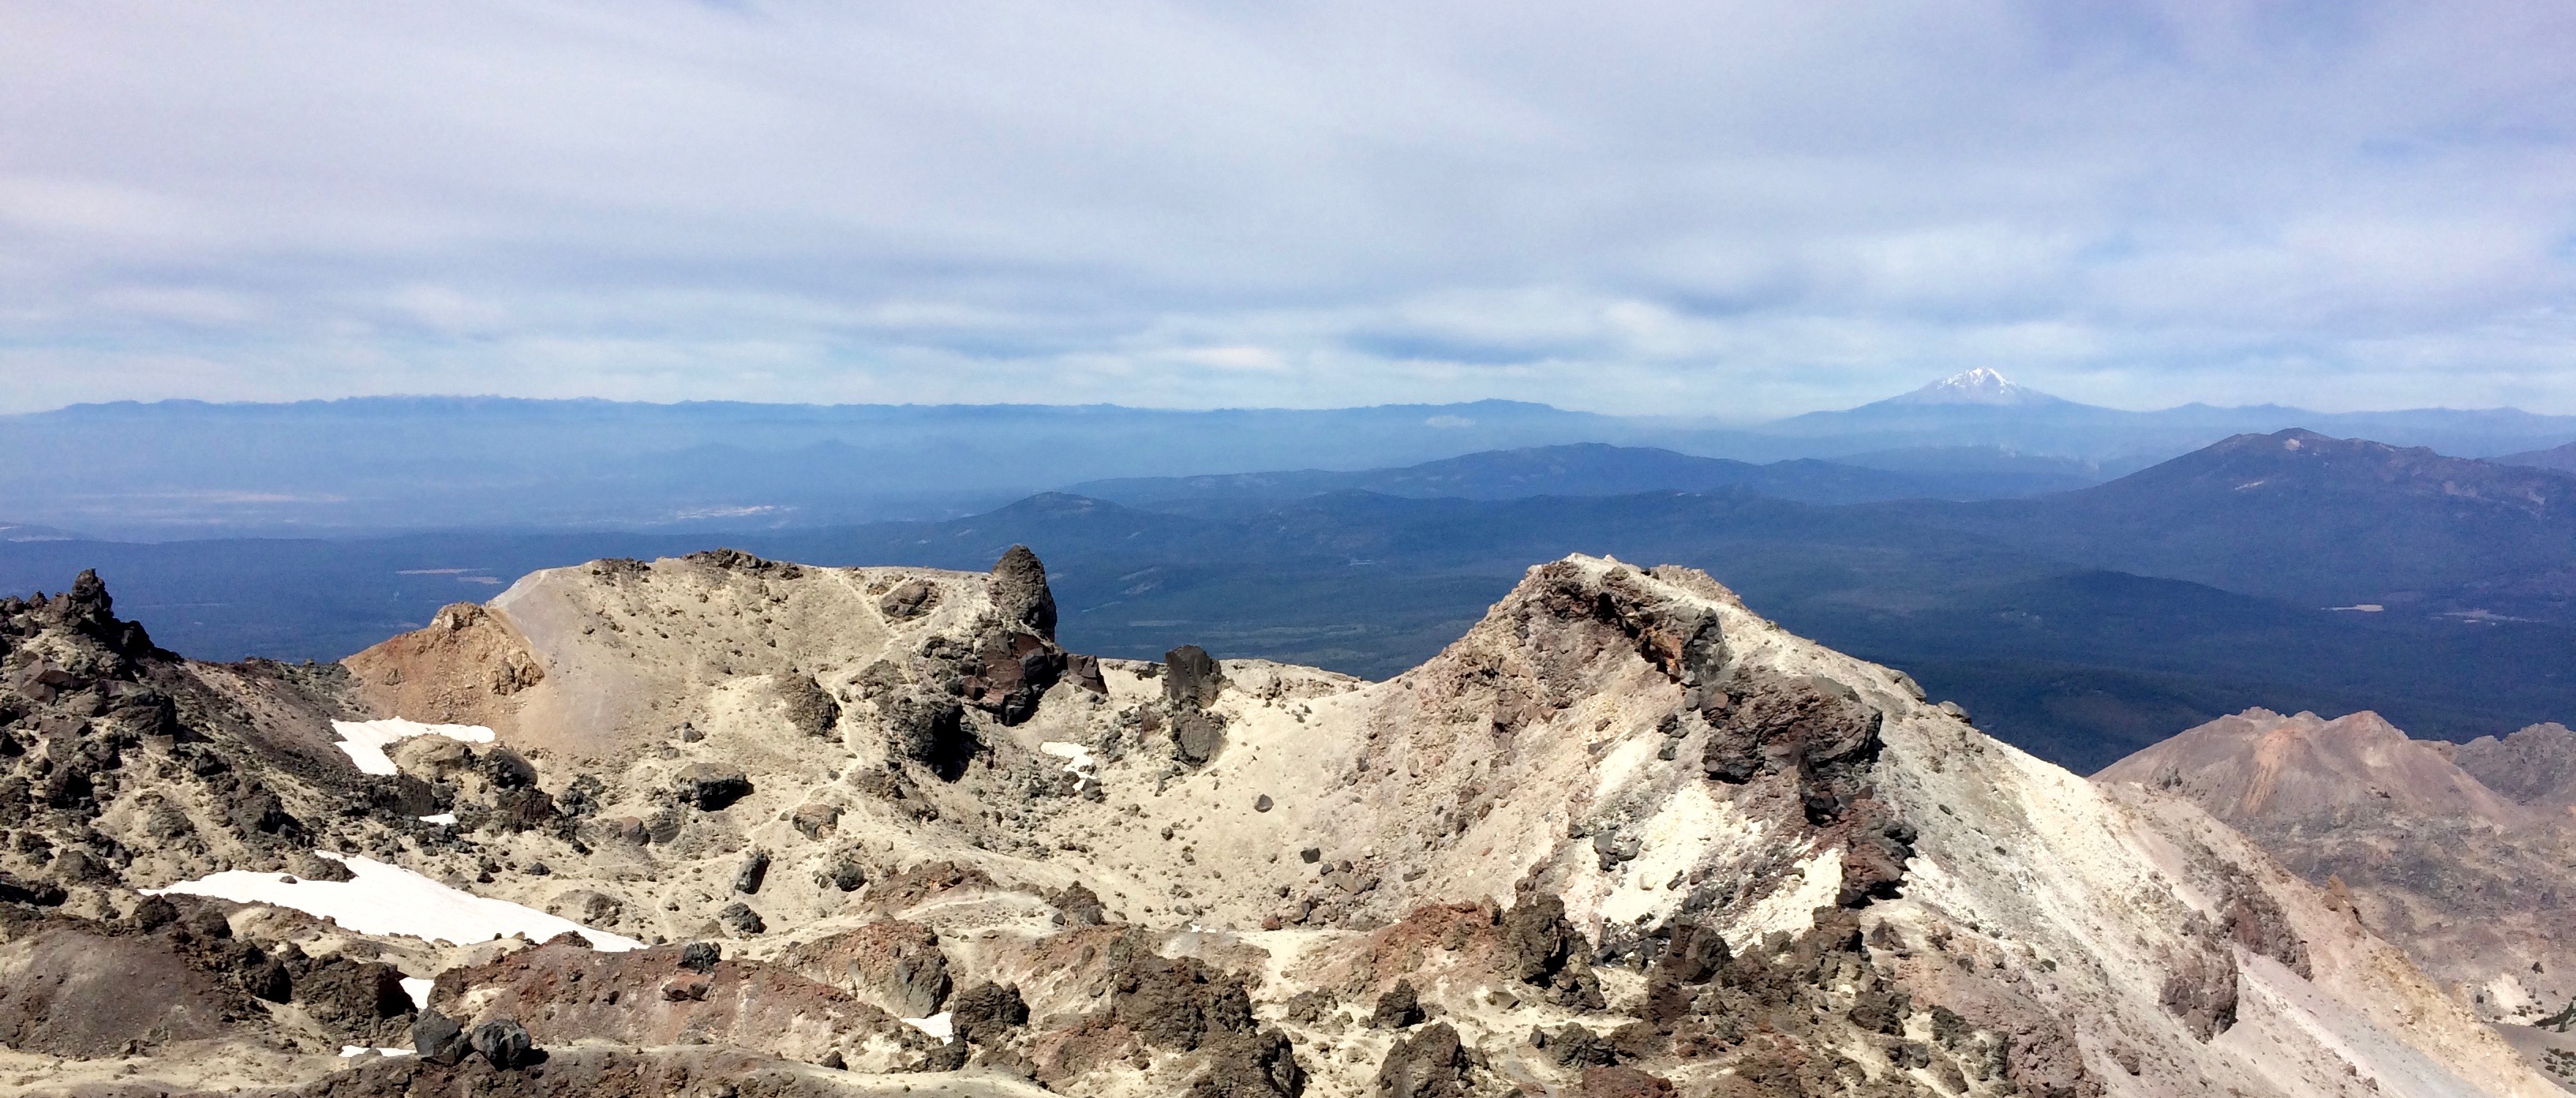
Mount Shasta as seen from Lassen:img_5270(Funny, we only summited the majestic Mount Shasta one year prior!)

Perfect lunch break from the summit:img_5272

Once on the road again, we drove through the park and made a quick stop at the Devastated Area to observe the giant rocks strewn about from the avalanche of Lassen’s latest eruption in May 1915.img_5278

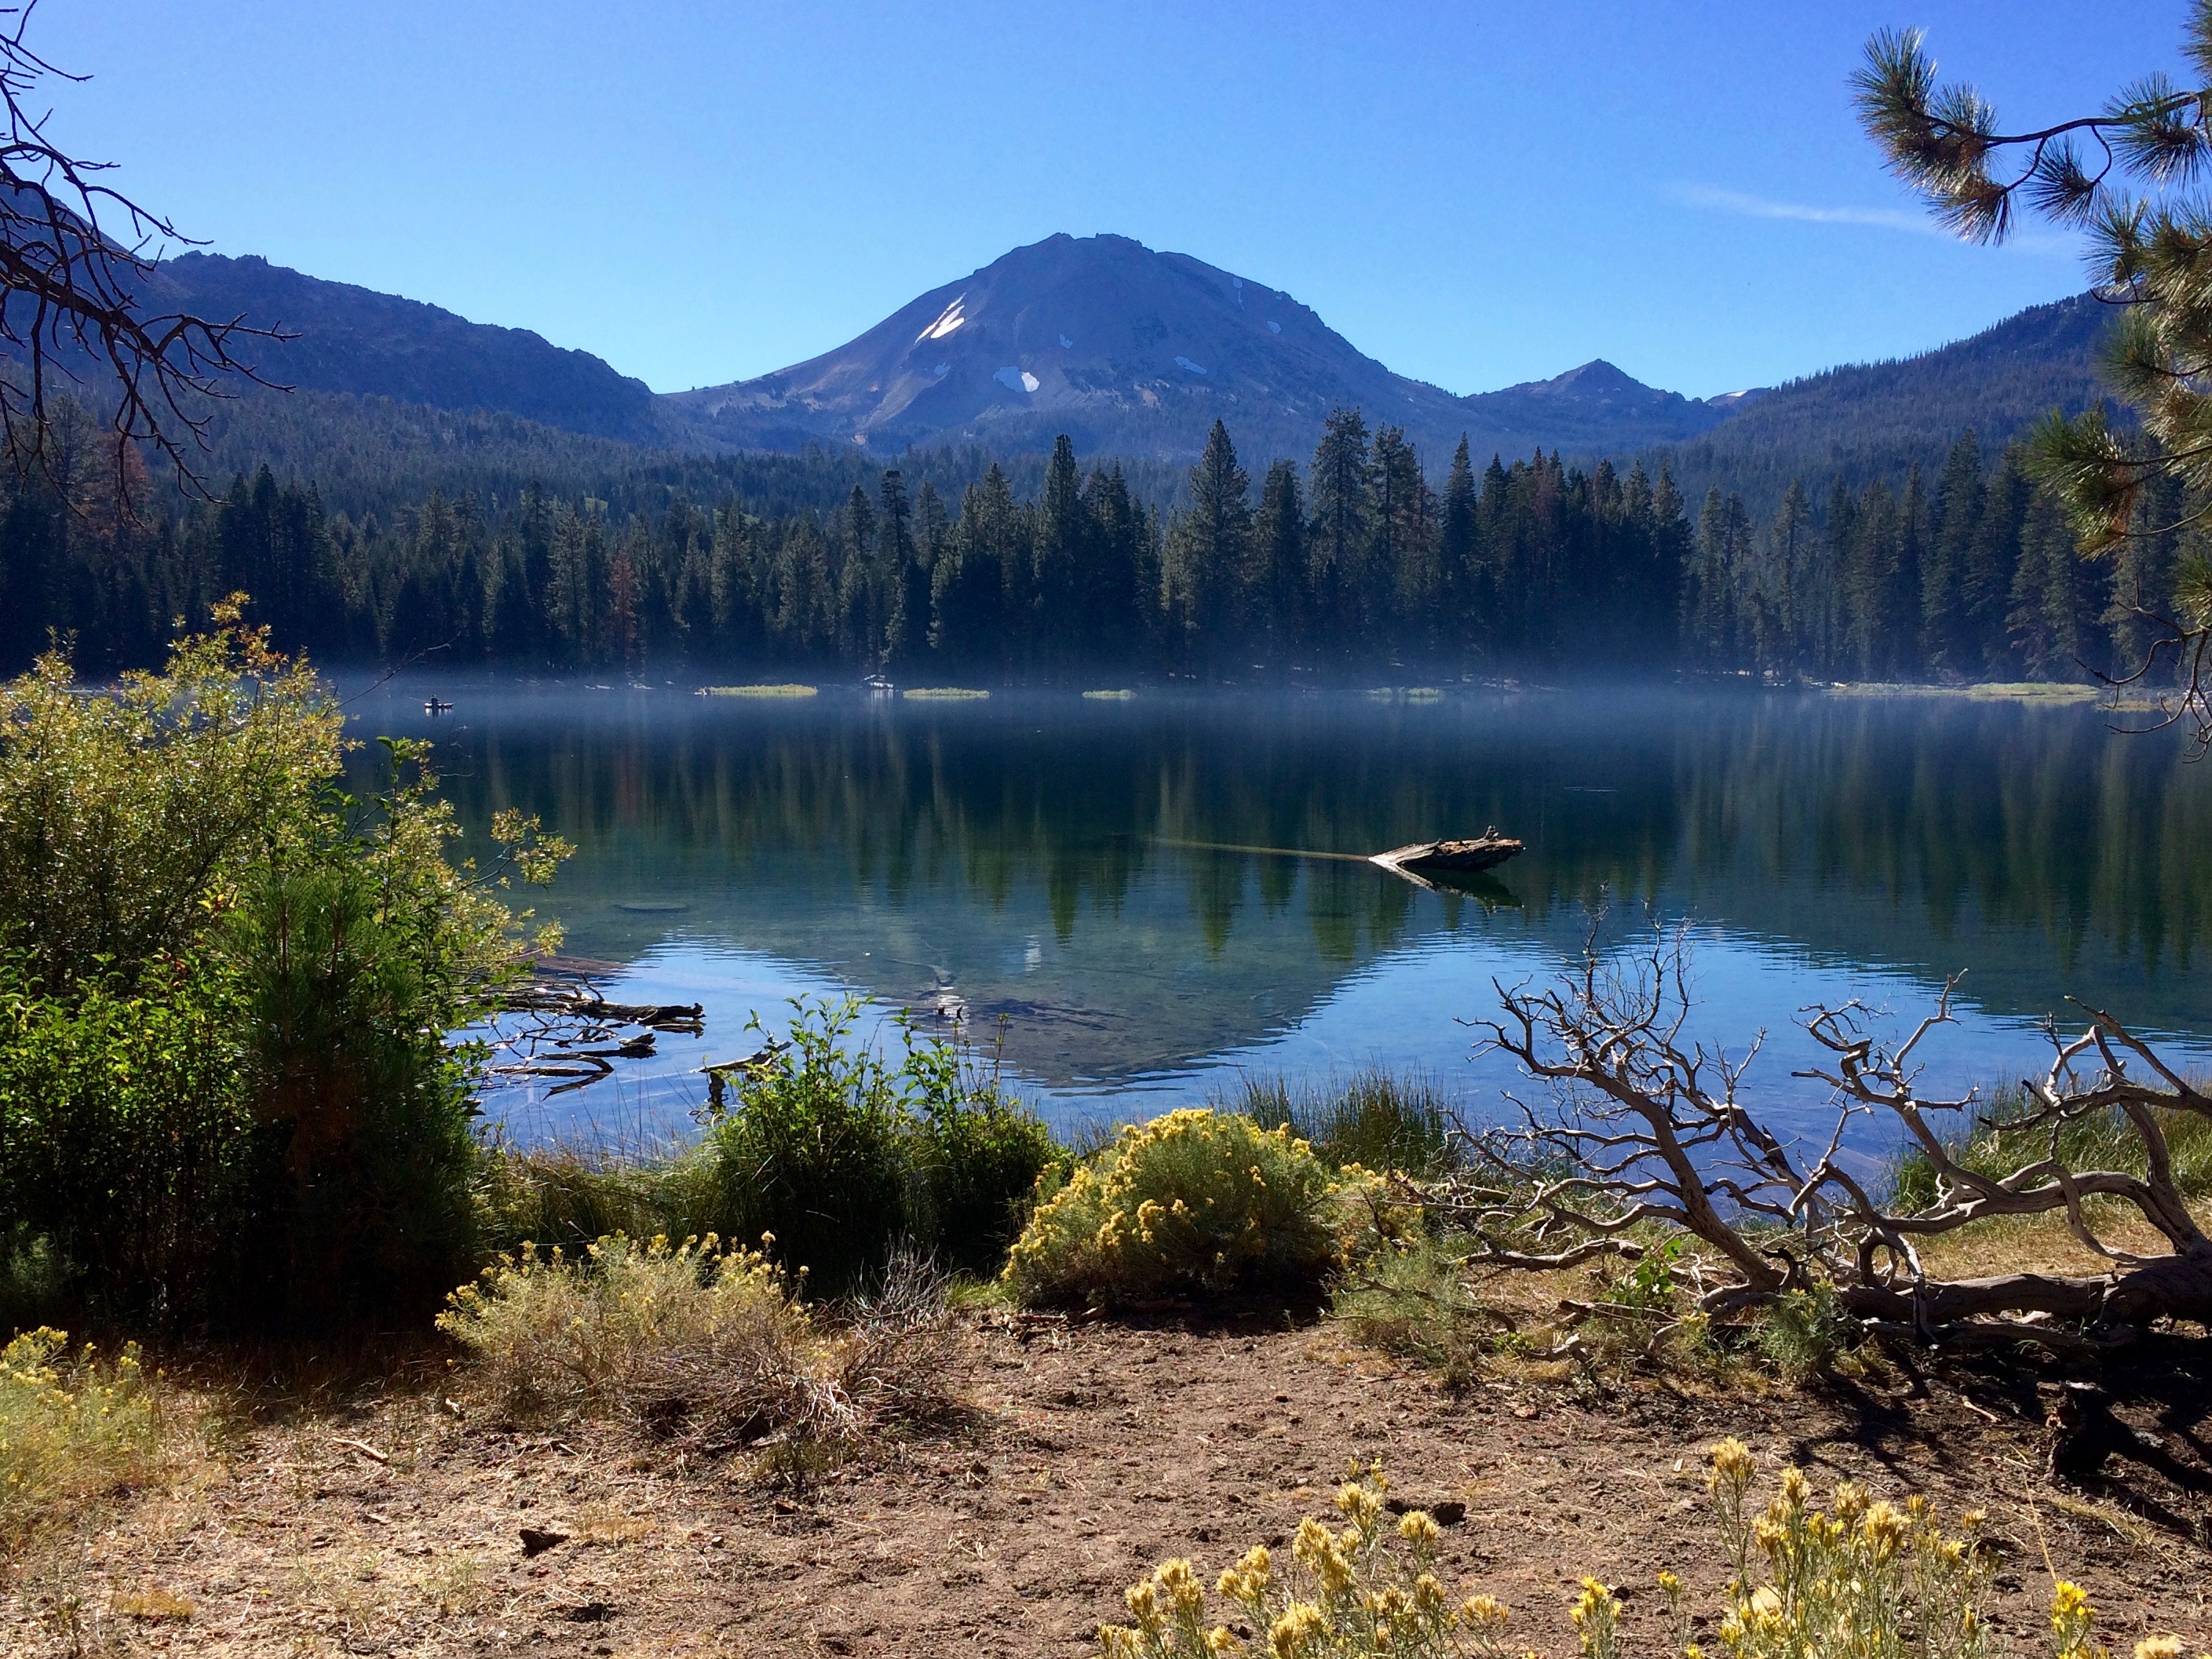
And finally, a scenic shot of Manzanita Lake, with the iconic Lassen Peak and its reflection:img_5286

Generally I found Lassen to be quite small but still pretty, and with enough fascinating features to make it a worthy getaway from the Bay Area.

Posted in California | Tagged , | 1 Comment

Road Tripping Europe: The Costs

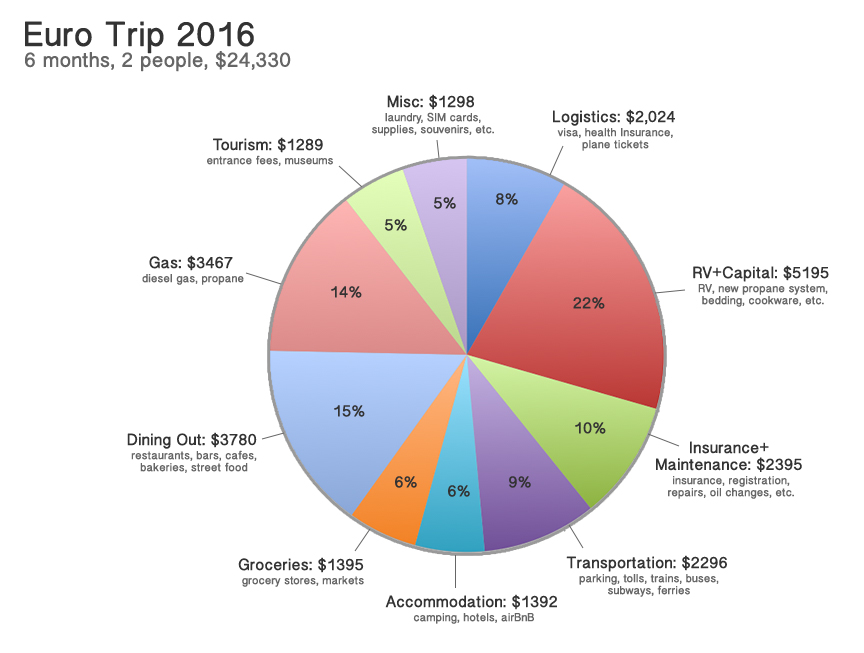
How much did our road trip around Europe cost?
$24,330 for 6 months for 2 people!
eurotrip_chart

First, logistical costs (8%). $2024
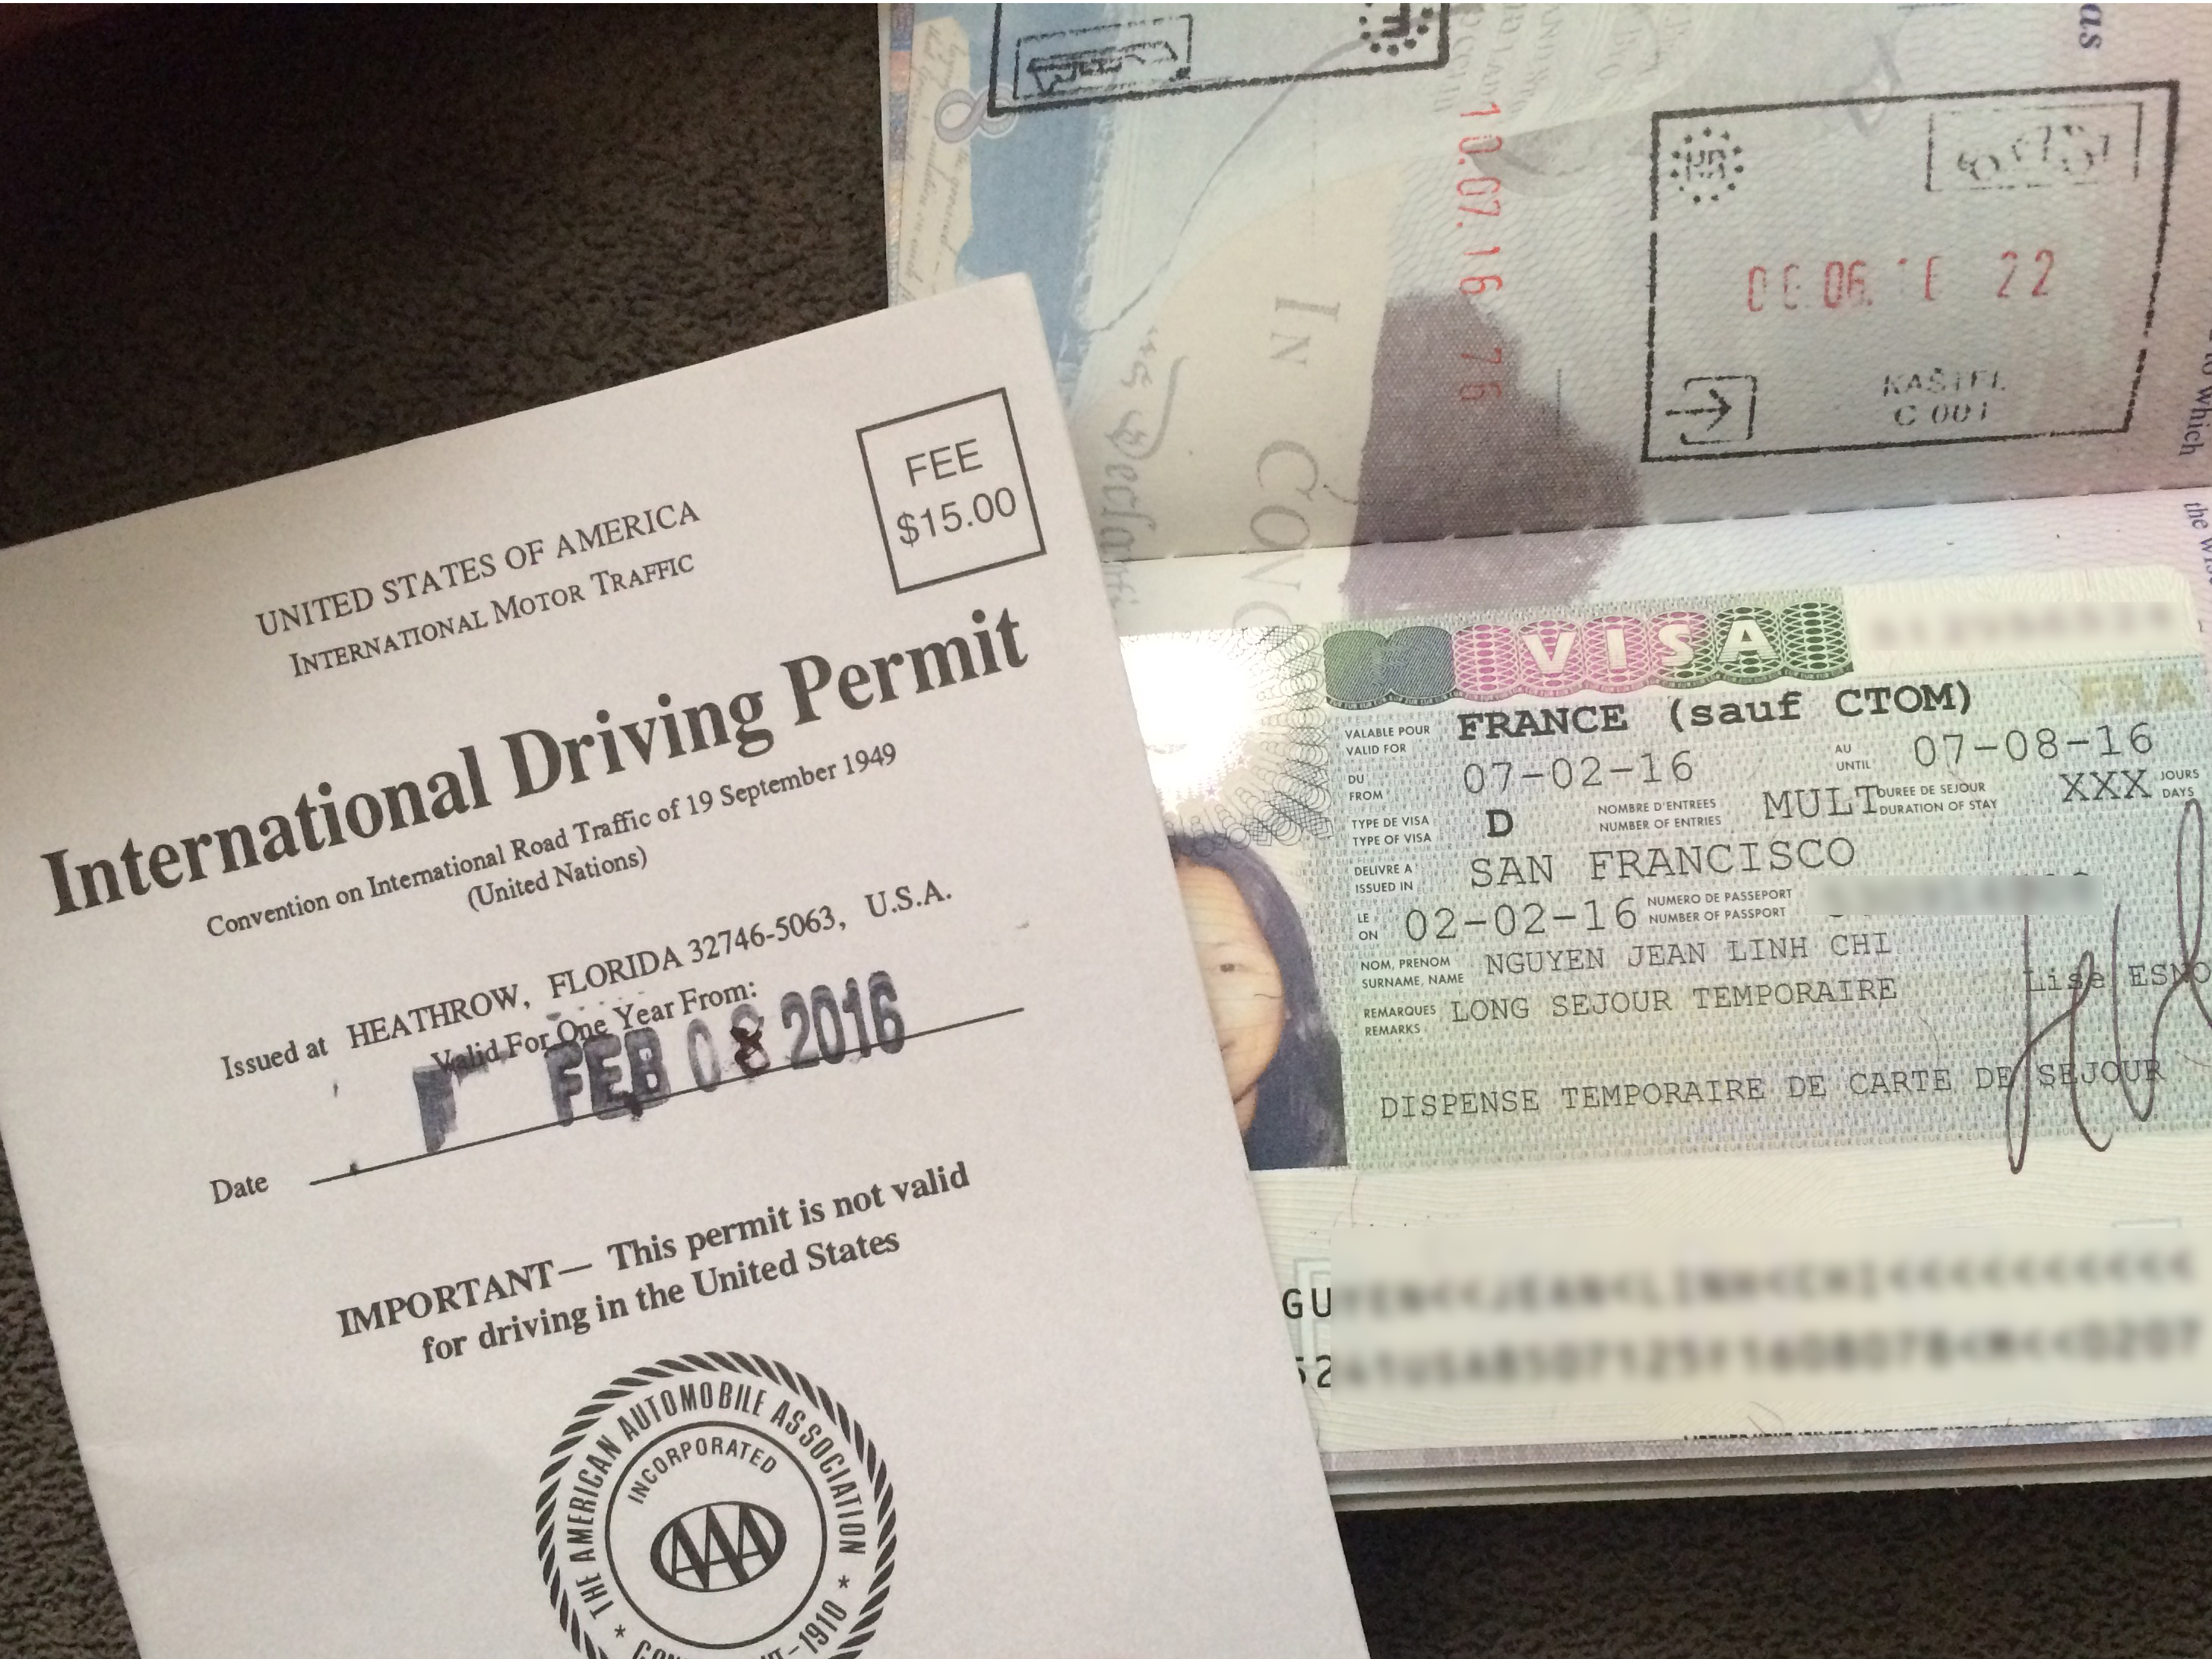
Before embarking on our epic road trip around Europe, we acquired 6-month long stay visitor visas from the French consulate.  In addition to the visas, our logistical purchases included international drivers licenses, international health insurance, plane tickets (which were heavily subsidized with airline points), transportation to and from the airport, and porting our phone numbers to Google Voice in order to keep our numbers.
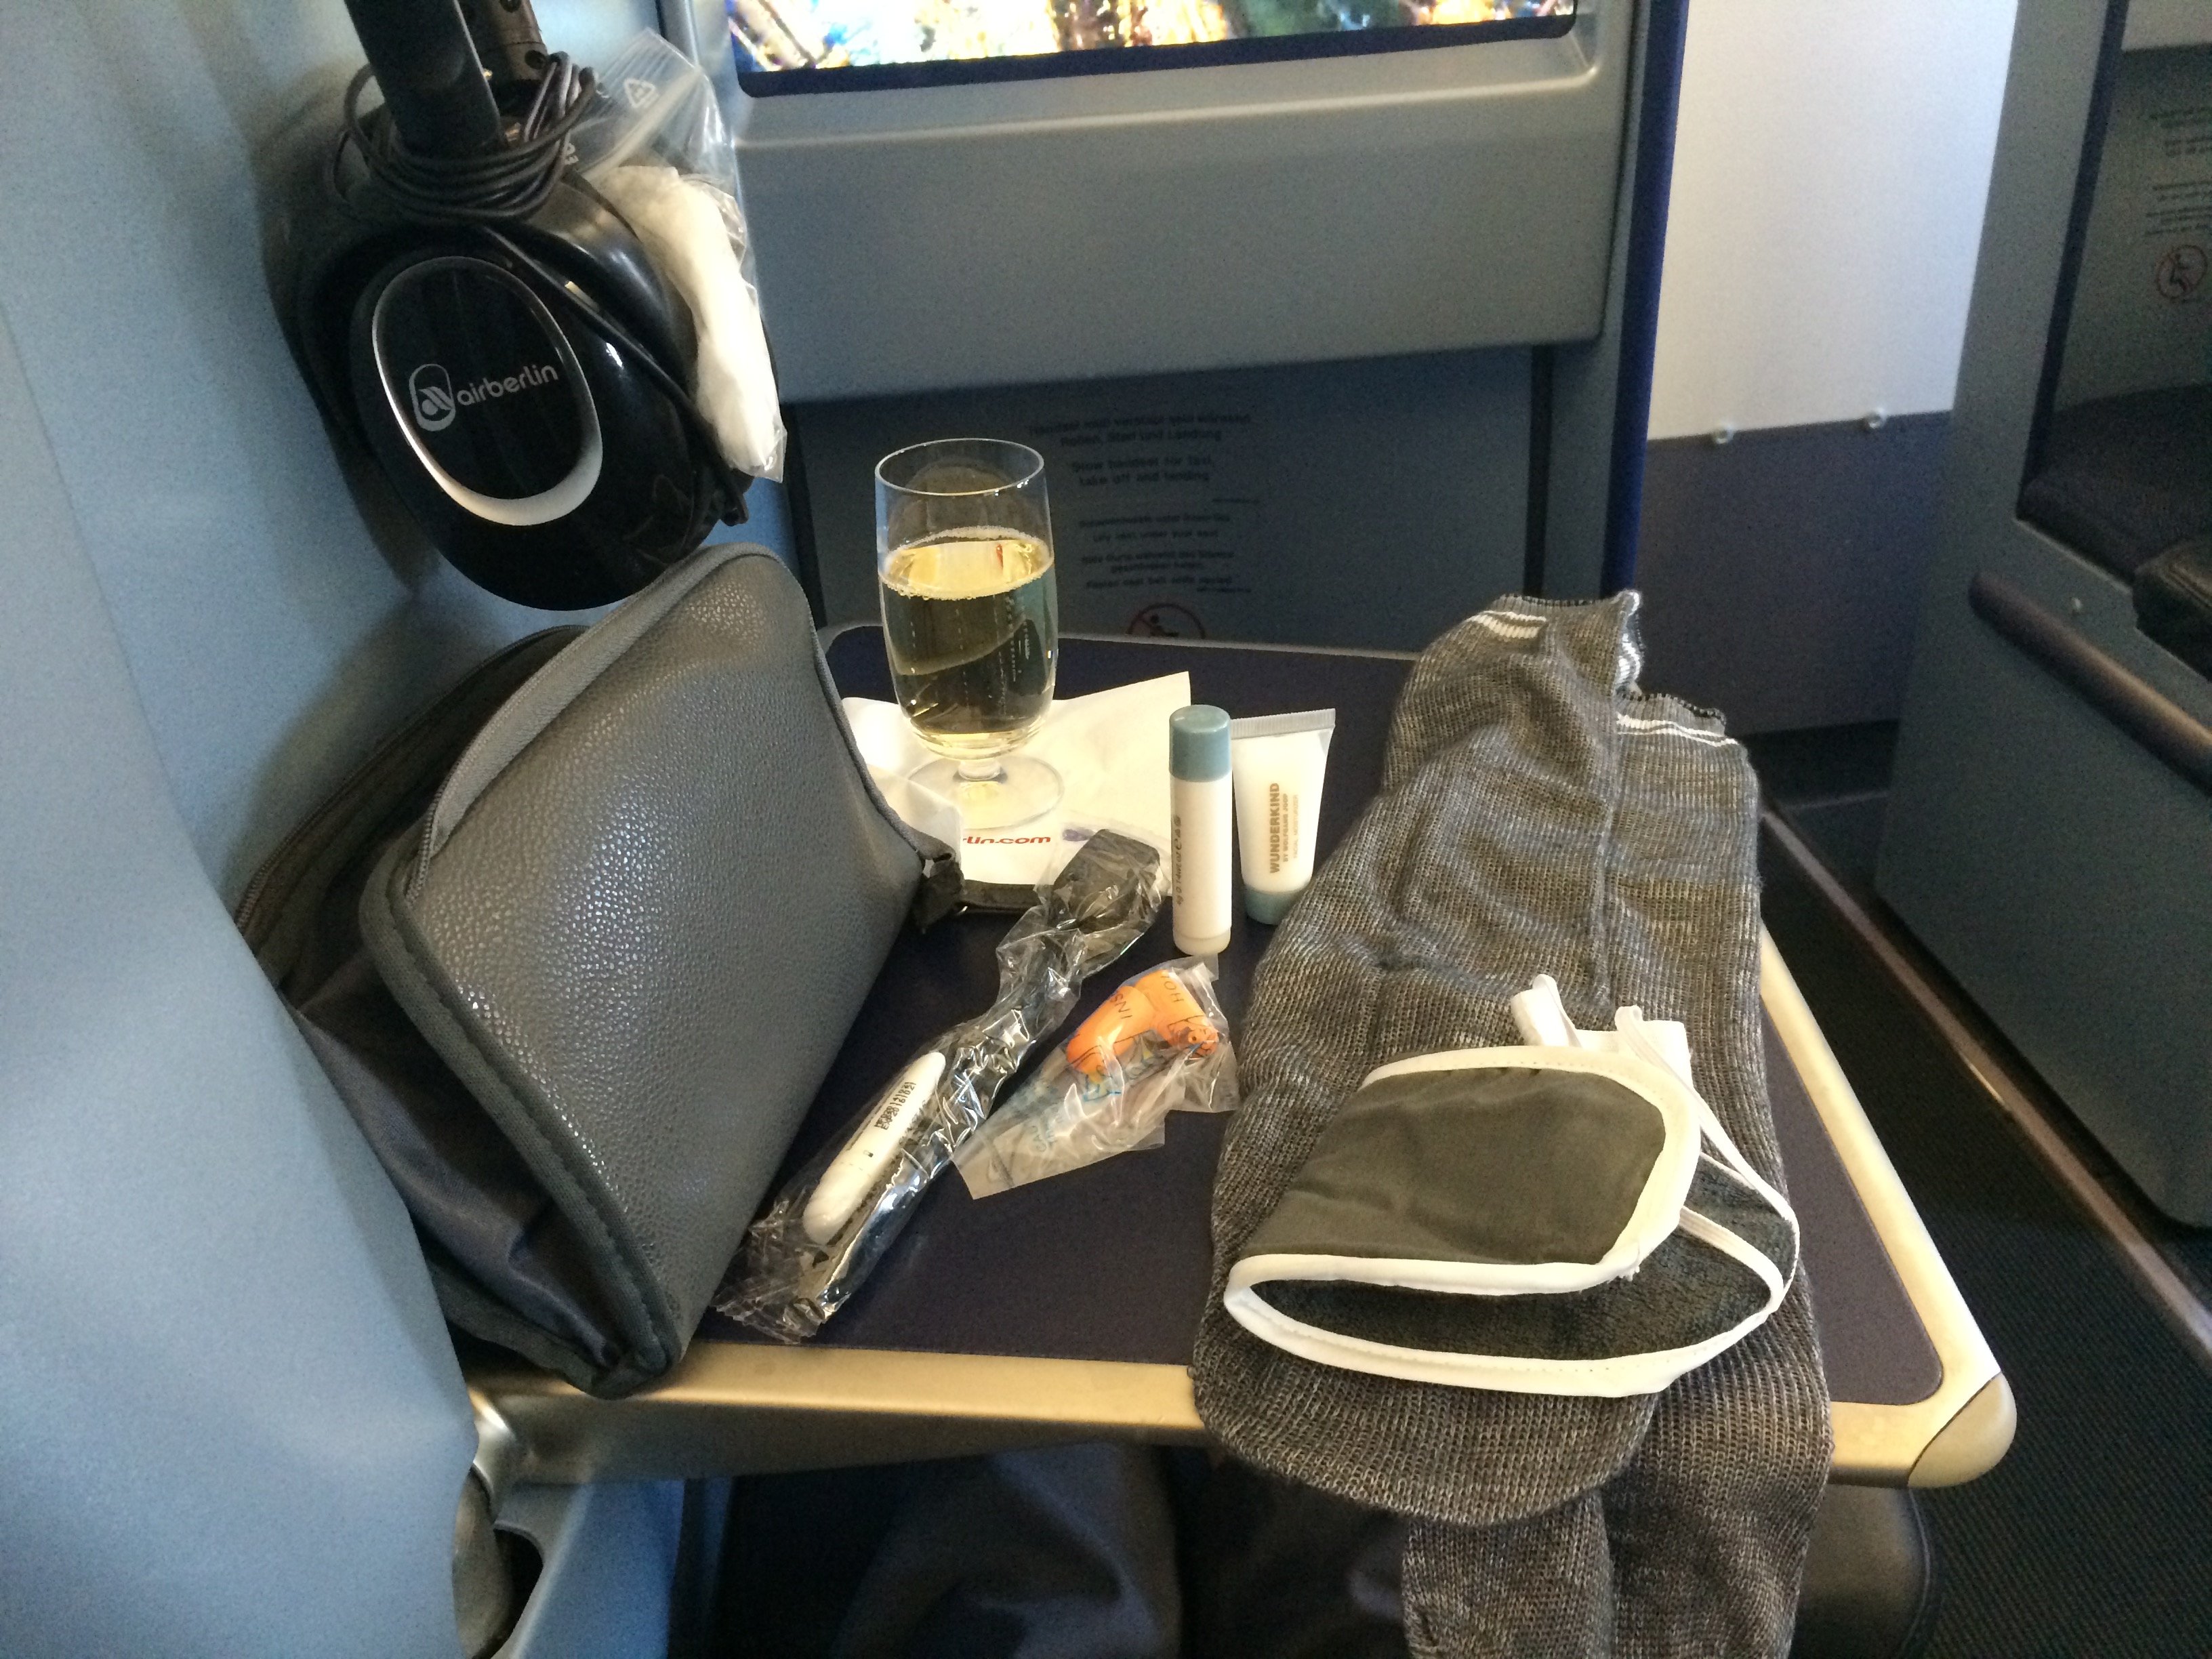
IMG_6840First class San Francisco to Berlin via airberlin.

Buying an RV and stocking it (22%–our biggest cost). $5,195
We bought a completely dry RV and stocked it with everything it needed for our journey: kitchenware, bedding, leveling blocks, water hose, power cords and adaptors, tools, and even a brand new battery and car jack and wrench.  Our most expensive purchase to upgrade the RV was an universal propane filling system because apparently each freakin’ country in Europe (even the tiny ones like Belgium!) has their own special propane tank.  We would have been able to resell the motorhome for the same price we purchased it had it not been for unknown damages we later discovered long after we had already purchased it.  In the end after buying and selling the RV, we spent $5,195, which is still a deal compared with trains, buses, hotels, and hostels for 6 months in Europe.
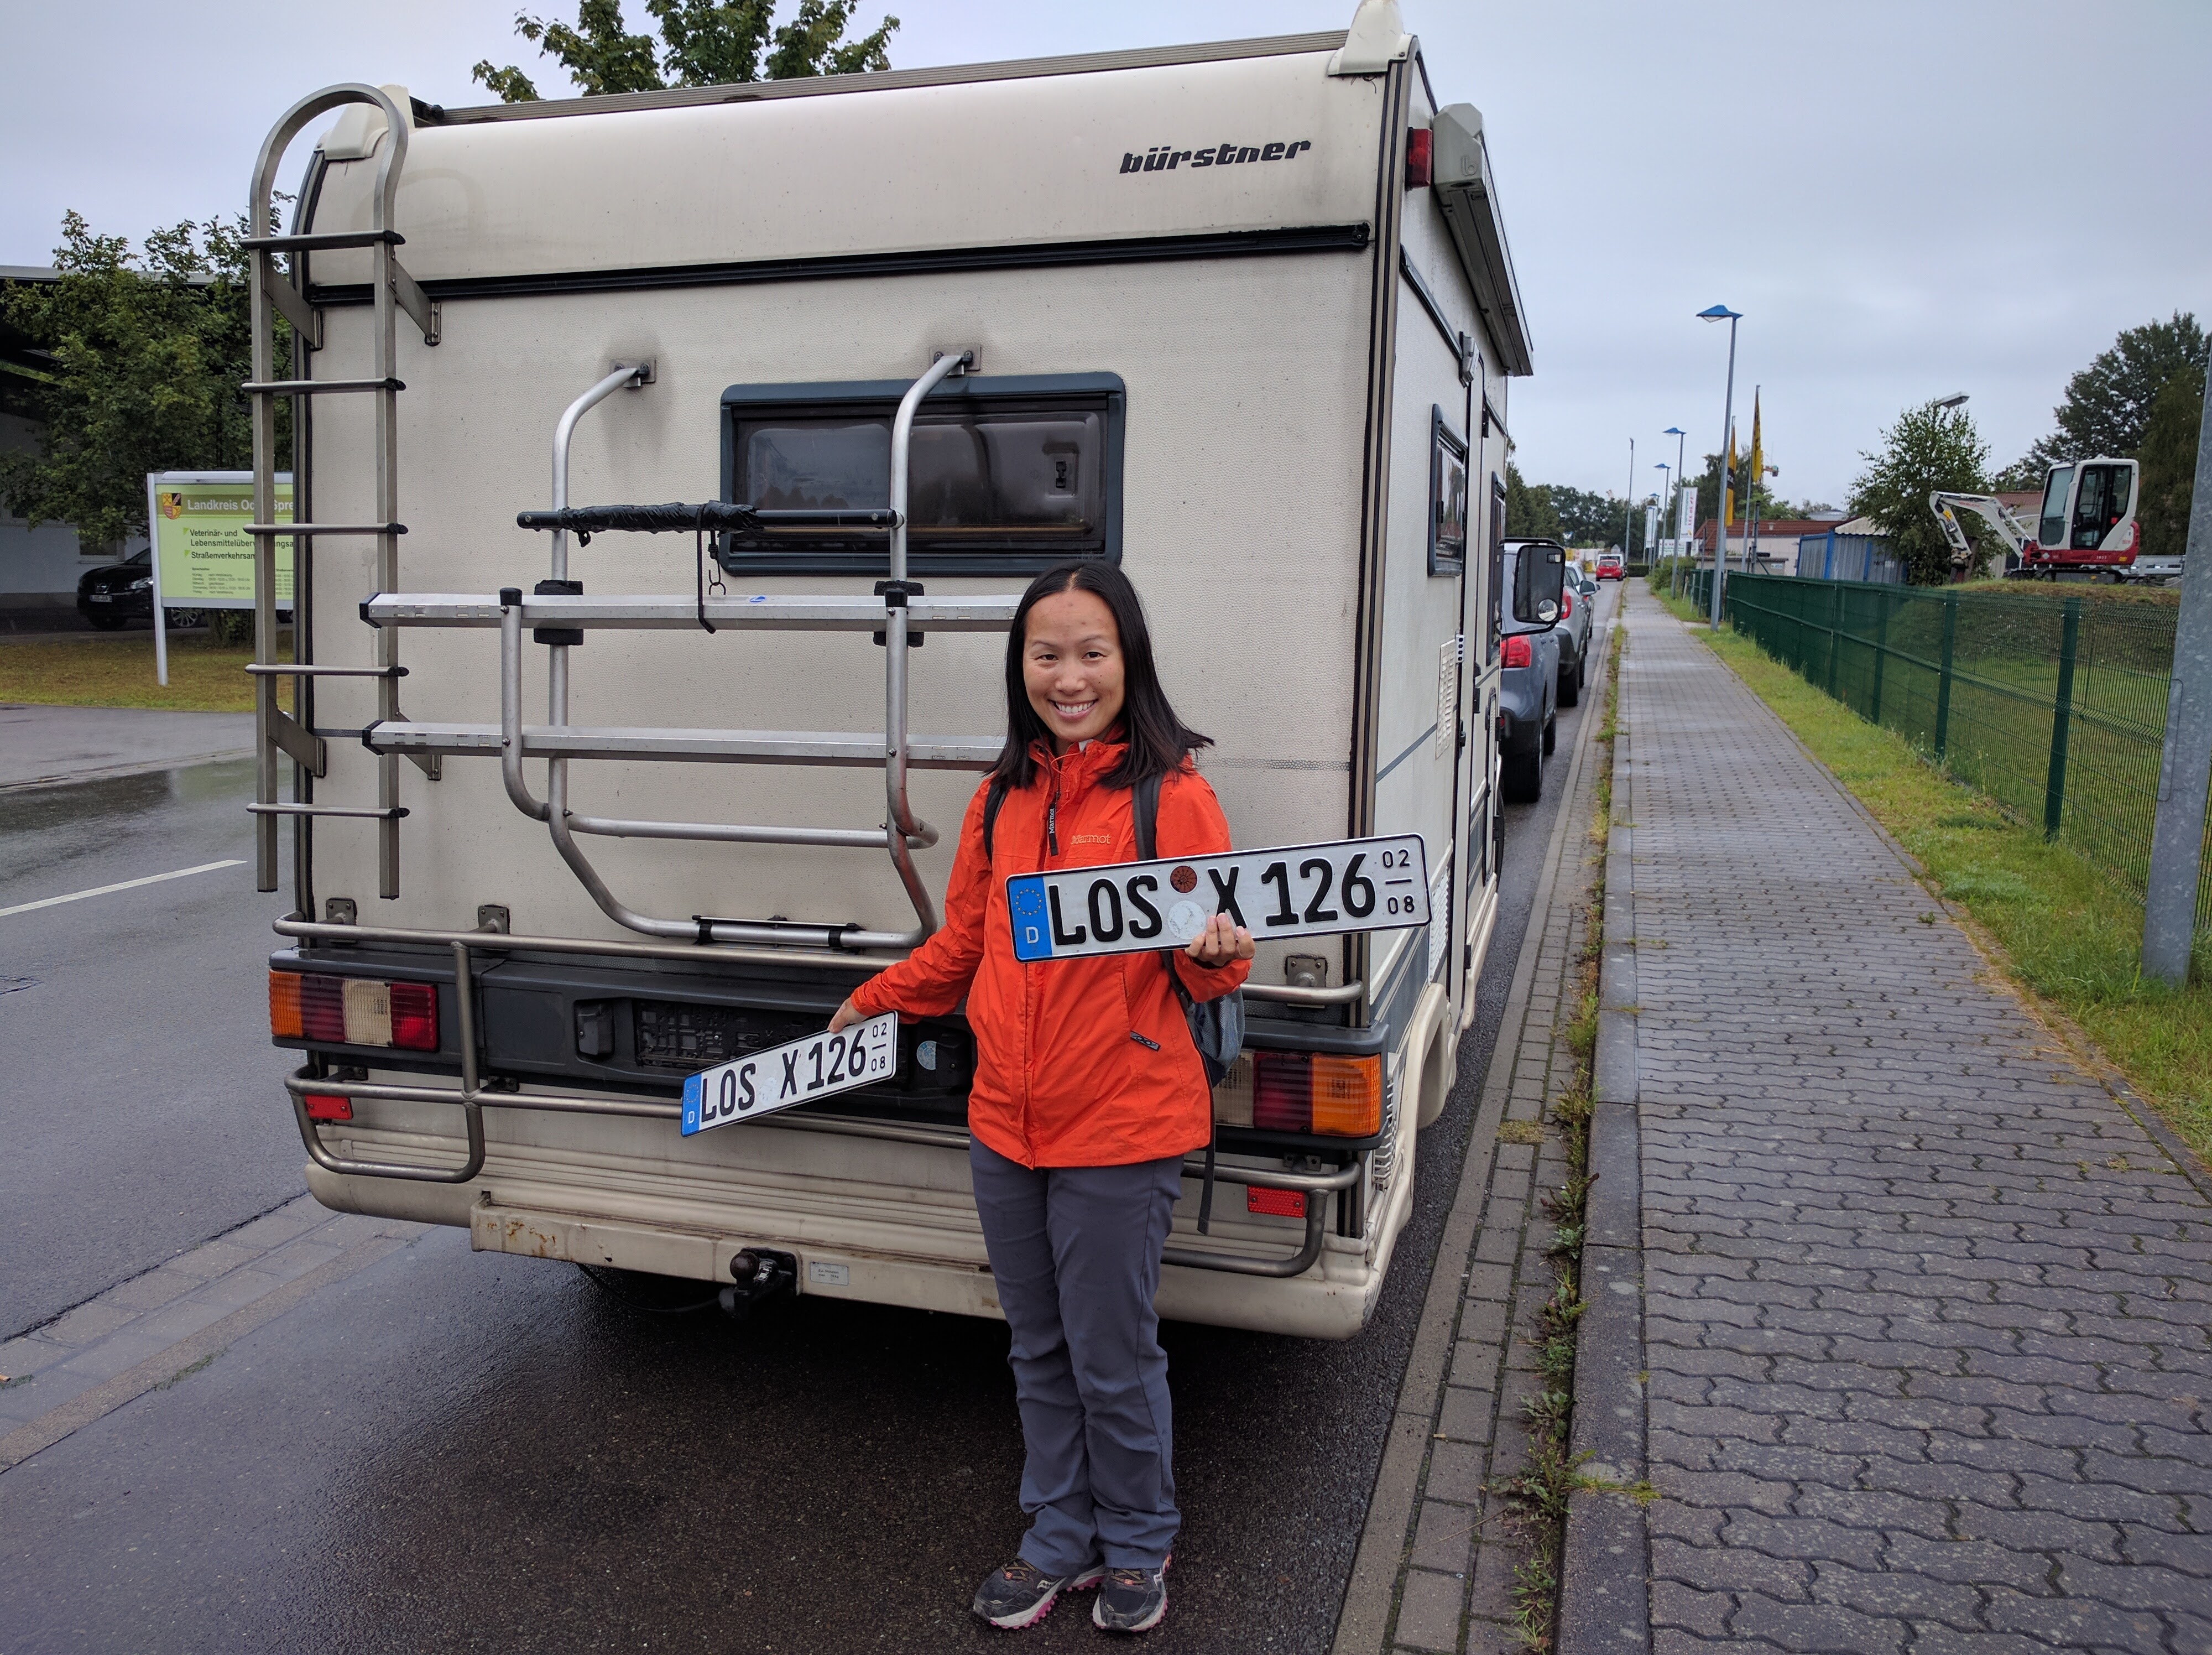
IMG_20160805_103115Getting our own plates in Furstenwalde, Germany.

Owning an RV also meant insurance and maintenance (10%). $2,395
Insurance, taxes, and registration was the highest cost in this category, but regular maintenance (oil changes, and fuel and air filter changes every 10,000 km) added to it too. We had several flat tires, one window break-in, a fridge fix, and belt replacement.  Coolant and toilet treatment were also ongoing purchases.
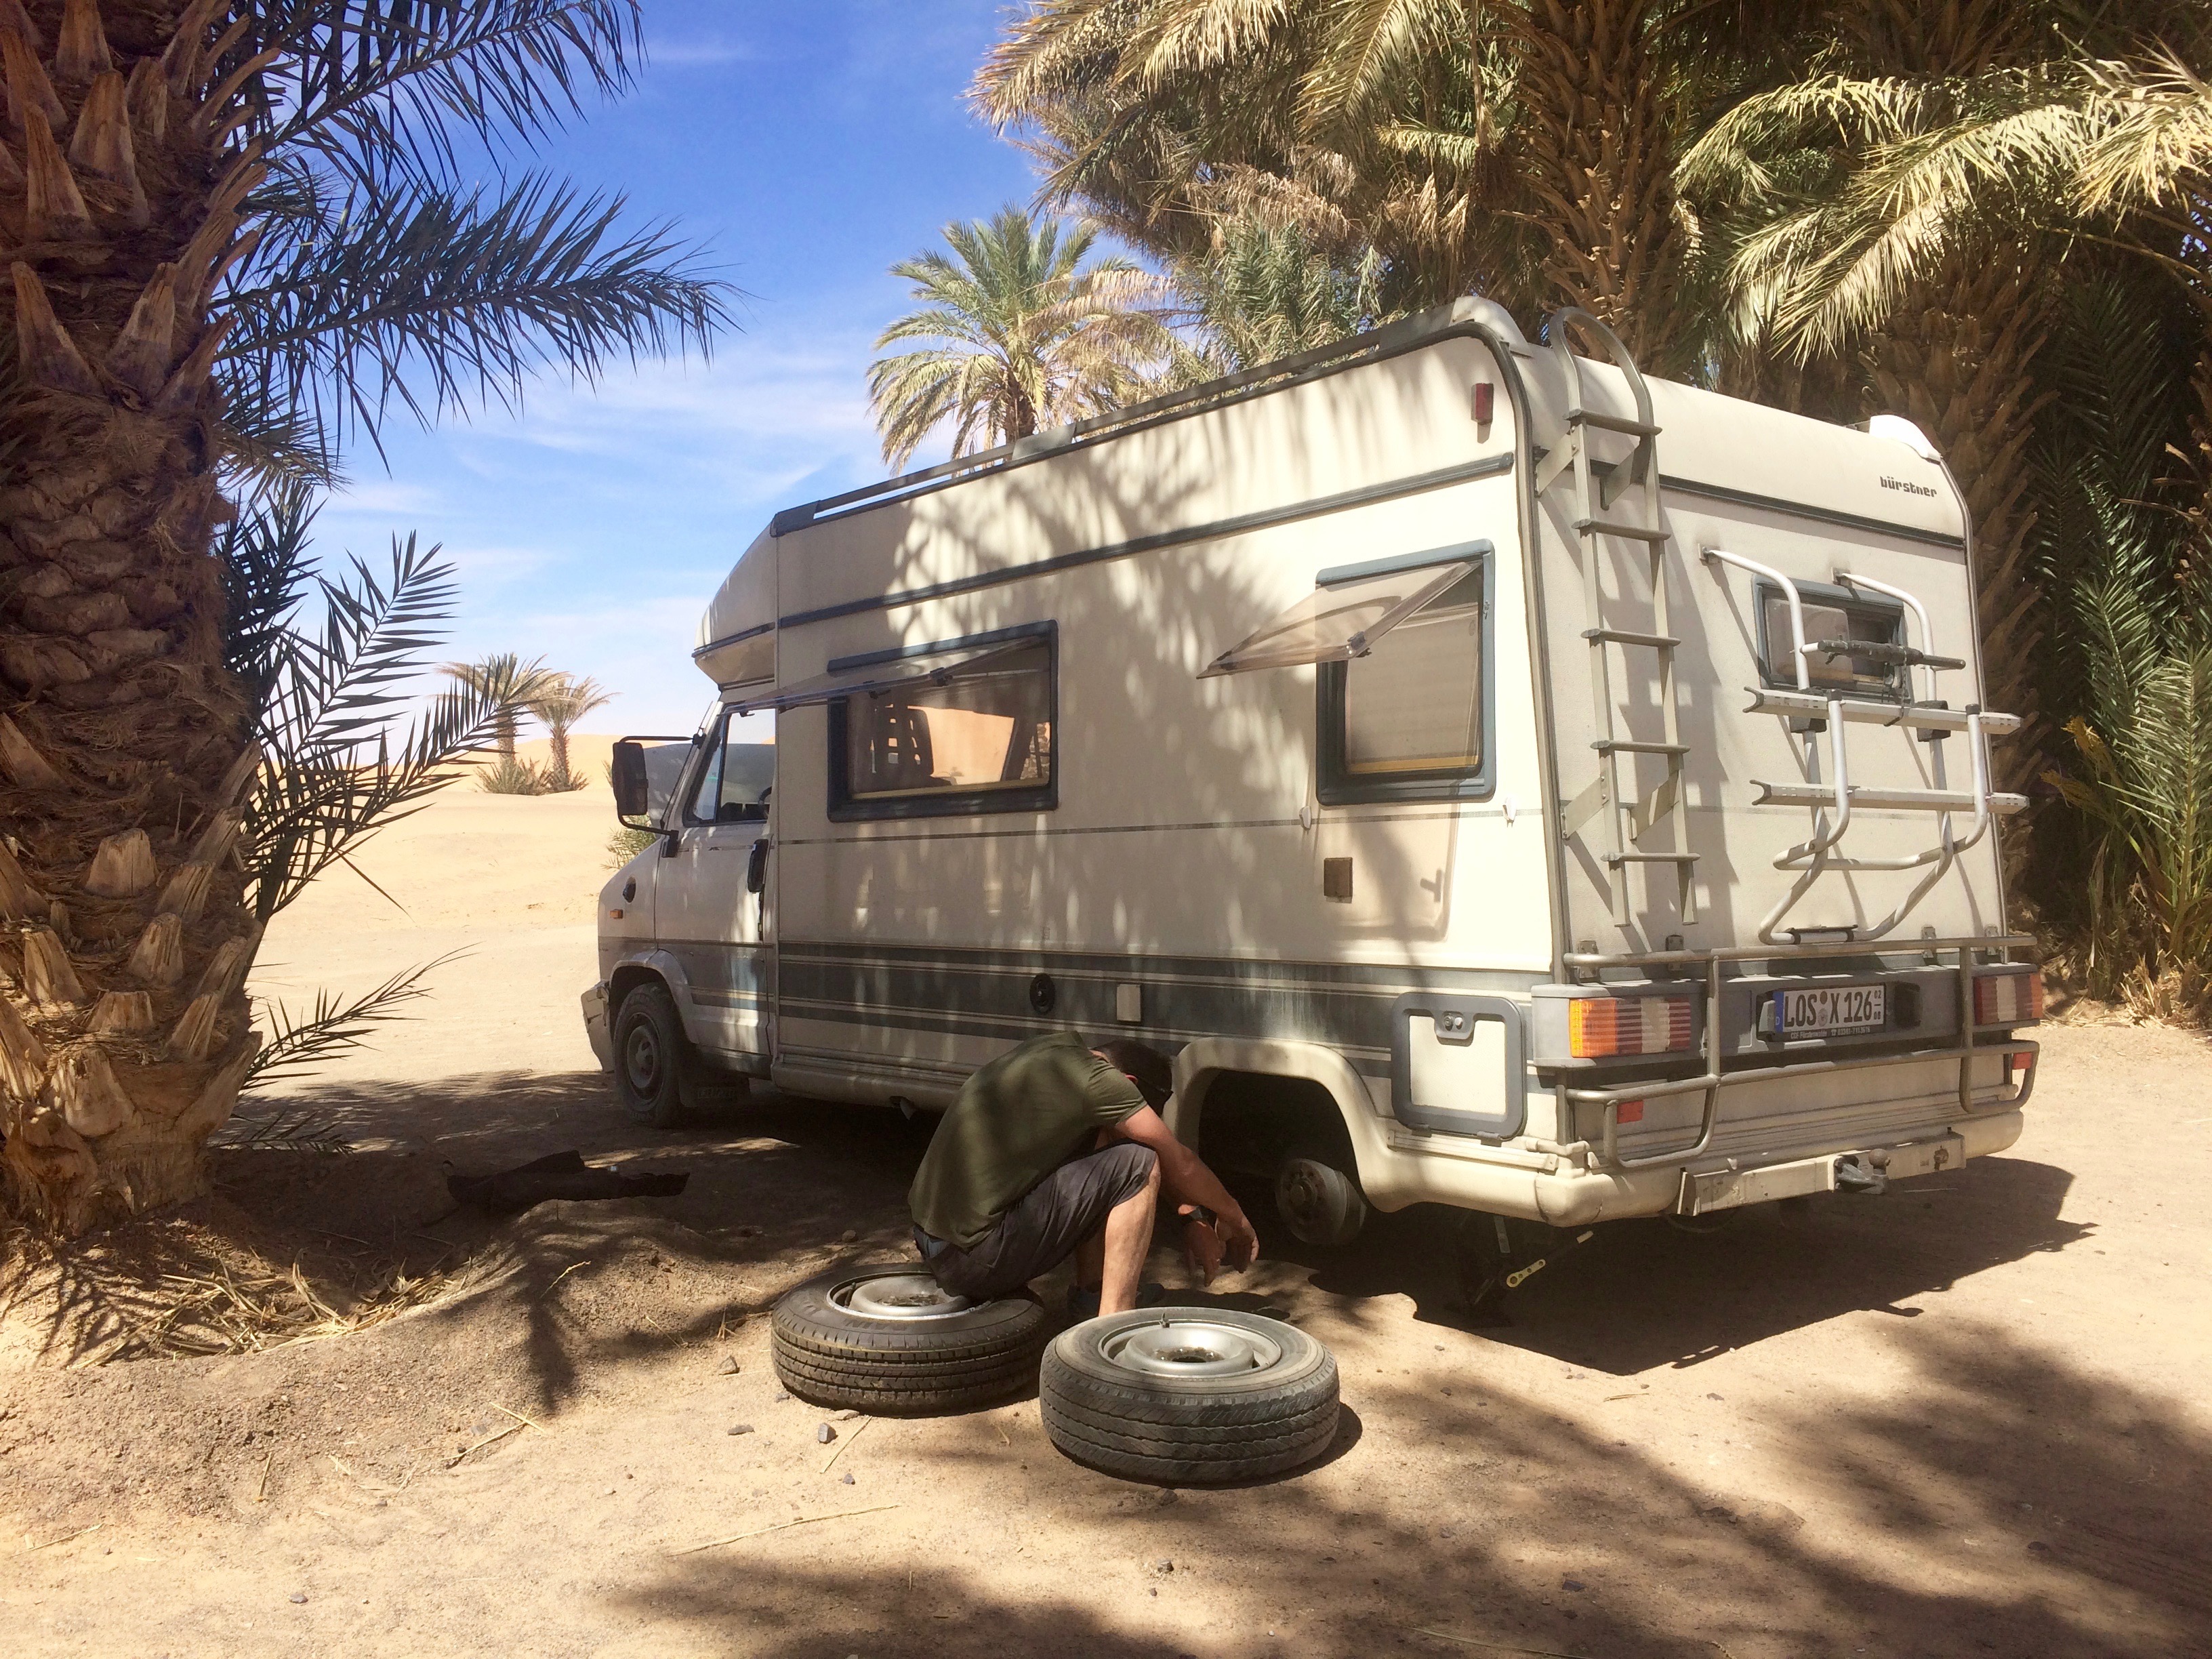
img_0027Chris, in the Saharan Desert, changing one of many flat tires.

Diesel and propane (14%). $3,285
Diesel is not only more fuel efficient (though it pollutes more), but it is also cheaper than regular gas in most European countries.  Most people don’t believe it when we tell them that we averaged 9-10 kilometers to the liter, or better than 22 mpg! Propane is also incredibly cheap at LPG/autogas filling stations, approximately 60-80¢/liter or ~$2.75/gallon. In the harsh winters, we filled up on propane every 5 days, but in the scorching summers we only filled up once per month.
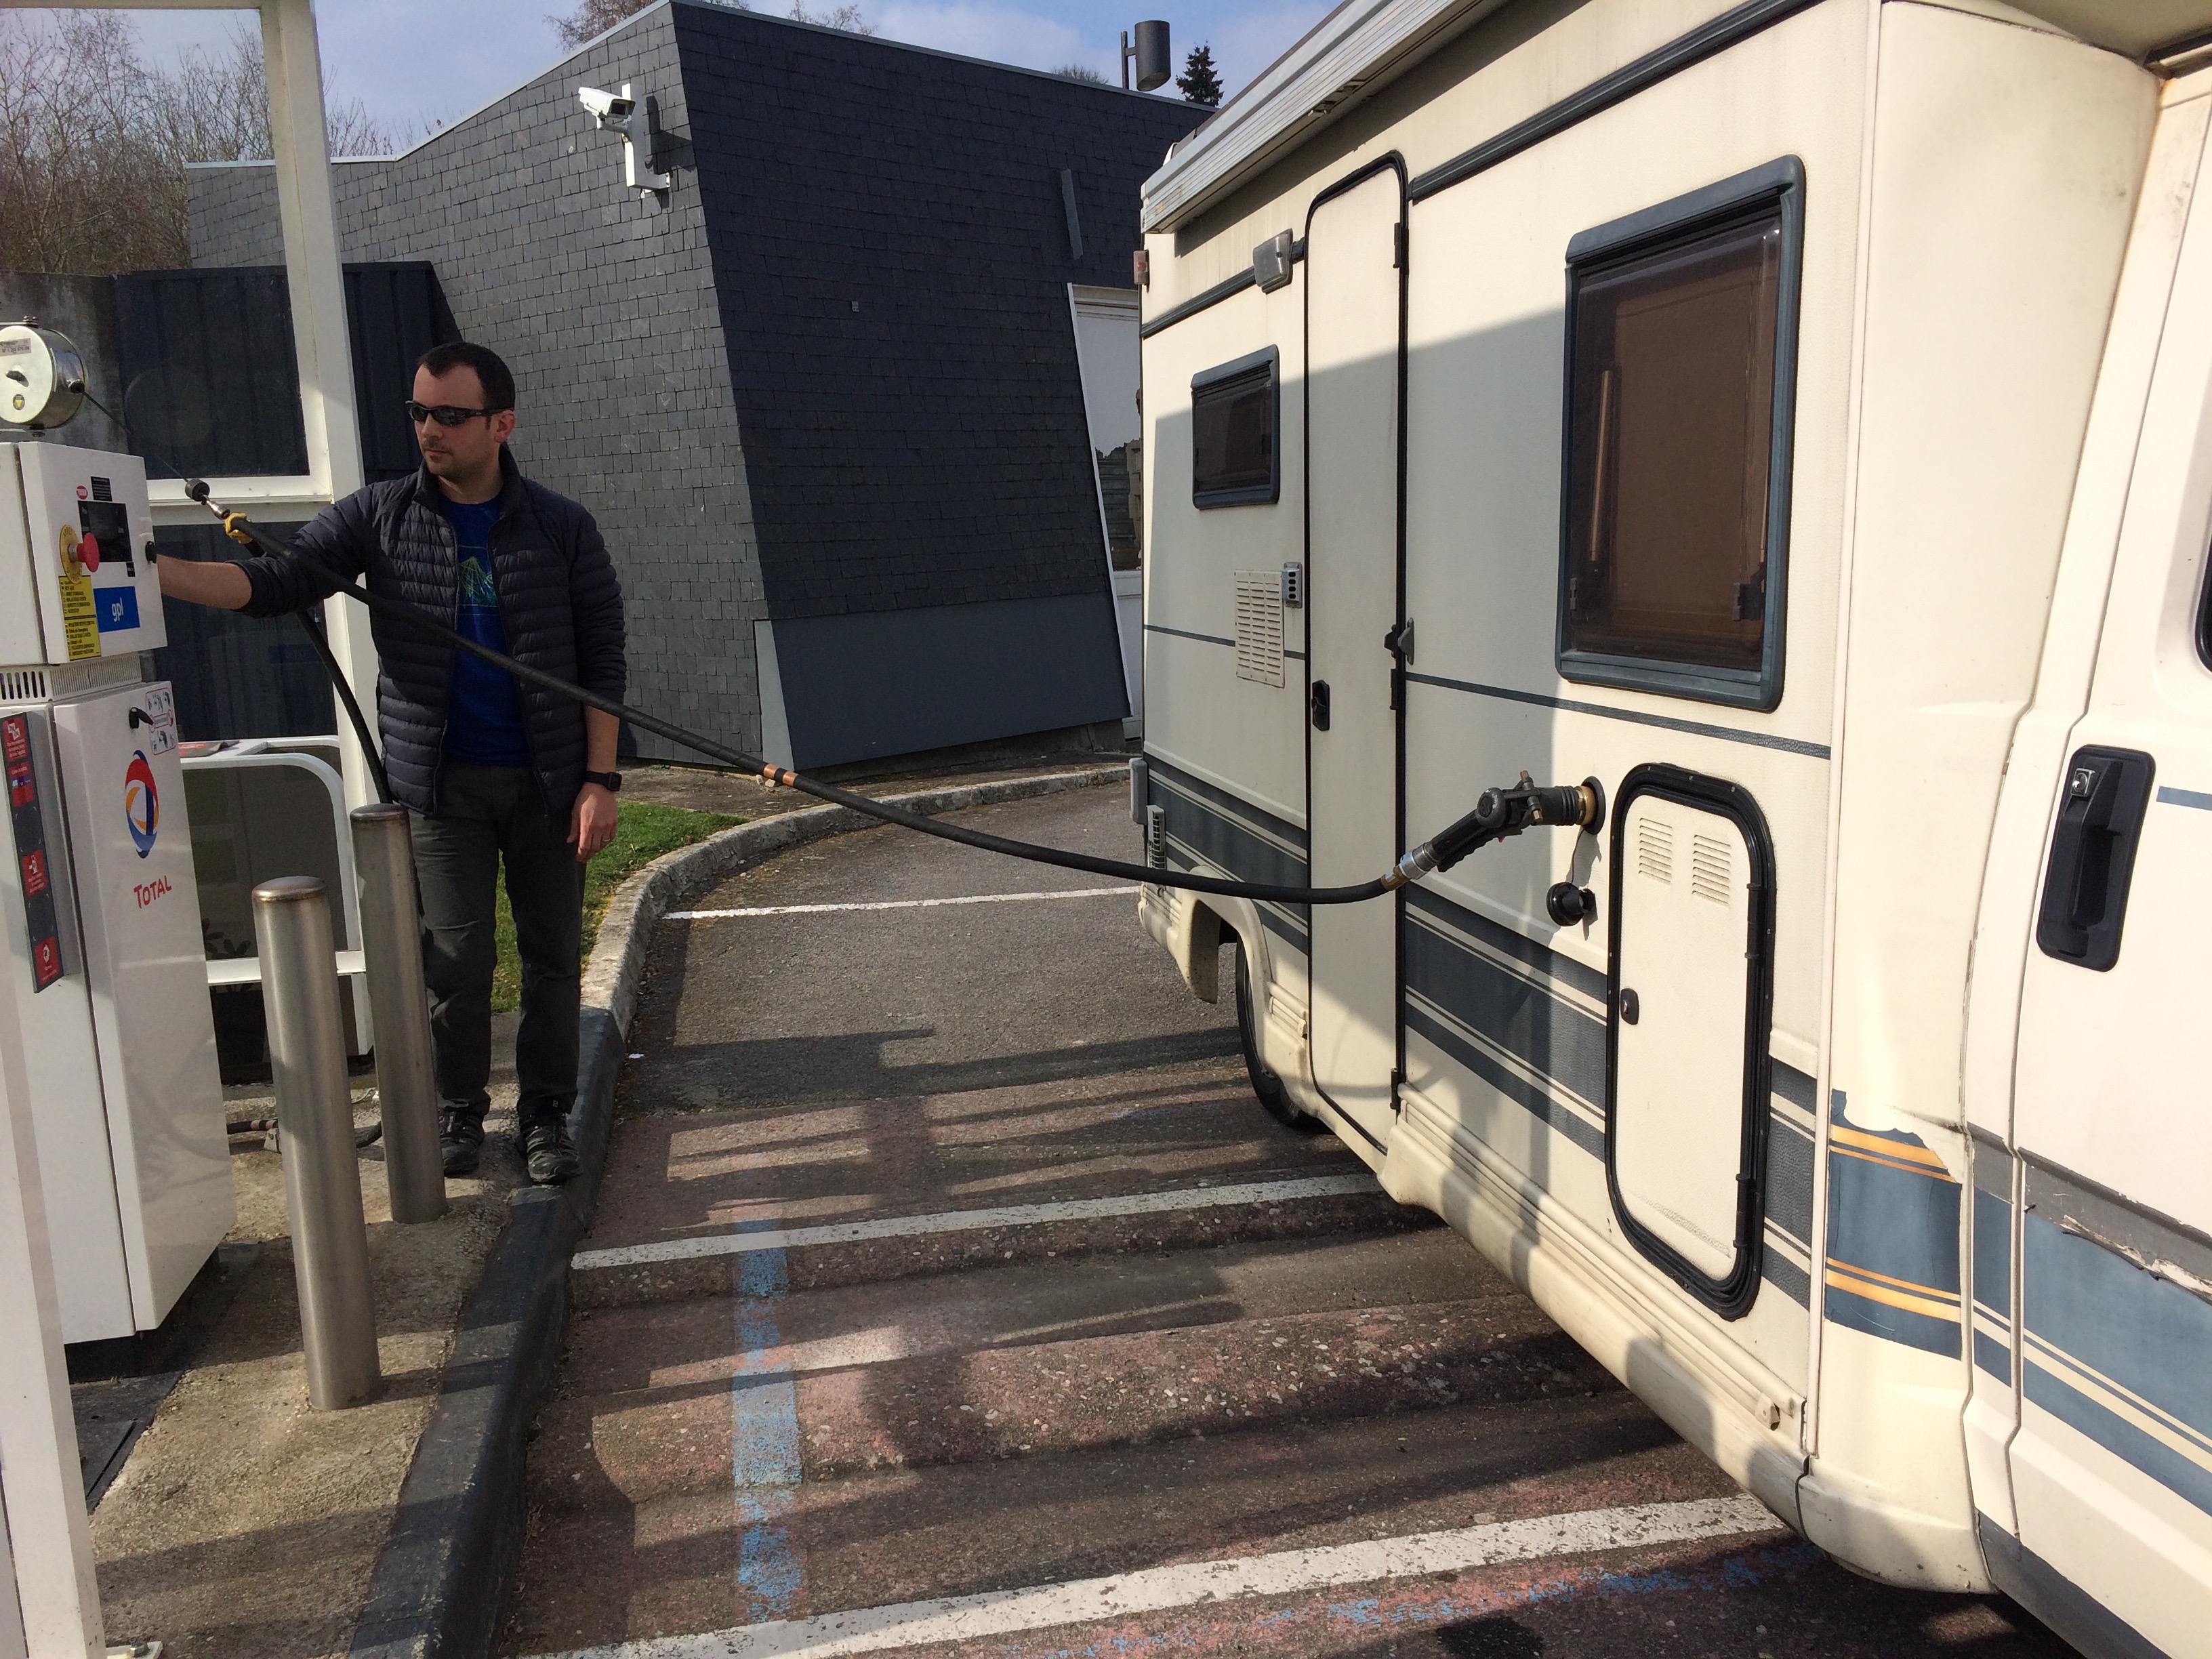
img_8877Filling up on propane at an autogas station.

Public transportation generally wasn’t cheap (10%). $2,296
Like any local or traveler, we paid for subways, buses, ferries, and trains. However, unlike most travelers, we also had to budget for tolls and parking. Gondola rides and chair lifts are also included in this section.
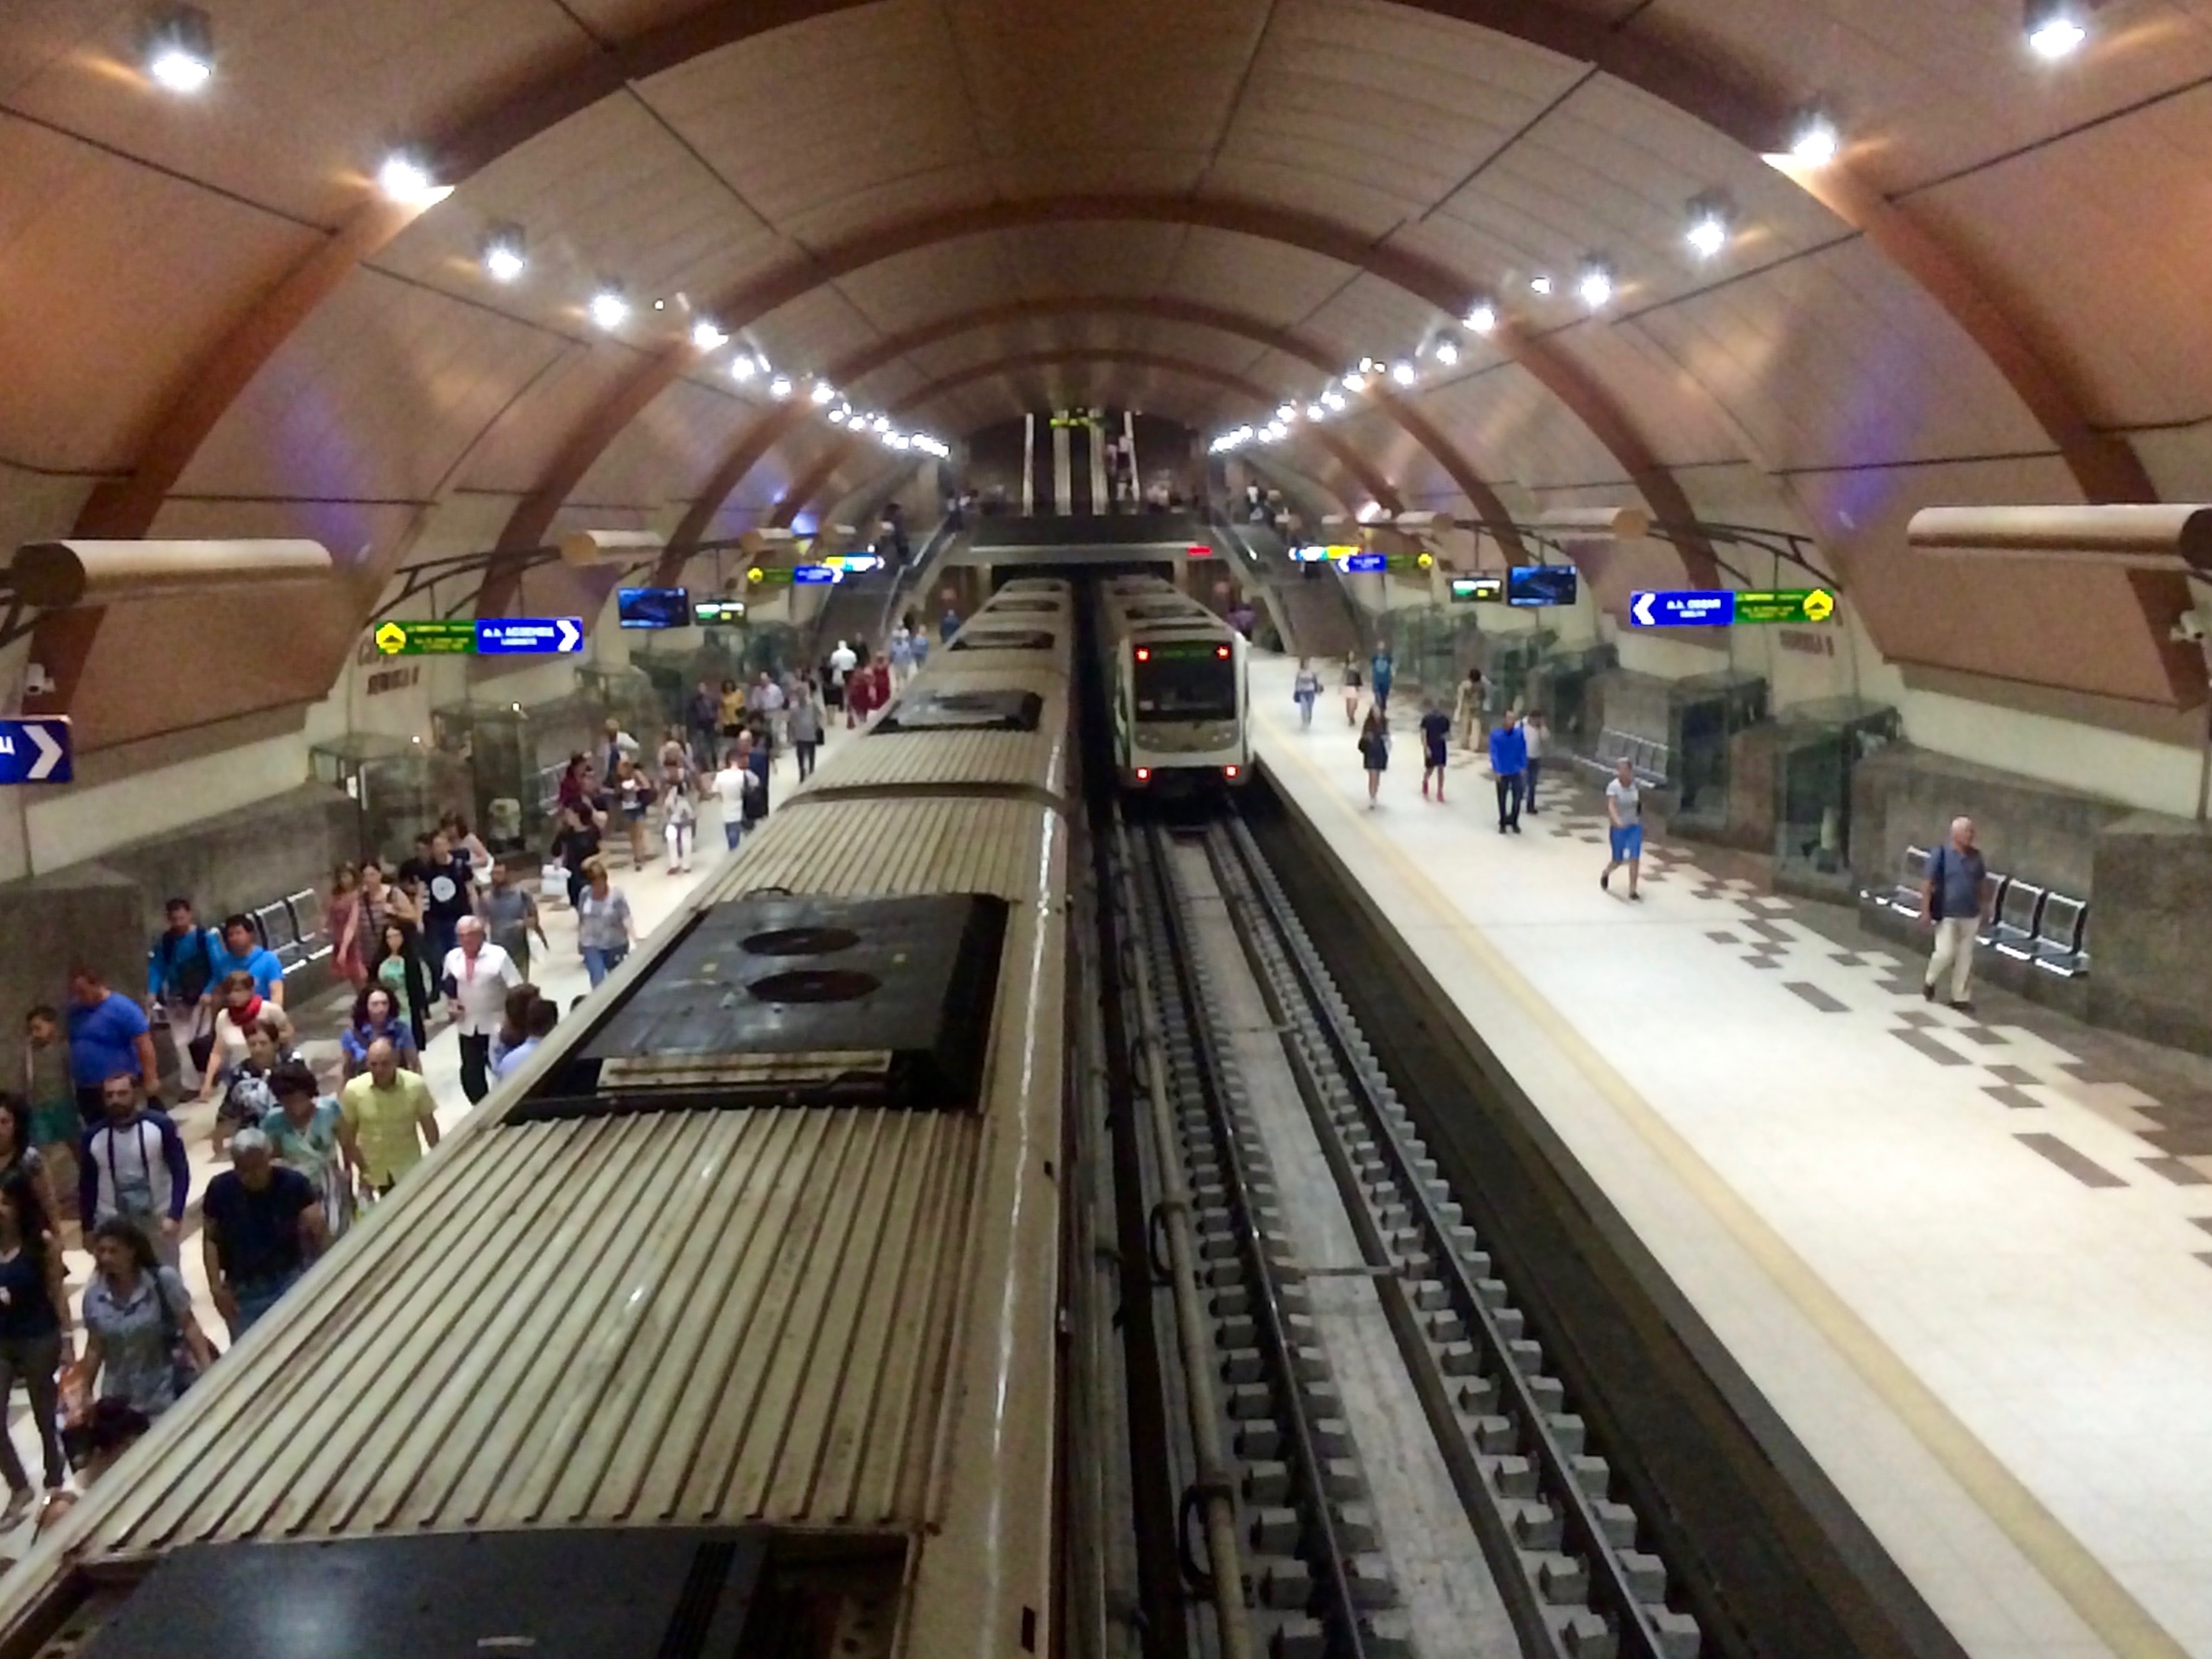
img_3994A subway station in Sofia, Bulgaria.

Accommodation (6%). $1,392
Thanks to campercontact.com, we found numerous free places to stay, dump, and stock up on water. However there were times we had no option but to pay for a campground, which ranged anywhere from €10/night to €25/night–still significantly cheaper than a U.S. campground.  We also splurged on hotel rooms for special occasions, and even a cheap AirBnB when the weather got too hot.
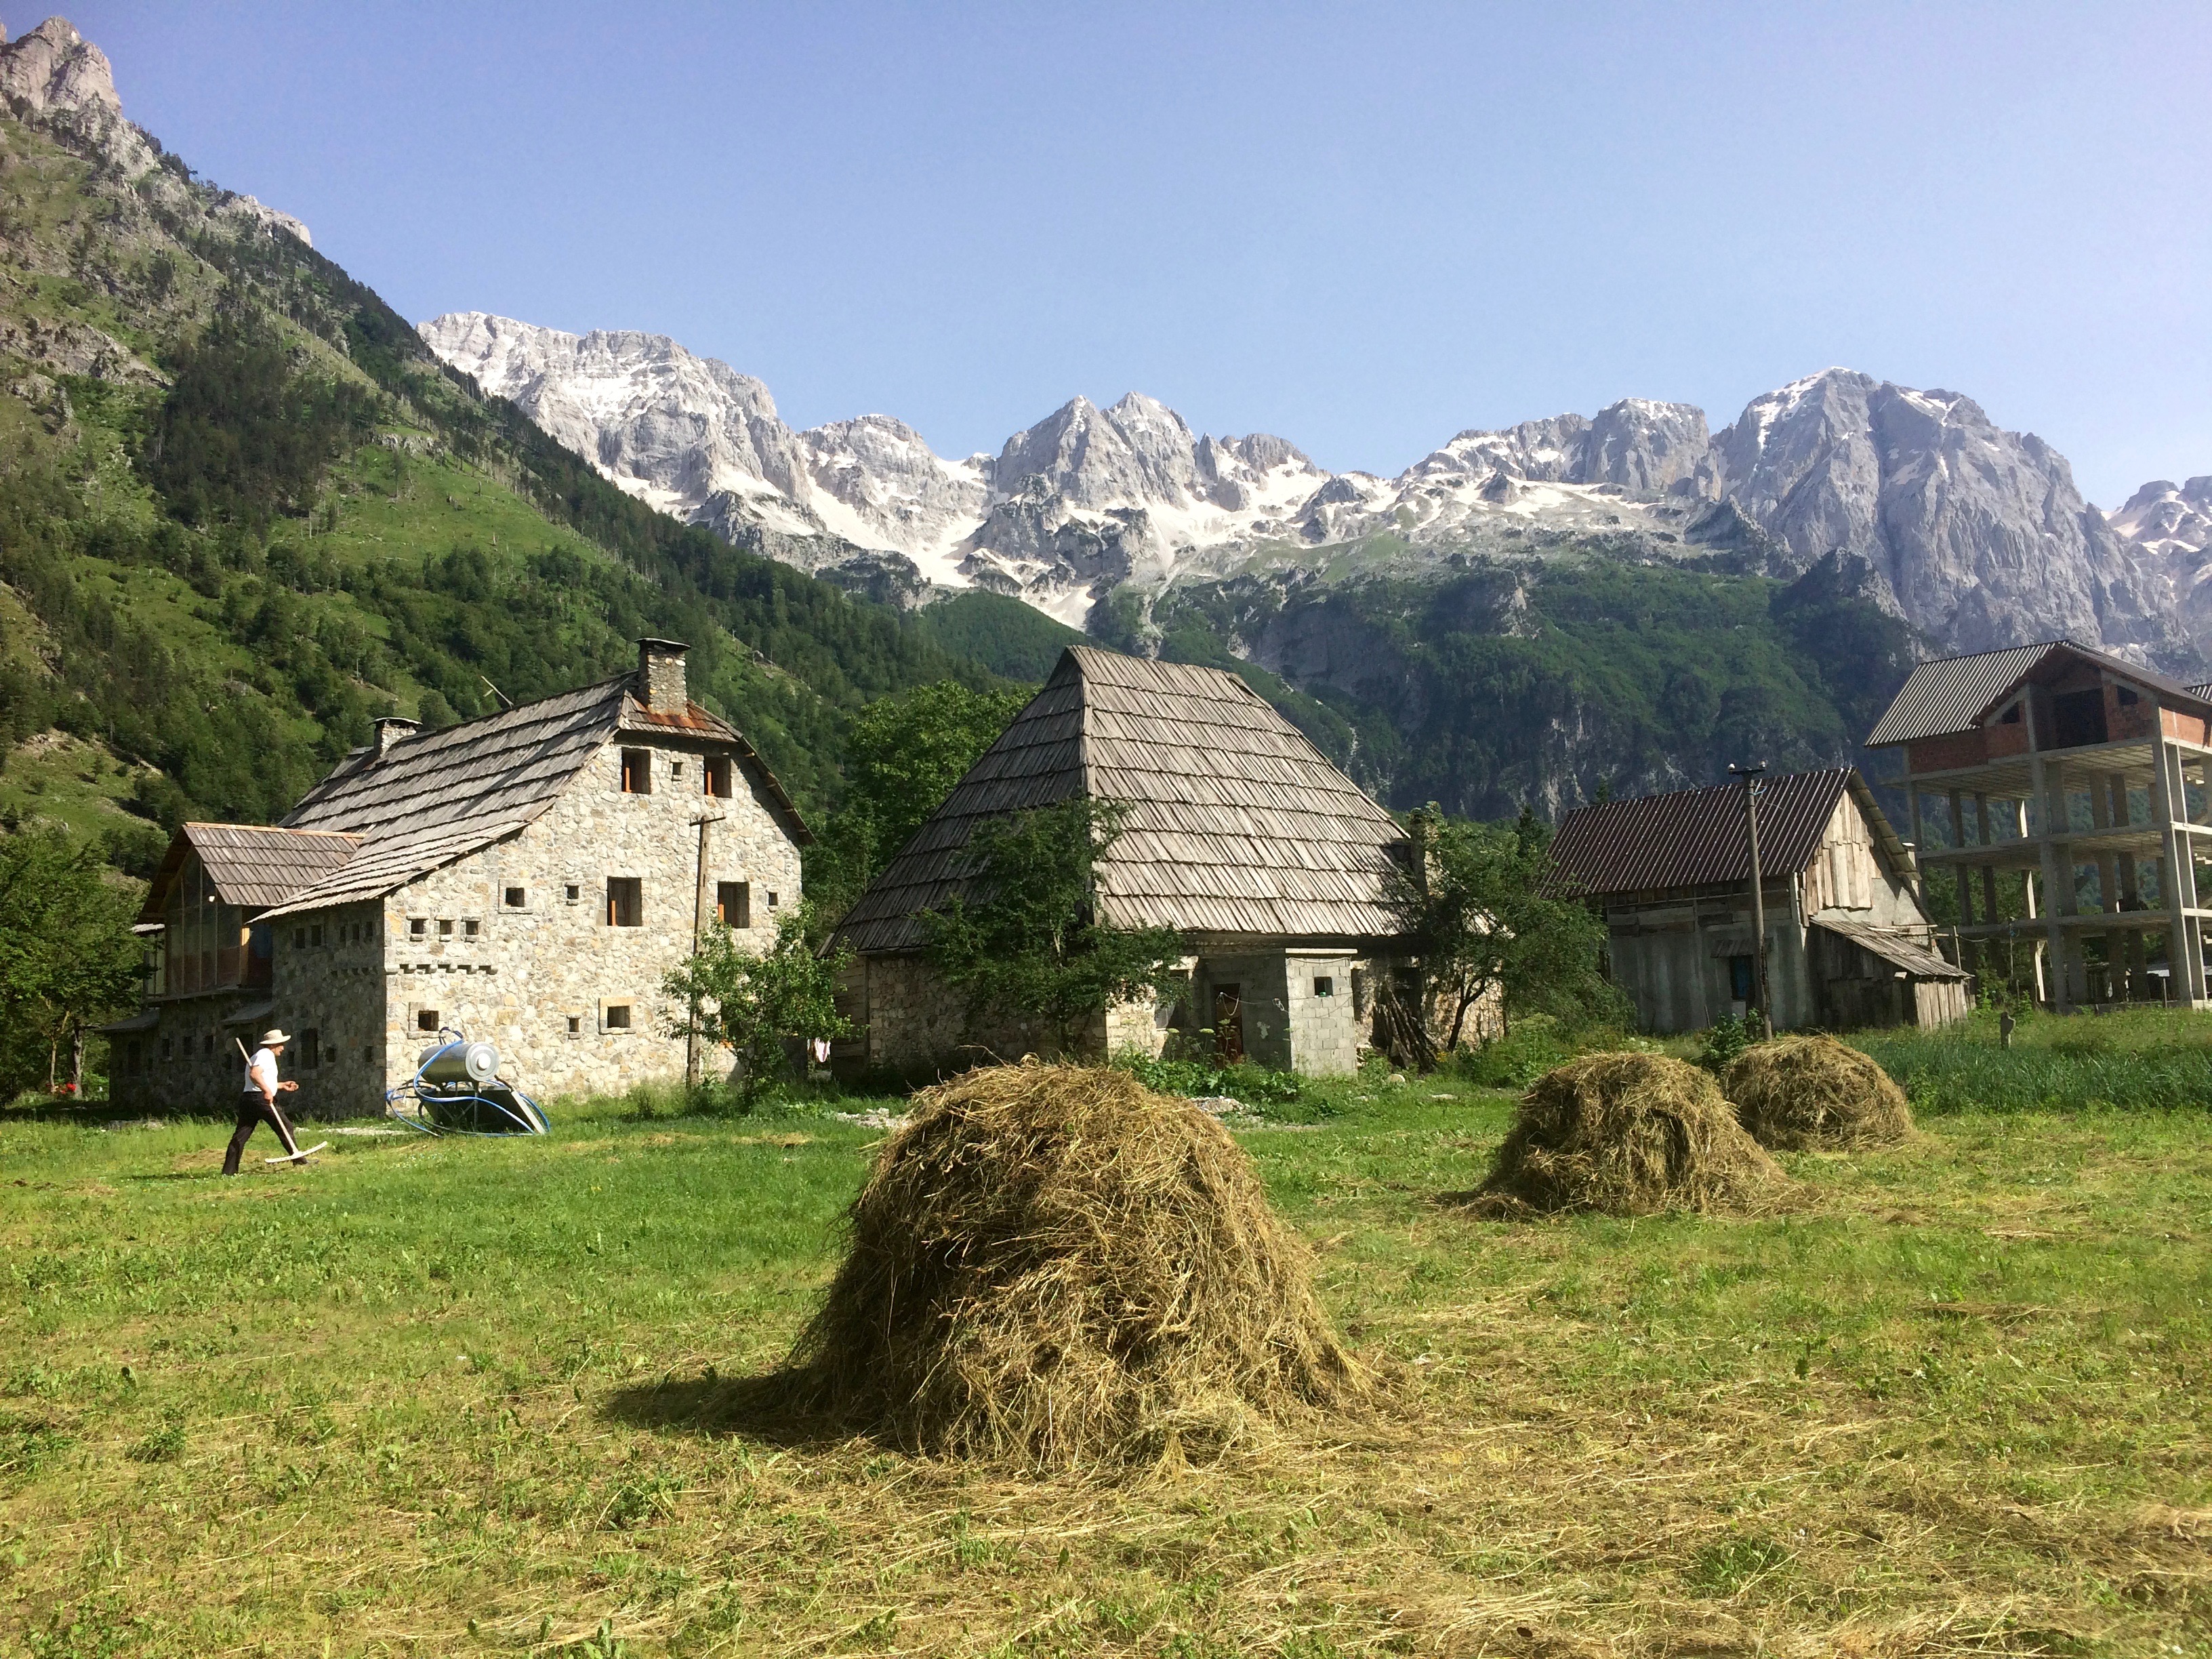
img_3359Mountain lodging in Albania, €20 per person for a private room and 3 homemade meals.

Groceries (6%). $1,395
Produce, meat, seafood, cheeses, beer, and bread (oh my, the BREAD!) are a million times better than those in the U.S., but at a fraction of the price.  Grocery shopping in Europe is unbelievable.
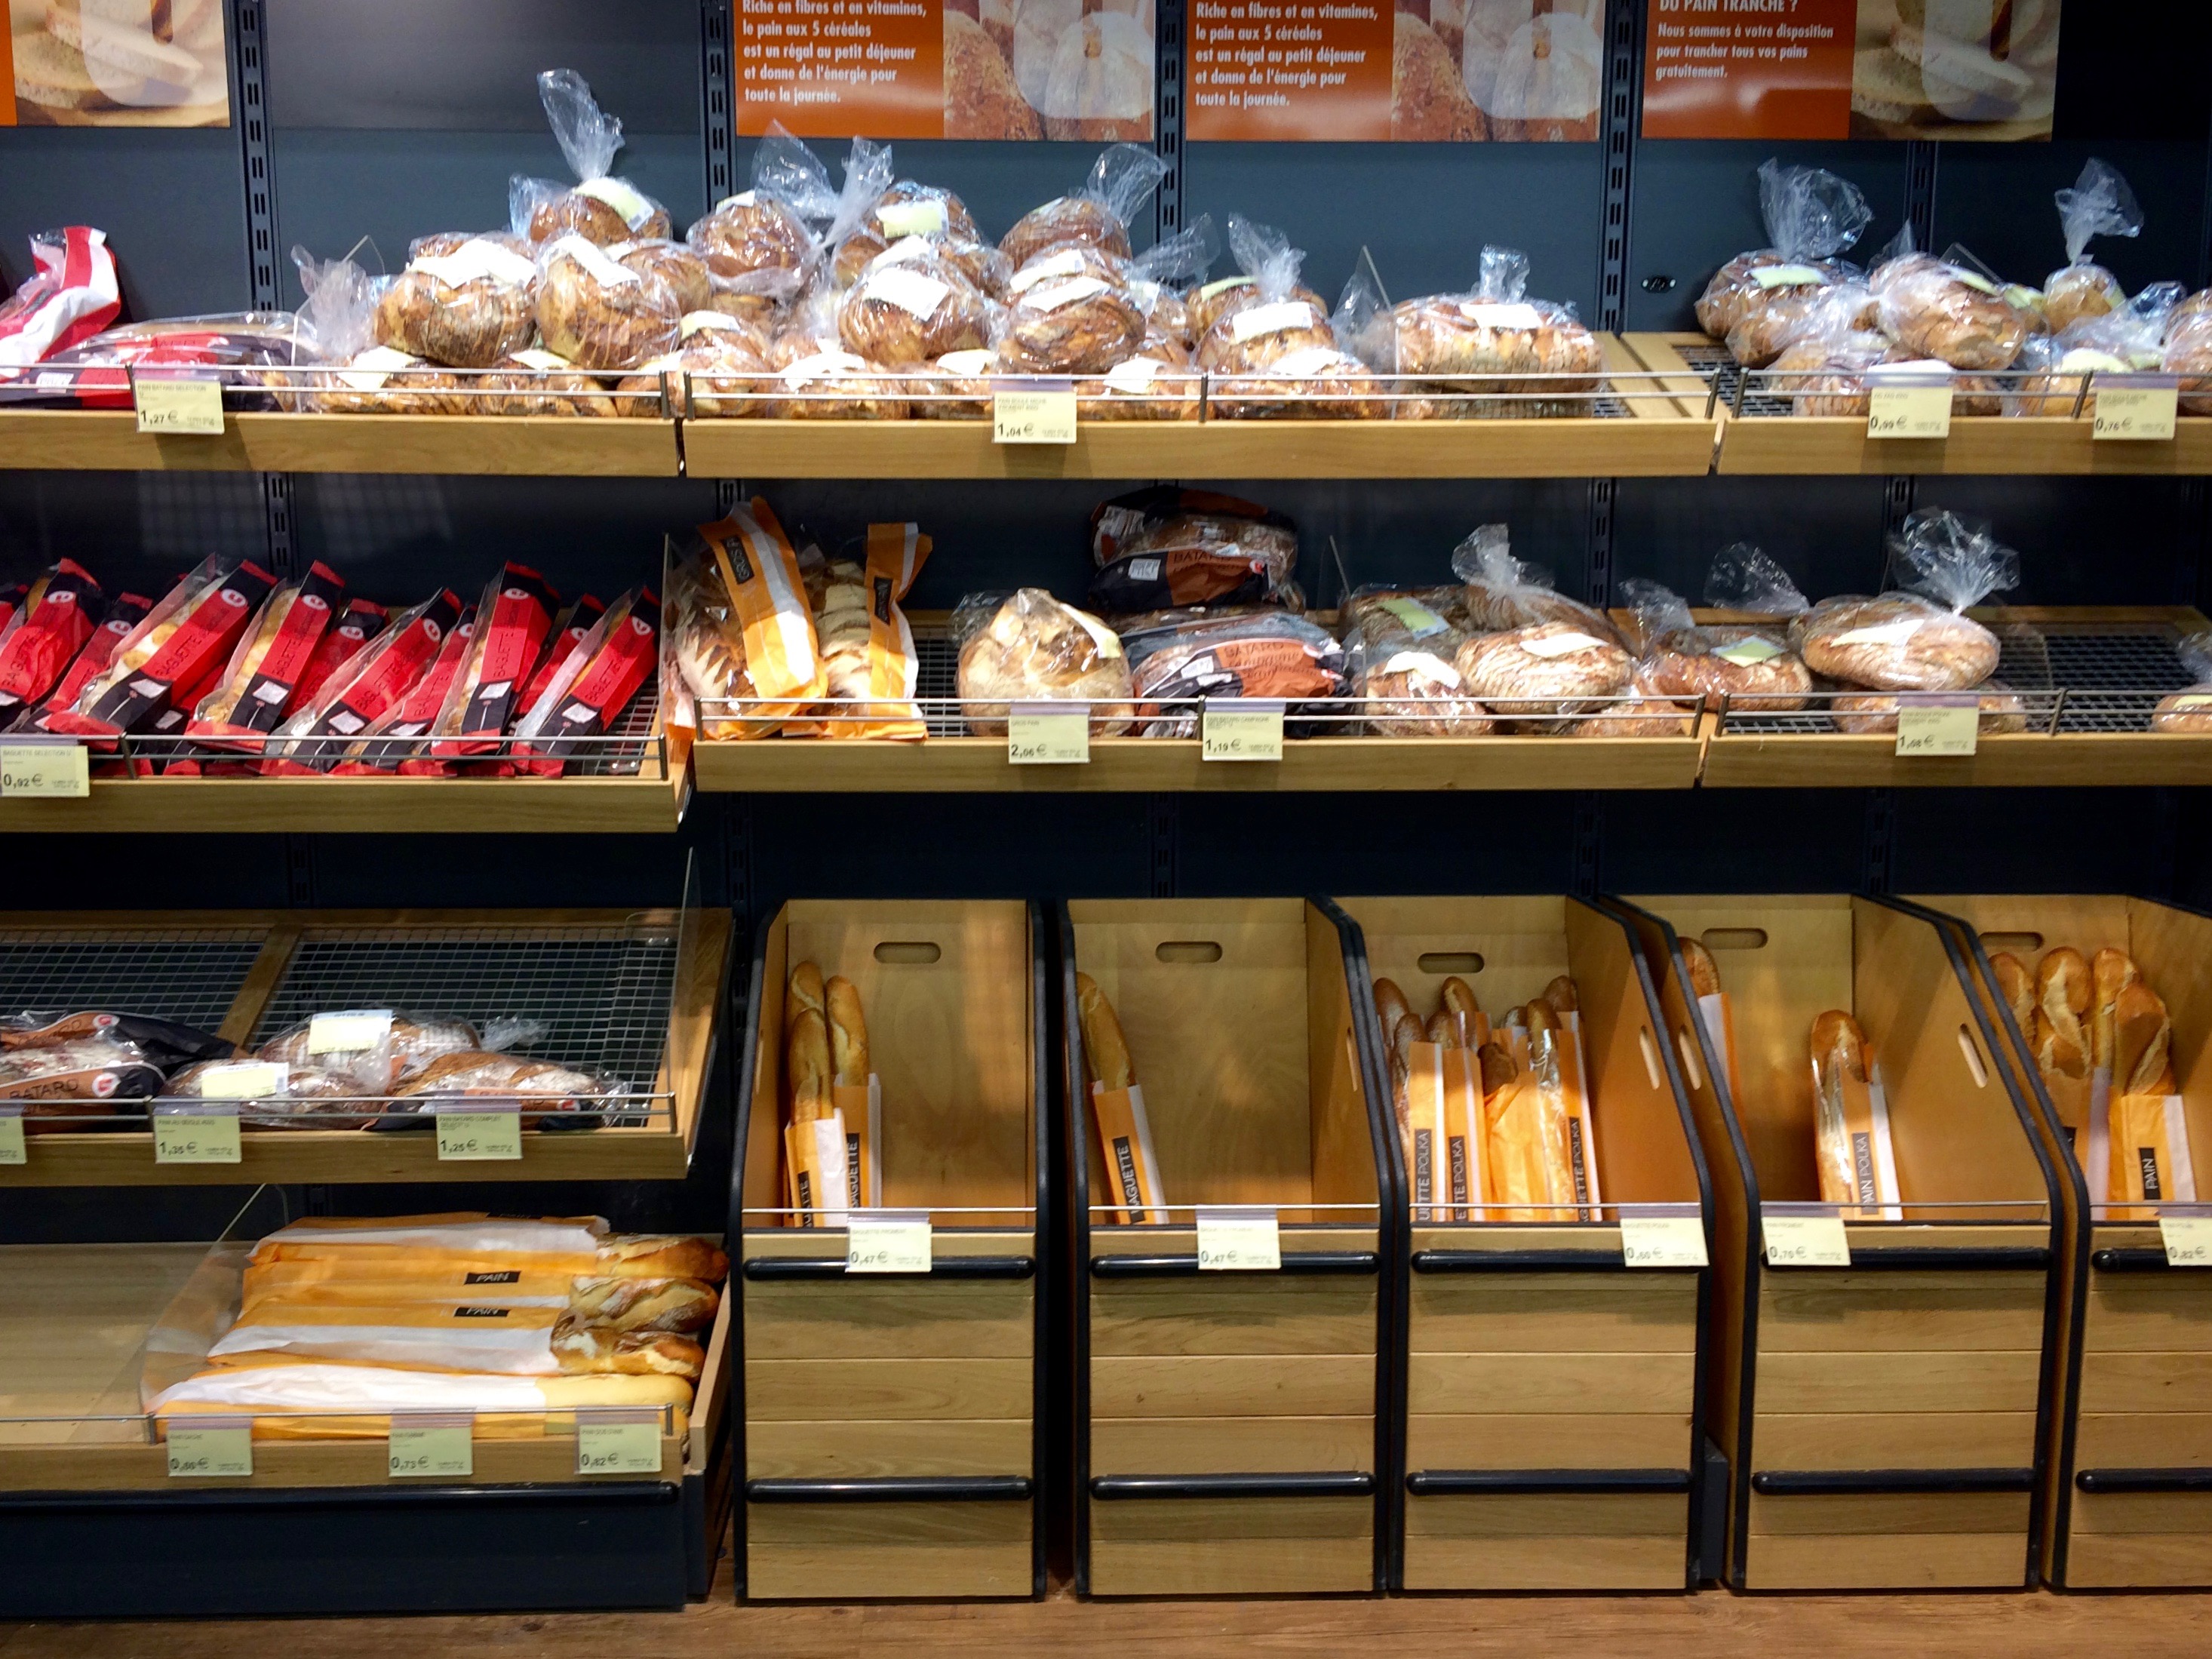
img_879510 types of baguettes at a grocery chain in Cancale, France.

Dining out (15%). $3,780
When in major cities or in a region famous for a certain dish, we definitely ate out.  The cost of eating out is slightly higher in Europe than in the U.S. because taxes and gratuity are included. (I wish it were that way in the U.S!) Sure, we were on a budget, but within reason. Eating/trying new foods is one reason to travel after all.  (Hands down though, Italy has the BEST food. Period. And Moroccan cuisine is to die for.) And to our amusement, we frequented McDonalds too many times for their cheap cafe, free wifi, outlets, air conditioning, and clean bathrooms.
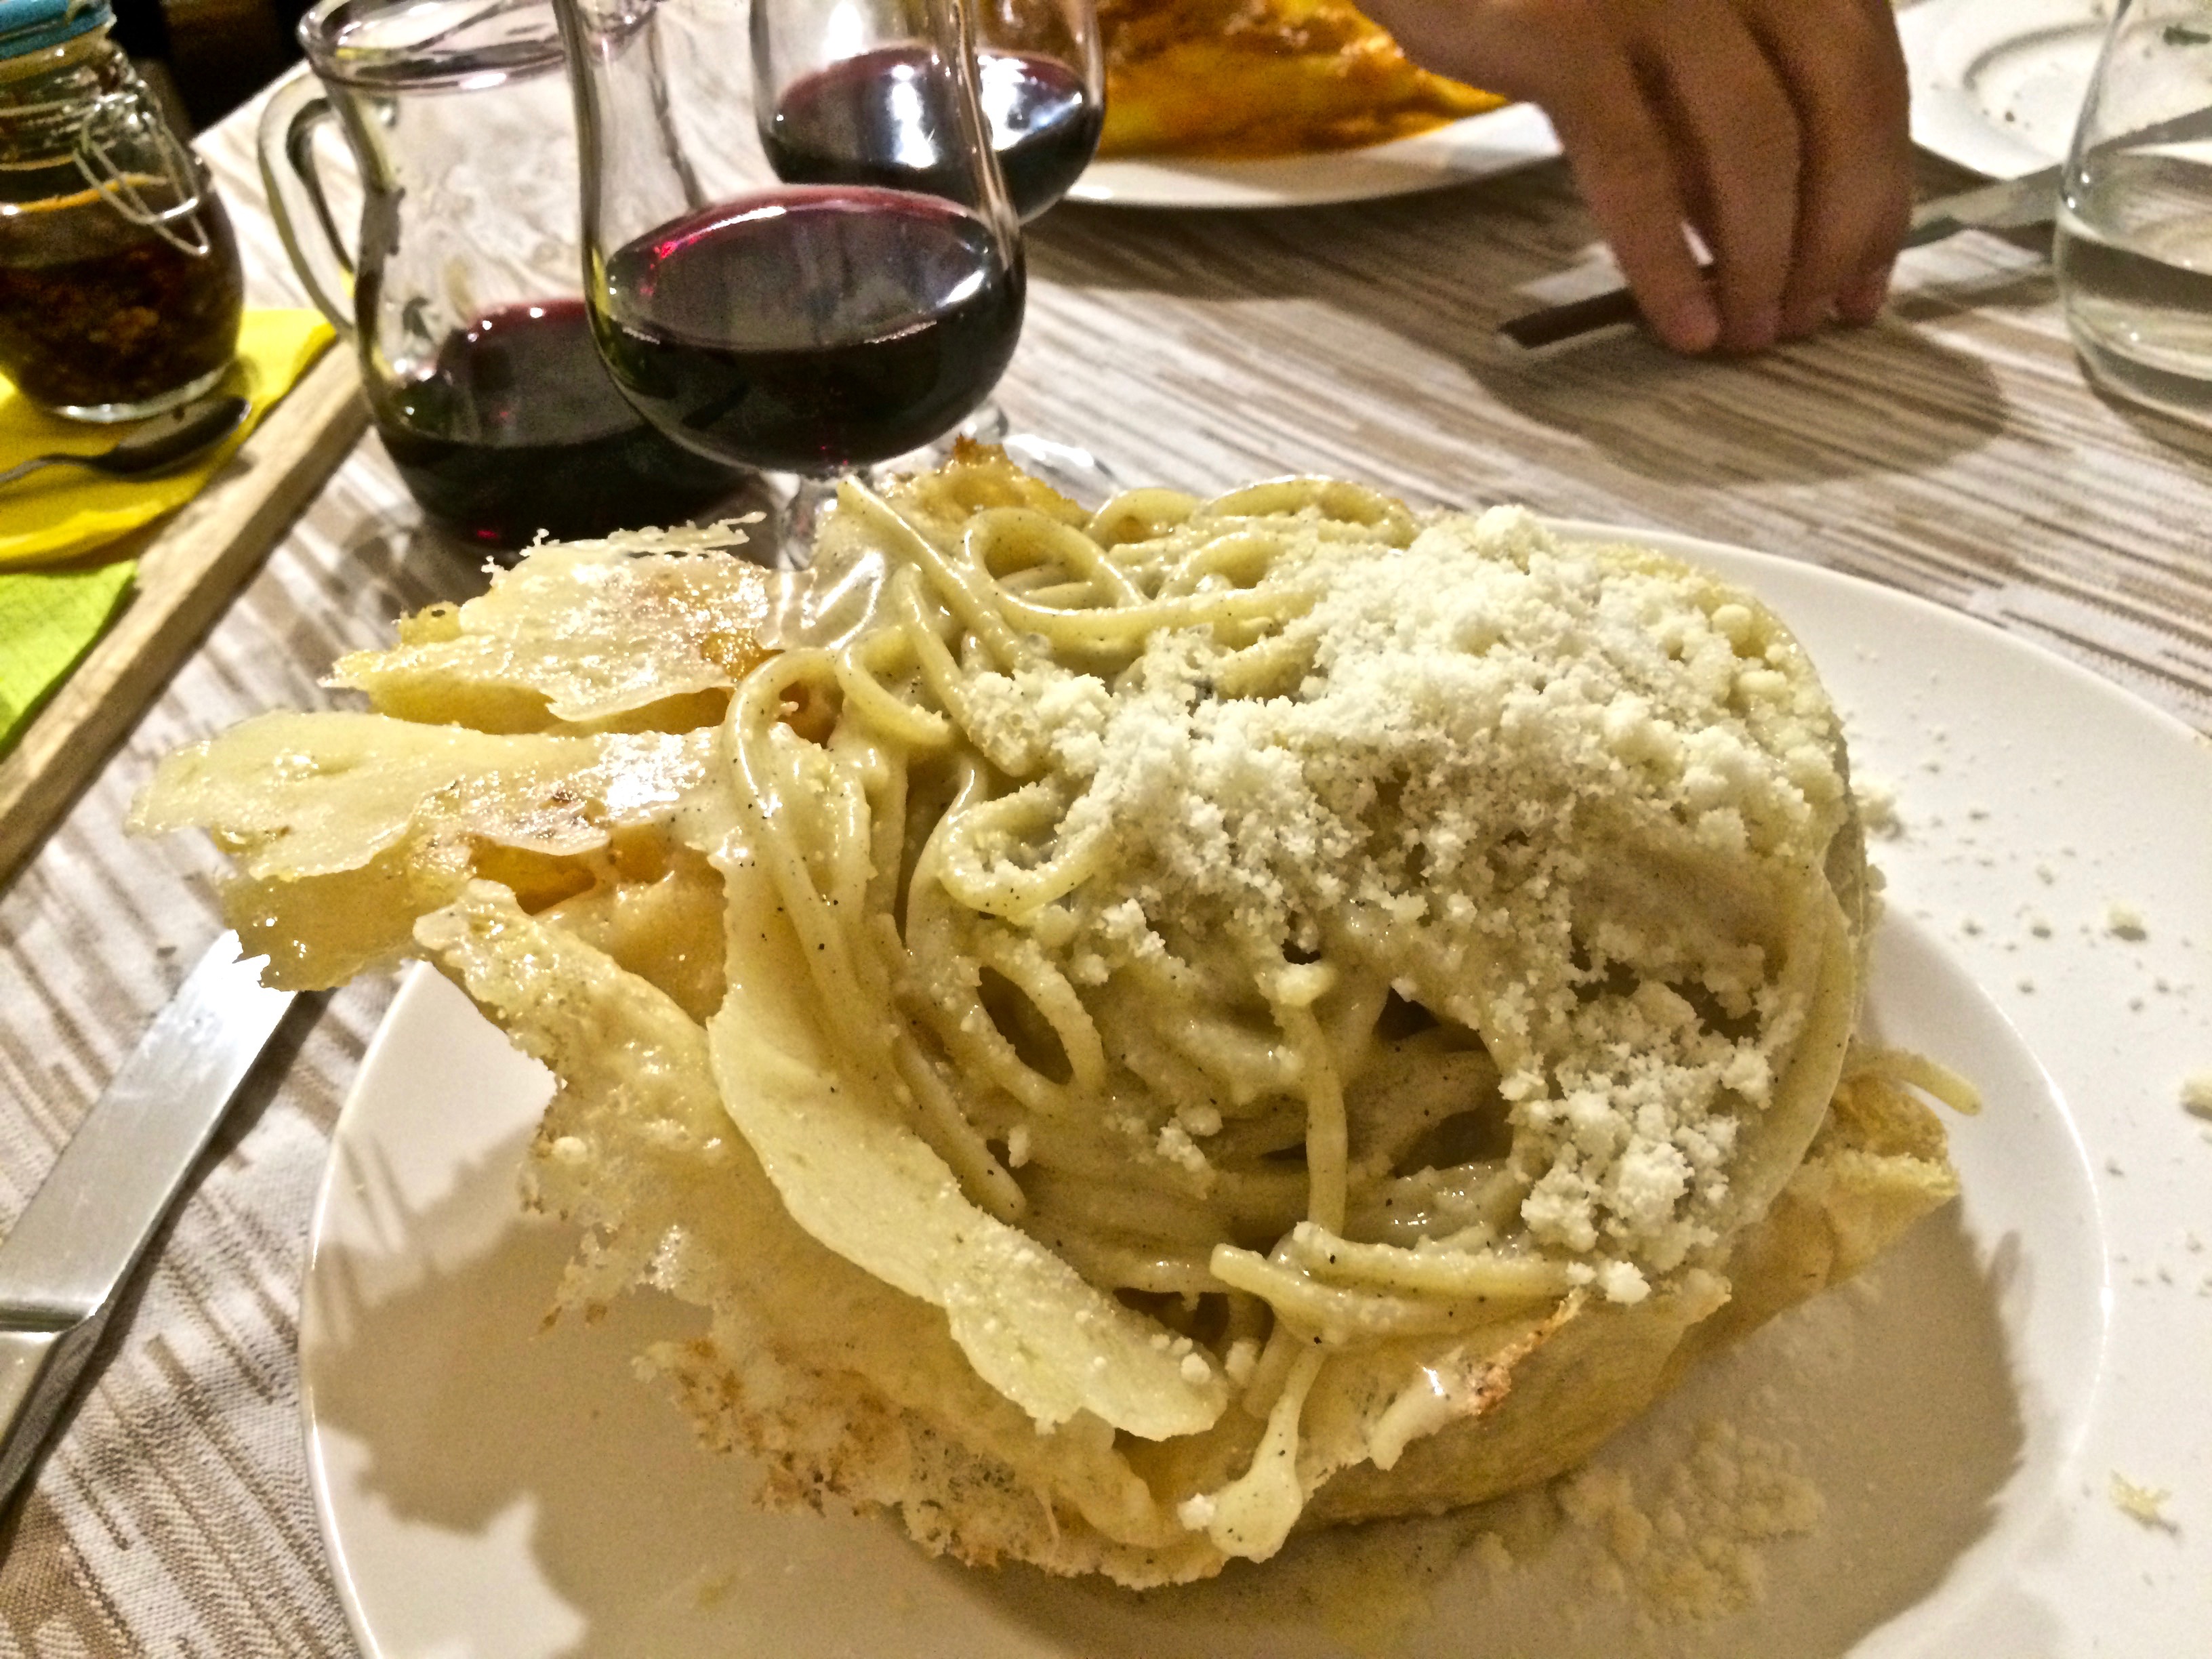
img_2052Our most memorable cacio e pepe in Sulmona, Italy. 

Entrance fees and touristy stuff (5%). $1,289
It would take multiple lifetimes to explore all of Europe’s castles, museums, churches, palaces, gardens, breweries, parliaments, and the list goes on. To be honest, less than halfway in our trip we got tired of them and only stuck to free sites and sites less frequented by tourists and their selfie sticks. We did spend the money to visit the “must-sees” such as Neuschwanstein Castle, Stonehenge Stone Circle Access, the Eiffel Tower and Louvre, Palace of Versaille, Alhambra de Granada, Park Guell and La Sagrada Familia, the Colosseum, Vatican Museum, the Acropolis, amongst other sites of significance. Some entrance fees got quite pricey and it was important to distinguish the “must-sees” from the “just something to do.”
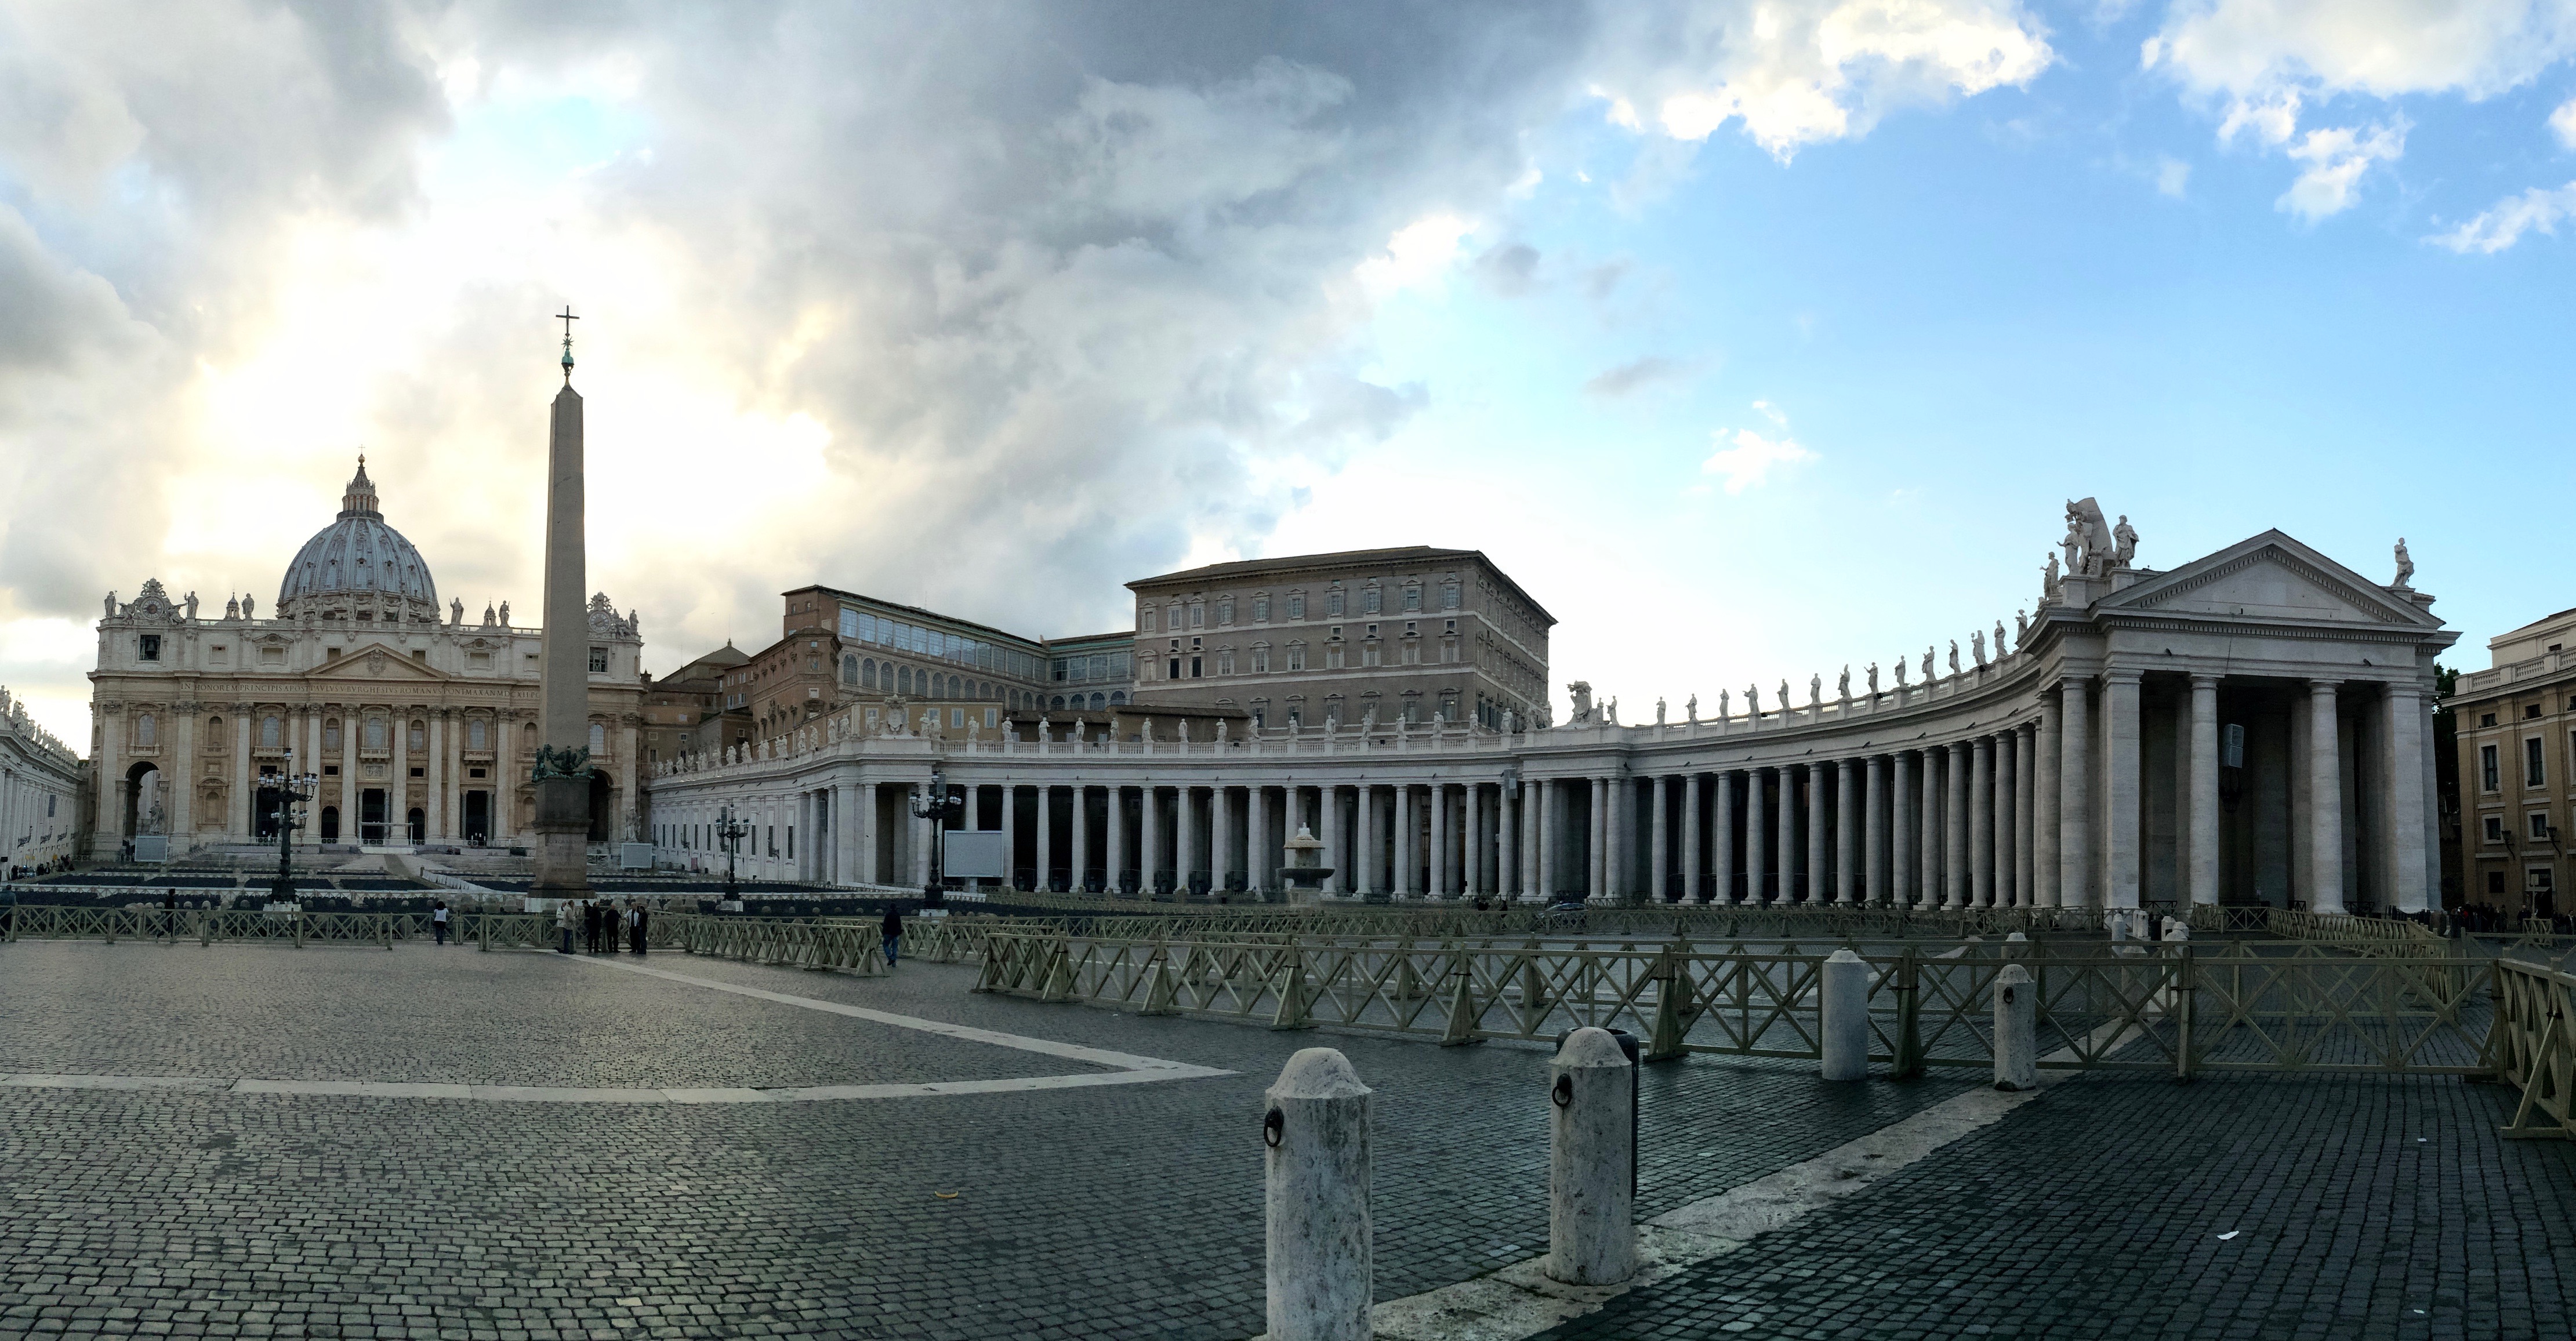
img_1865Vatican City, beautifully vacant in the evening.

And finally, the last spending category, Miscellaneous (5%). $1,298
Everything uncategorized went here. Laundry, SIM cards, night clubs, souvenirs, tips, scuba diving, a music festival, beach towels, you name it.
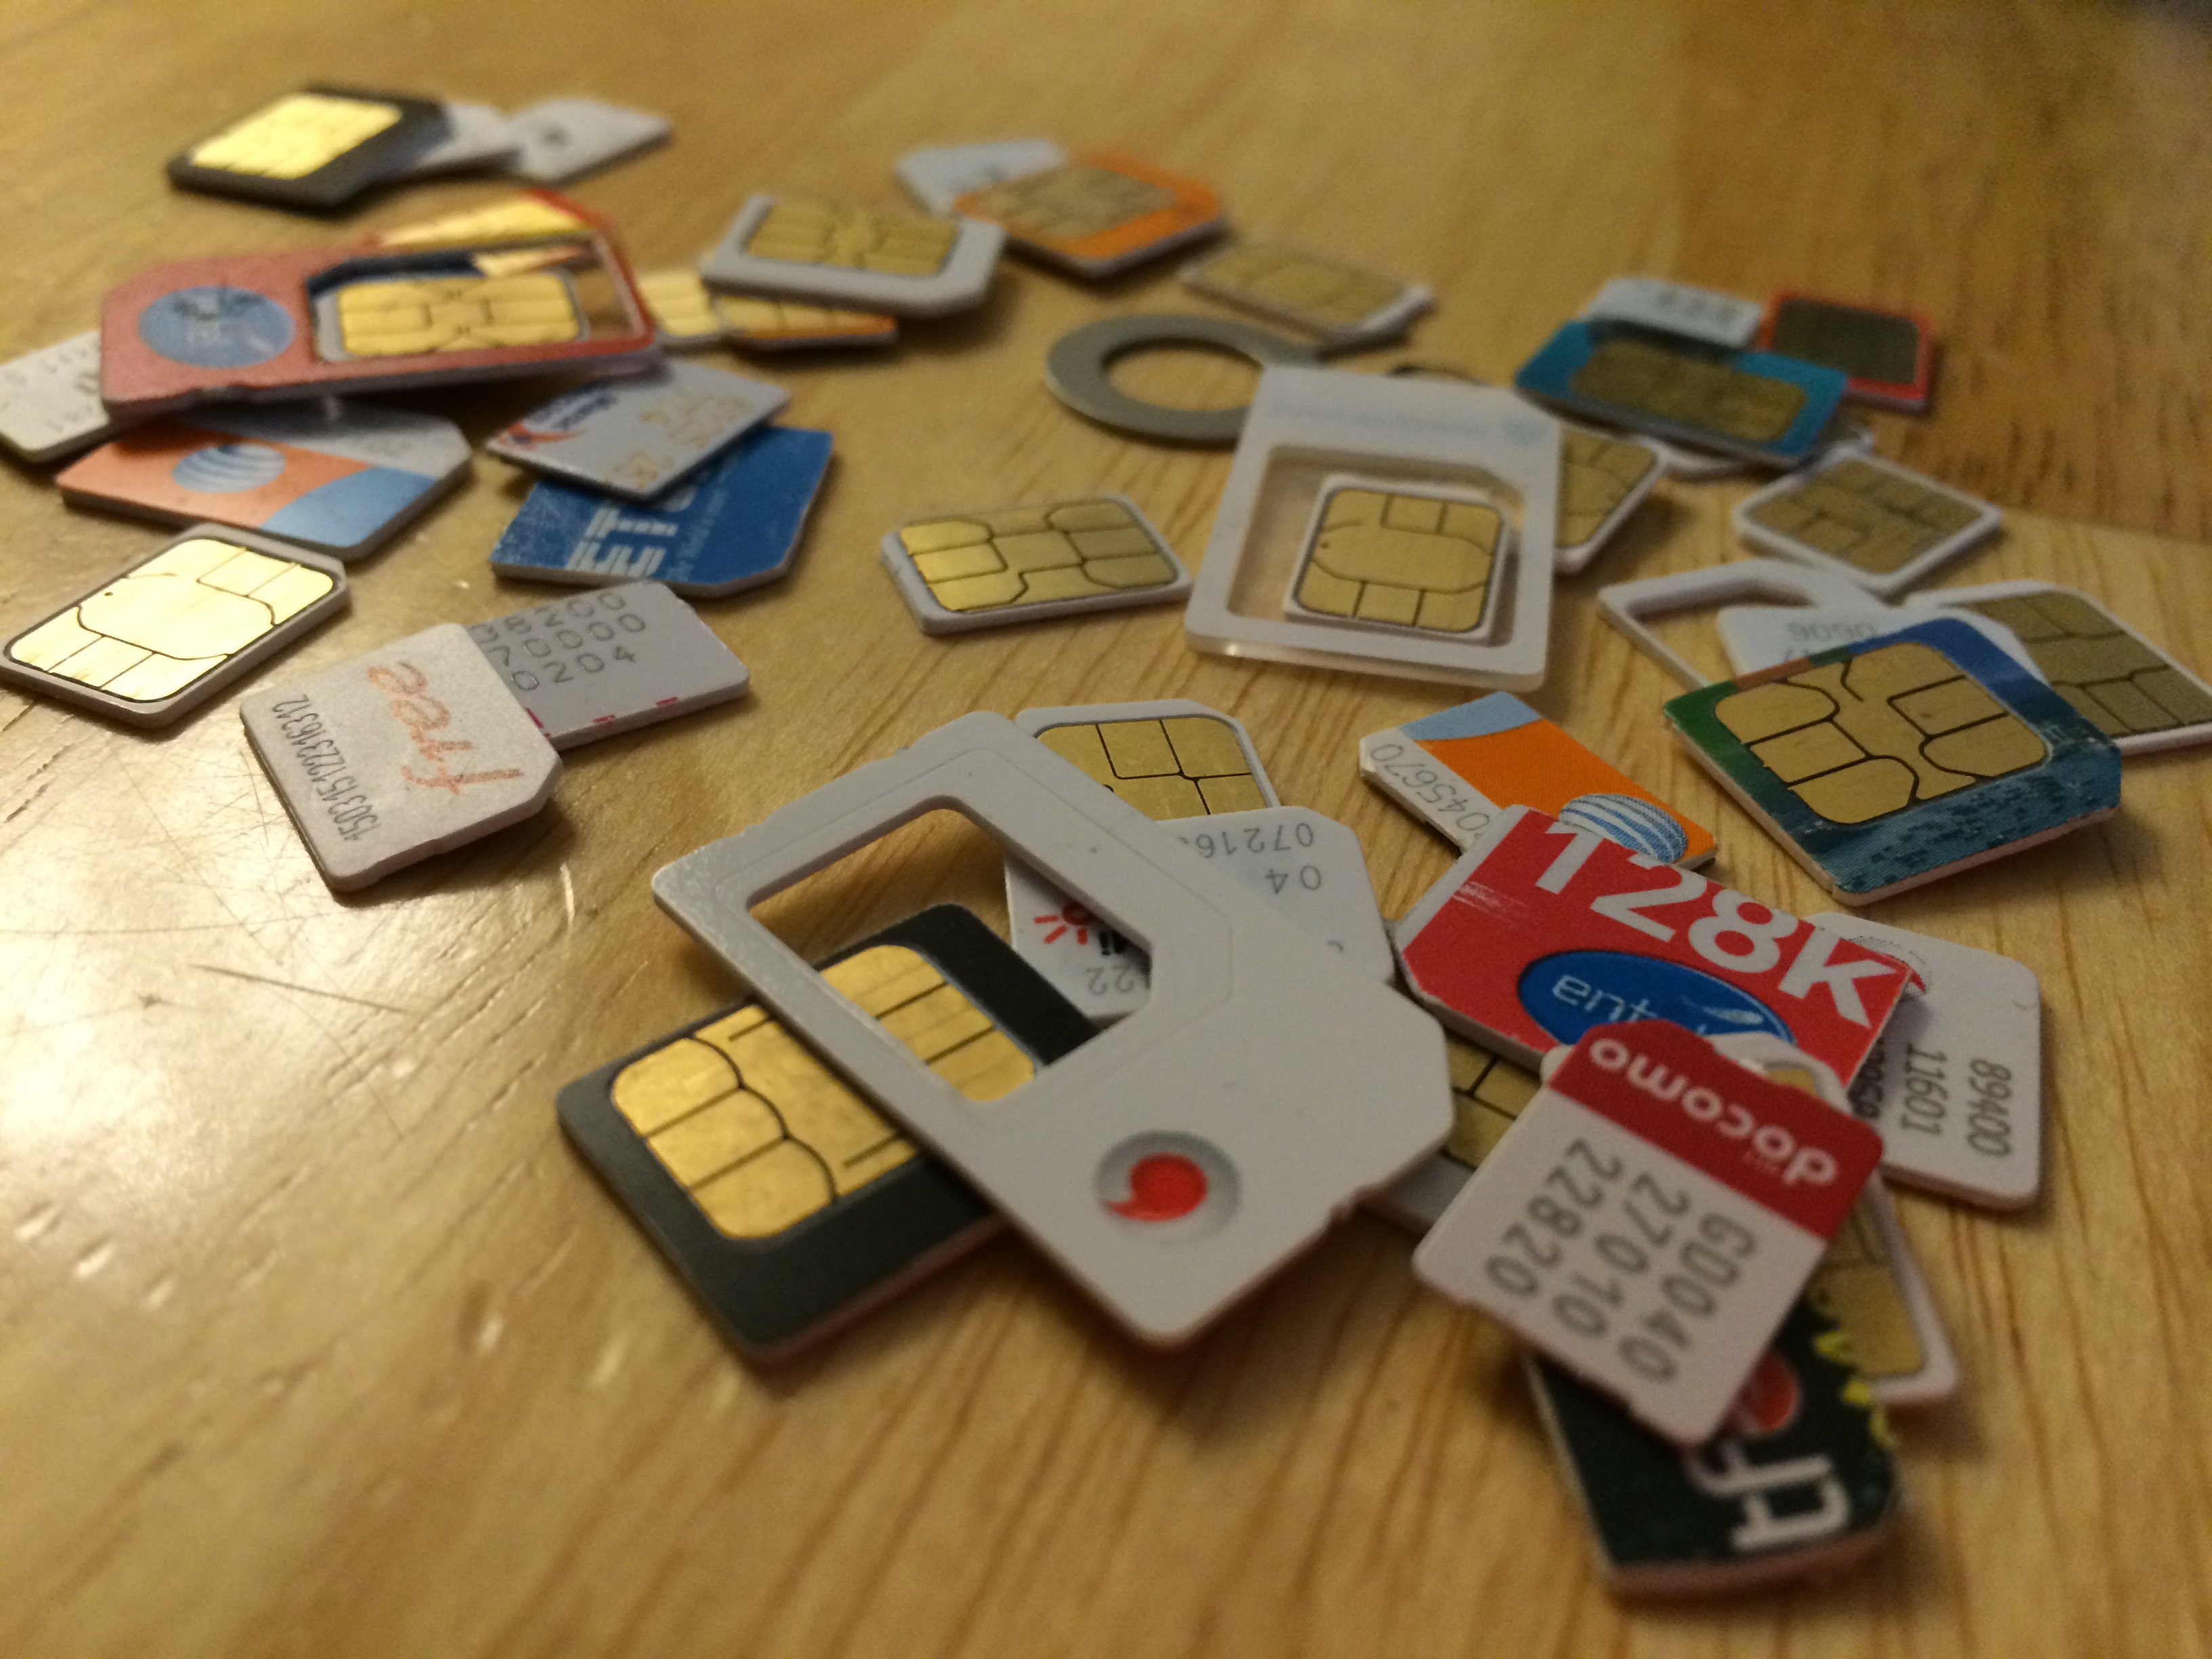
img_5237Our collection of SIM cards.

***

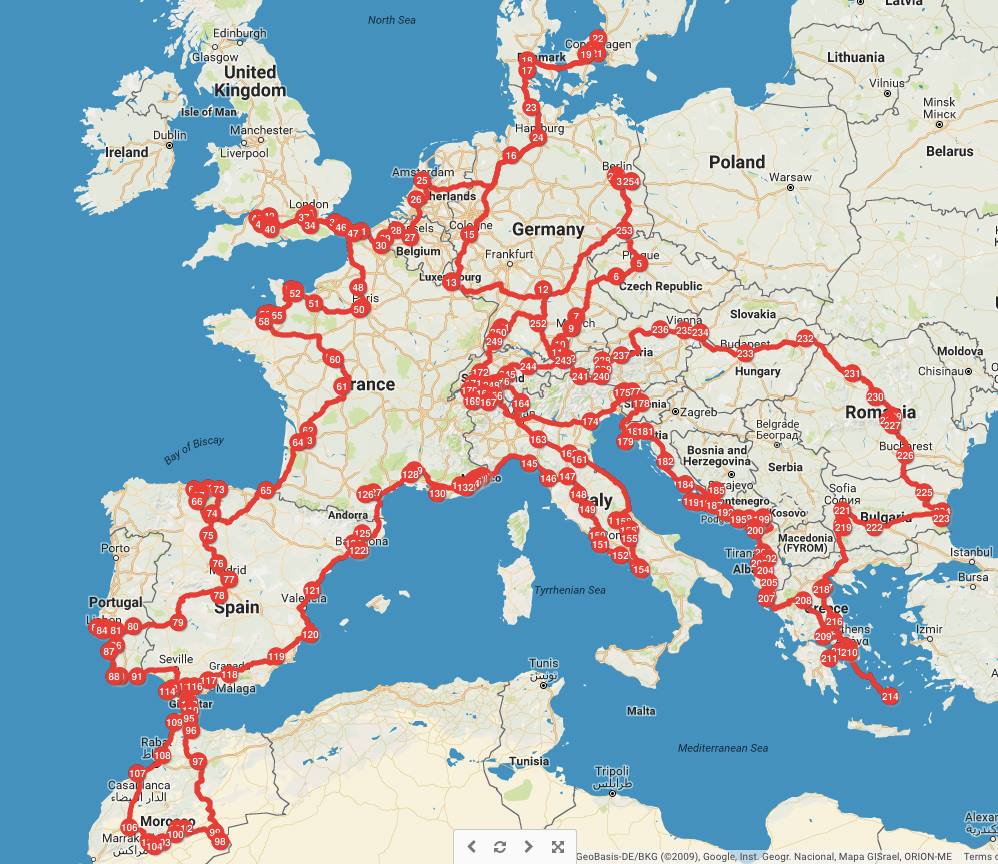
Obviously, traveling around Europe required more money than traveling around Southeast Asia, but traveling by motorhome reduced the costs significantly and made it surprisingly affordable at $67 per person per day. Again, had we sold the motorhome for the same price we purchased it for, the cost would have dropped to $50 per person per day.  Considering our 5.5 month backpacking trip in Latin America in 2015 without a motorhome also cost us around $24,000, I like to think we did a damn good job at spending our money wisely in a region with a higher cost and quality of living.

Before leaving for this trip, more than one friend told me that they didn’t think I’d like Europe.  Southeast Asia and South America guaranteed uncertainty and adventure, whereas Western Europe remained predictable and almost always fulfilled expectations. Contrary to belief, I fell in love with Europe.  RV’ing in Europe threw us into countless adventures we wouldn’t have otherwise faced had we backpacked Europe, stayed in hostels and hotels, and traveled by bus and train.  All our mishaps were followed by the desperate need for local help, episodes of getting lost in translation, and usually concluded with the helping hands of good ol’ warm-hearted locals, reminding us that people in general are good.  RV’ing in Europe turned out to not just be about saving money.  It was a way to see, live, understand, discover, and remember.
map

Posted in Budgeting | Tagged , , , | 1 Comment

Finding, Buying, & Selling a RV in Germany

We sure learned a lot after searching, buying, registering, driving, and living in a RV in Germany and throughout Europe, and then advertising, selling, and transferring the RV when we finished the journey.  I hope the information below helps anyone interested in embarking on an epic road trip in Europe.

But first, here are the must-do’s before leaving the U.S.:

  1. Know how to drive a manual transmission vehicle.  Chris and I had already broken the American stereotype by having previously owned manual transmission cars–Yay! Most vehicles (including RVs) in Europe are manual transmission.  I certainly didn’t see any automatic options when searching for a RV.
  2. Make sure you have a valid visa. If staying less than 90 days, then it’s not an issue, but if staying over 90 days, read and understand the Schengen zone rules for U.S. citizens.  Because we spent 6+ months in Europe, we solved the Schengen issue by getting French long term stay visas. That process is described here.
  3. Purchase an international driver’s license, available for $15/year at a AAA office. No one ever asked to see our IDL, but we mainly bought them for insurance reasons.IMG_5169

Okay, now which country to buy in? We picked Germany for the following reasons:

  1. Compared to other countries, there seems to be the most online resources for Germany.  I don’t understand why. With all the useful information, tips, and help online, it made easier to find answers to my questions.
  2. The UK was also another popular country to purchase a RV, but it is much cheaper to buy a RV in Germany (euros) than in the UK (pounds).  When comparing prices and doing money conversions in early 2016, we saw that buying a RV in Germany would easily save us at least $1,000.
  3. German RV’s and vehicles are all left-hand drive–important if driving all around Europe!
  4. There are plenty of options!  Germans are known to embrace the outdoor life; it is no surprise that RV culture in Germany is strong.
  5. Perhaps the only plus side to buying in the UK is that everyone speaks English, but at least a large percentage of Germans (roughly 40%) speak English.
  6. We had a free place to stay in Berlin while searching for a RV.  A Berliner friend of ours was out of town and offered up his apartment to us.  I know most people won’t be as fortunate, but this was another nice reason for us to start in Berlin.IMG_6890

What kind of RV?

  1. There is always the debate over integrated RV vs. tow vehicle (TV) + trailer. We own a TV + trailer in the states, which makes sense for us in the states because of America’s vast wilderness.  However, we knew we wanted a semi-integrated RV in Europe for obvious reasons: we didn’t want to have to buy a TV and a trailer, and we’d be driving in cities so we needed something small(ish).
  2. Diesel fueled RVs are common in Europe, which draws the question: diesel or gas? Let me tell you: DIESEL!  Not only is diesel more efficient than gas, it is also cheaper in almost all European countries. If you do end up with a diesel RV, make sure you know how to start it, drive it, and maintain it. Oil changes and air and fuel filter replacements should be done every 12-15,000 km, which may seem excessive, but we put in a lot of kilometers in a very short time.
  3. Obviously, pick a RV with options that suit your needs.  Because we were living in it for 6 months, we needed everything: bed/table configuration, 2-burner stove, fridge, heater, hot water, toilet, and shower.  We couldn’t find a motorhome with an AC (we only suffered 1-2 weeks of the entire 6 months anyway), and Chris wishes we bought a RV with power steering. rvs
How to find a RV?

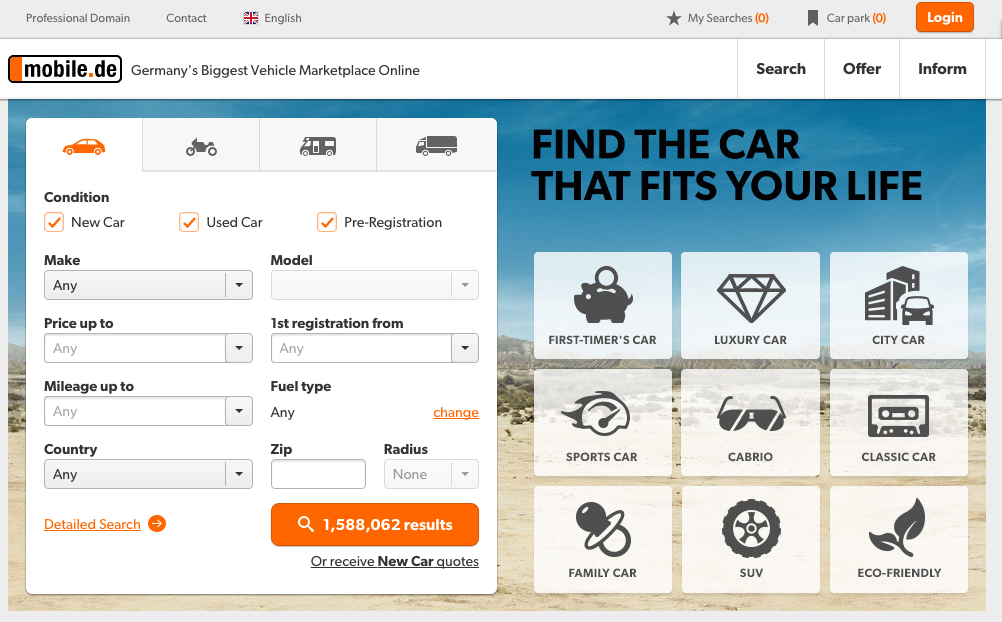
  1. Mobile.de is the most popular site.  Ebay comes close too, but mobile.de is more widely used by a long shot.
  2. On a side note, the tiny, incredible country of the Netherlands seems to have a number of businesses offering a sell and buy-back scheme of RVs to foreigners. While I have not had any first-hand experiences with any of the businesses, Happy Campers, BW Campers, and Dutch Campervans are all companies that seem to be widely used by adventurers looking to road trip Europe.  Comments on social media show that people were happy to easily purchase a RV and insurance, and hand over the keys when finished–all without the stress of finding a new buyer.  However, after a quick peek at some of these sites, I found that most of the RVs for sale were beyond our budget ($8,000+).  With the negotiable buy back of 40%-60%, we preferred to buy and sell our motorhome independently because I heard we’d be able to resell at most if not all the original cost.Screen Shot 2016-08-17 at 8.44.21 PM
Questions to ask and things to look for when shopping?

  1. Make sure the HU/AU report (nicknamed the TÜV), which is the vehicle road-worthy certificate, is still valid.  In Germany, vehicle owners must perform HU/AU inspections every 2 years.  If it passes, then the vehicle is good for the road another 2 years.  If it doesn’t pass, you’ll have to repair the damages listed on the report, and redo the inspection.  The inspection alone costs 100€+. If the vehicle of interest has a HU/AU report that lasts the duration if your travel, then that’s perfect!  If the vehicle of interest has a HU/AU report that will expire during your travels, you’ll need to consider if doing the report yourself + paying for the costs of possible repairs would be worth your time.  If the vehicle of interest has an expired HU/AU report, DO NOT BUY IT. Chances are there is something wrong with it, and the owner doesn’t want to deal with the repairs.
  2. Like with any vehicle, try to find one with low mileage. You’ll be putting thousands of kilometers more in the RV, which you’ll need to consider when reselling.
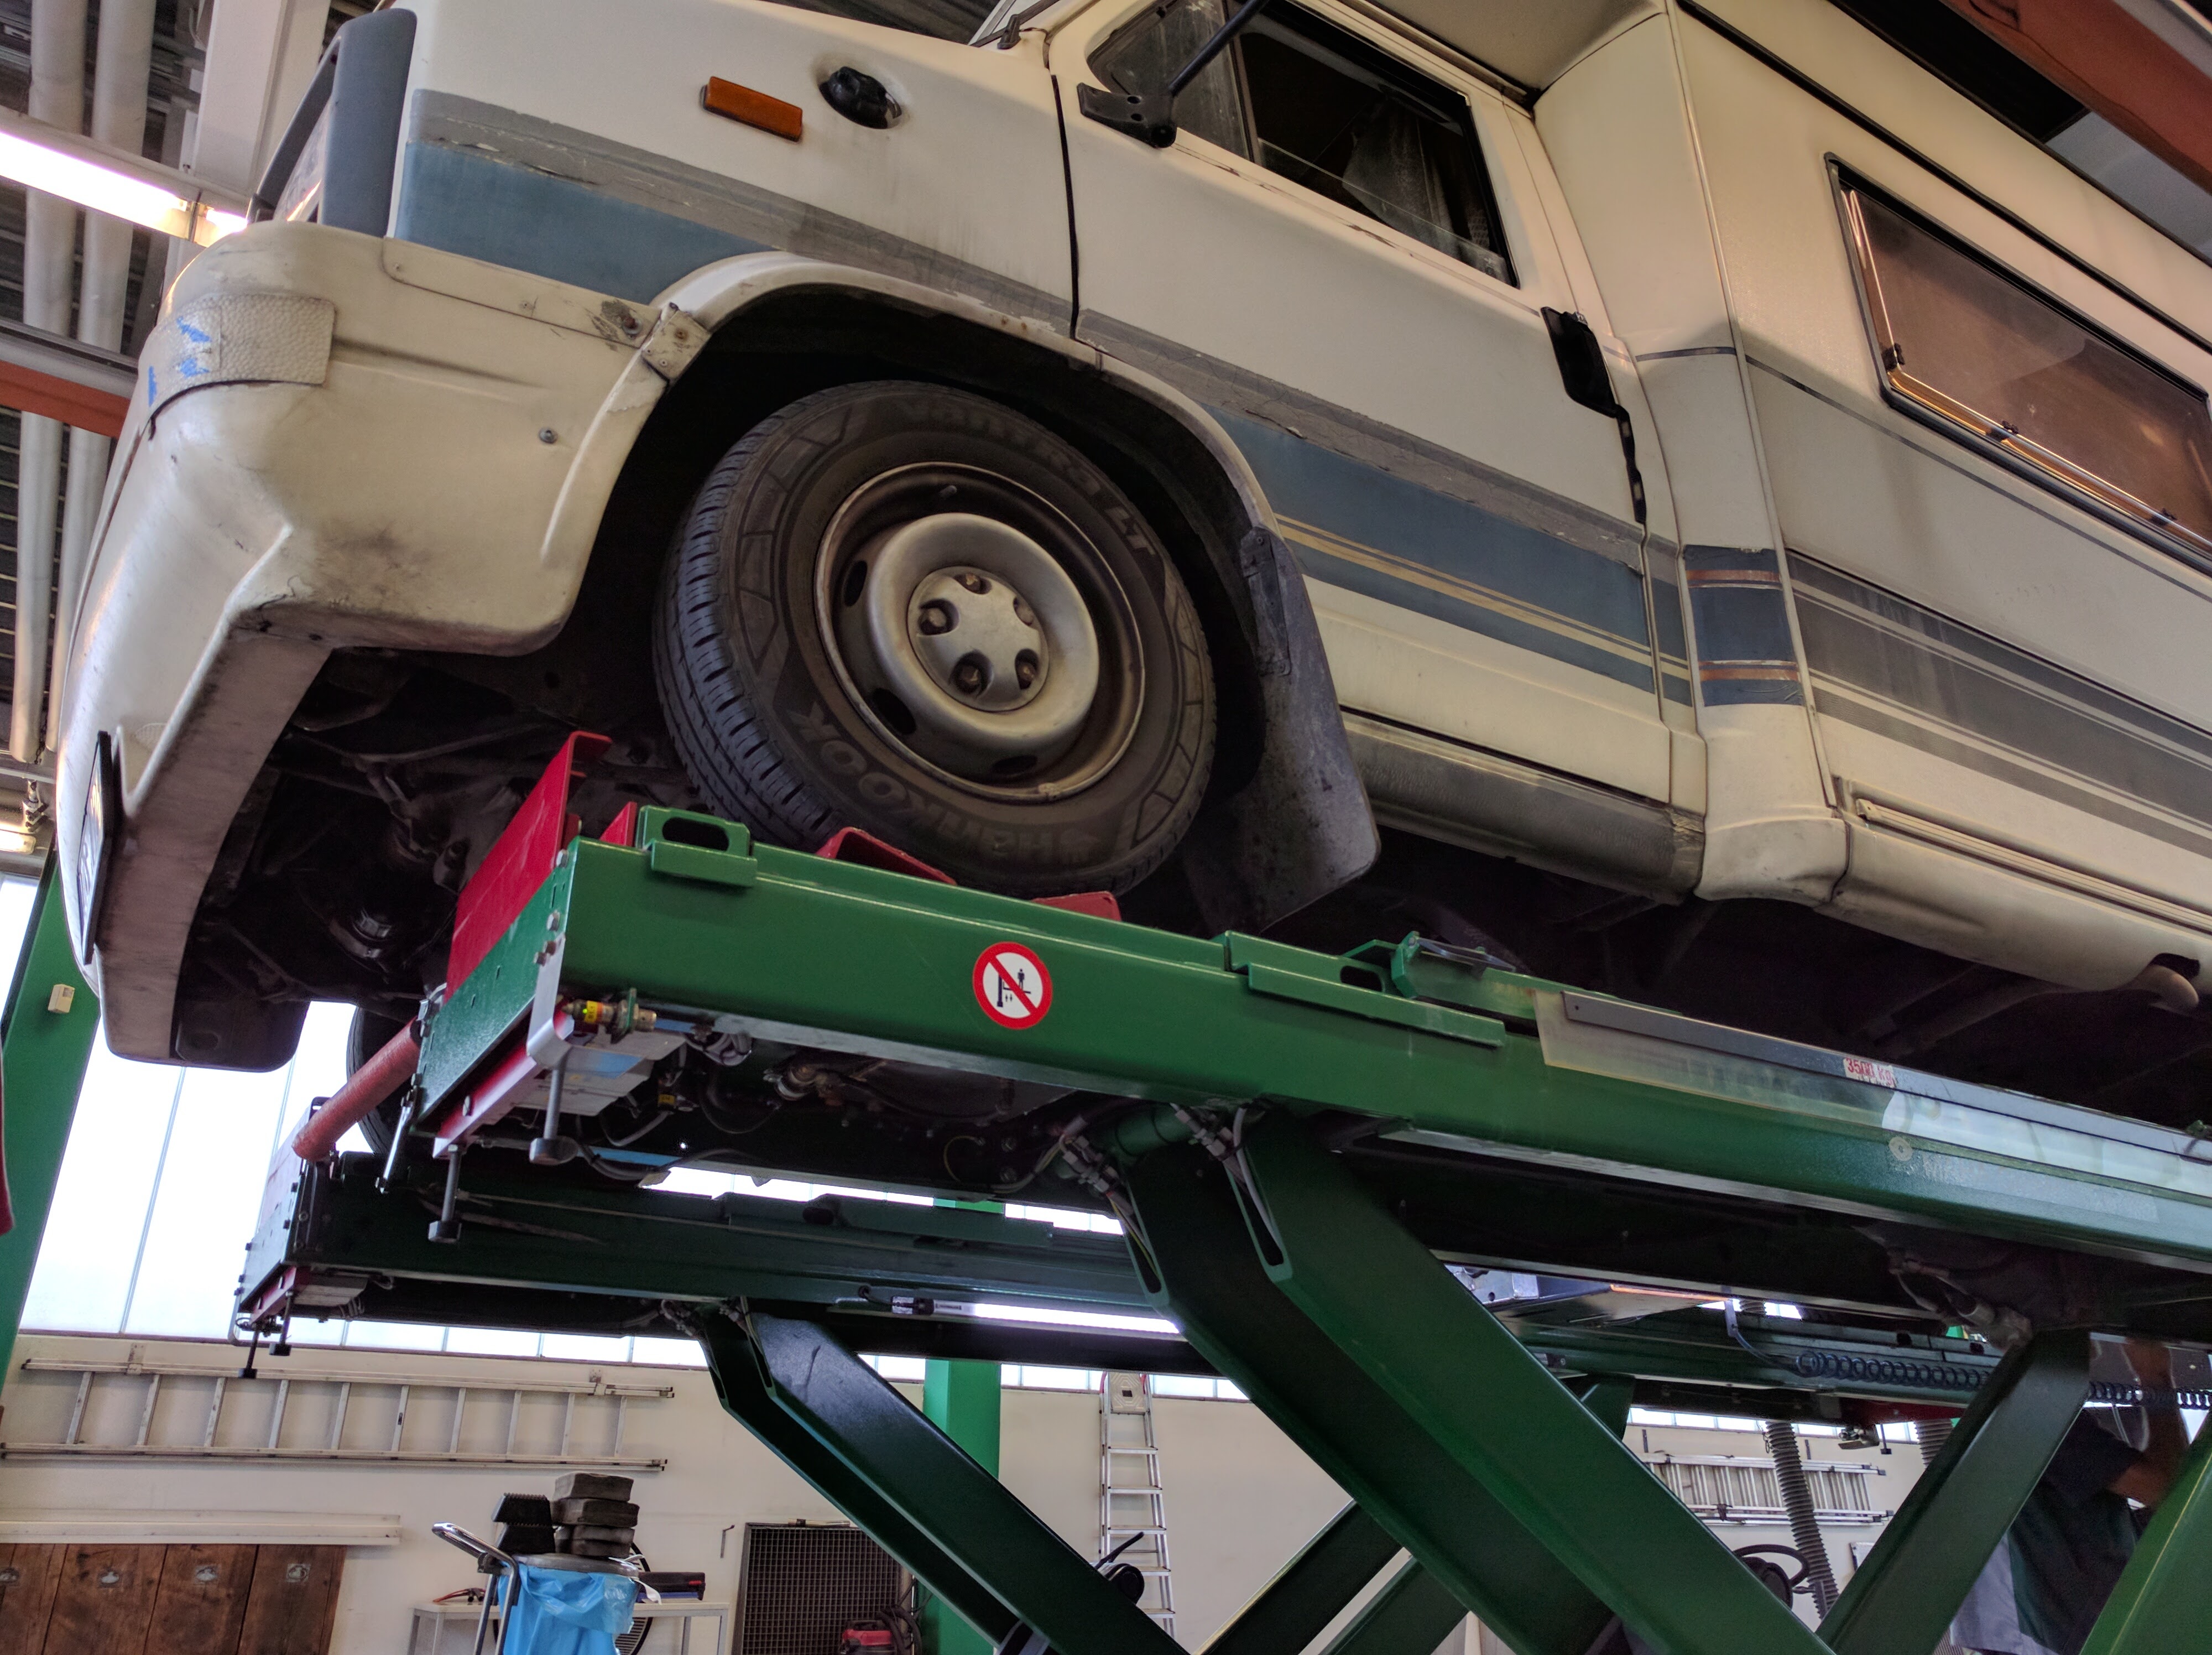
  3. In addition to making sure that all the appliances work, check for rust/damage beneath the vehicle!!! Unfortunately we learned this the hard way.  When we took our RV in for the HU/AU inspection, we sadly discovered that the entire right side of our RV’s flooring was rotted–the previous owner didn’t tell us about this damage, nor did we look at it before buying.  We were quoted 1,500-2000€ just for the floor alone, which forced us to sell our RV at a severely reduced price.  This sucked big time, because we had plenty of interested buyers even when we listed it for the same price we bought it for.
  4. Inquire about the previous timing belt replacement. We were asked about the timing belt, or Zahnriemen, multiple times when reselling because apparently they need to be replaced every few years and it costs several hundred euros. A metal chain, or Steuerkette, is better than a timing belt.
  5. Request oil change/maintenance reports, and air/fuel filter logs for diesel fueled vehicles.  You want to buy a vehicle that has been well-taken care of.  A diesel fueled vehicle without regular air/fuel filter replacements could possibly have a damaged engine.IMG_20160802_180043

Yay, you bought the RV! Now what about insurance and registration? Germany’s insurance and registration system is a bit more complicated than what we’re used to in the U.S. The individual is not insured–the vehicle is!  We were extraordinarily lucky that our seller actually insured and registered the RV for us under his name to save us money and the hassle.  Because we sold the RV ourselves at the end of the trip we did have to make the trip to the registration office, or Zulassungsstelle.

  1. First, before registration, you must buy insurance. You’ll need to have the KFZ brief (the registration document) and the HU/AU report.  As I said earlier, we totally lucked out with our seller registering it under his name for us, which saved us at least 1000€ on insurance due to getting local “blue plates.” We paid a total of 750€ for 6 months of insurance, taxes, plates, and registration.  Most foreigners will have to get export “red plates,” or Ausfuhrkennzeichen, which seem to go for ~1000€ for 180 days of insurance.  The real trick here is finding an insurance company who will insure you for more than 90 days–outside of 90 days, it’s difficult to find.  Nondos.com however seems to offer 180-day insurance for export plates.  Once you purchase insurance, you’ll be given an insurance reference number.
  2. To register the vehicle with temporary plates, you’ll need to bring your passport/ID, insurance reference number, the KFZ brief, and the HU/AU report to the Zulassungsstelle.  Like in any DMV office, you grab a number and wait.  Once your number is called, you make your way over to the desk with the corresponding number, where you’ll find a non-English speaking government employee with no sense of humor.  We don’t speak any German, but the old lady who helped us begrudgingly made it work.
  3. You then pay the registration fee. After the paperwork is processed and signed, you’ll be given a card and directed to a pay machine, where you pay the registration fee.  The machine will spit out a receipt, which you will take back to the desk.  You’ll then be given new documents.
  4. And finally, plates! Take all your documents to a plate shop.  All plate shops around the Zulassungsstelle are for-profit companies, so you can shop around to find a better deal.  Once the documents are processed and your payment is made, the plate-maker quickly makes you your very own plates.  You then take these plates back into the office for stickers. And you’re done–the stickered plates can now be affixed to the vehicle. Whew.IMG_20160805_103115

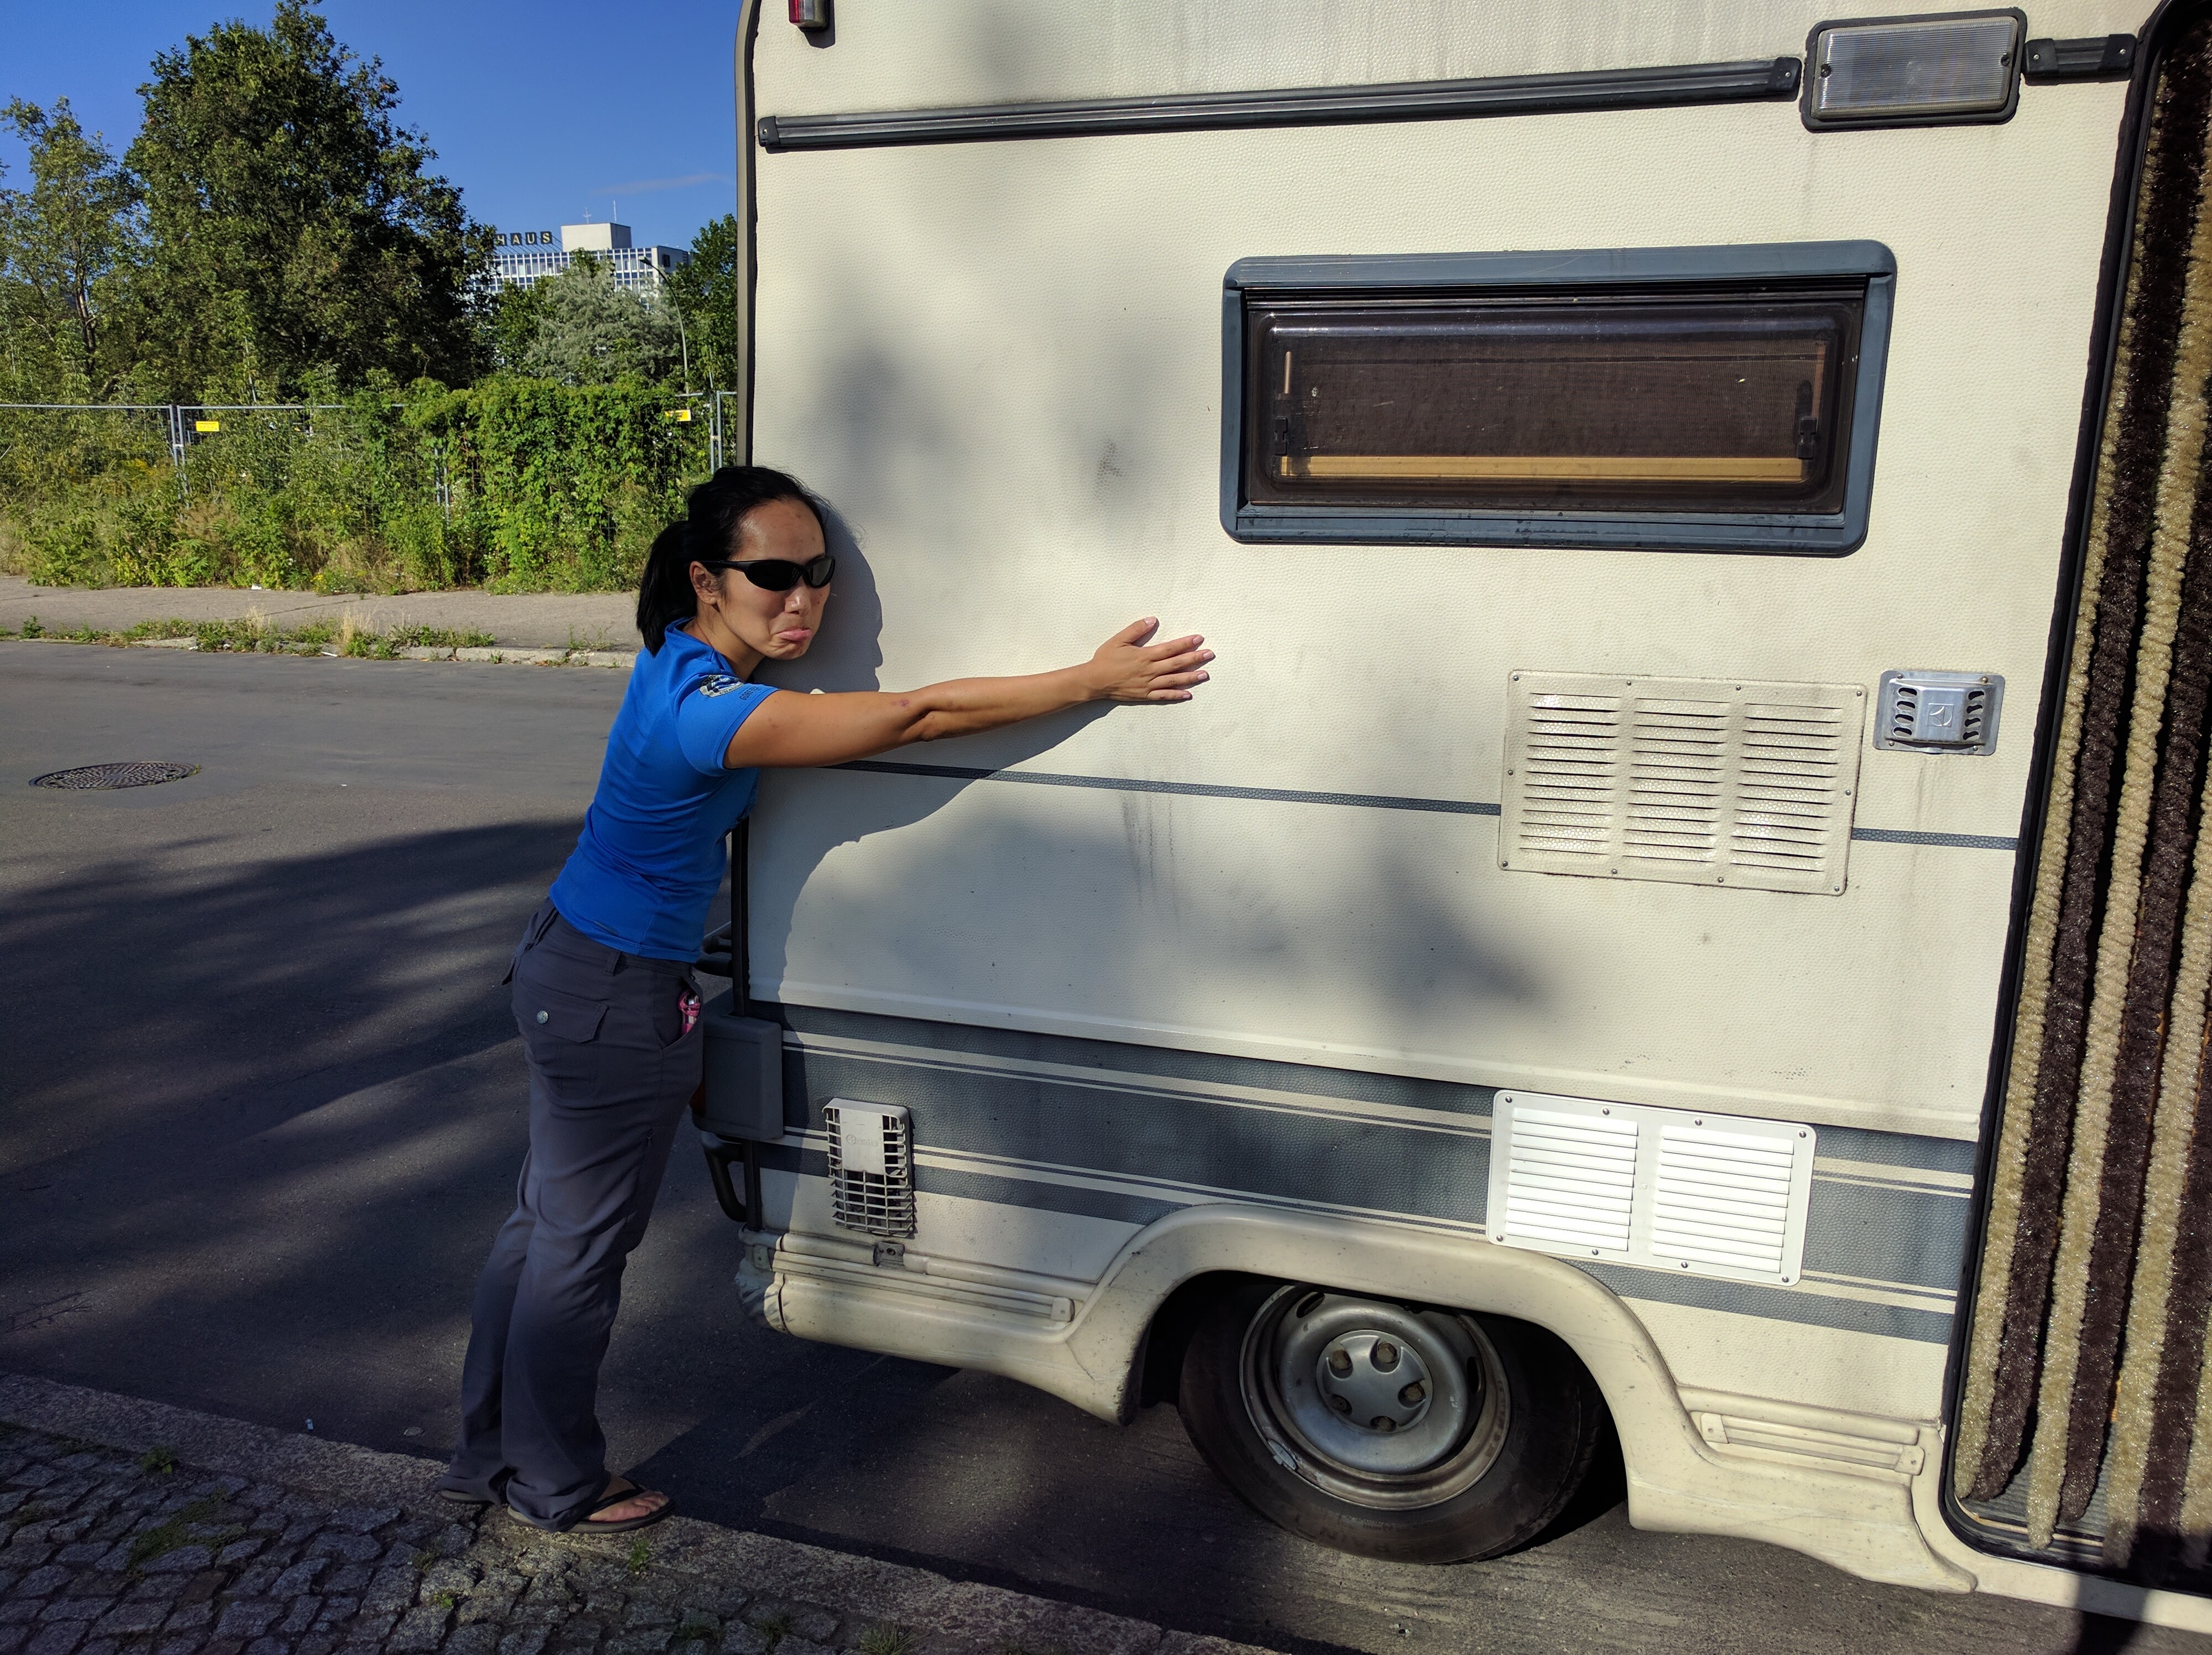
And sadly, the time will come to sell the RV. 

  1. Advertise it on mobile.de. It’s the same site I used to find the RV, and it’s free to advertise! I advertised it about a month out from selling, and I was able to meet interested buyers along our route since we were still traveling.
  2. Once you find a buyer, you’ll have to sort the deregistration/registration process with him.  Perhaps ask for a deposit, give the buyer the necessary paperwork, and the buyer can go to the Zulassungsstelle to register the vehicle himself. Because we sold our RV to a buyer who had to fly in from Spain, we went to the Zulassungsstelle to get 5-day temporary “yellow plates” for the new buyer in order for him to pick it up and leave immediately.
  3. Before handing off the RV, make sure you take lots of videos! Pictures never do justice. We took plenty of videos of our normal routine in the RV such as cooking, driving, and setting up the bed/table so we can show our friends what life was like living in the RV.IMG_20160807_171058

WOW. That was a lot of information, wasn’t it?  Most of this process can’t be learned. Instead, it is experienced with some good, ol’ hard lessons.  But hey, now that I fully understand the process of searching, buying, and selling a RV in Germany I know that next time around it’ll be much easier to do.  Hopefully you don’t end up making the same mistakes we made (by not thoroughly checking the RV for damages).  Either way, I am now more educated on the process, and fulfilled with the adventure and knowledge we gained on the road.  Next time we’ll have a better RV, and even much more time to gain new experiences.

Posted in Tips | 4 Comments

Getting A Long Stay Visa For Europe

I made an ignorant American mistake.  I assumed that with my U.S. passport, I could travel all throughout Europe visa-free, hassle-free, for as long as I wanted.  It was the last part where I was oh so very wrong.

Exactly two weeks before our departure to Berlin, Chris discovered that Americans can only travel throughout the Schengen Area (26 European countries with a common visa policy) visa-free for up to 90 days within a 180-day period.  Once the 90 days are up, they would need to exit the Schengen Area (to let’s say the UK, or even Africa) and wait at least another 90 days before re-entering the Schengen Area again.  Some countries are more lax than others when it comes to checking the dates on the passport, but violating the law at an international border that can lead to fines, an illegal immigrant stamp, and up to a 5-year ban are punishments we’d prefer to avoid.

We planned to travel throughout Europe for 6+ months and we definitely planned on spending more than just 90 days in the Schengen Area. Had we naively gone to Berlin according to plan without a visa, we would have been screwed. (Well, we’d end up skipping Spain and Portugal and spending 3 months in eastern Europe.) But after researching late into the night we read of several work arounds.

We could apply for a long term visa, which would allow us to stay and travel throughout the Schengen Area until that visa expired.  Three feasible long term visas we read about were:

1. Freelancer visa in Germany
2. Student visa in Spain
3. Long stay visitor visa (3+ months) in France

Because #1 required proof of residency, fluency in German, and a business plan, we checked out option 2.  #2 required applicants to be a full-time student at a university, which meant we’d have to apply to a school, get accepted, and pay tuition. #3 was our easiest option–all we had to do was prove we wouldn’t be a burden (wandering transients) to the French government.  I lay out the details of acquiring a French long stay visitor visa below.

First, we made an appointment at the San Francisco Consulate, only a 20-minute walk from our apartment.  When I checked on Sunday night for appointments, there were exactly 2 slots available left on Tuesday (January 26).  Our flight was Sunday, February 7.  This meant they’d only have 8.5 working days to process our visas.  The website recommended at least a 1-month time frame. Gulp.

Then we spent hours on Monday gathering all the documents needed:
1. Application and passport photo
2. Copy of passport
3. Letter of employment (or unemployment for me–I simply stated I was taking a sabbatical year)
4. Notorized letter promising not to engage in any employment in France (Locals already have a hard enough time finding jobs. France doesn’t want foreigners competing with locals in their job market.)
5. Proof of income to show you can support yourself during your entire stay in France (This may be the hardest part for most people. If it costs at least $1.5k/mo. to live in France, do the math. We asked for a 6-month visa, so we figured we’d need at least $9,000 each in our bank accounts. You can definitely include your investment accounts, 401k, and HSA/FSA accounts!)
6. Proof of medical insurance (France doesn’t want to have to cover your ass if you’re in an accident.  You better make sure you have something from World Nomads or any other comparable international insurance.)
7. Proof of accommodation (Most people I know have at least one friend in France. Chris has a friend in France, and my cousin’s husband’s mother lives in France. We used her address, telephone number, and email address.)
8. E-ticket to destination
9. Fee of $108, payable by credit card

On Tuesday morning we nervously waited at the consulate, wondering if they would simply refuse our application because it was too last minute.  We totally lucked out with an incredibly nice, helpful woman.  She made a face when she checked the calendar after we told her we were leaving on February 7, but she cheerfully told us she’d make it happen for us.  Although the consulate claims they do not offer expedite services, the woman said she’d put a rush on it for us.  “If you don’t hear from us by next Thursday, email us,” she said with a smile.

We were incredibly relieved, but we knew there was still one more hurdle: approval! After all, if there were somehow any kinks with our applications, we could still be denied.

Exactly 1 week after our appointments, I received an email from the French consulate stating that our visas were ready!  Had I not been inside a store when I read that email, I would’ve jumped up and down and squealed like a child.  Chris picked up our visas first thing the next day on Wednesday morning, and that very Sunday we headed out to Germany.

From what I’ve read online, it seems as if it normally takes about a week for visas to be processed and approved.  Another friend coincidentally applied for the same visa we did around the same time, and she confirmed it took the consulate about a week for her visa. Although it worked out for us, I do NOT recommend applying for the visa less than 10 days before departure.  Save yourself the stress and do it a month in advance. Maybe it was due to the low season.  We didn’t know.  But what we did know was that we now possessed the golden ticket to spending 6+ months in Europe!!!

Posted in Tips | 1 Comment

Dresden

When we started our Euro-road trip in February 2016, our first stop was Prague after buying a motorhome in Berlin. Along the way, we passed through Dresden, a city unknown to us yet big enough to be labeled on Germany’s map, and beautiful enough to lure us back upon our return to Berlin at the end of our Eurotrip.

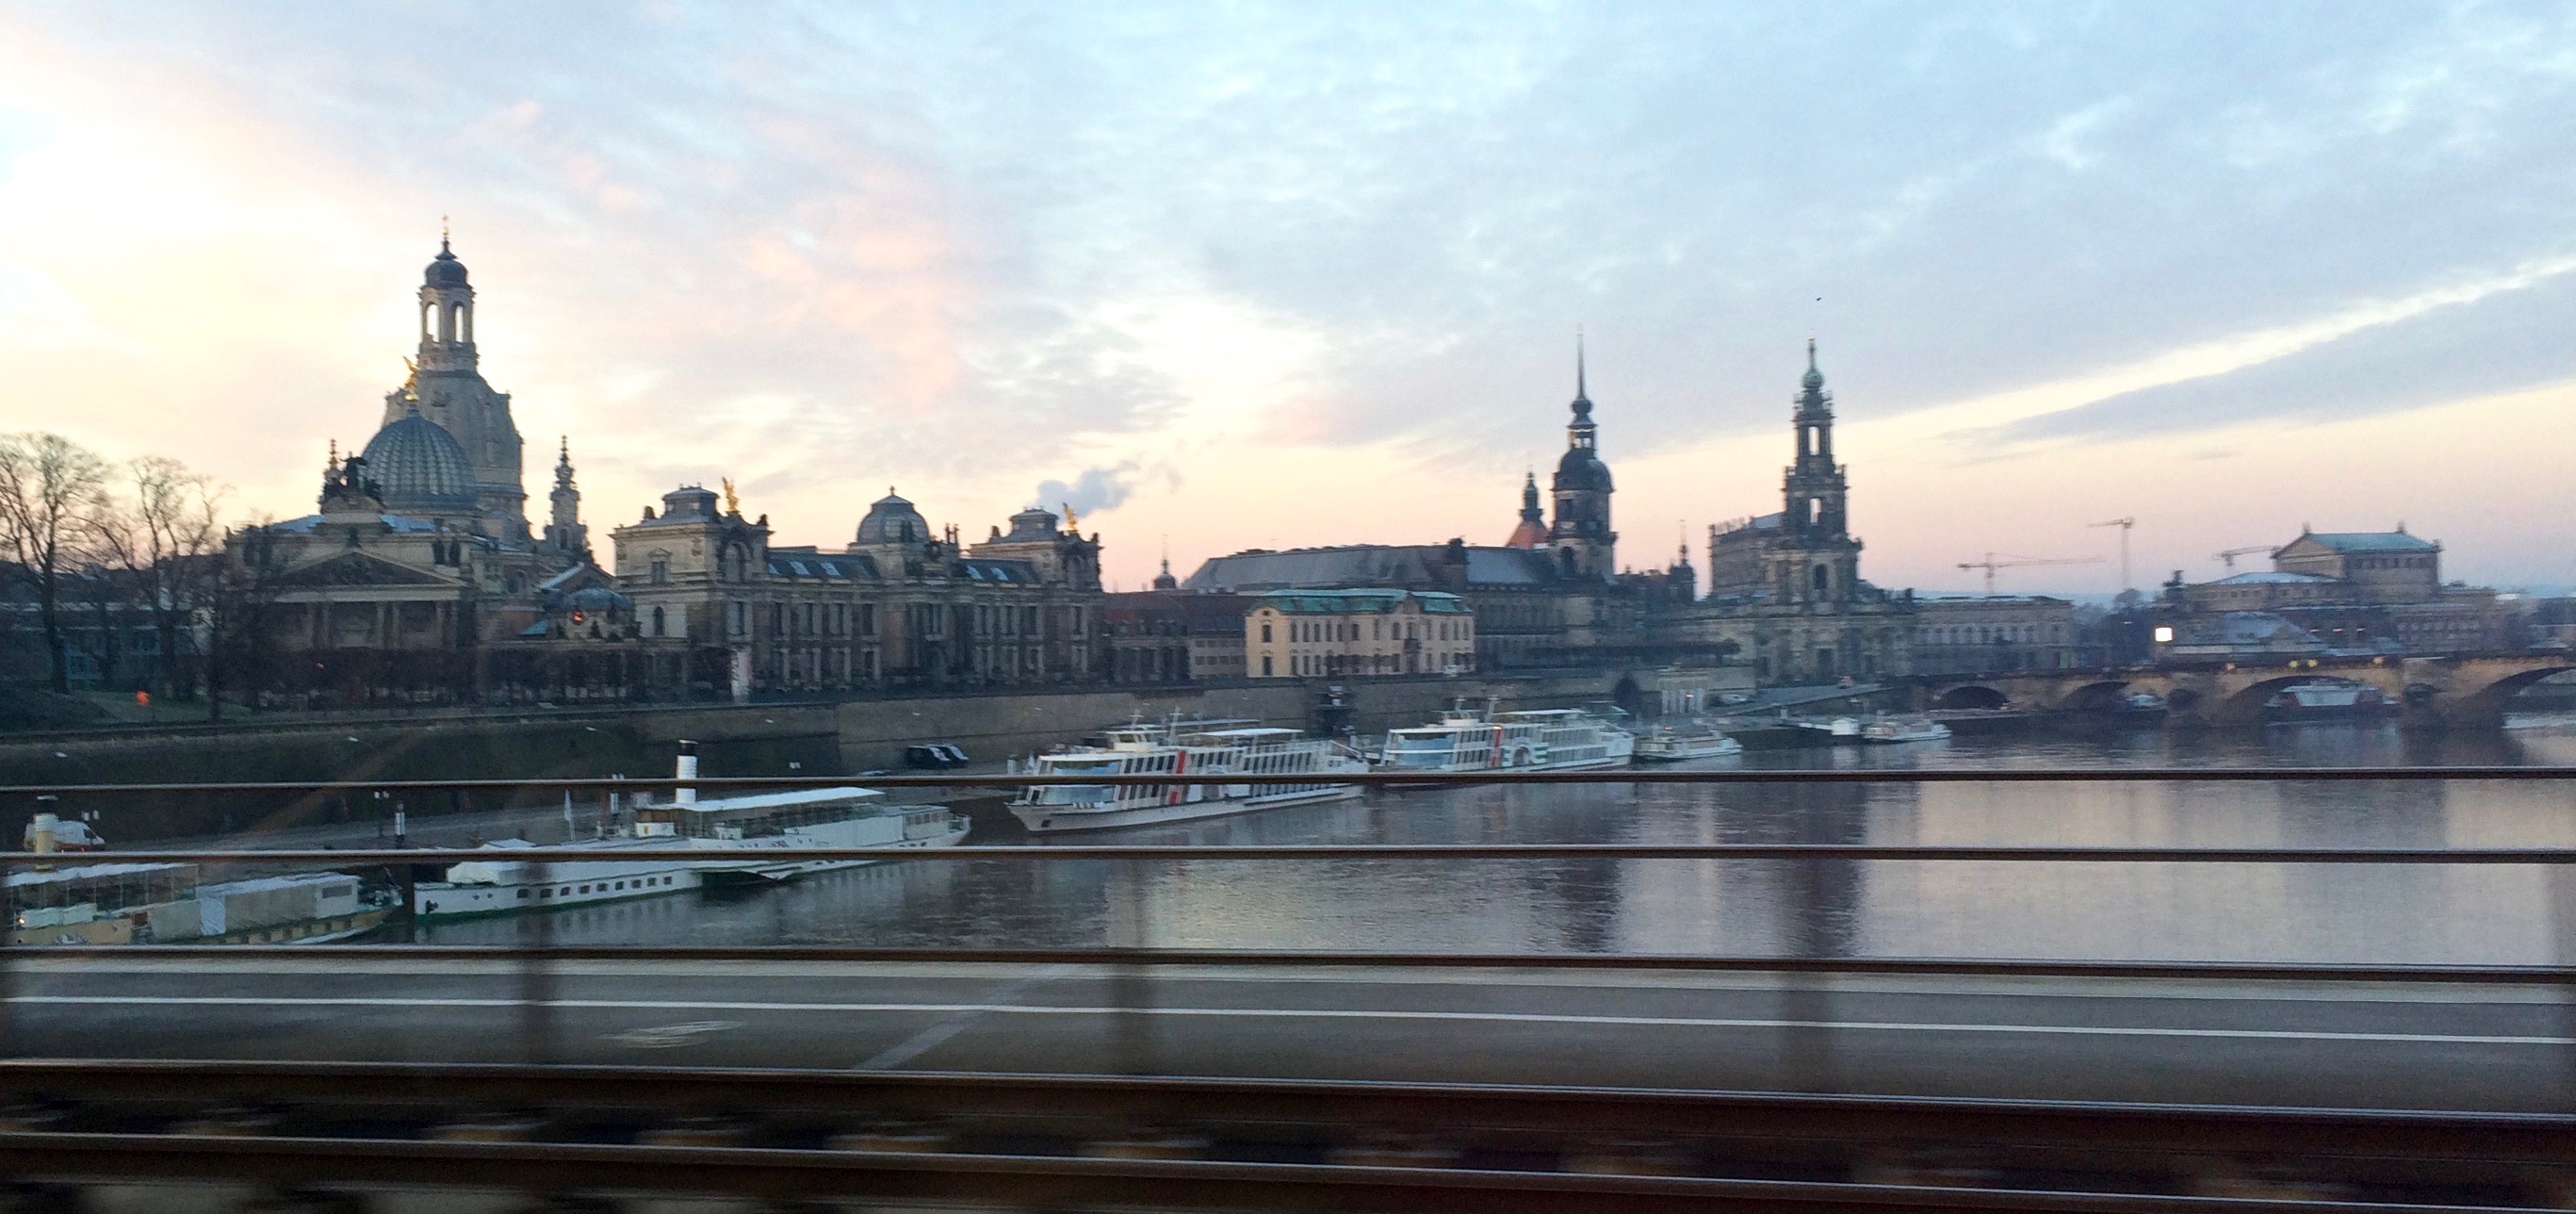
Driving through painfully cold Dresden at sunrise in February:IMG_6930

We returned in August to a warmer, livelier Dresden. Albeit shaded by Germany’s summer clouds, Dresden’s reconstructed beauty still shined. Despite the grandeur of the seemingly aged buildings, most of Dresden and all of its notable landmarks have been completely rebuilt to its original splendor since its destruction by the Allied Forces in 1945.

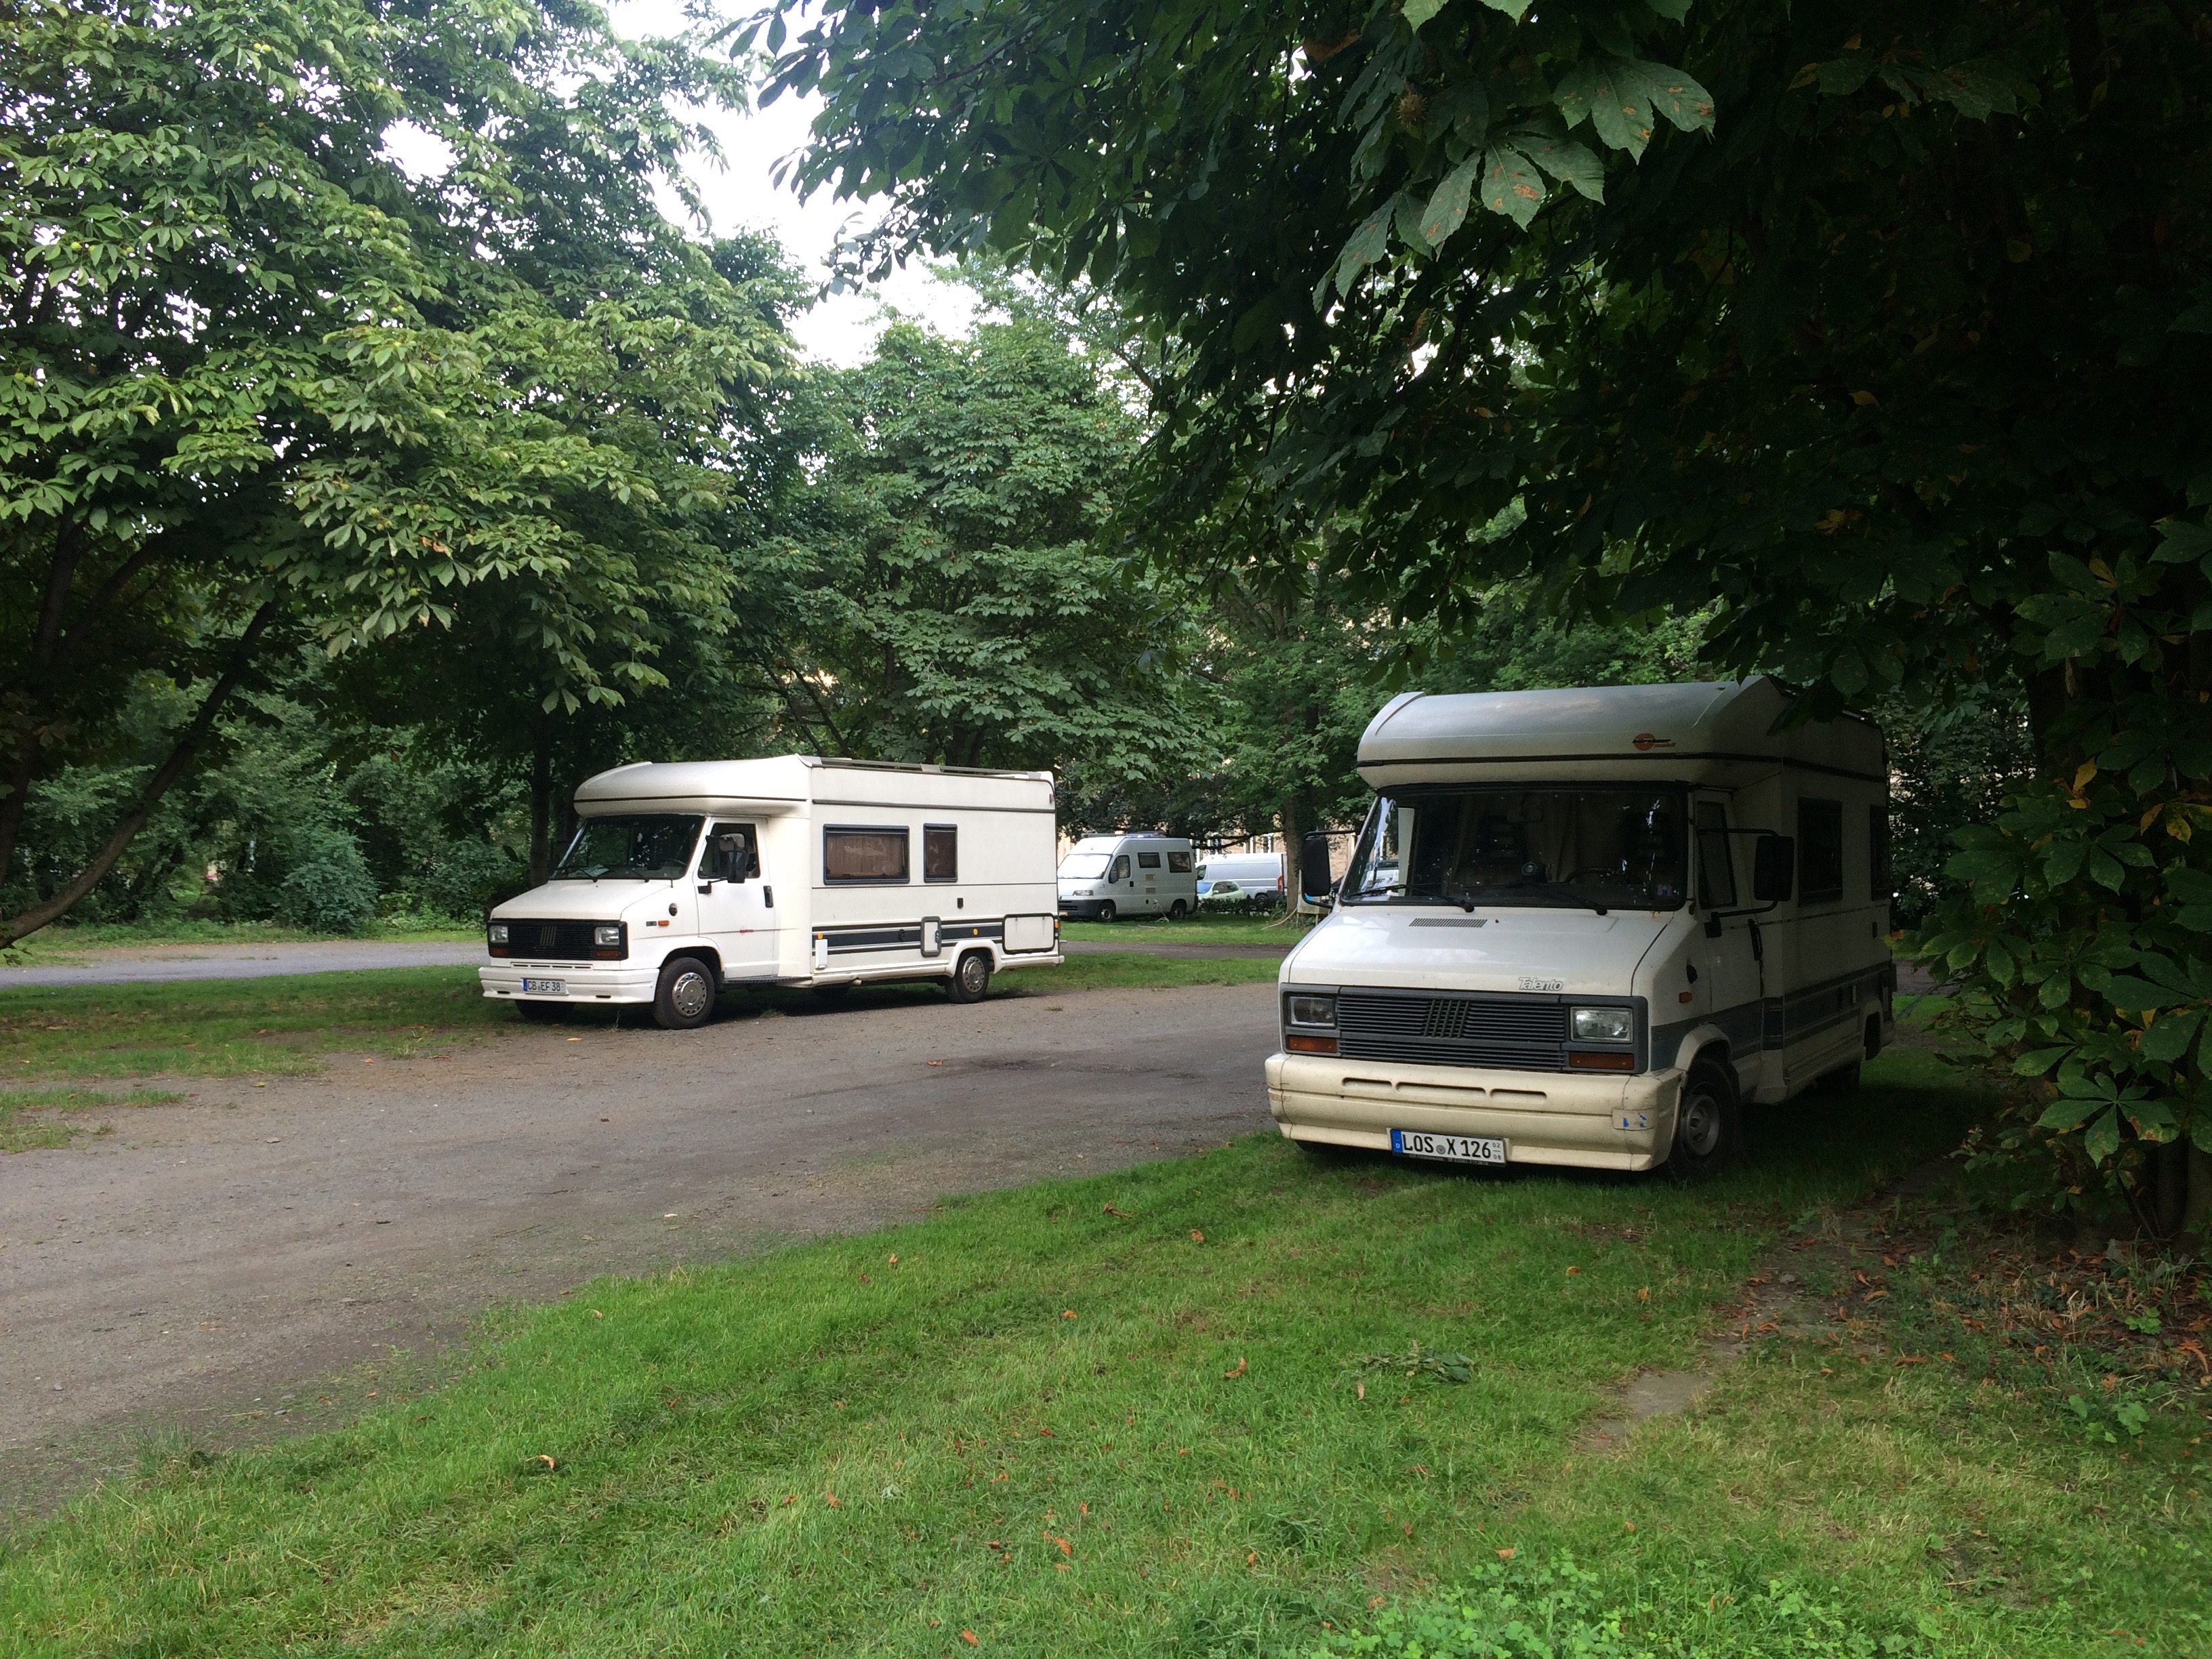
We love cities and towns that welcome motorhomes, and Dresden accommodated us perfectly. Just a 15-minute walk from the center was a large, shaded parking lot for motorhomes for €10/24 hours. A motorhome that looked similar to ours even parked right next to us.IMG_5100

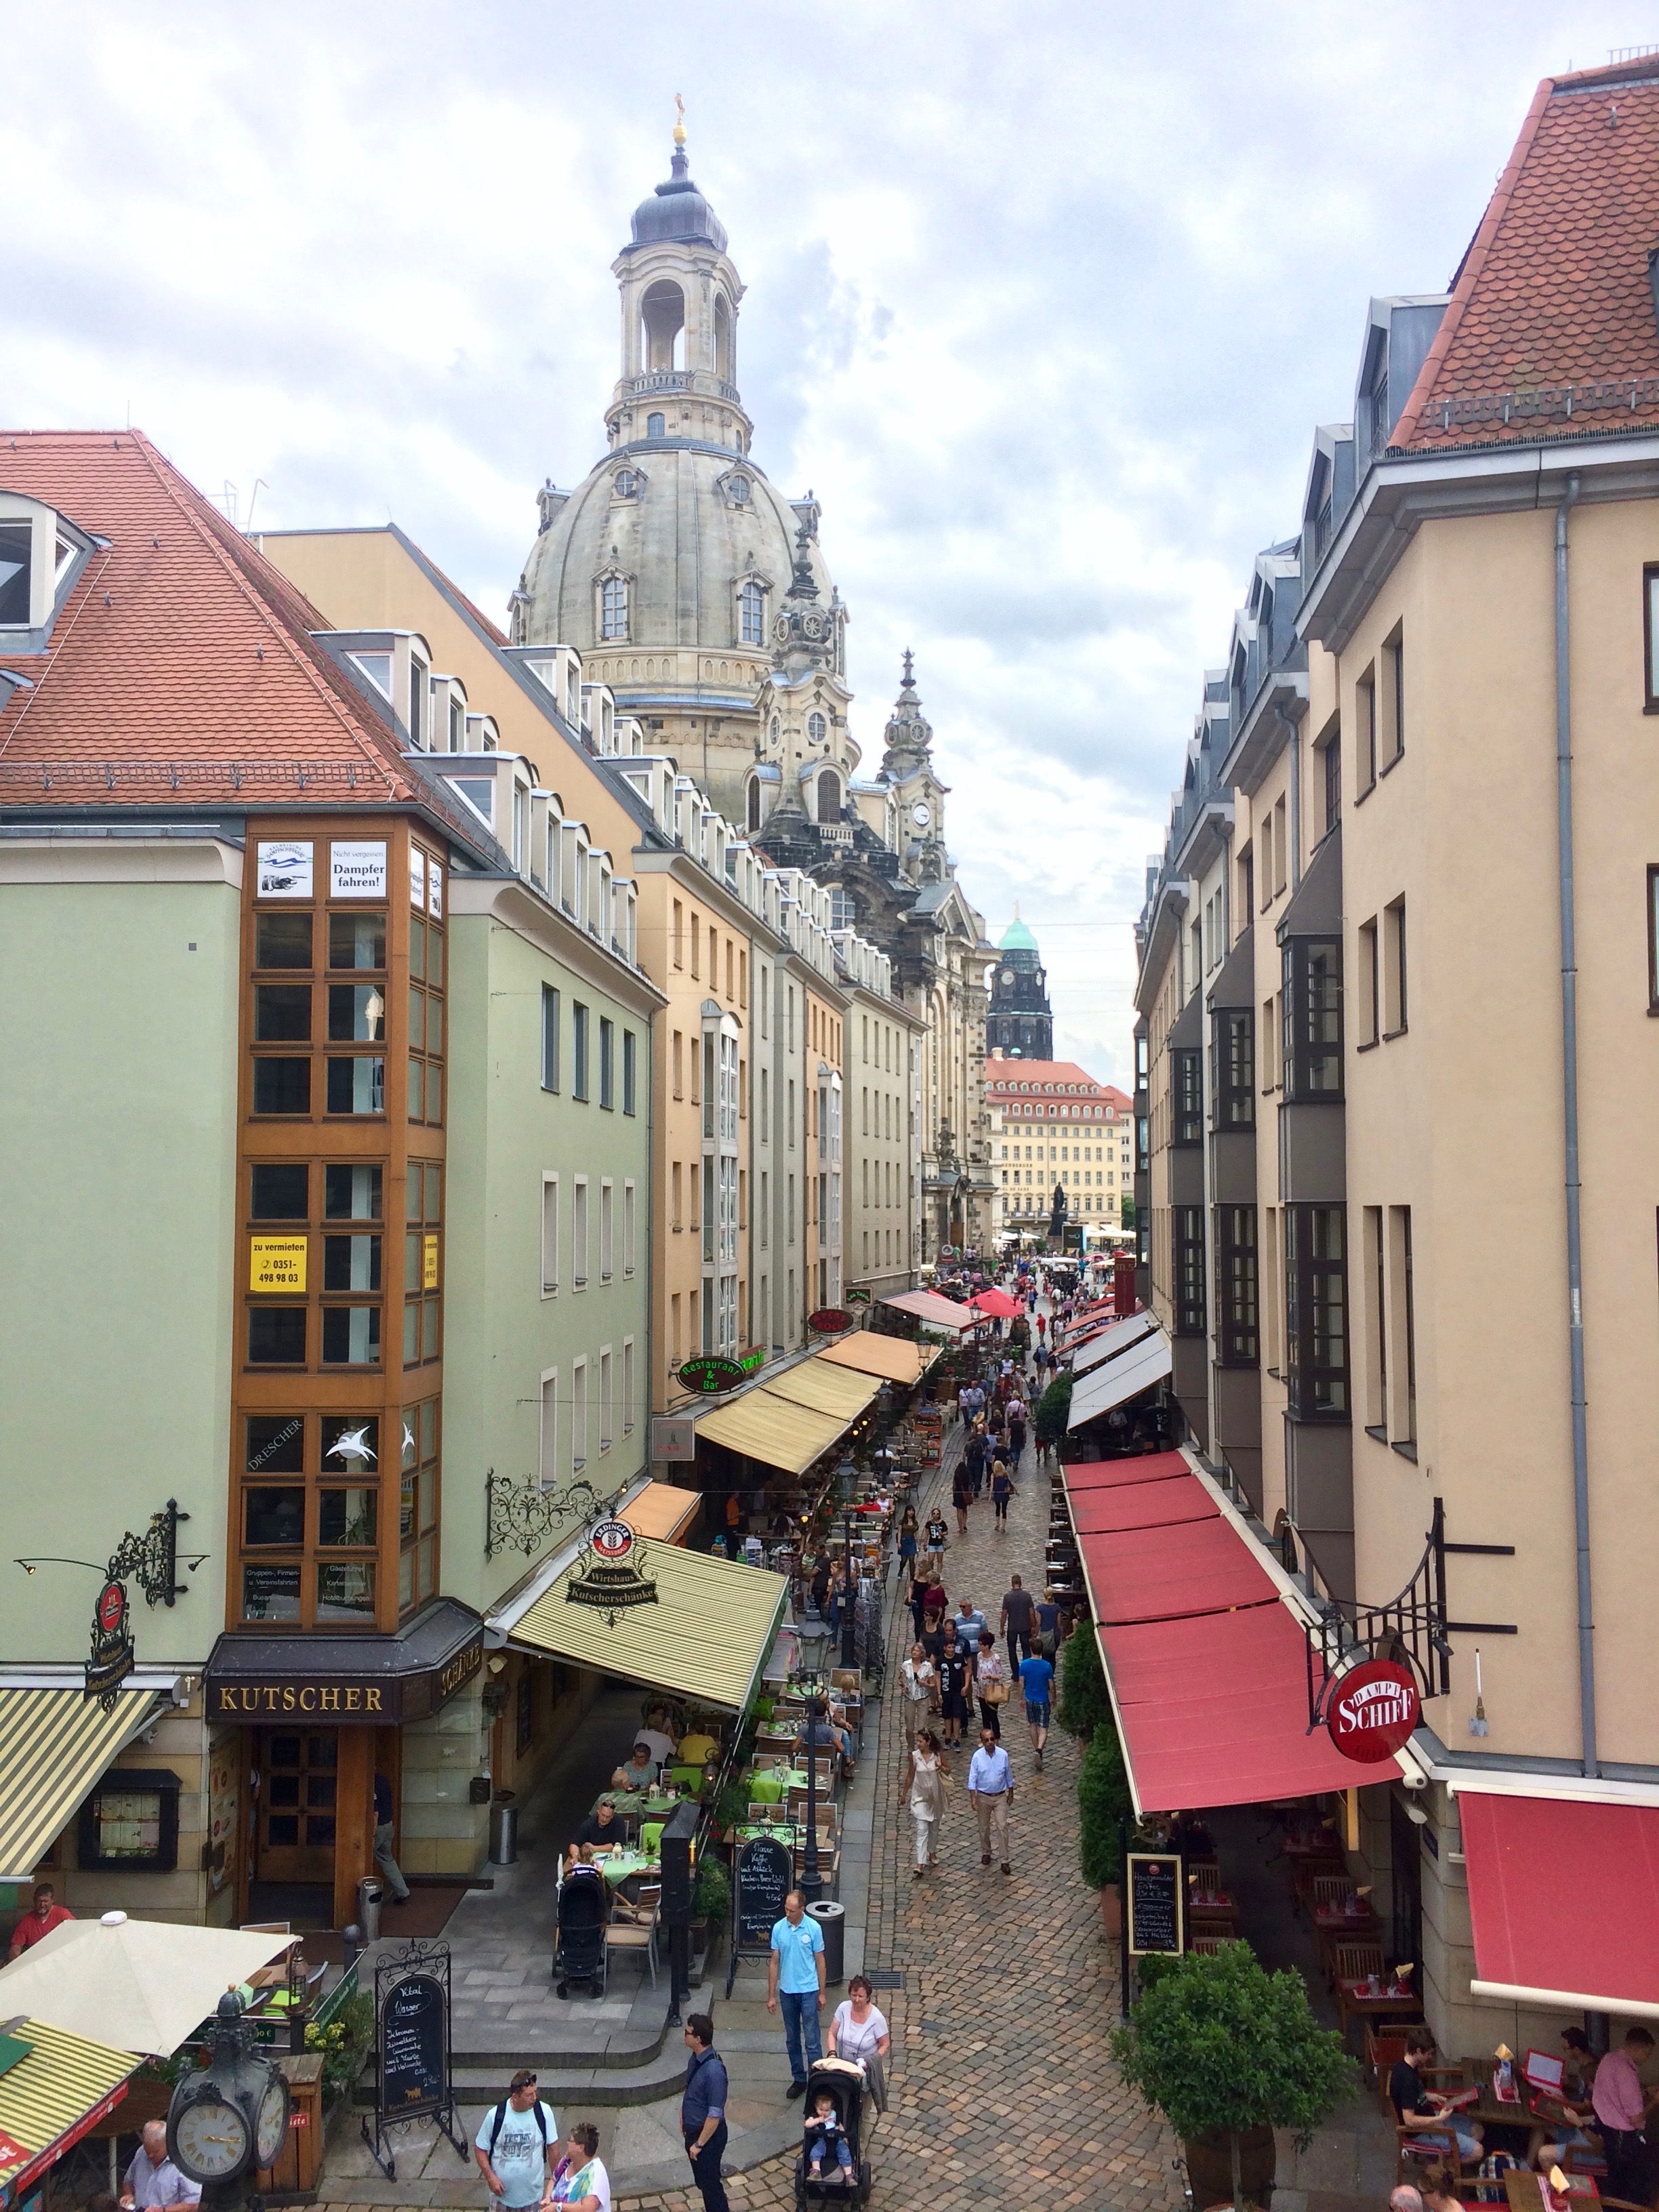
Immediately upon arriving to the city center, we climbed up Bruhl’s Terrace, Dresden’s terraced promenade overlooking the Elbe River and old town.IMG_5071

Then we strolled over to the largest porcelain mural in the world, The Procession of Princes or Fürstenzug. It is 330 ft. long and made out of 25,000 porcelain tiles.

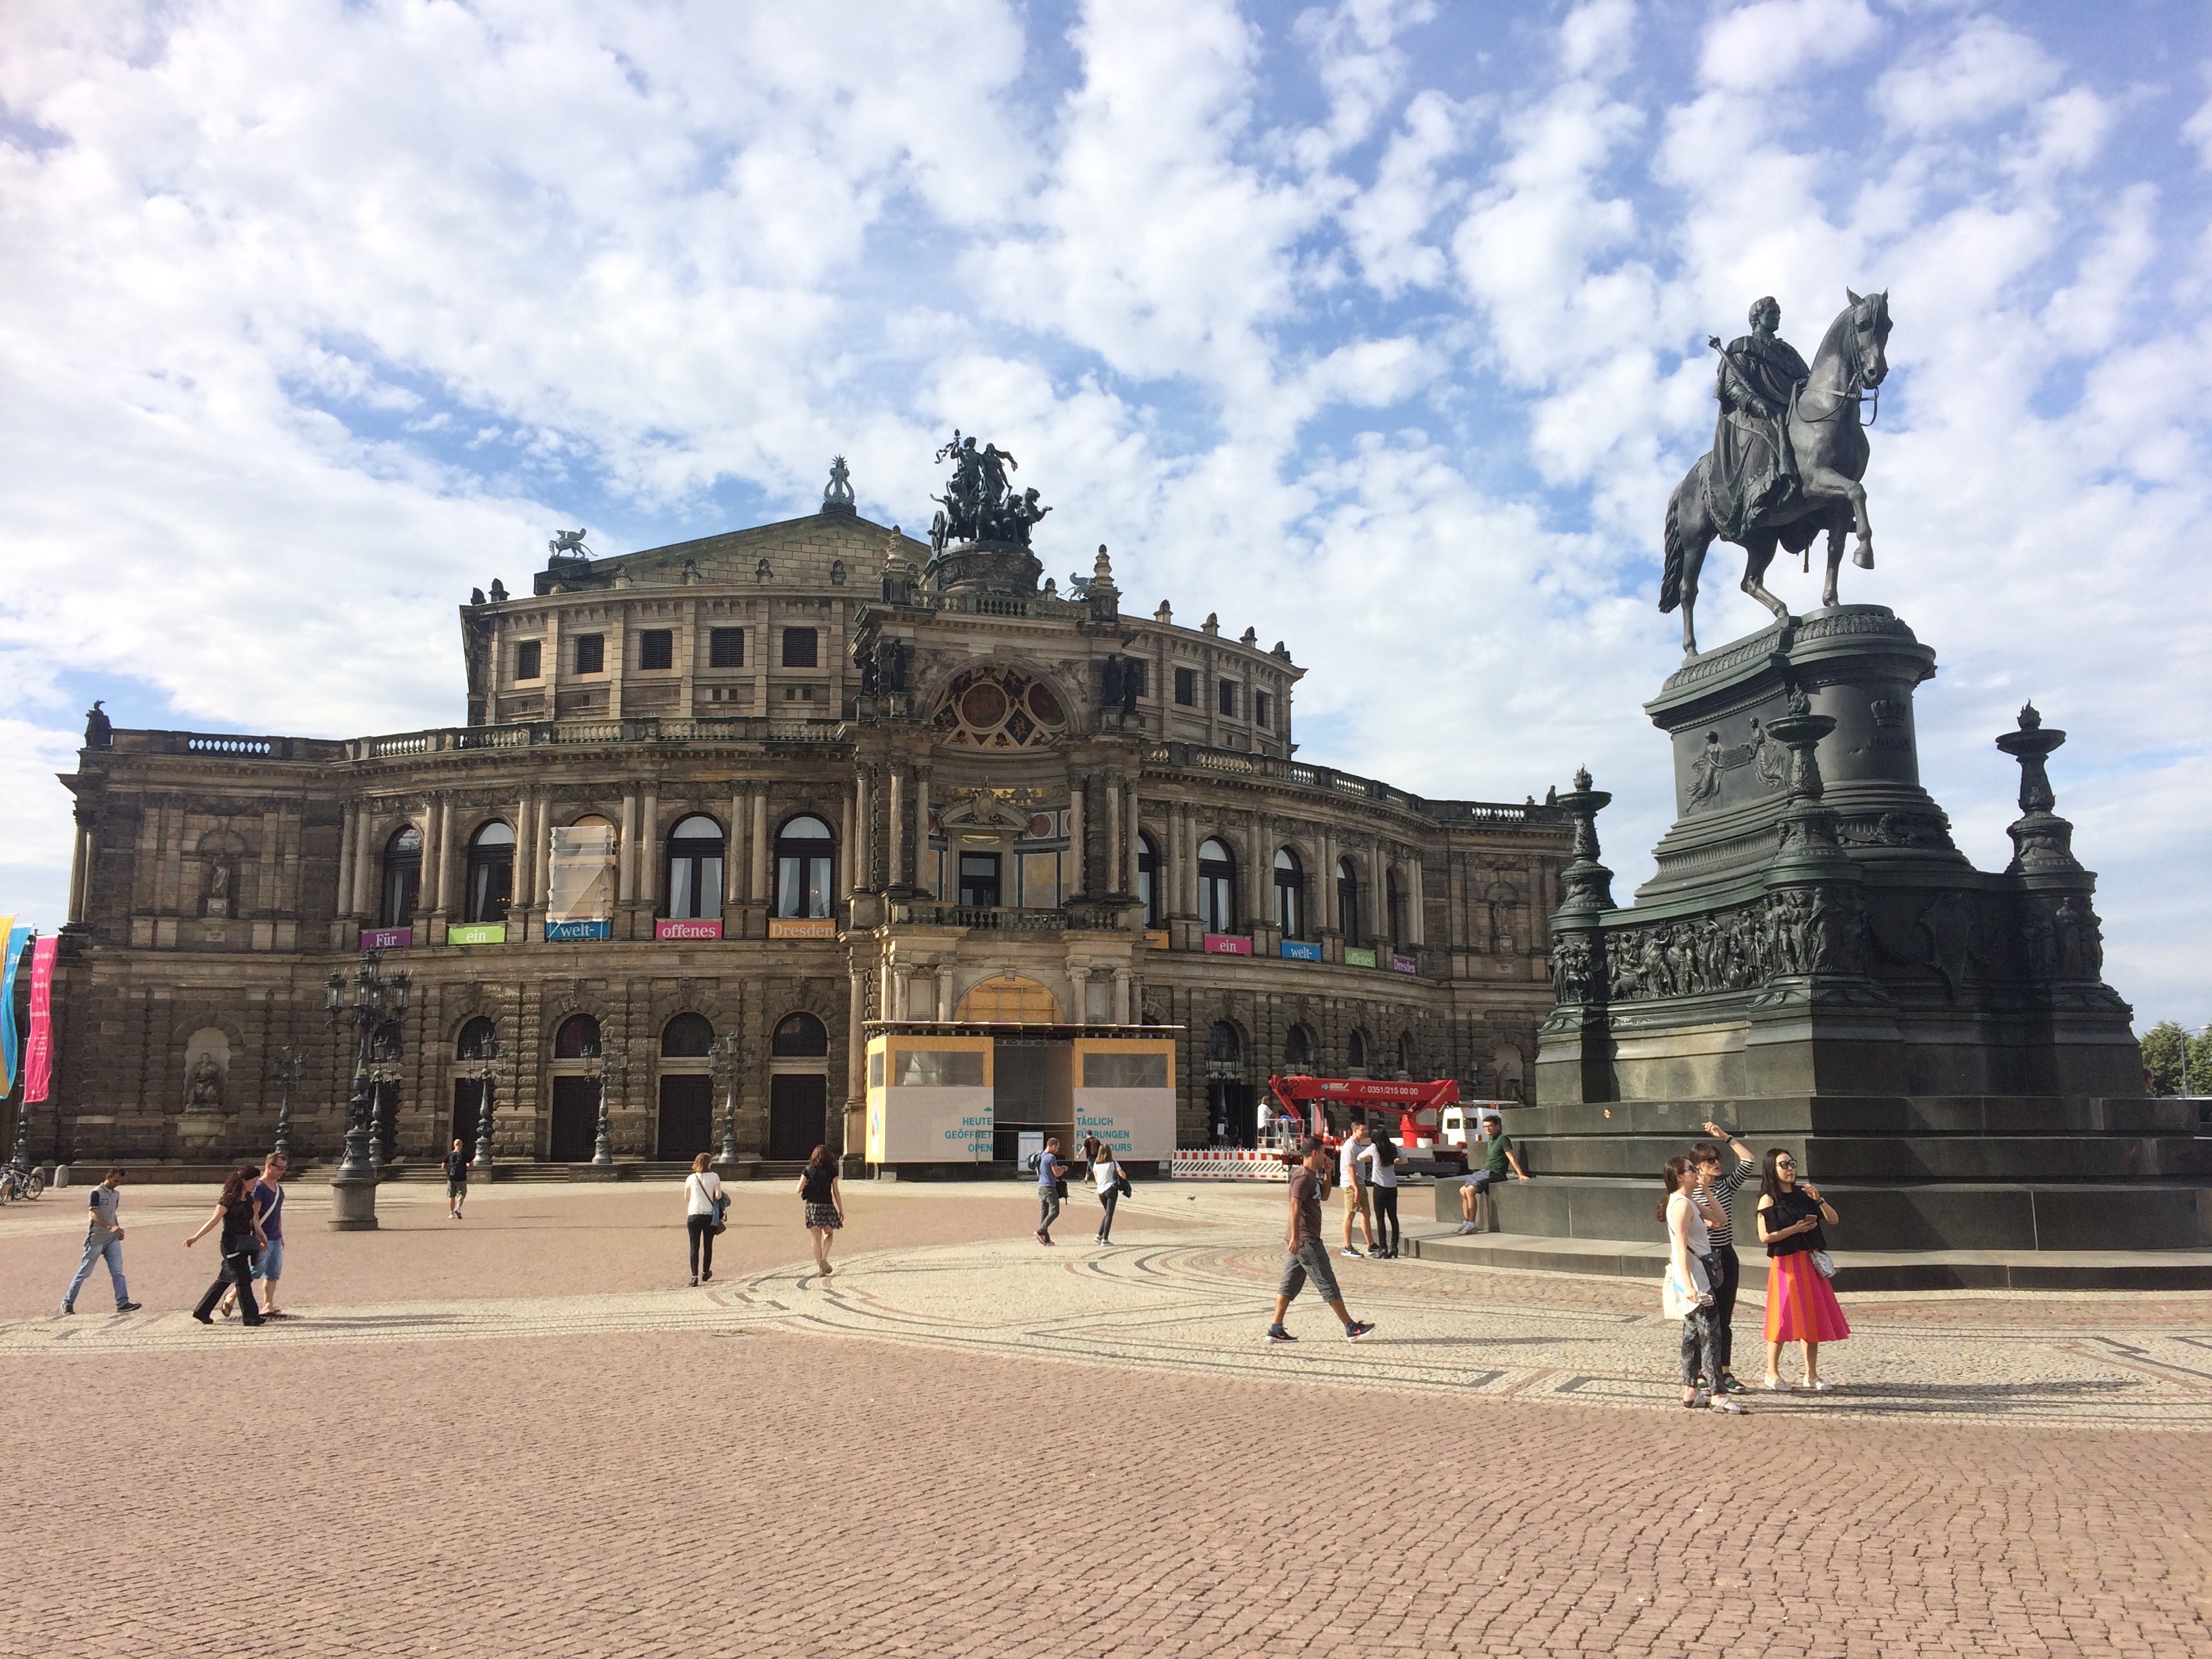
Around the corner from the porcelain mural is the gorgeous opera house:IMG_5089

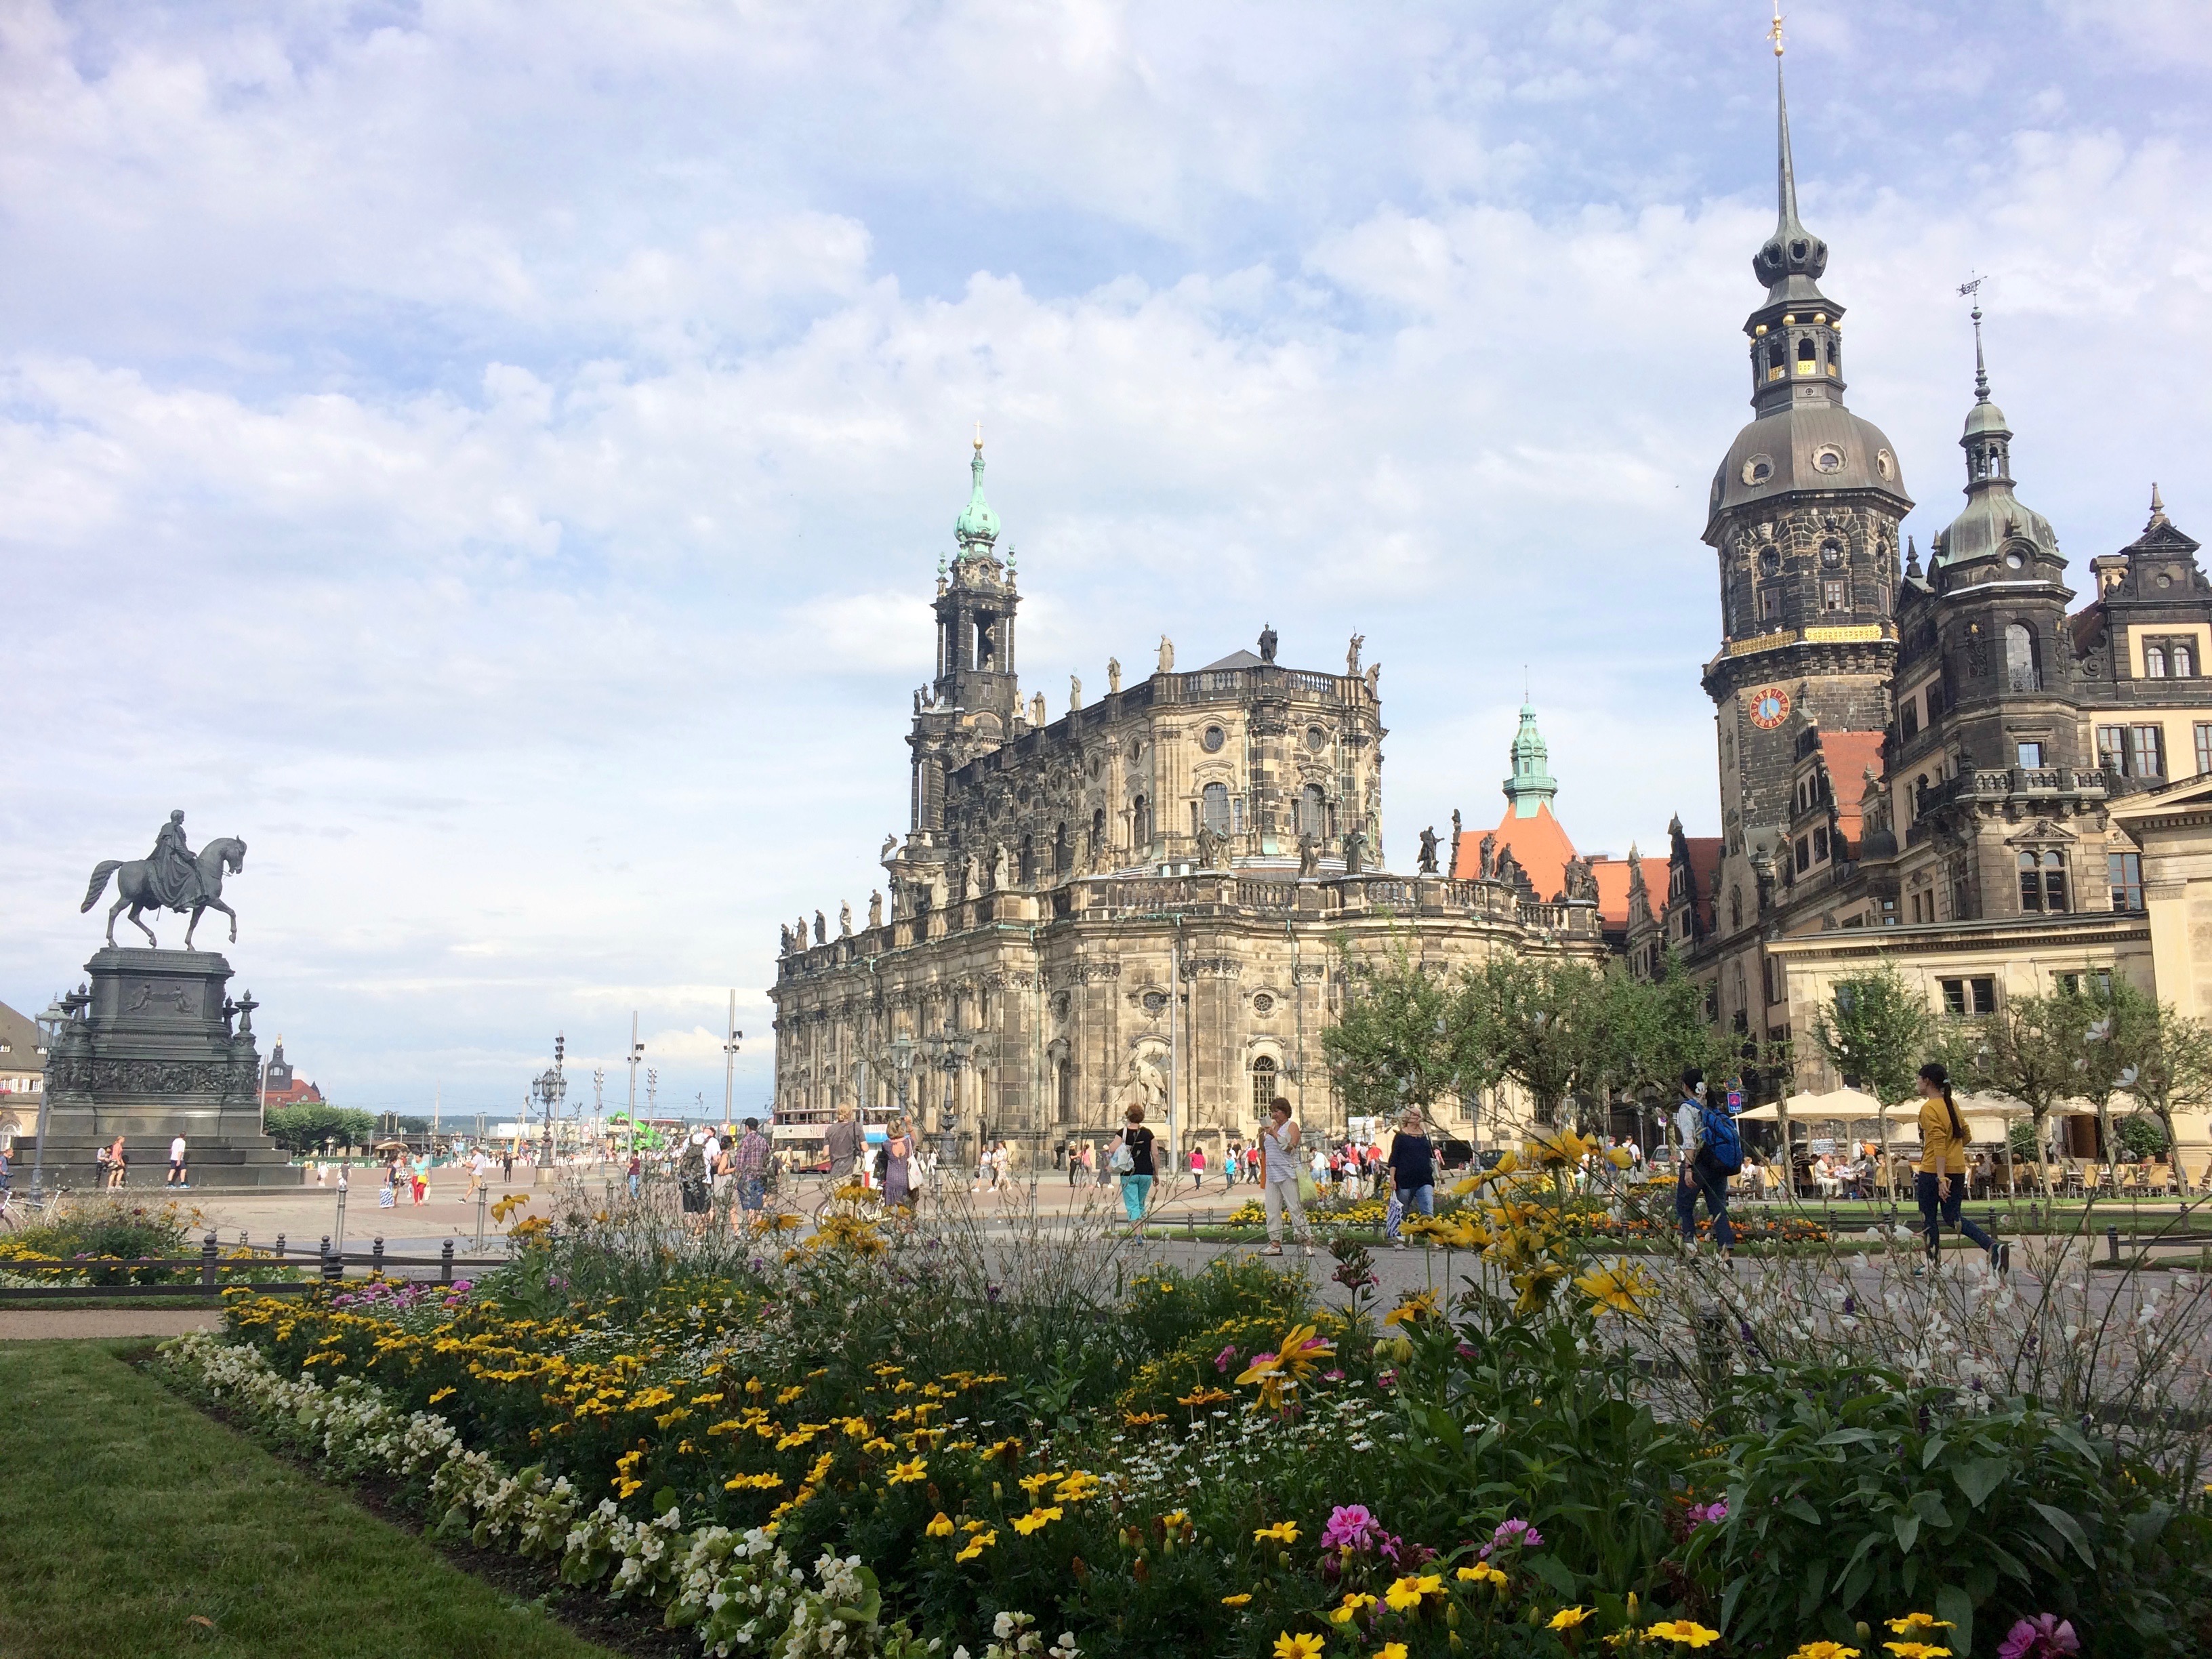
Gazing out at Dresden Palace from the plaza of the opera house:IMG_5093

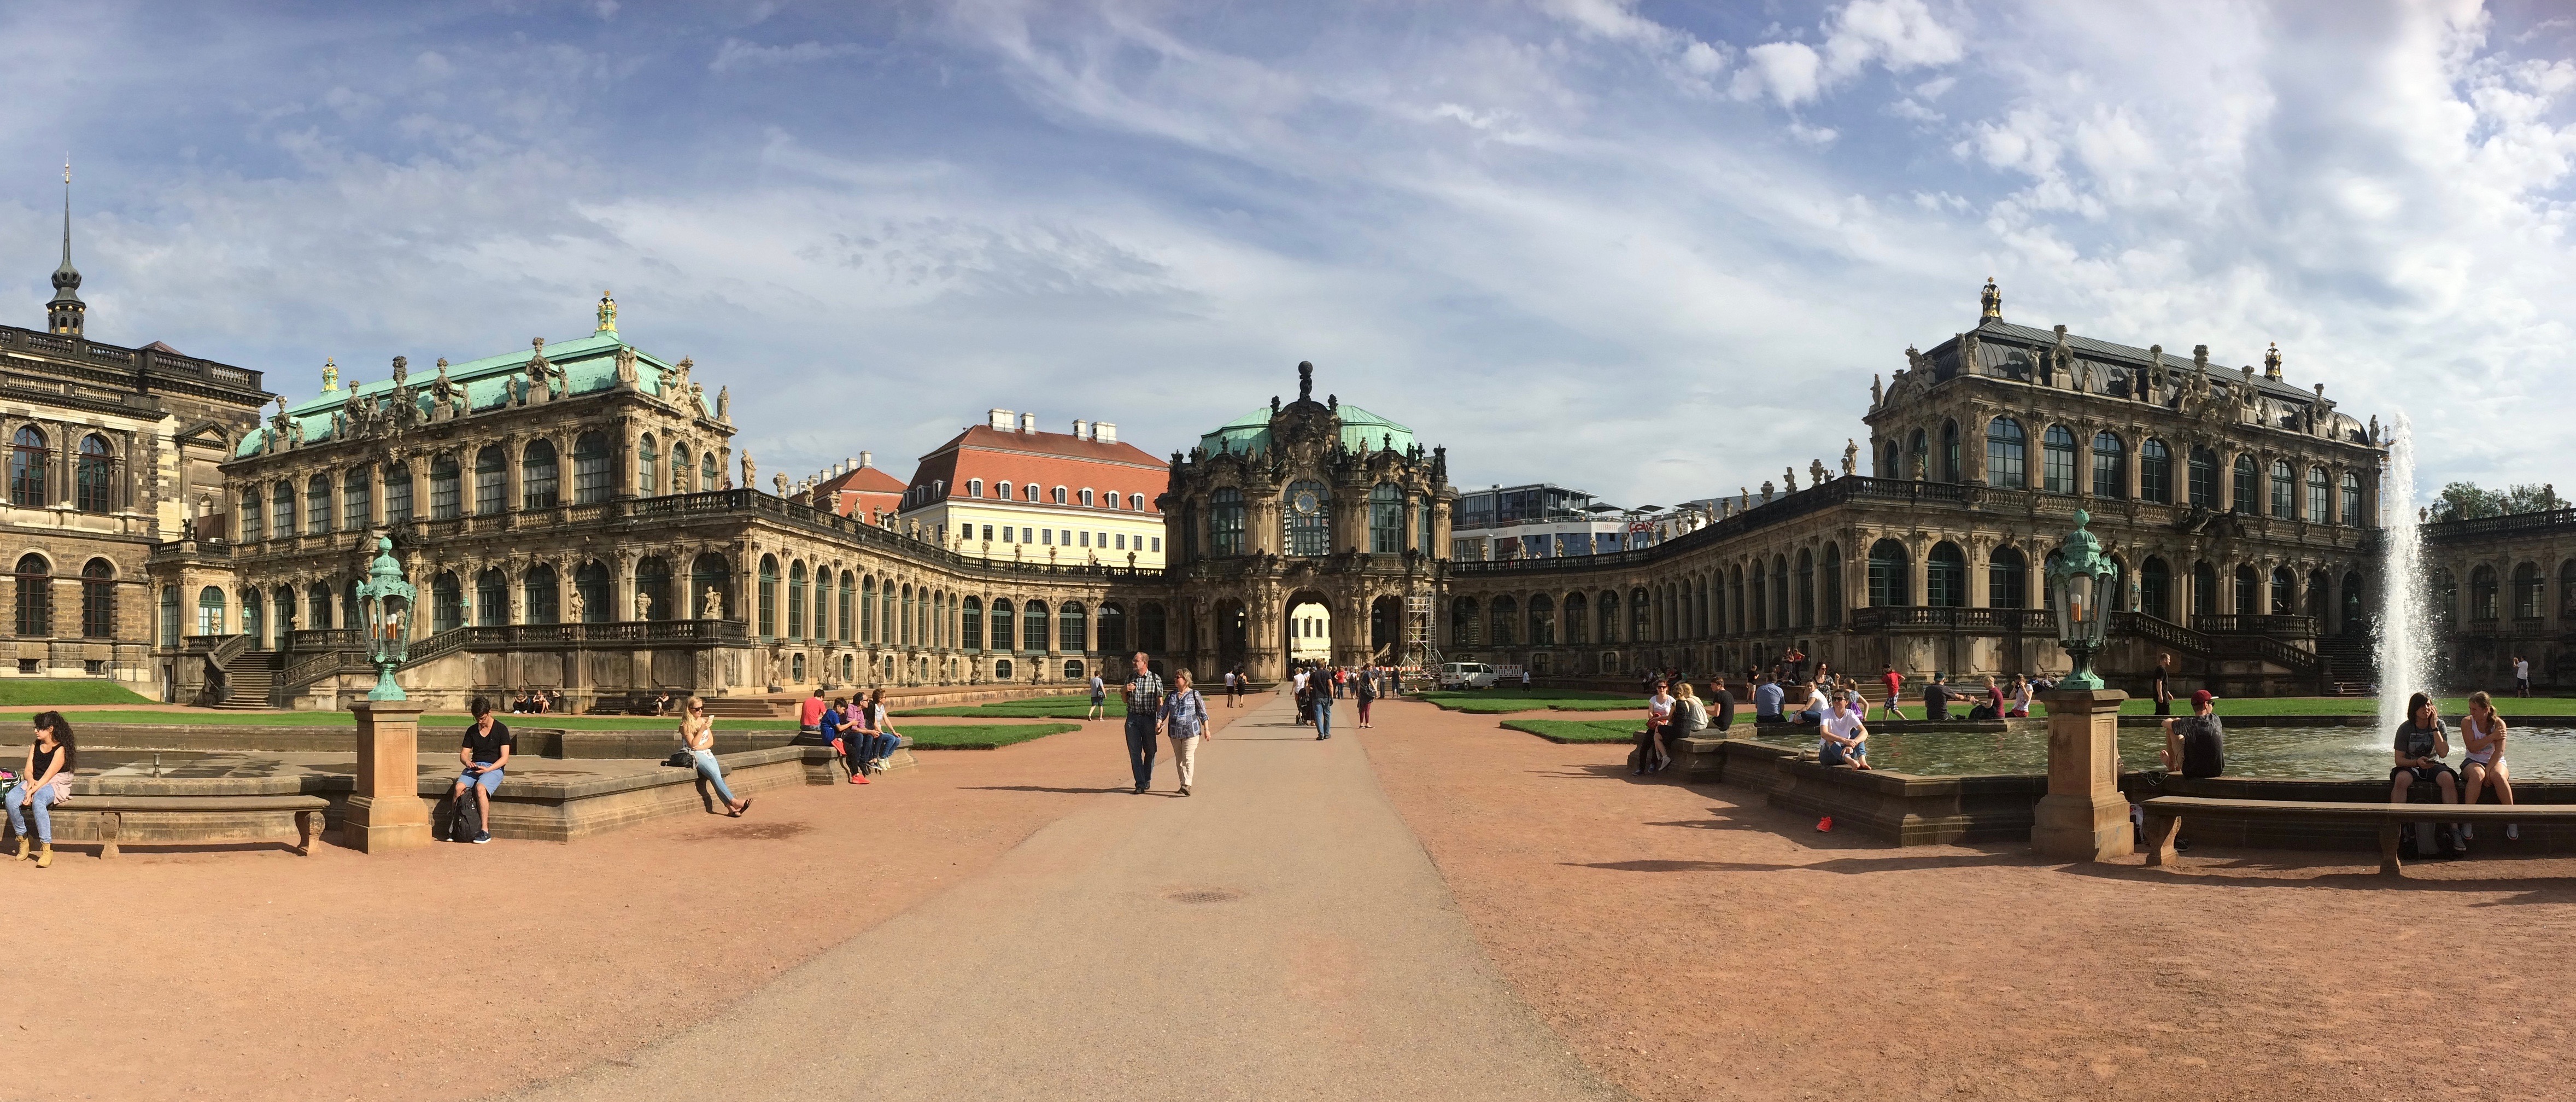
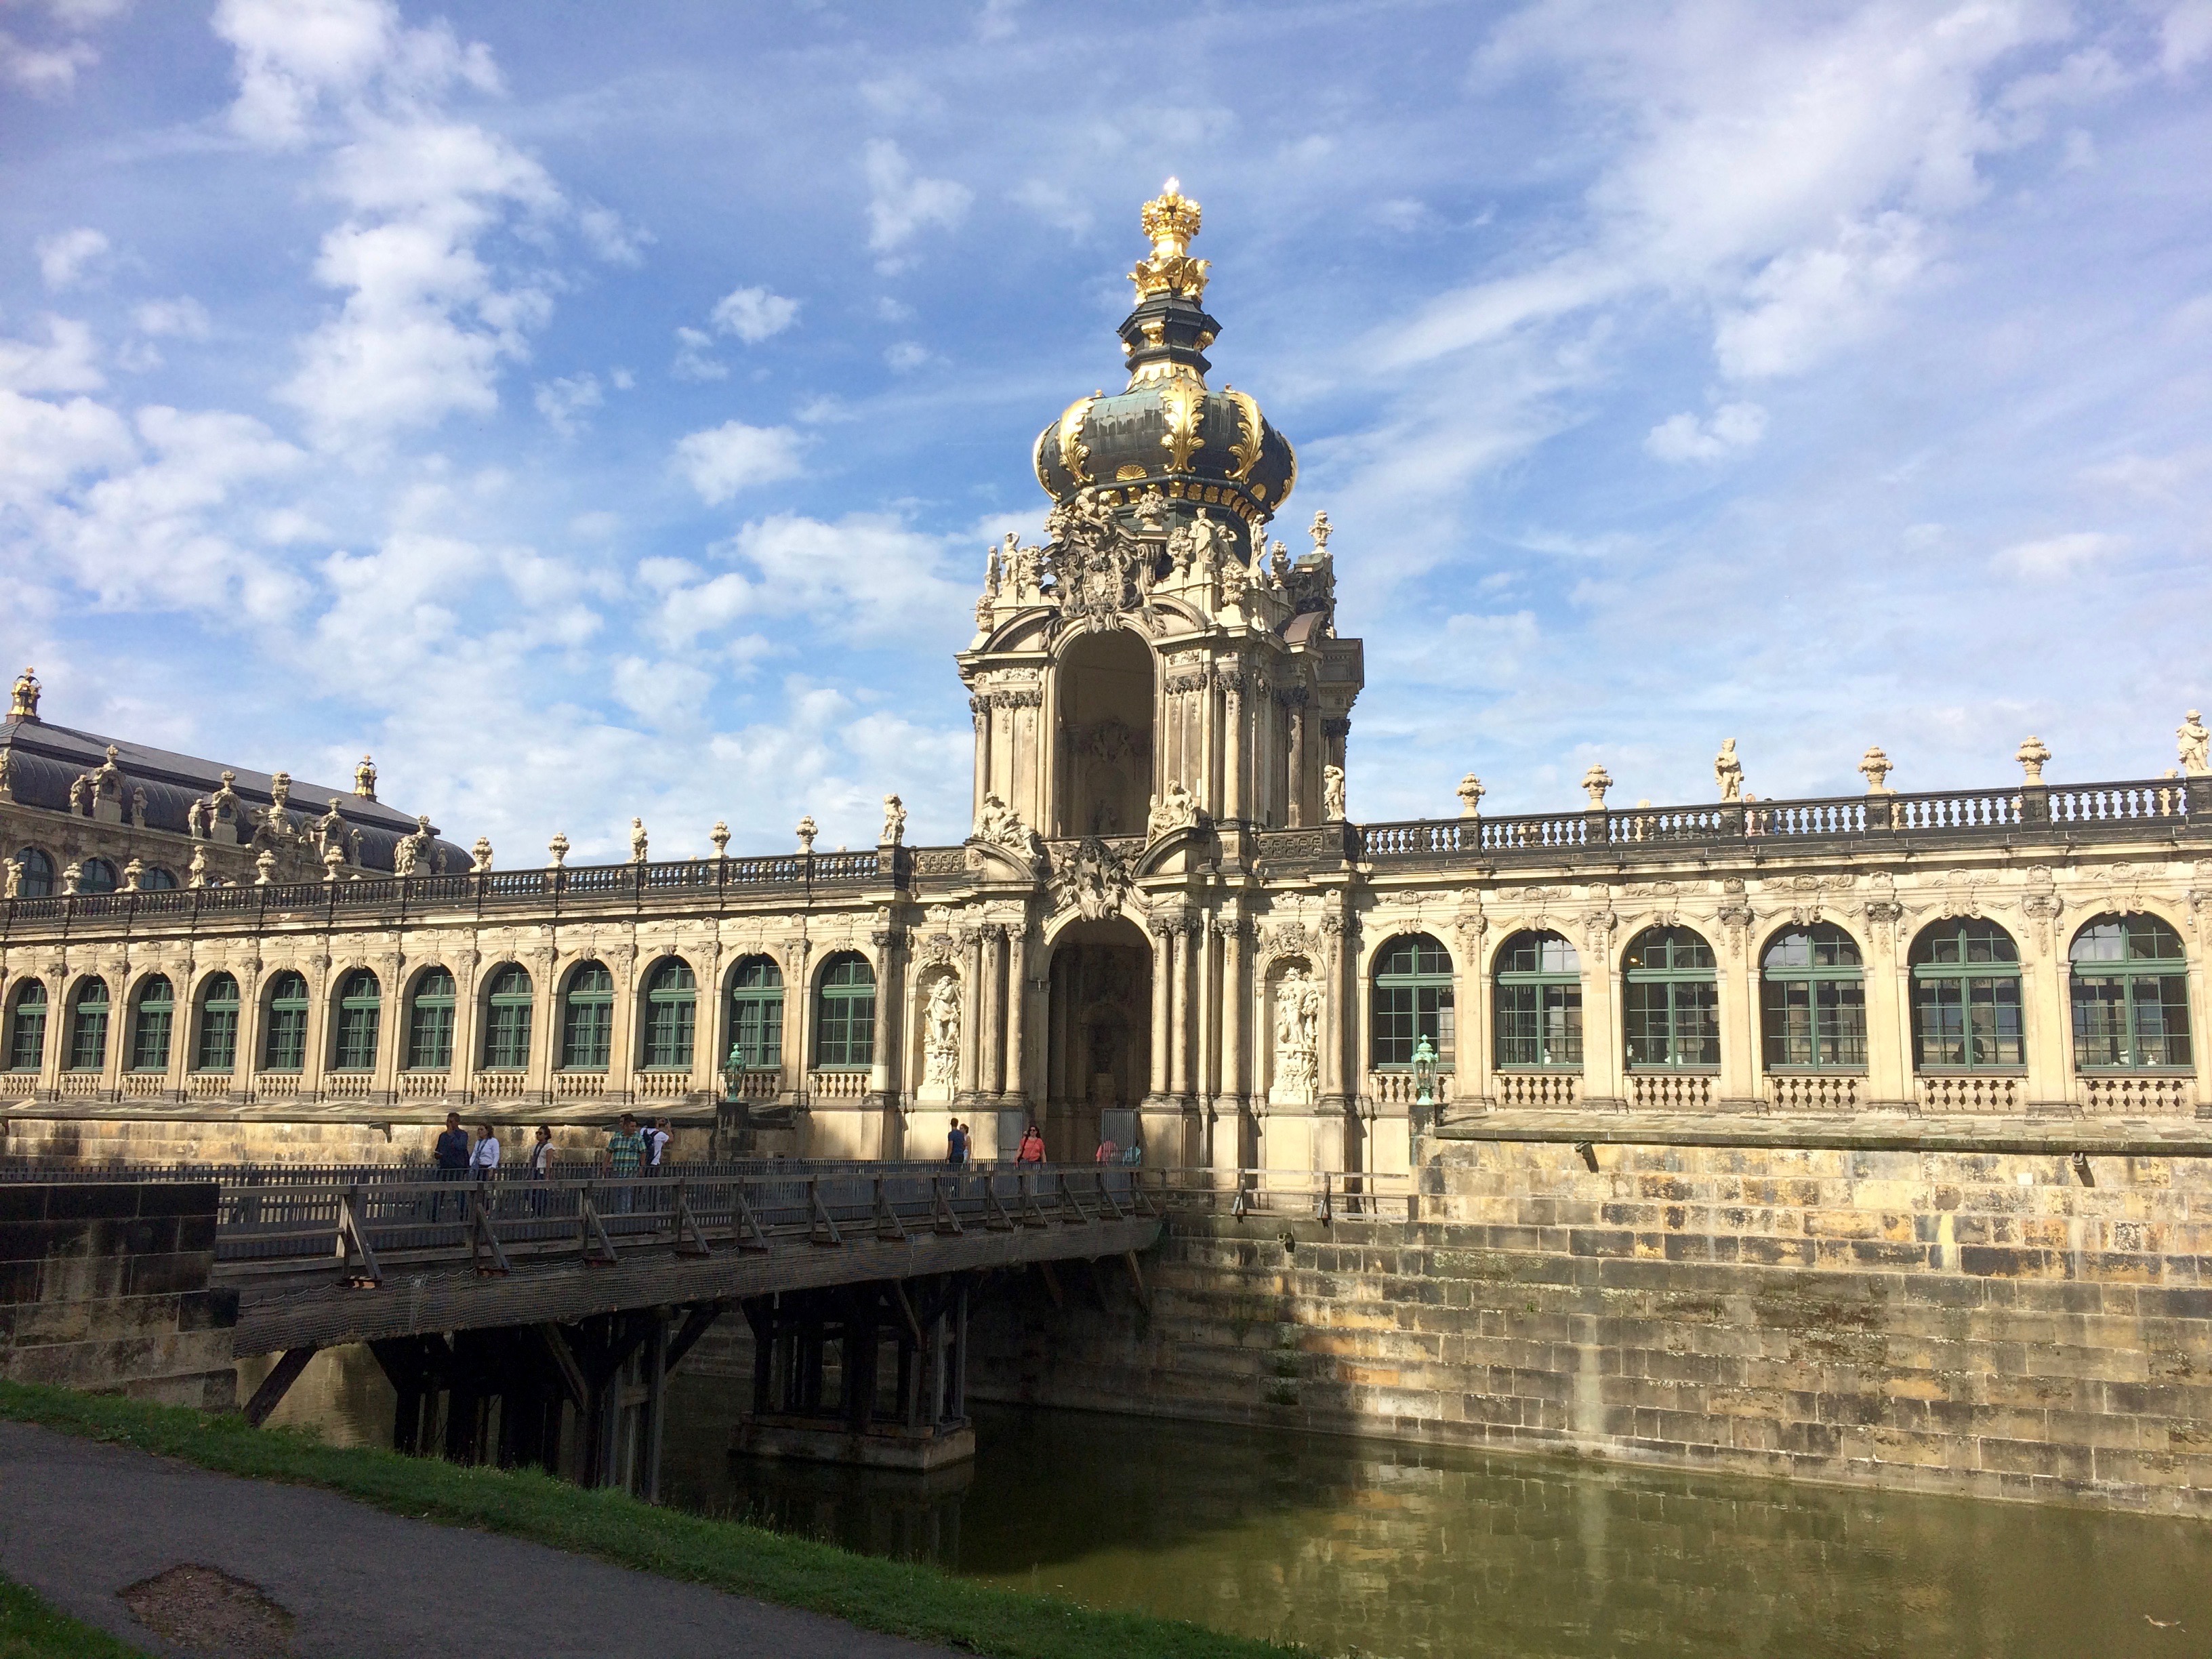
Across the street from the opera house is the Zwinger Palace, a palace built in the 1700s that is now a complex of museums and a free open-air pavilion.IMG_5096IMG_5097

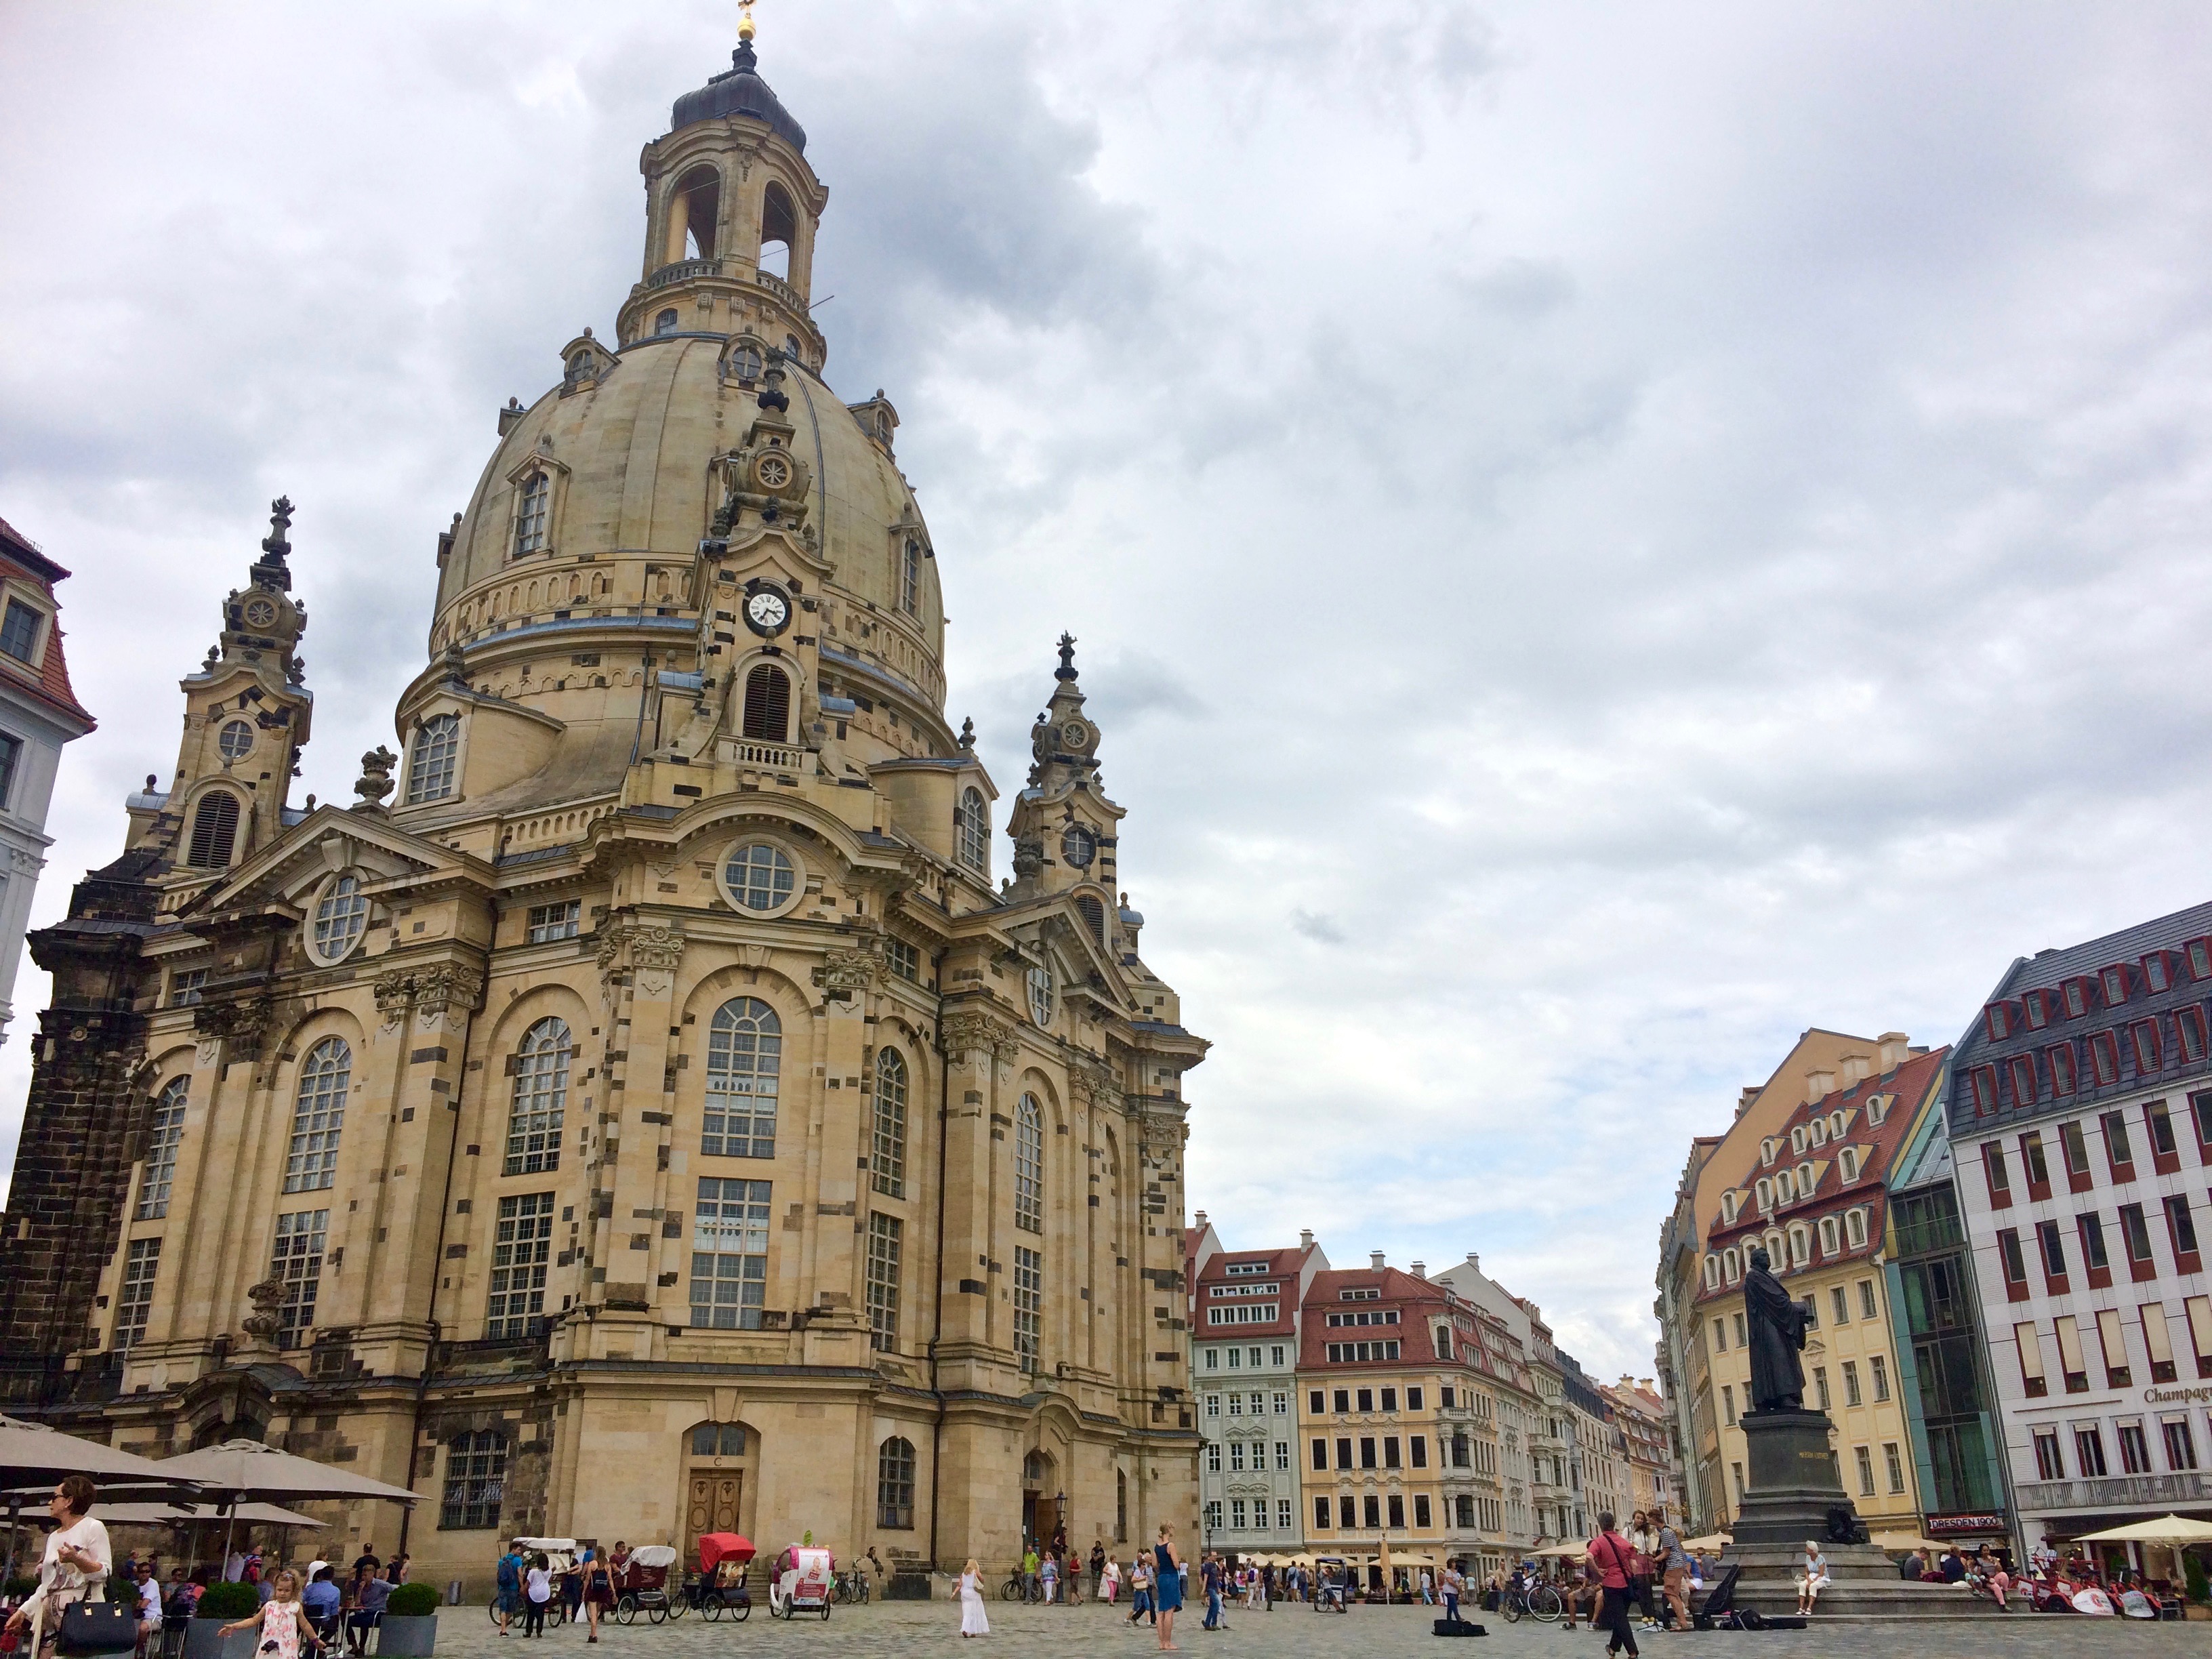
Of Dresden’s landmarks, the most iconic is the Church of Our Lady or Frauenkirche. After the center was destroyed by air raids during WWII, the church crumbled into a 42-ft. tall pile of rubble and remained as a memorial by the East Germans until 1994. After German reunification, an effort to raise funds commenced, and the Church of Our Lady resurrected in 2005.IMG_5085

For a compact space, Dresden’s old town houses quite a bit of wonderful architecture.  It was definitely worth the visit–we were glad we came back!

Posted in Germany | Leave a comment

The Black Forest

After spending a week in the Austrian and Swiss Alps, I knew no hike in Germany’s remote, southwestern Black Forest would leave a lasting impression on us.  But we weren’t there for the hikes, despite the nature-bound name.  We came for the rich Bavarian culture, the villages oozing with quaint adorableness, and the widely known Black Forest Cake and Black Forest Ham! And better yet?  Despite being just as cute (if not more cute) than Germany’s famous Rothenburg, the Black Forest still remains quite untouched by foreigners.  Instead of being flooded by buses full of tourists, the smidgen of towns we visited in the Black Forest were primarily dotted with German tourists.  It is probably still too soon to say, but I’m going to say it: the Black Forest just might have been my favorite region to visit in the large country of Germany.

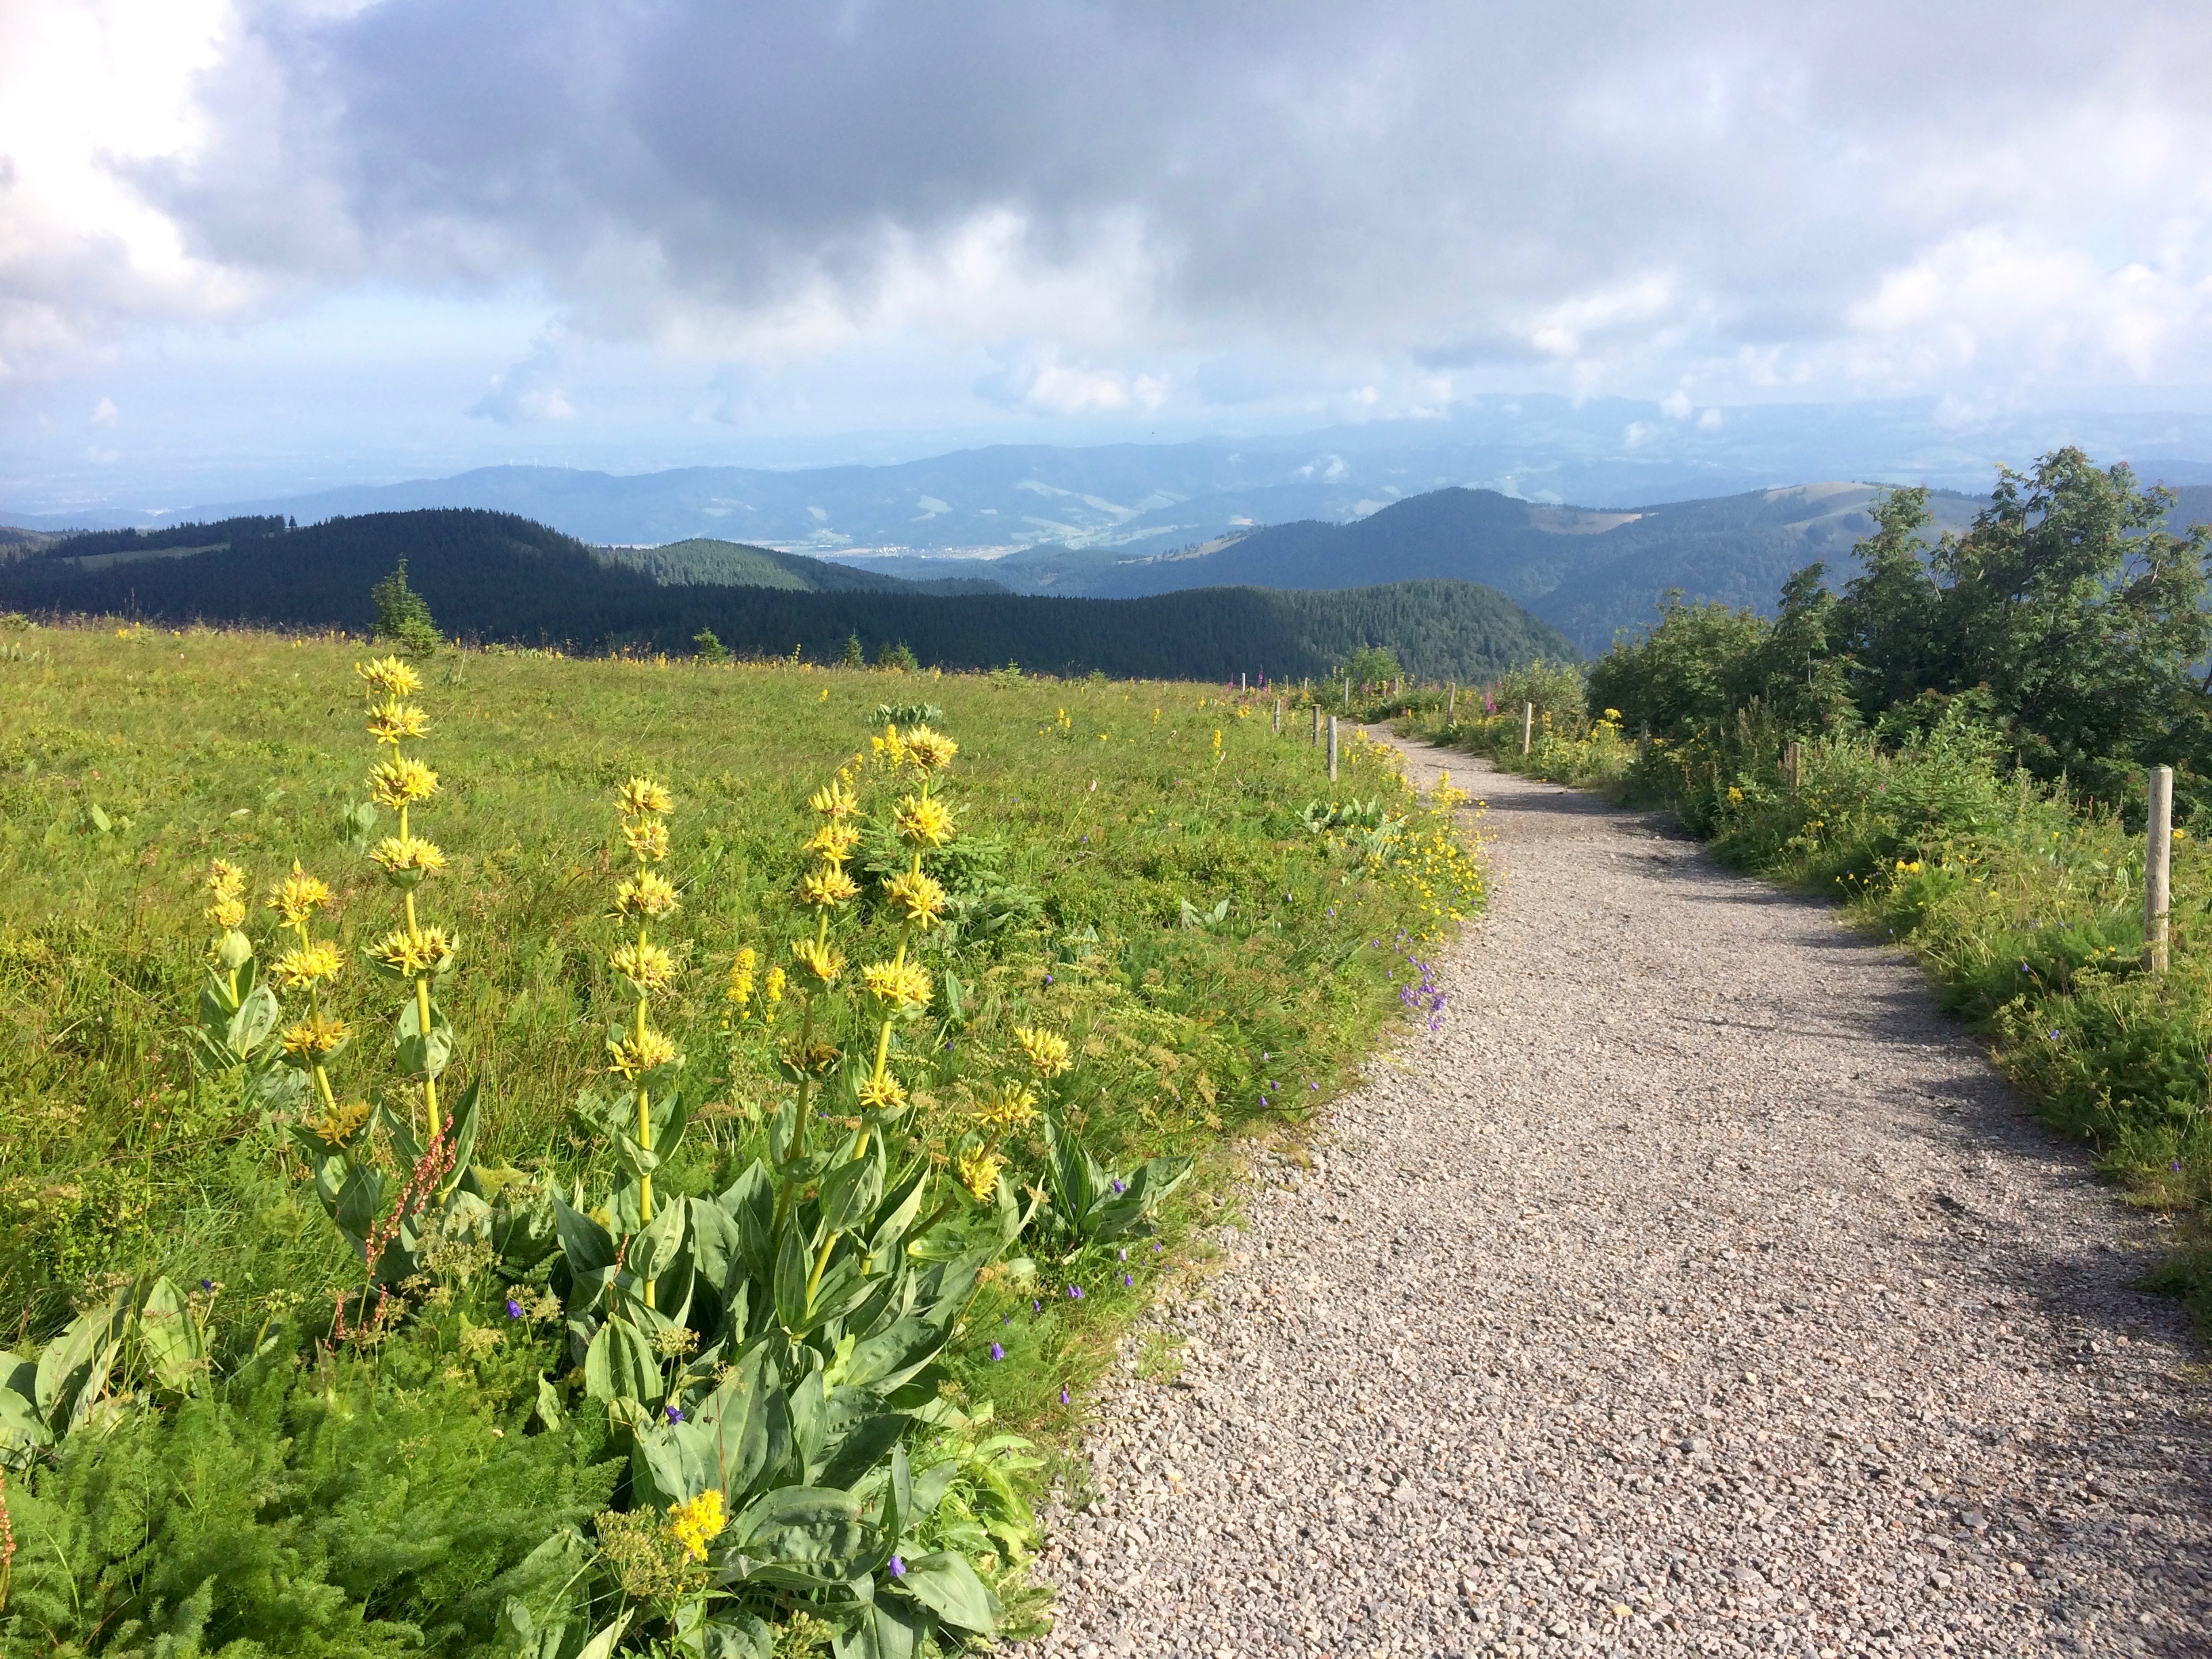
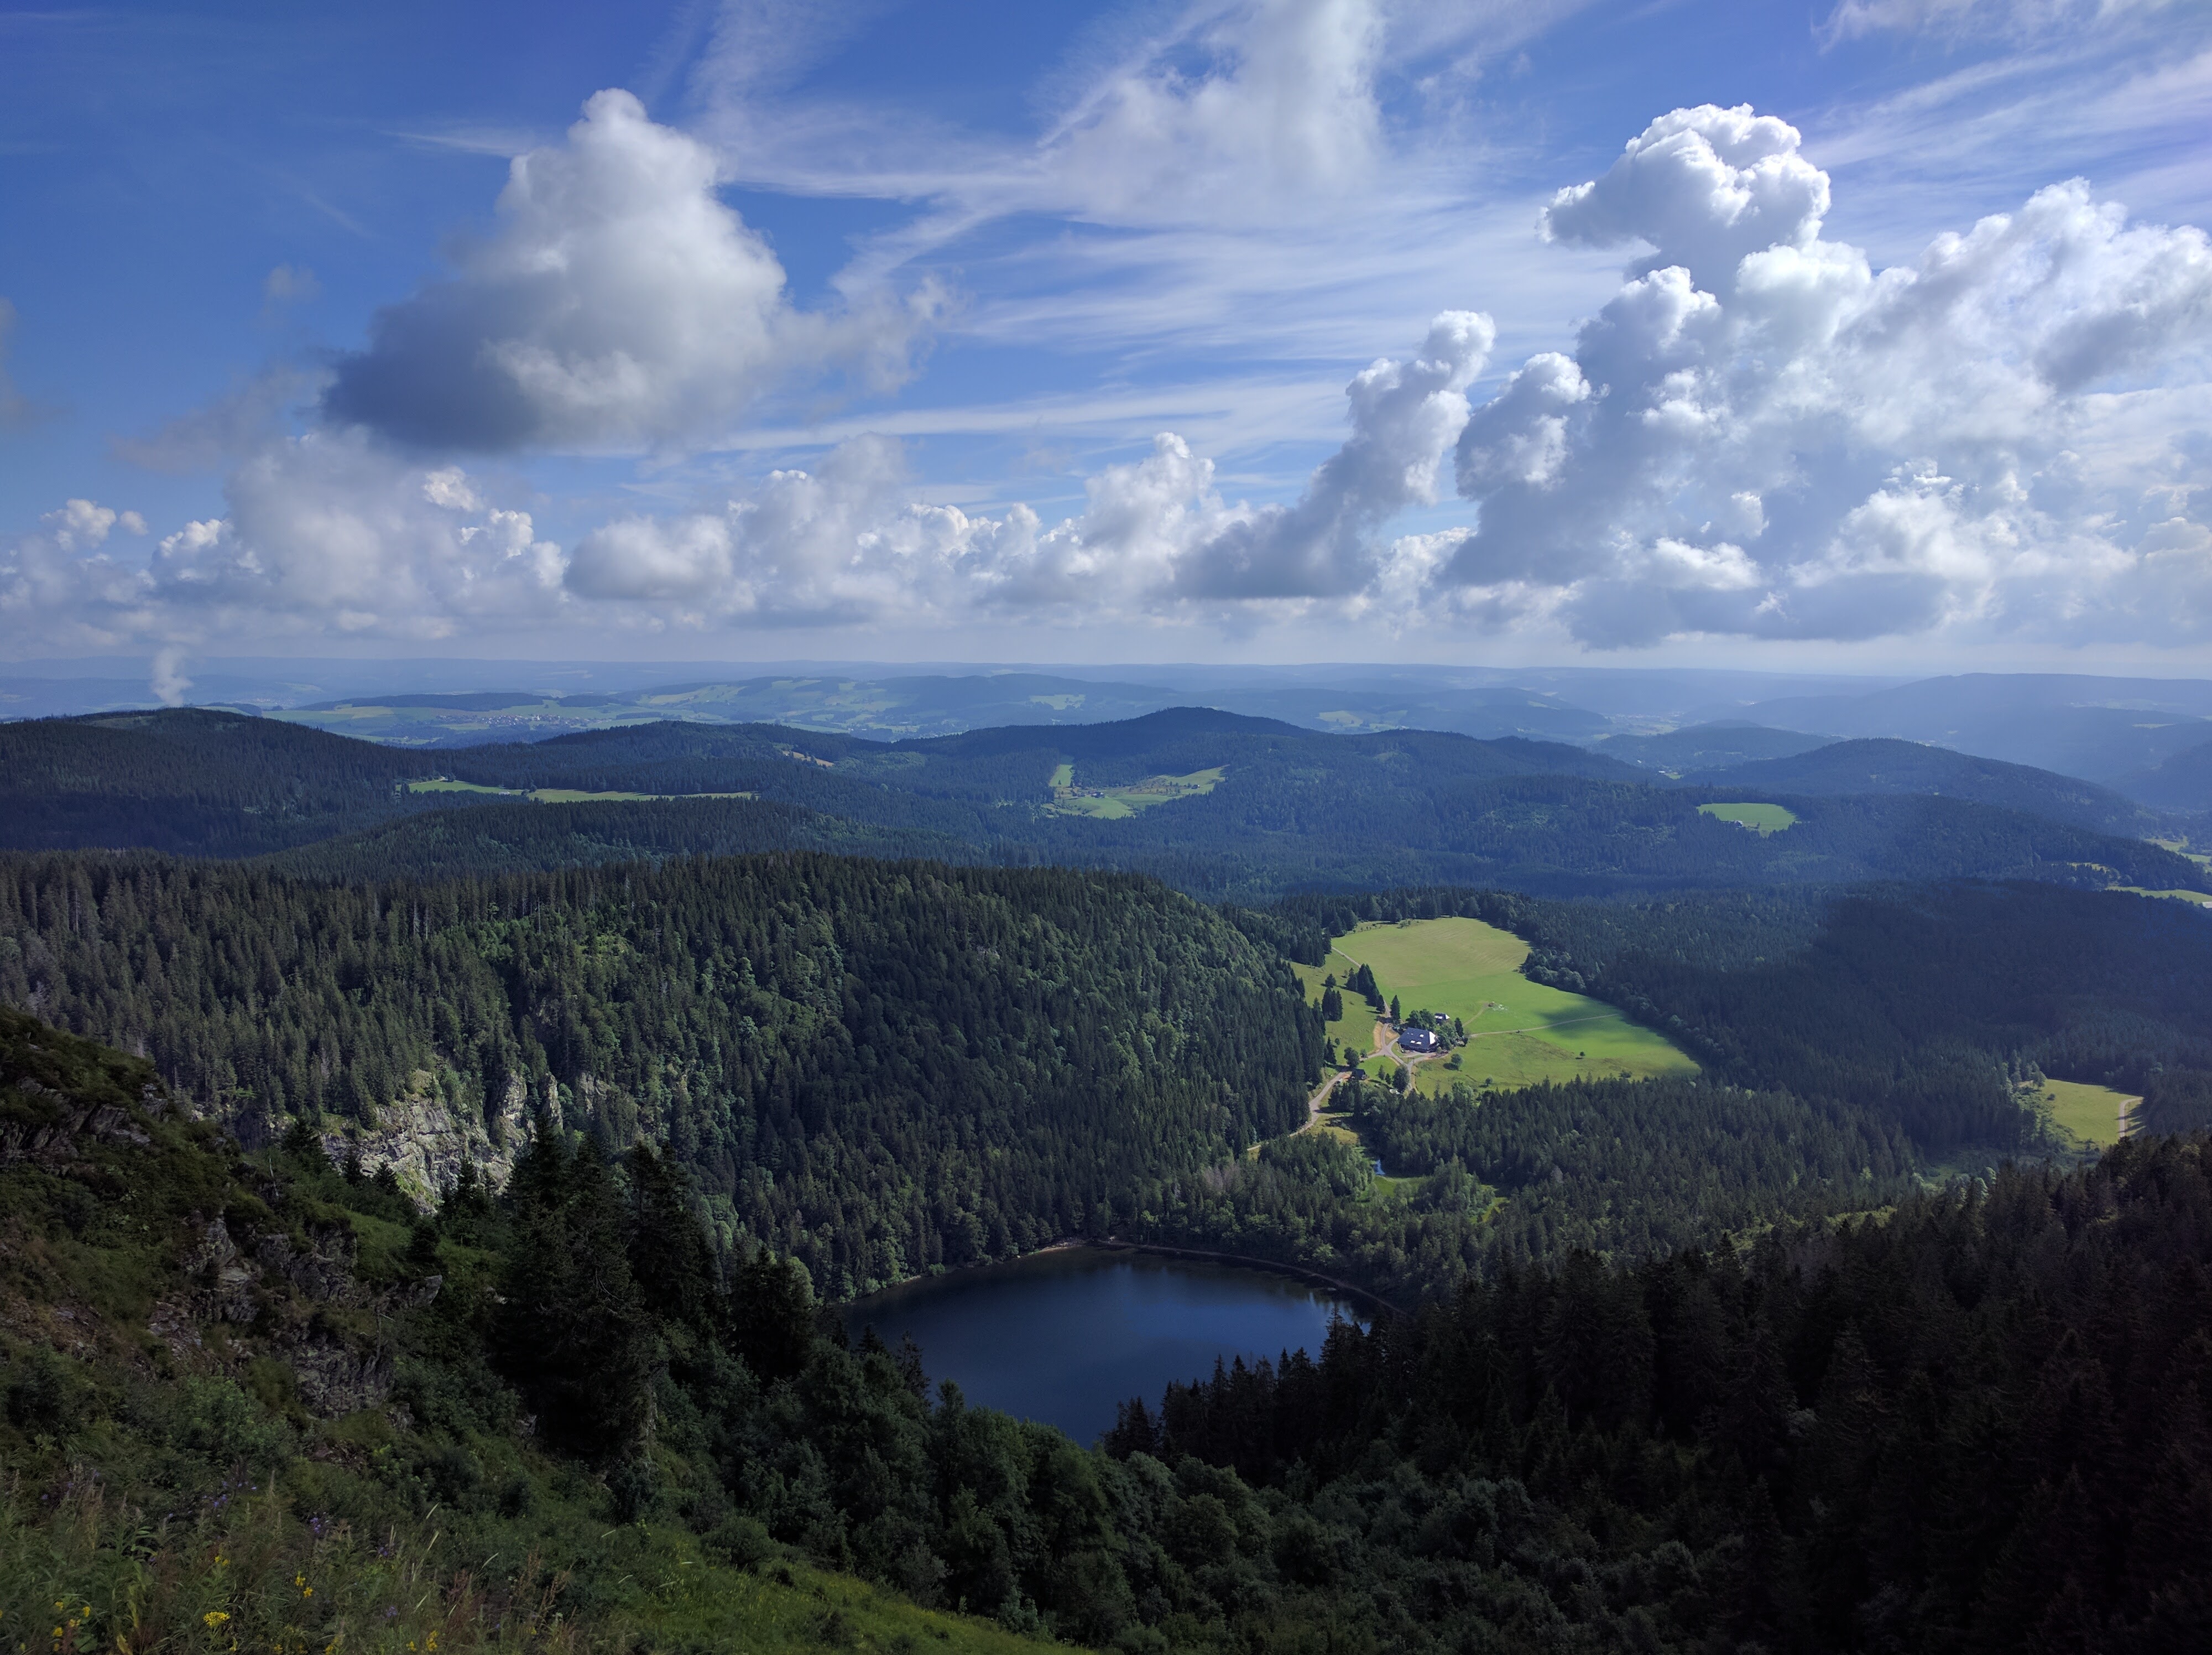
We began our quick trip in the Black Forest with a wonderfully quiet night in the parking lot across the street from the foot of the Feldberg ski area.  In the morning we “hiked” the simple, not too steep hill to the highest point in the Black Forest: Feldberg Peak at 1,493 meters.  IMG_4993

Views from the peak were surprisingly disappointing; the views from the next lower peak, Seebuck, were prettier.  Rolling hills of black forests:IMG_20160801_101627

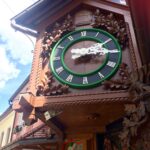
After our quick hike, we headed over to Triberg, home to the original recipe of Black Forest Cake, Germany’s tallest waterfall,  and the world’s largest cuckoo clock (har har).  School bus groups turned away our interest of the mediocre waterfall; instead, we simply strolled through the town adorned with wooden clocks and tasted the region’s culinary delights.

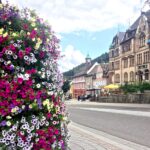
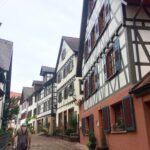
Colorful Triberg:

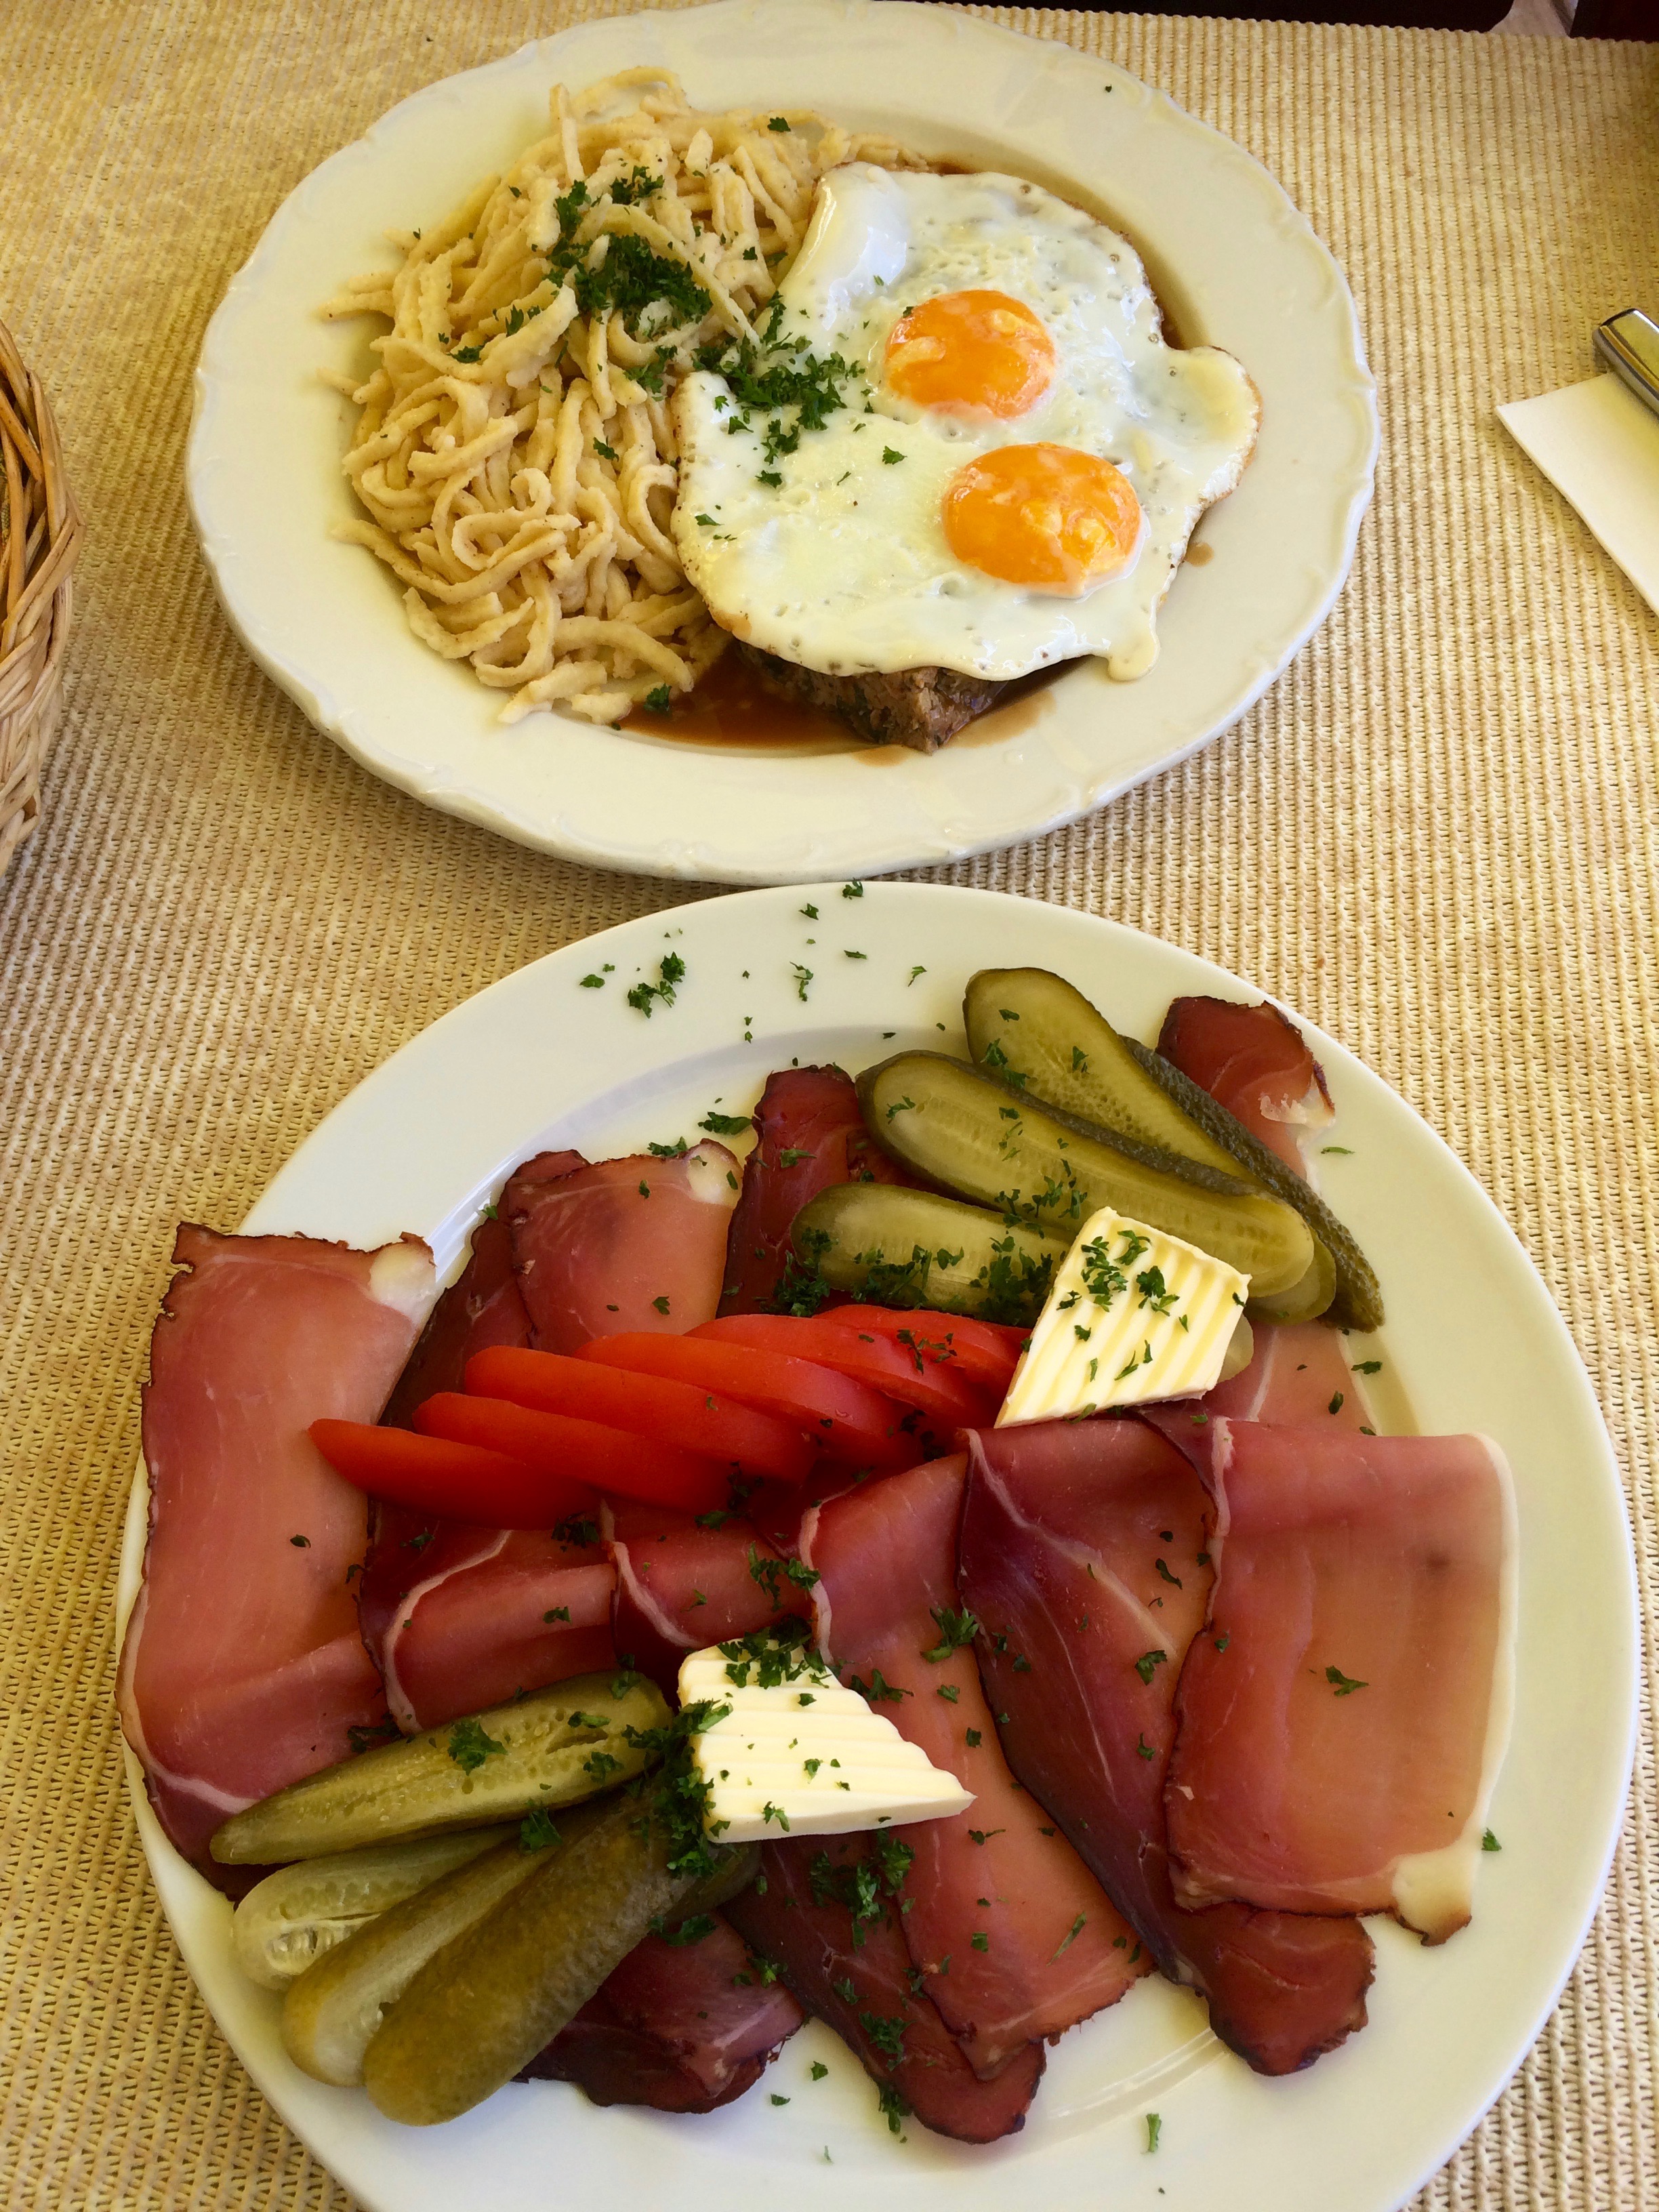
Black Forest Ham!IMG_5007

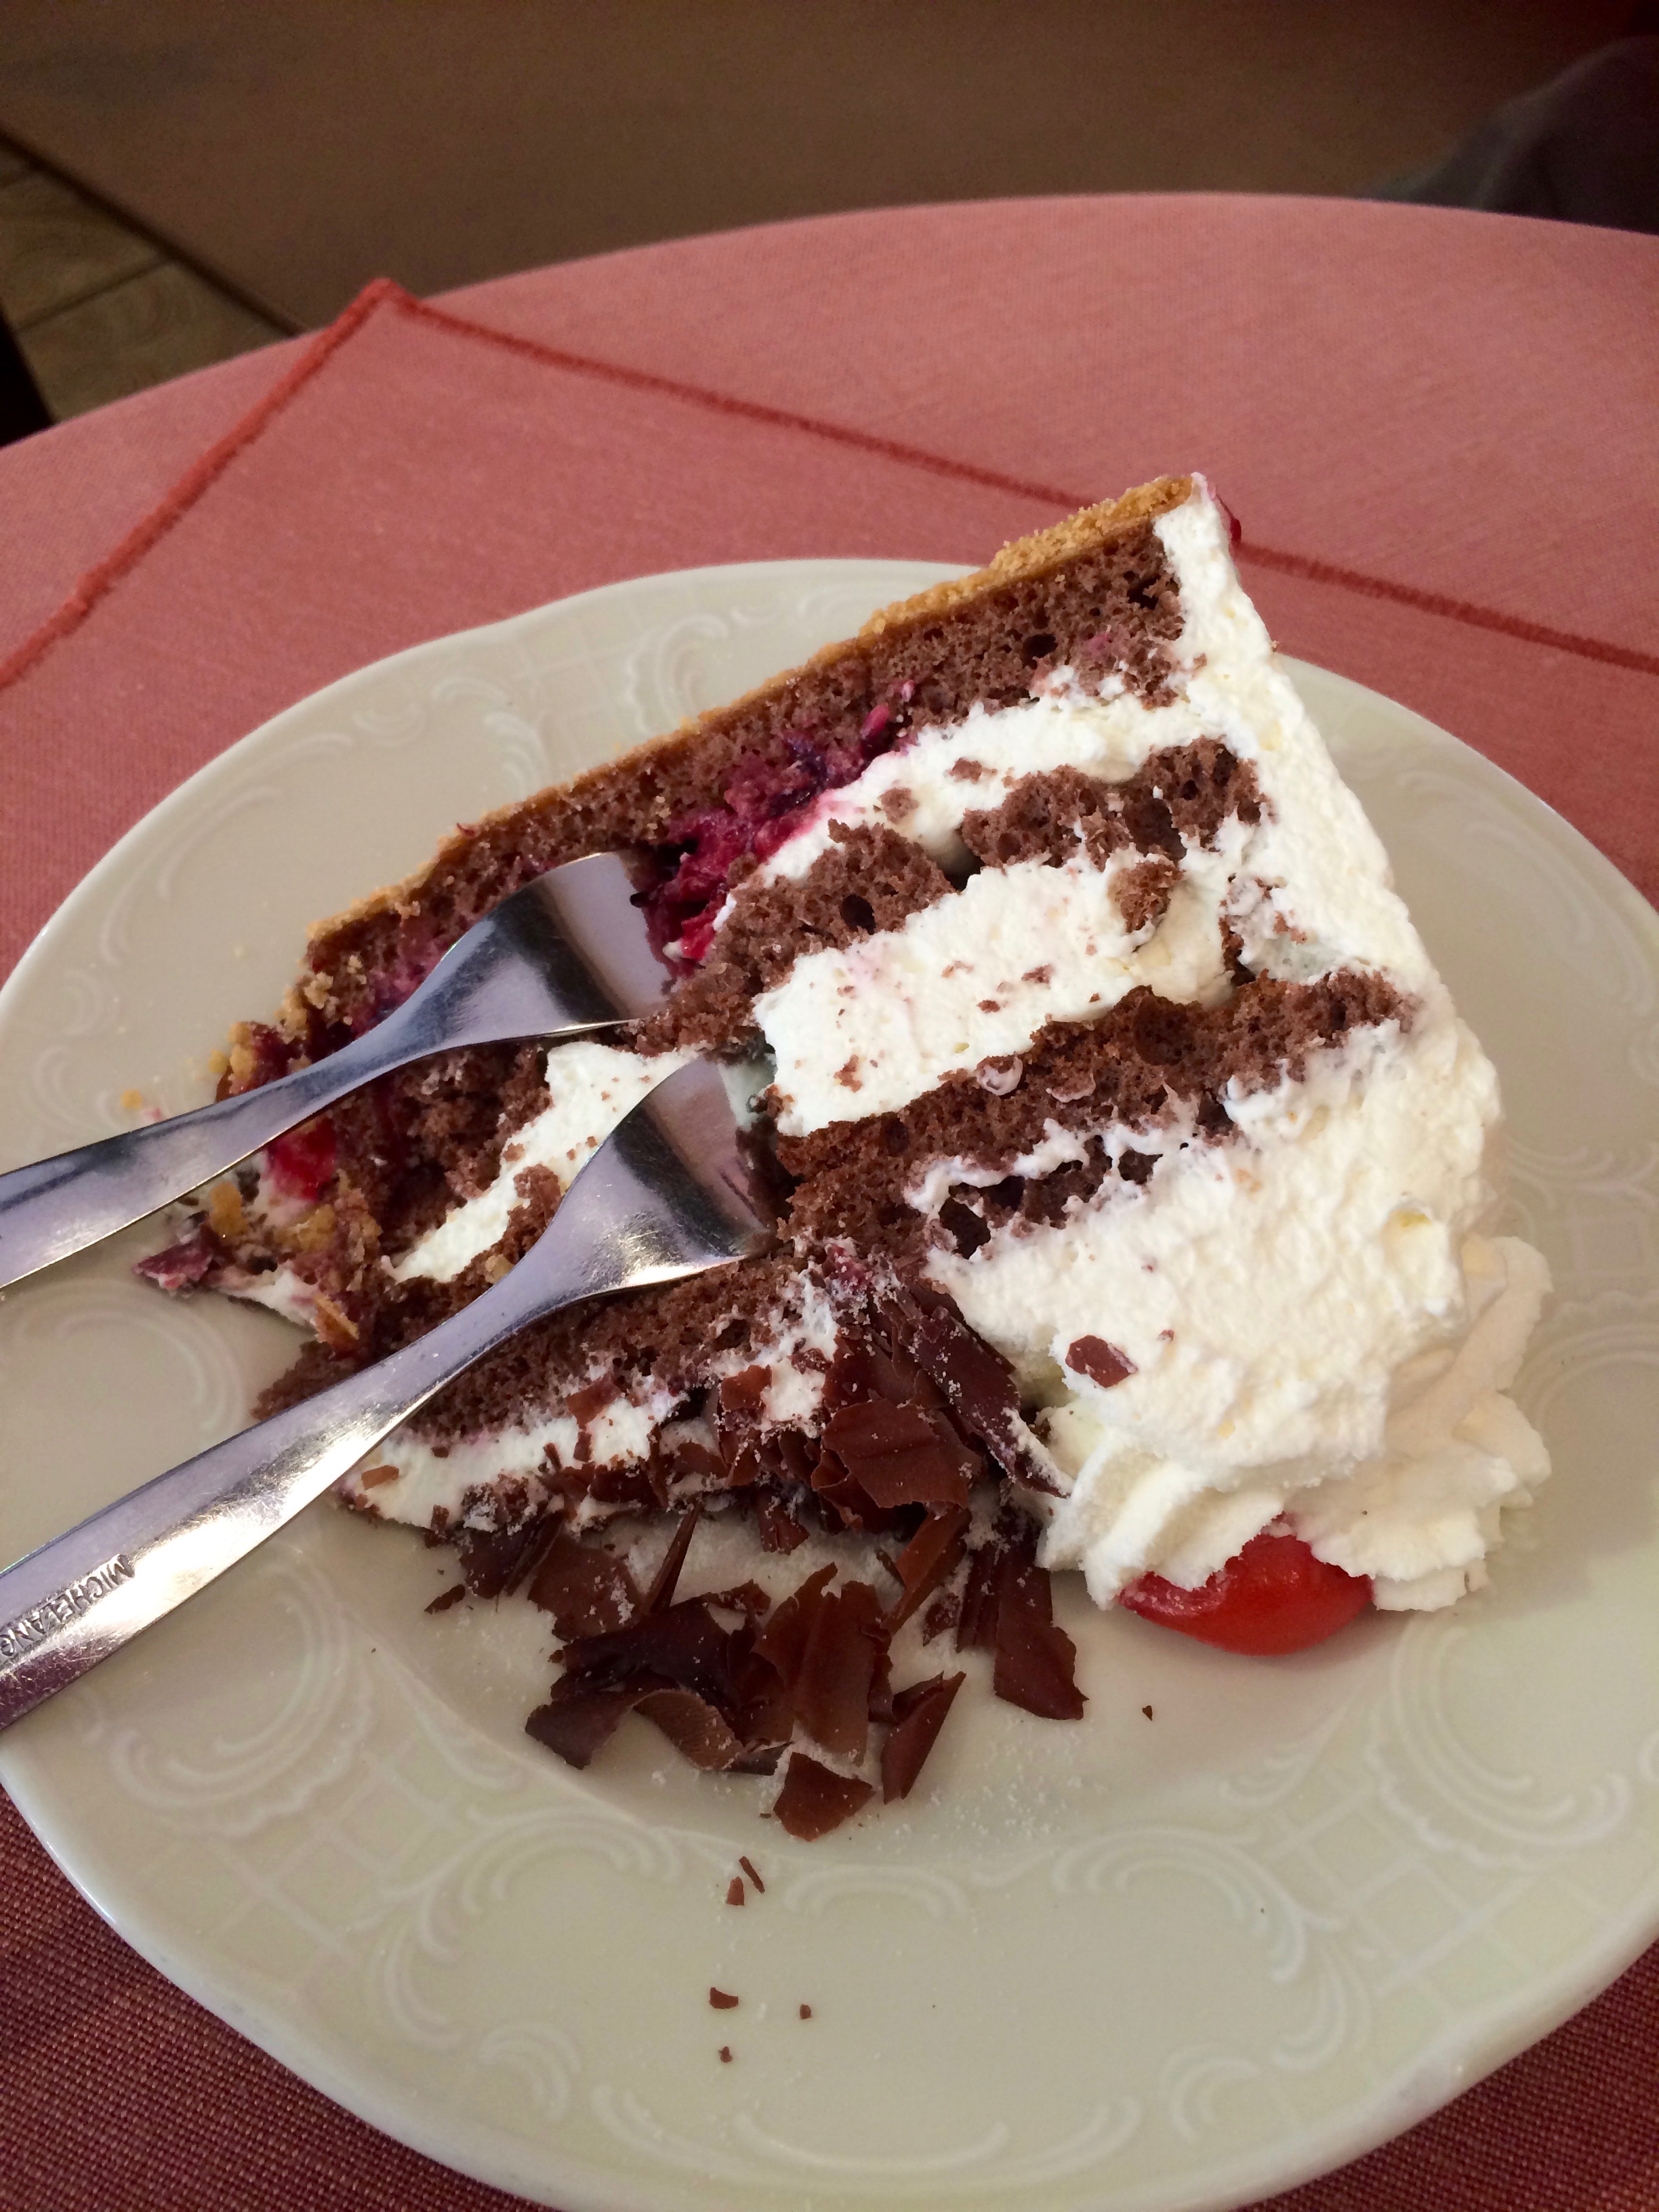
The original Black Forest Cake at Cafe Schafer, drowned in schnapps. Seriously, anyone could get drunk off this slice of cake.IMG_5008

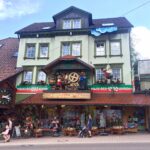
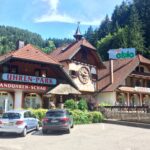
The Black Forest is famous for its high quality, handmade wooden cuckoo clocks. During the brutally long winters, the people, with plenty of time on their hands, became masters of clock making, and the legacy continues today.  Below is the House of 1000 Clocks, a famous souvenir shop in the area.

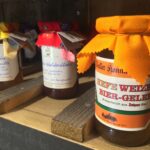
Clocks, clocks, and more clocks, and even local delicacies such as beer jam!

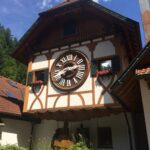
Just several kilometers north of Triberg is the world’s largest cuckoo clock, if it can even be considered a real cuckoo clock.  Silly, cheesy fun.

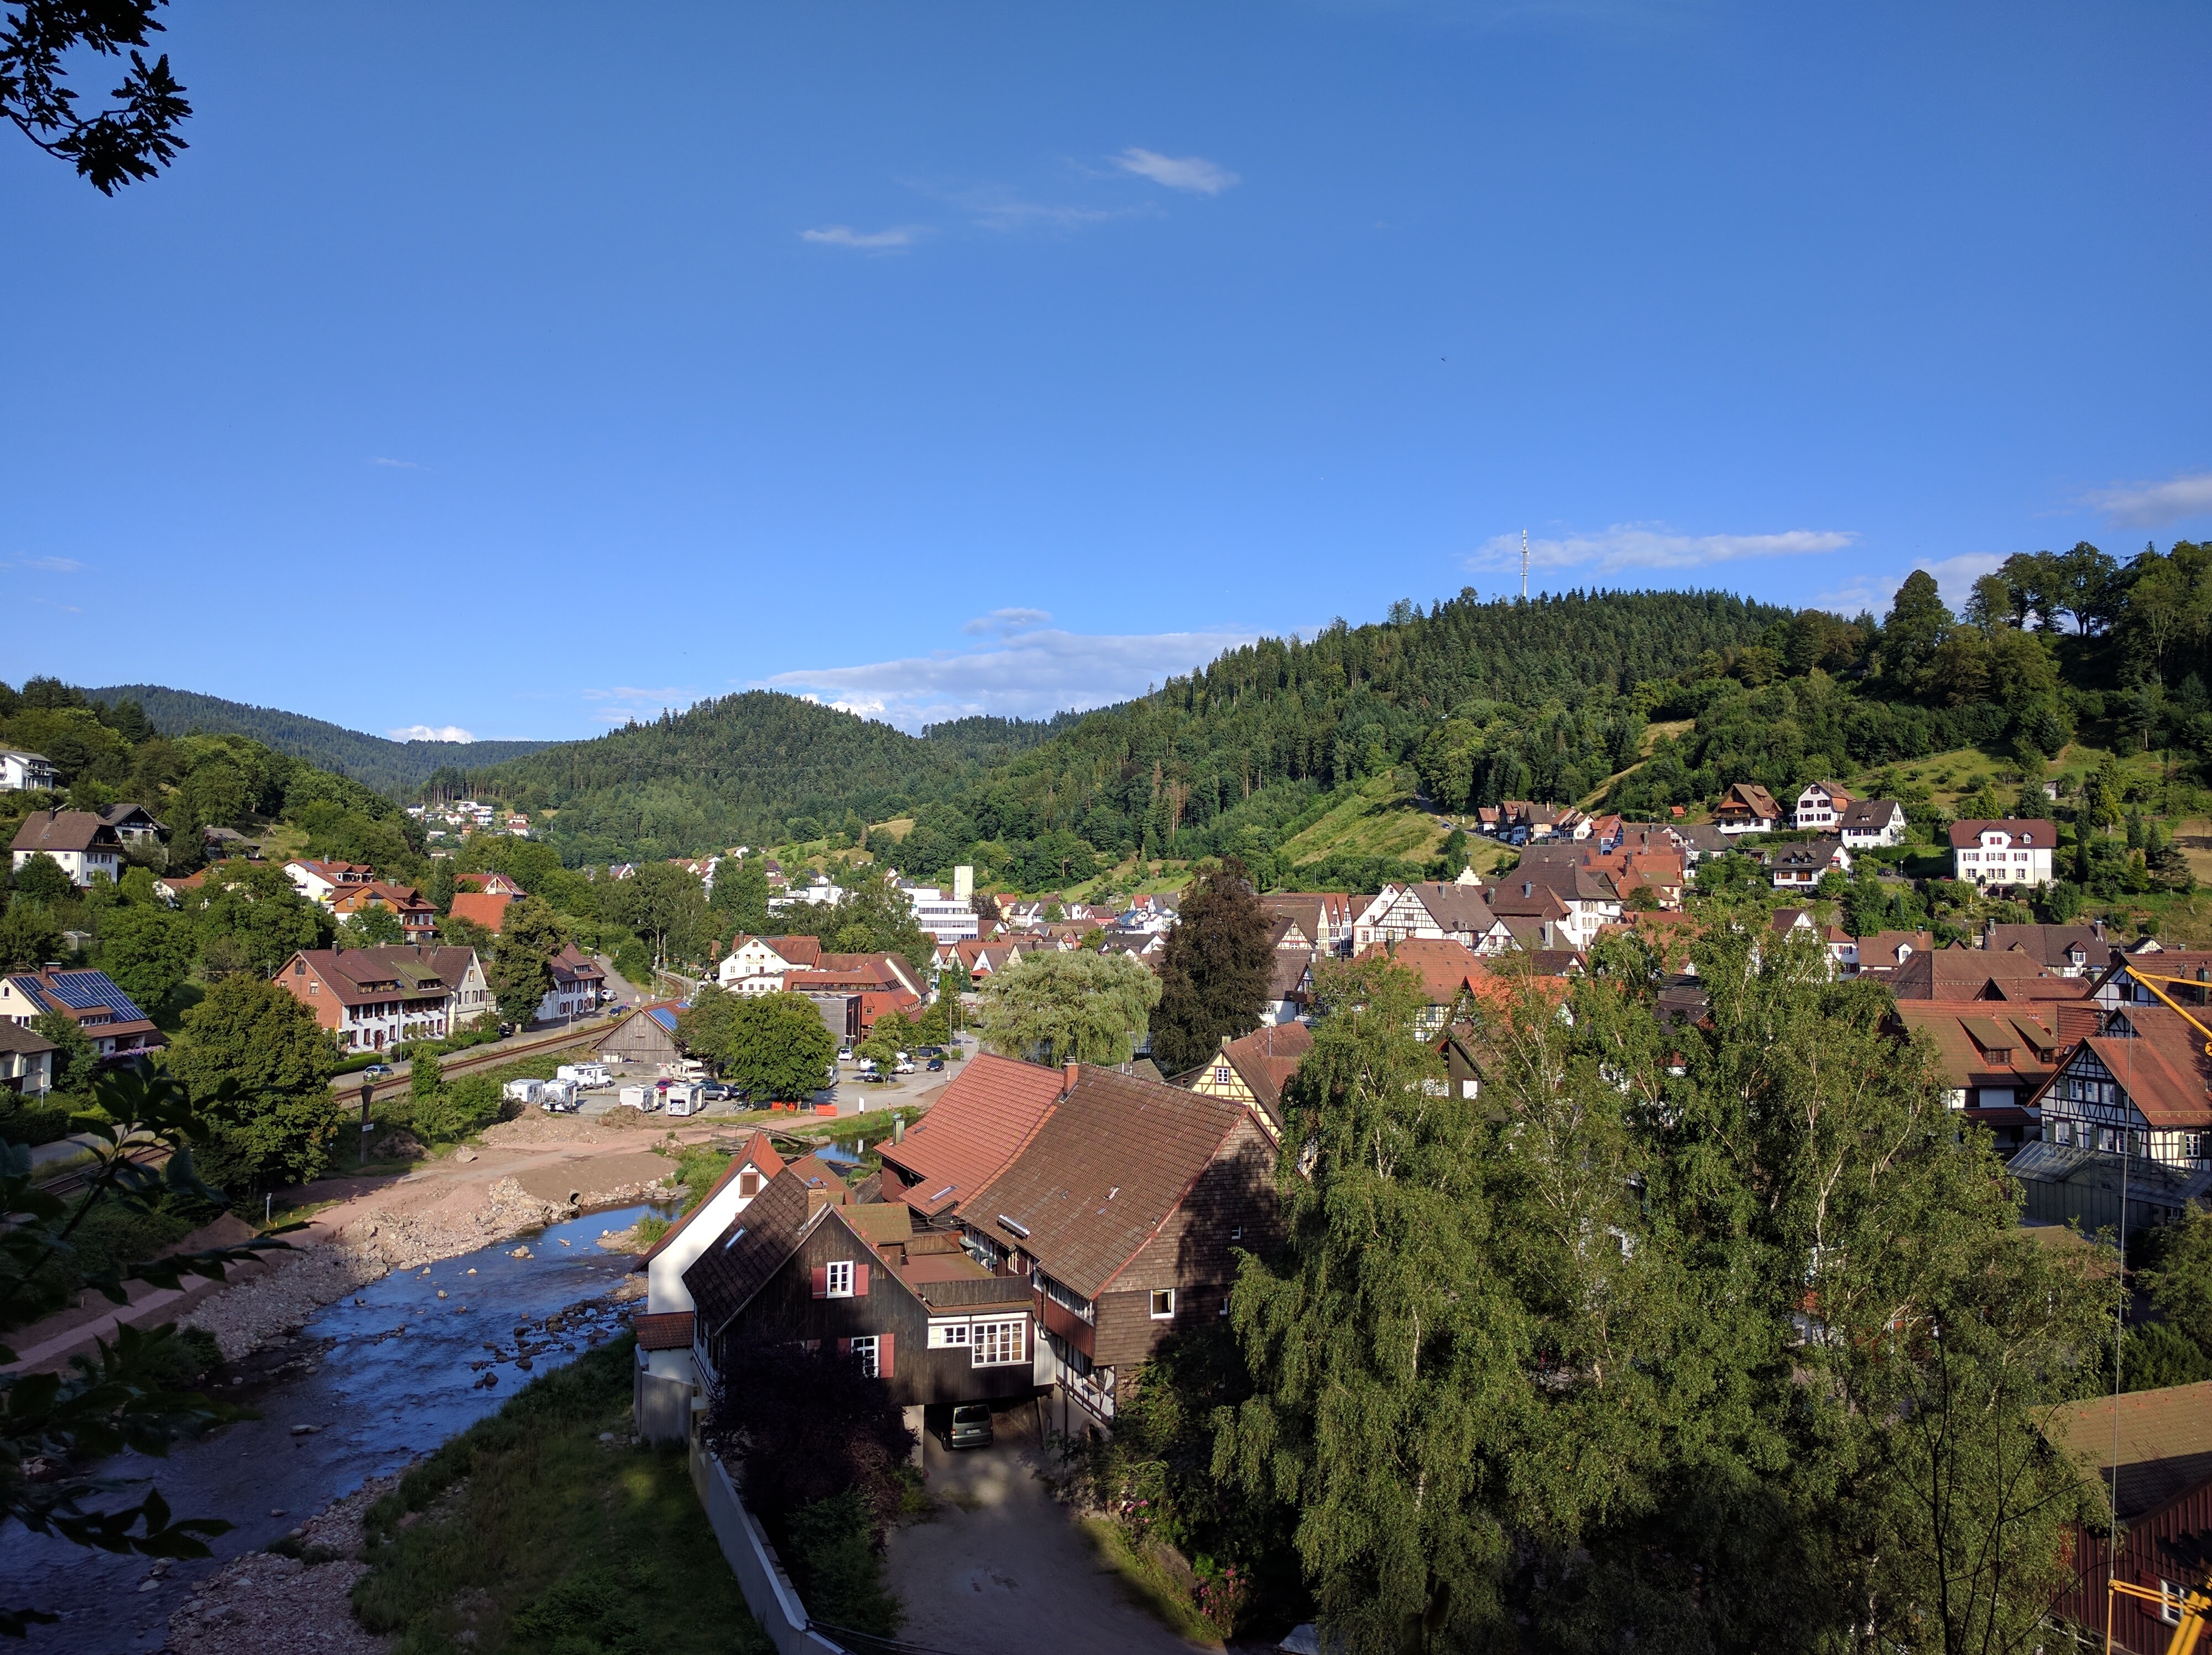
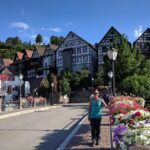
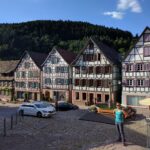
Our day ended with perhaps our highlight of our Black Forest visit: the tiny village of Shiltach, arguably the cutest village in the Black Forest.  Wandering the streets between the half timbered houses left me in awe the same way Rothenburg did, except hardly anyone knows about Shiltach.  To top it off, the tiny town even offered a donation-based lot for motorhomers, equipped with water and electricity!  All the motorhomes can be seen on the left of this photo, with the village to the right:IMG_20160801_184315

Too-cute Shiltach:

The tiny, quaint villages of Shiltach and Triberg don’t actually offer a whole lot of activities to do, which is ideal because it brings out the true definition of the simple pleasures of life: walking through quiet streets, admiring architecture and nature, trying new foods, and relaxing amidst serene forests.  Because the Black Forest remains relatively off of Germany’s tourist radar, the region is a wonderful place to visit in the summer.  There are plenty of other villages, and even a couple of lovely cities, but we kept our visit to the Black Forest a short one due to time.  It was still worth it.

Posted in Germany | Tagged , , | Leave a comment

Lauterbrunnen Valley

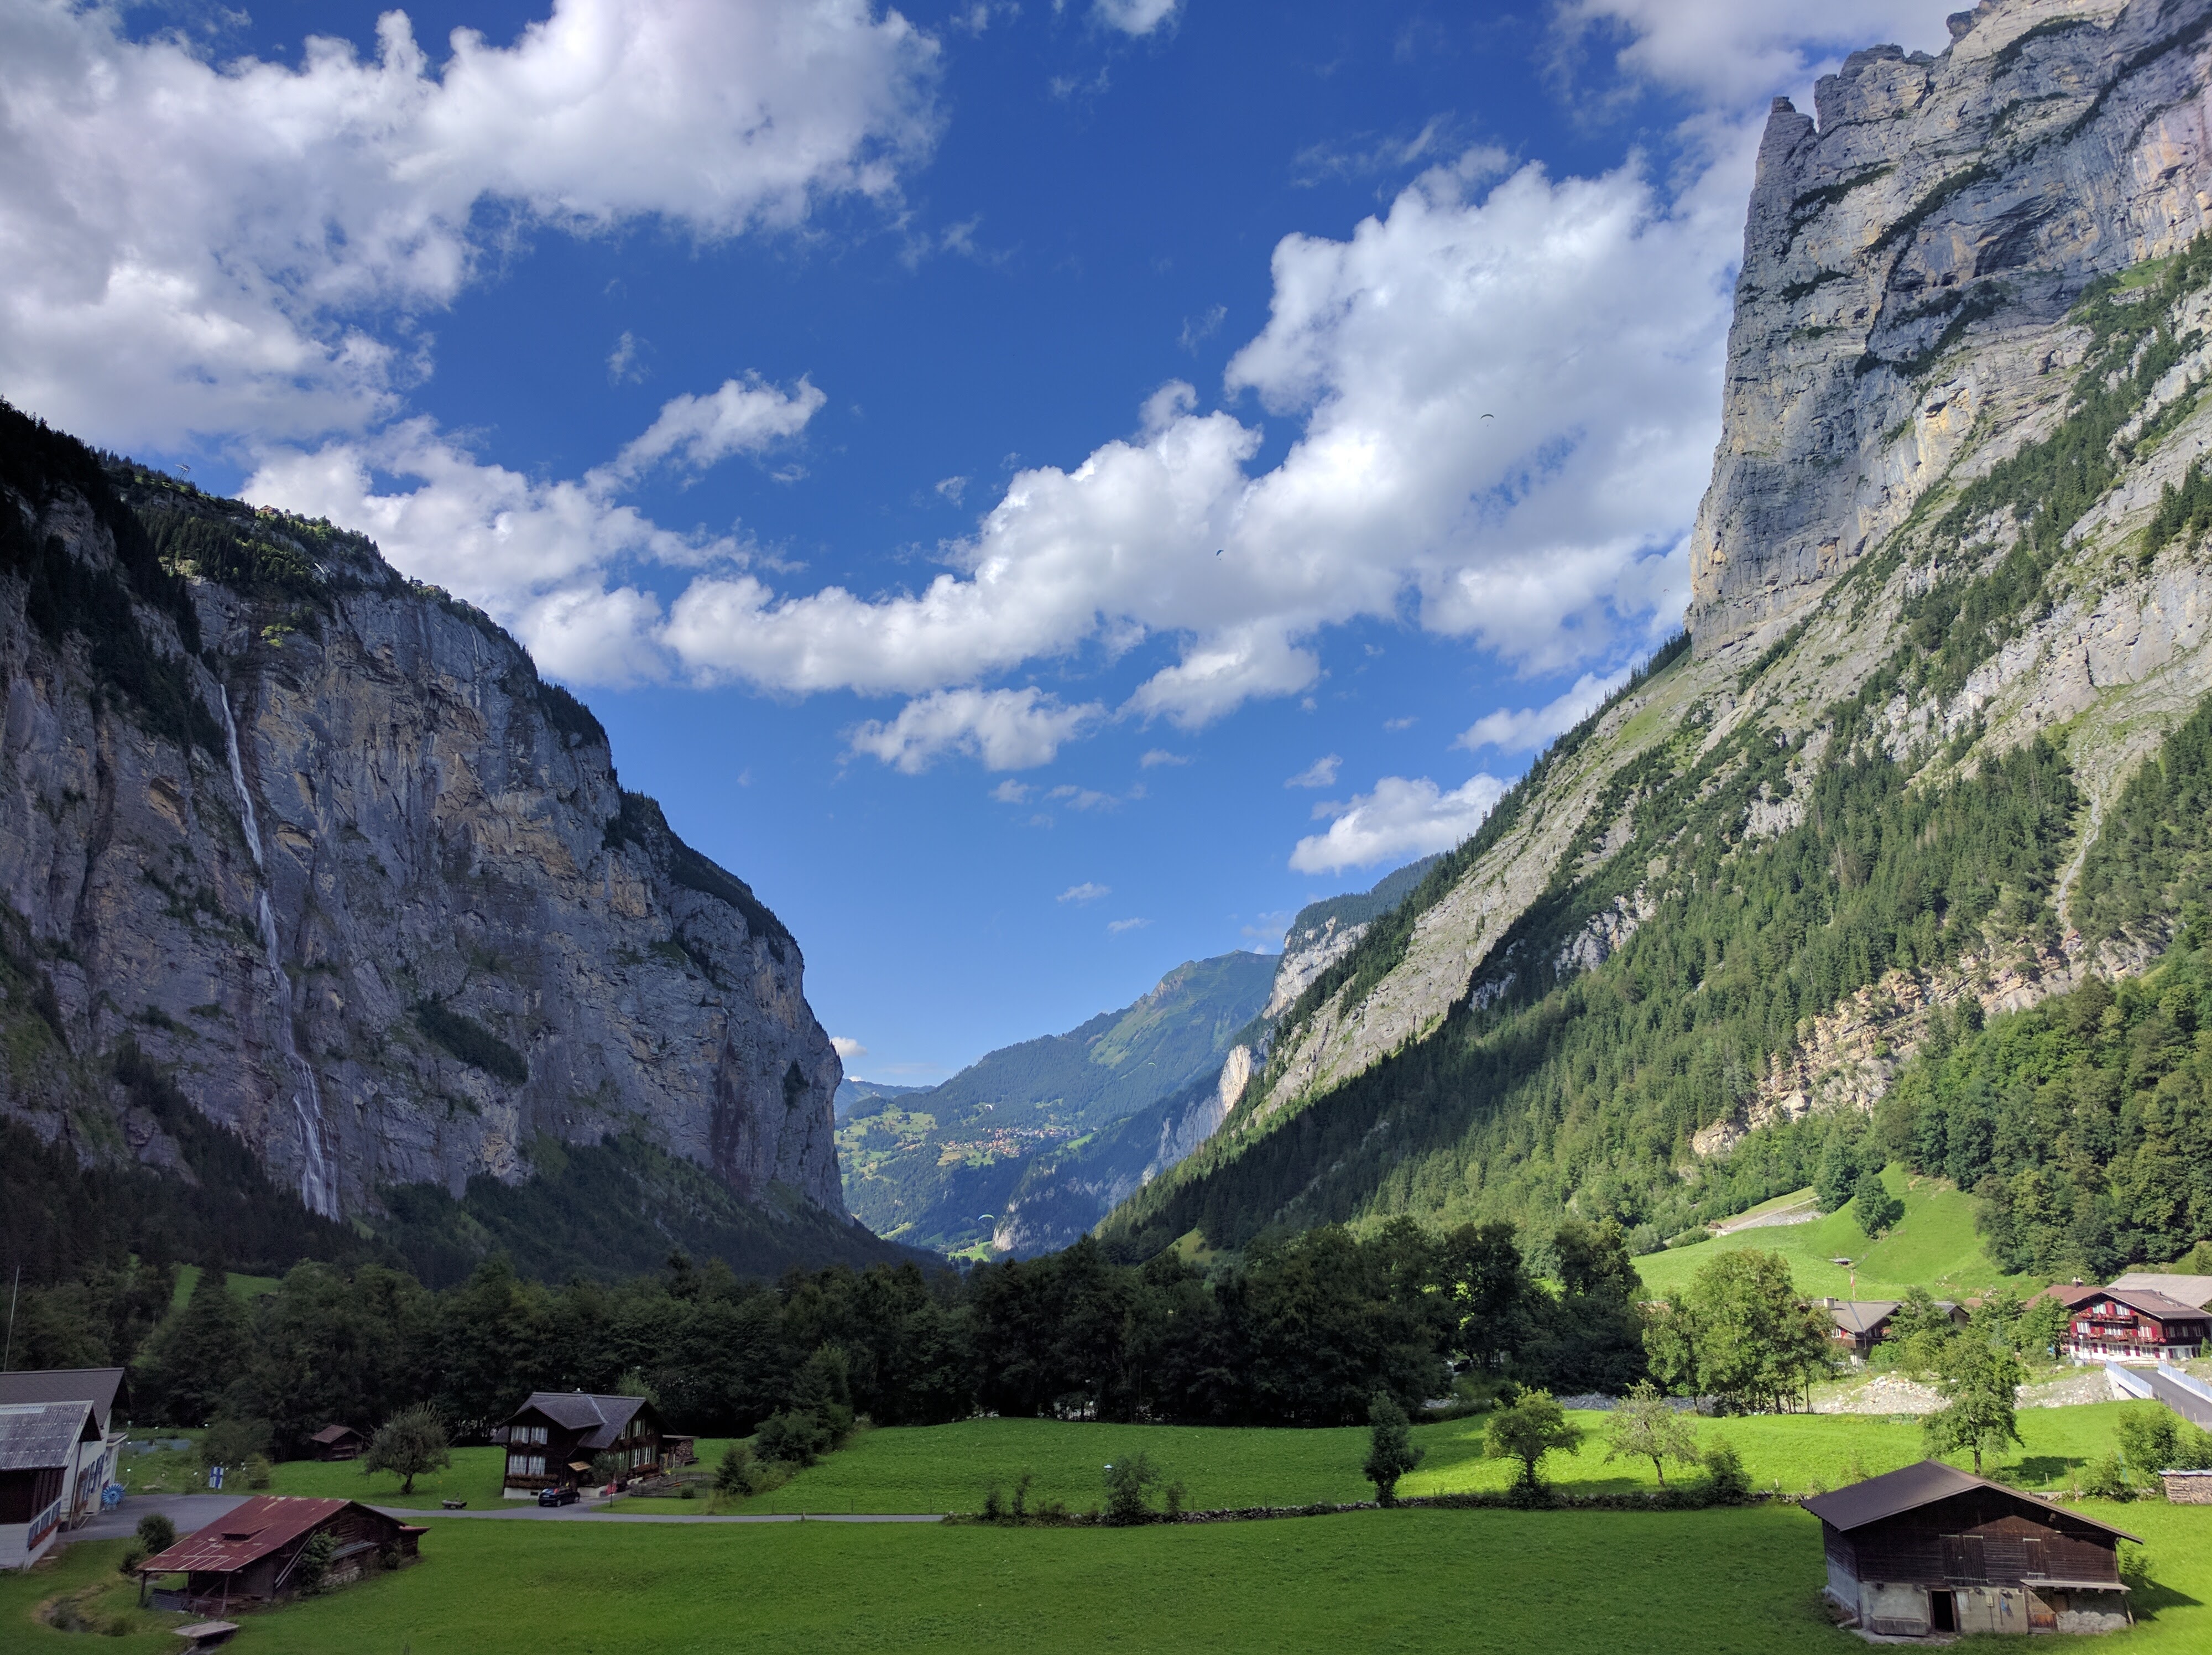
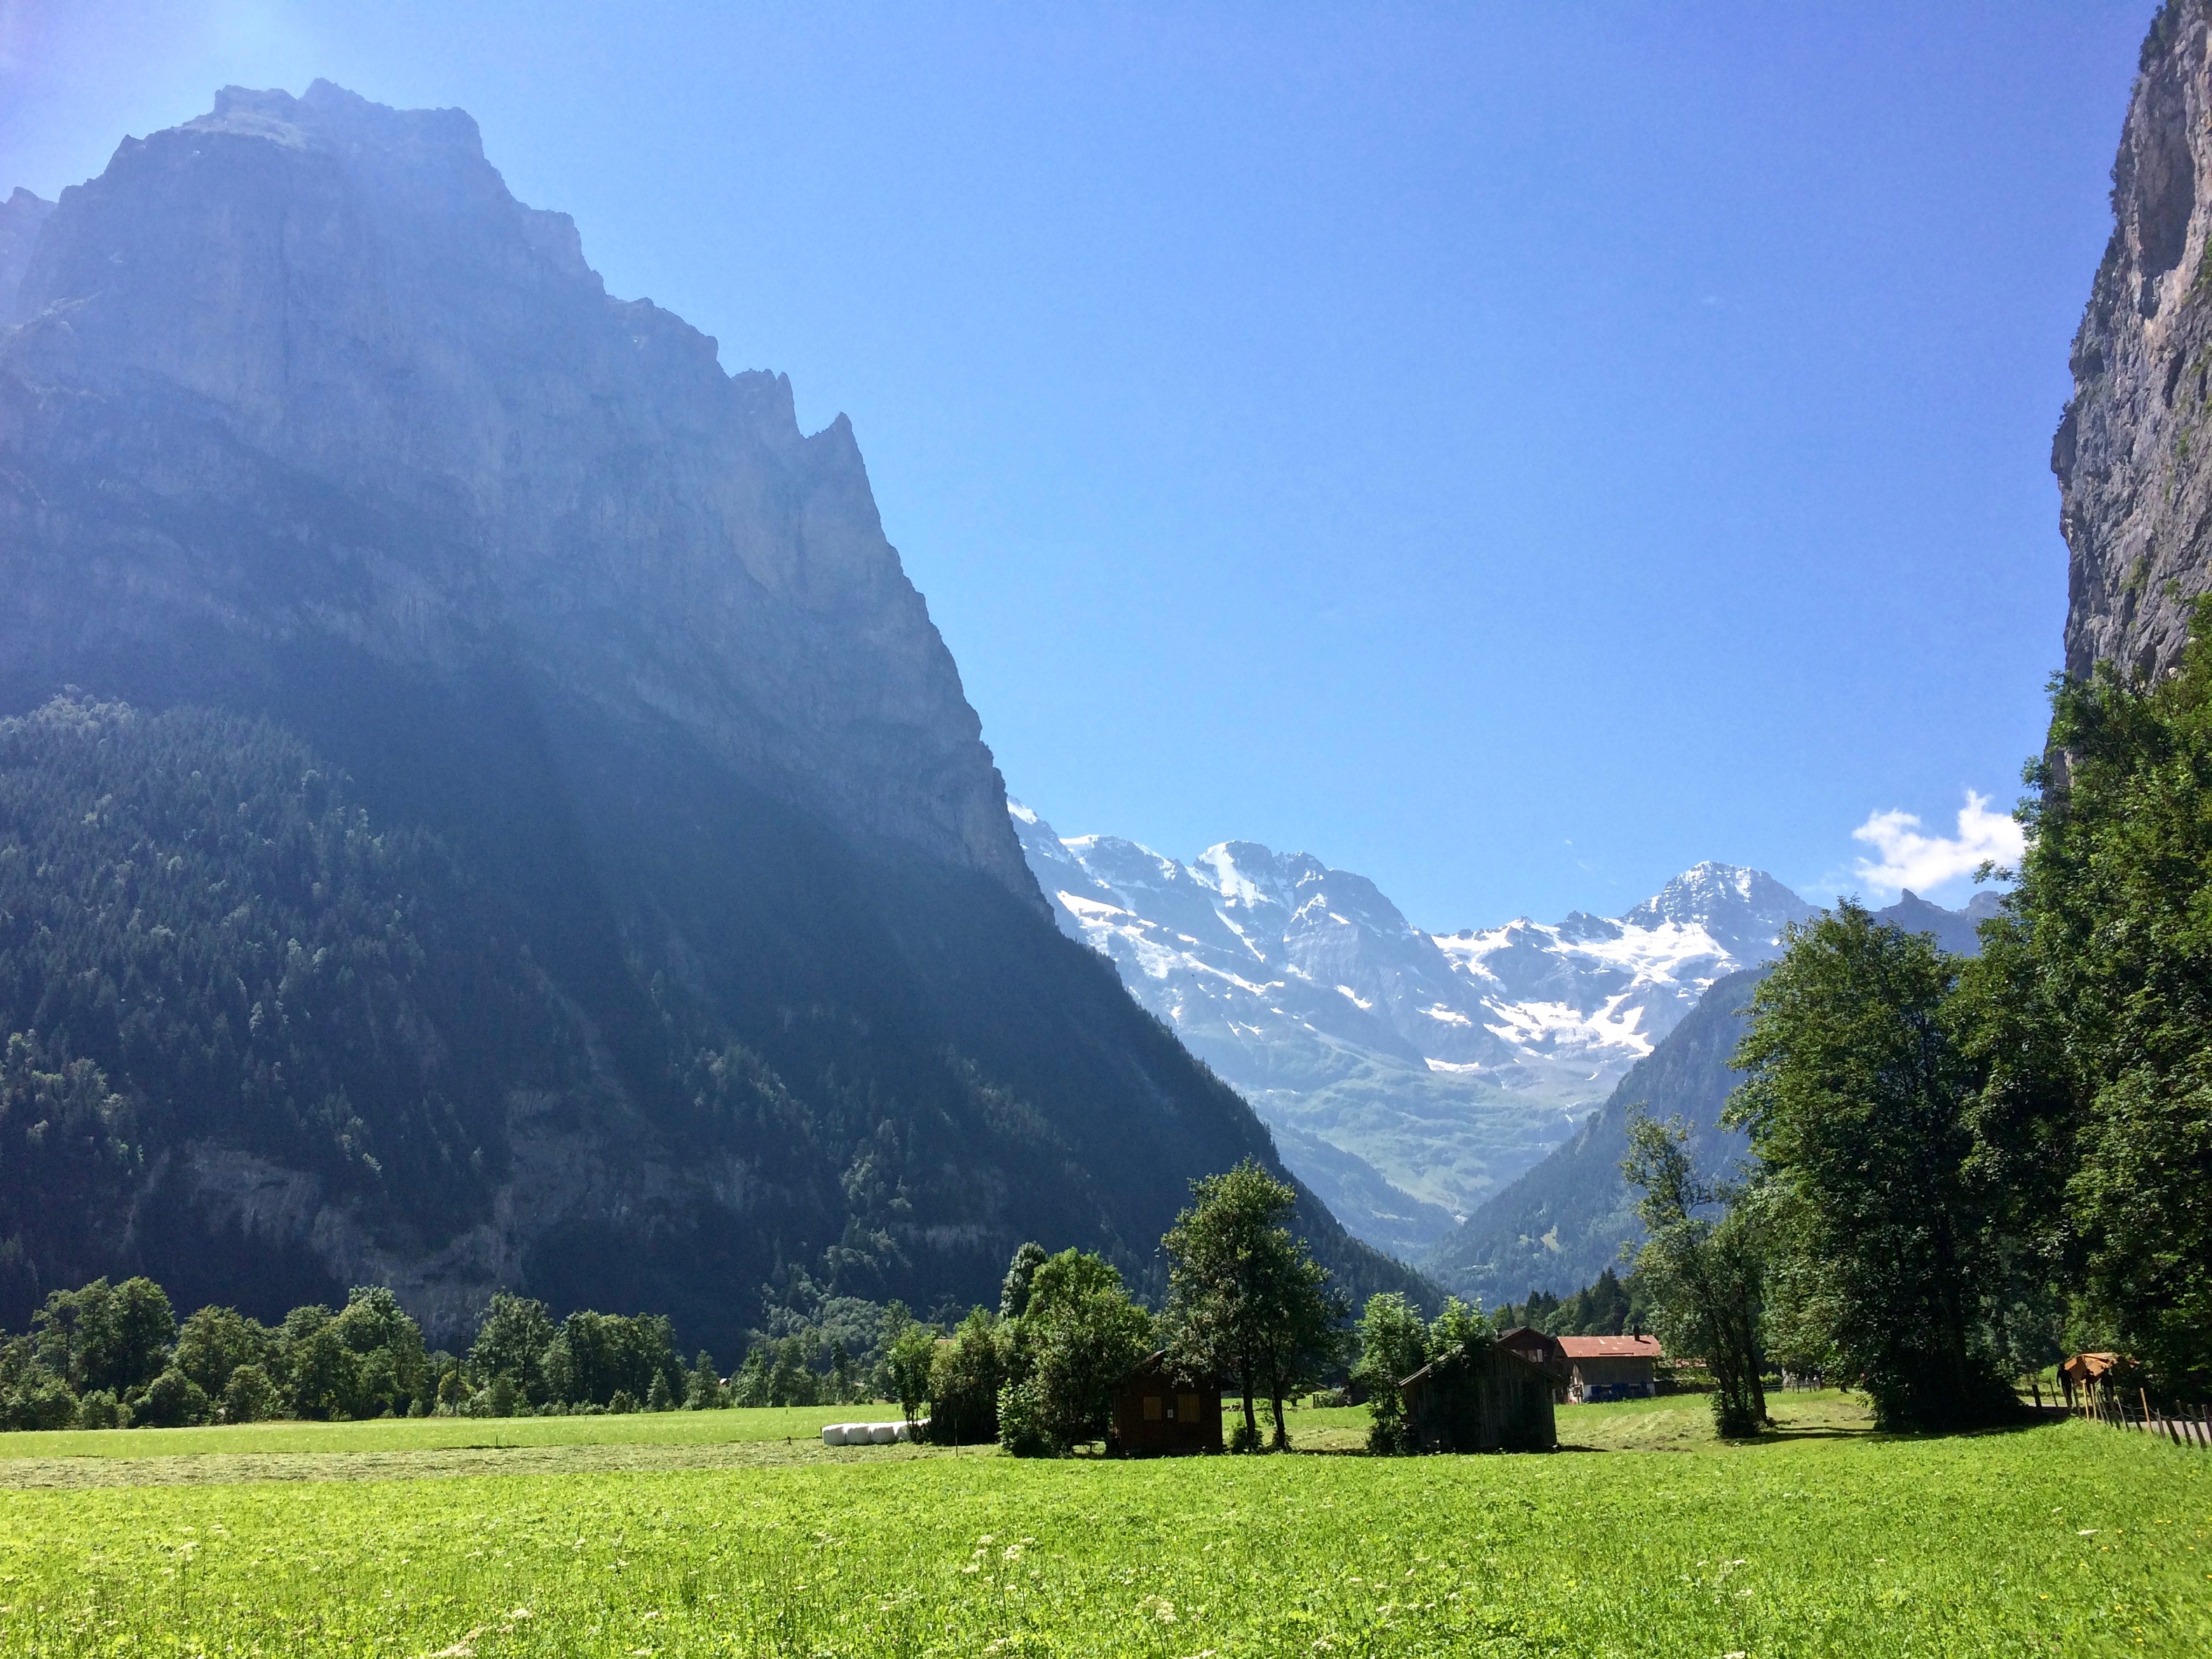
Lauterbrunnen Valley.

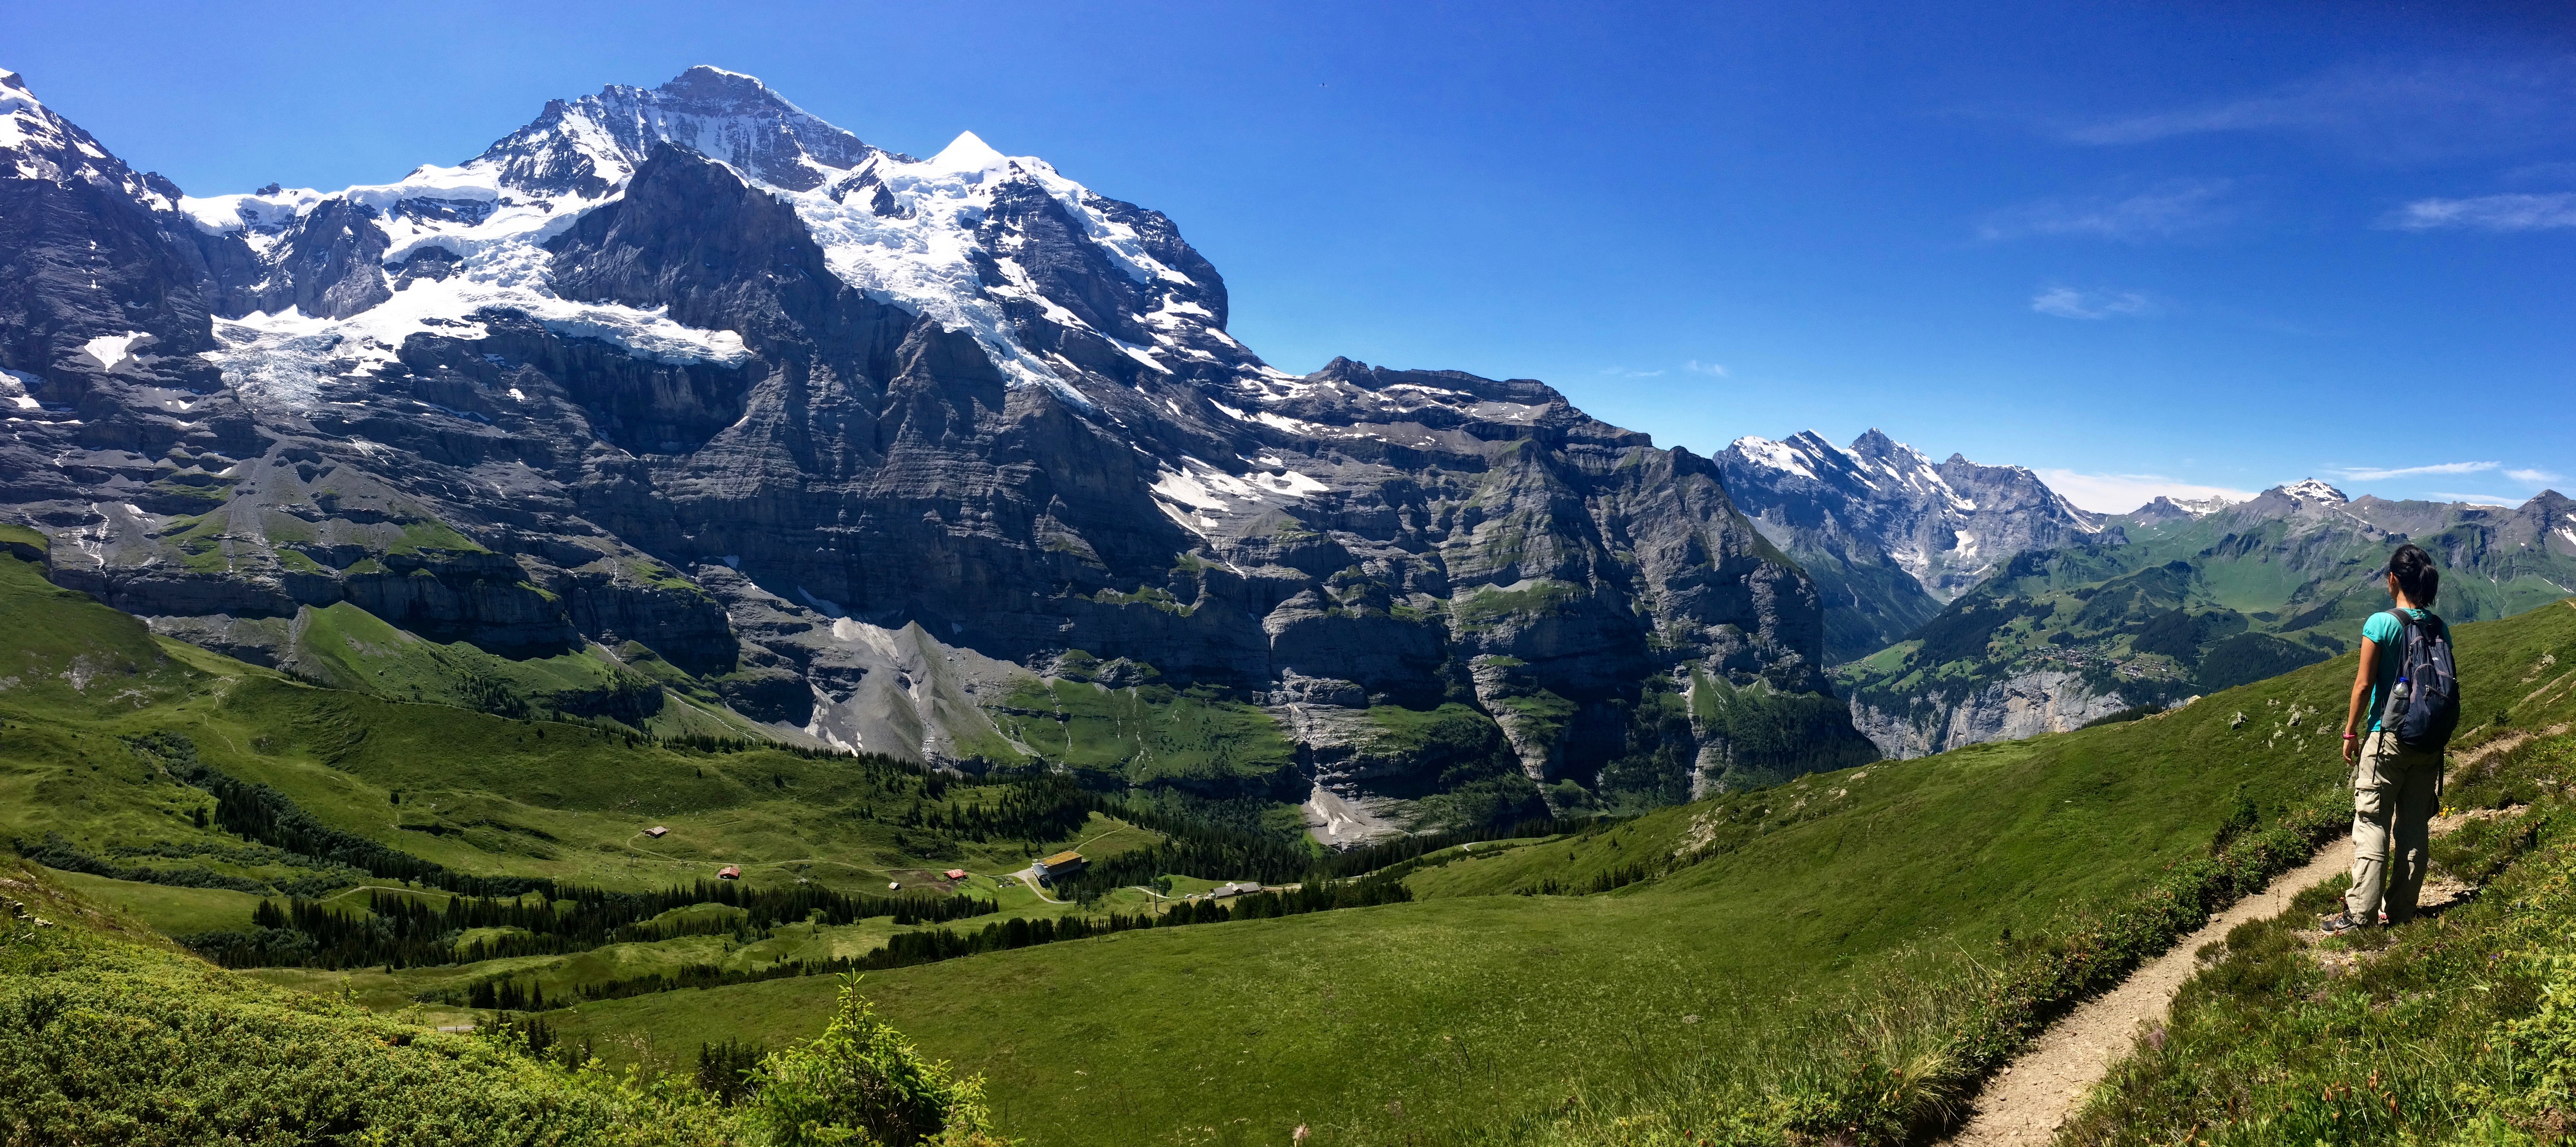
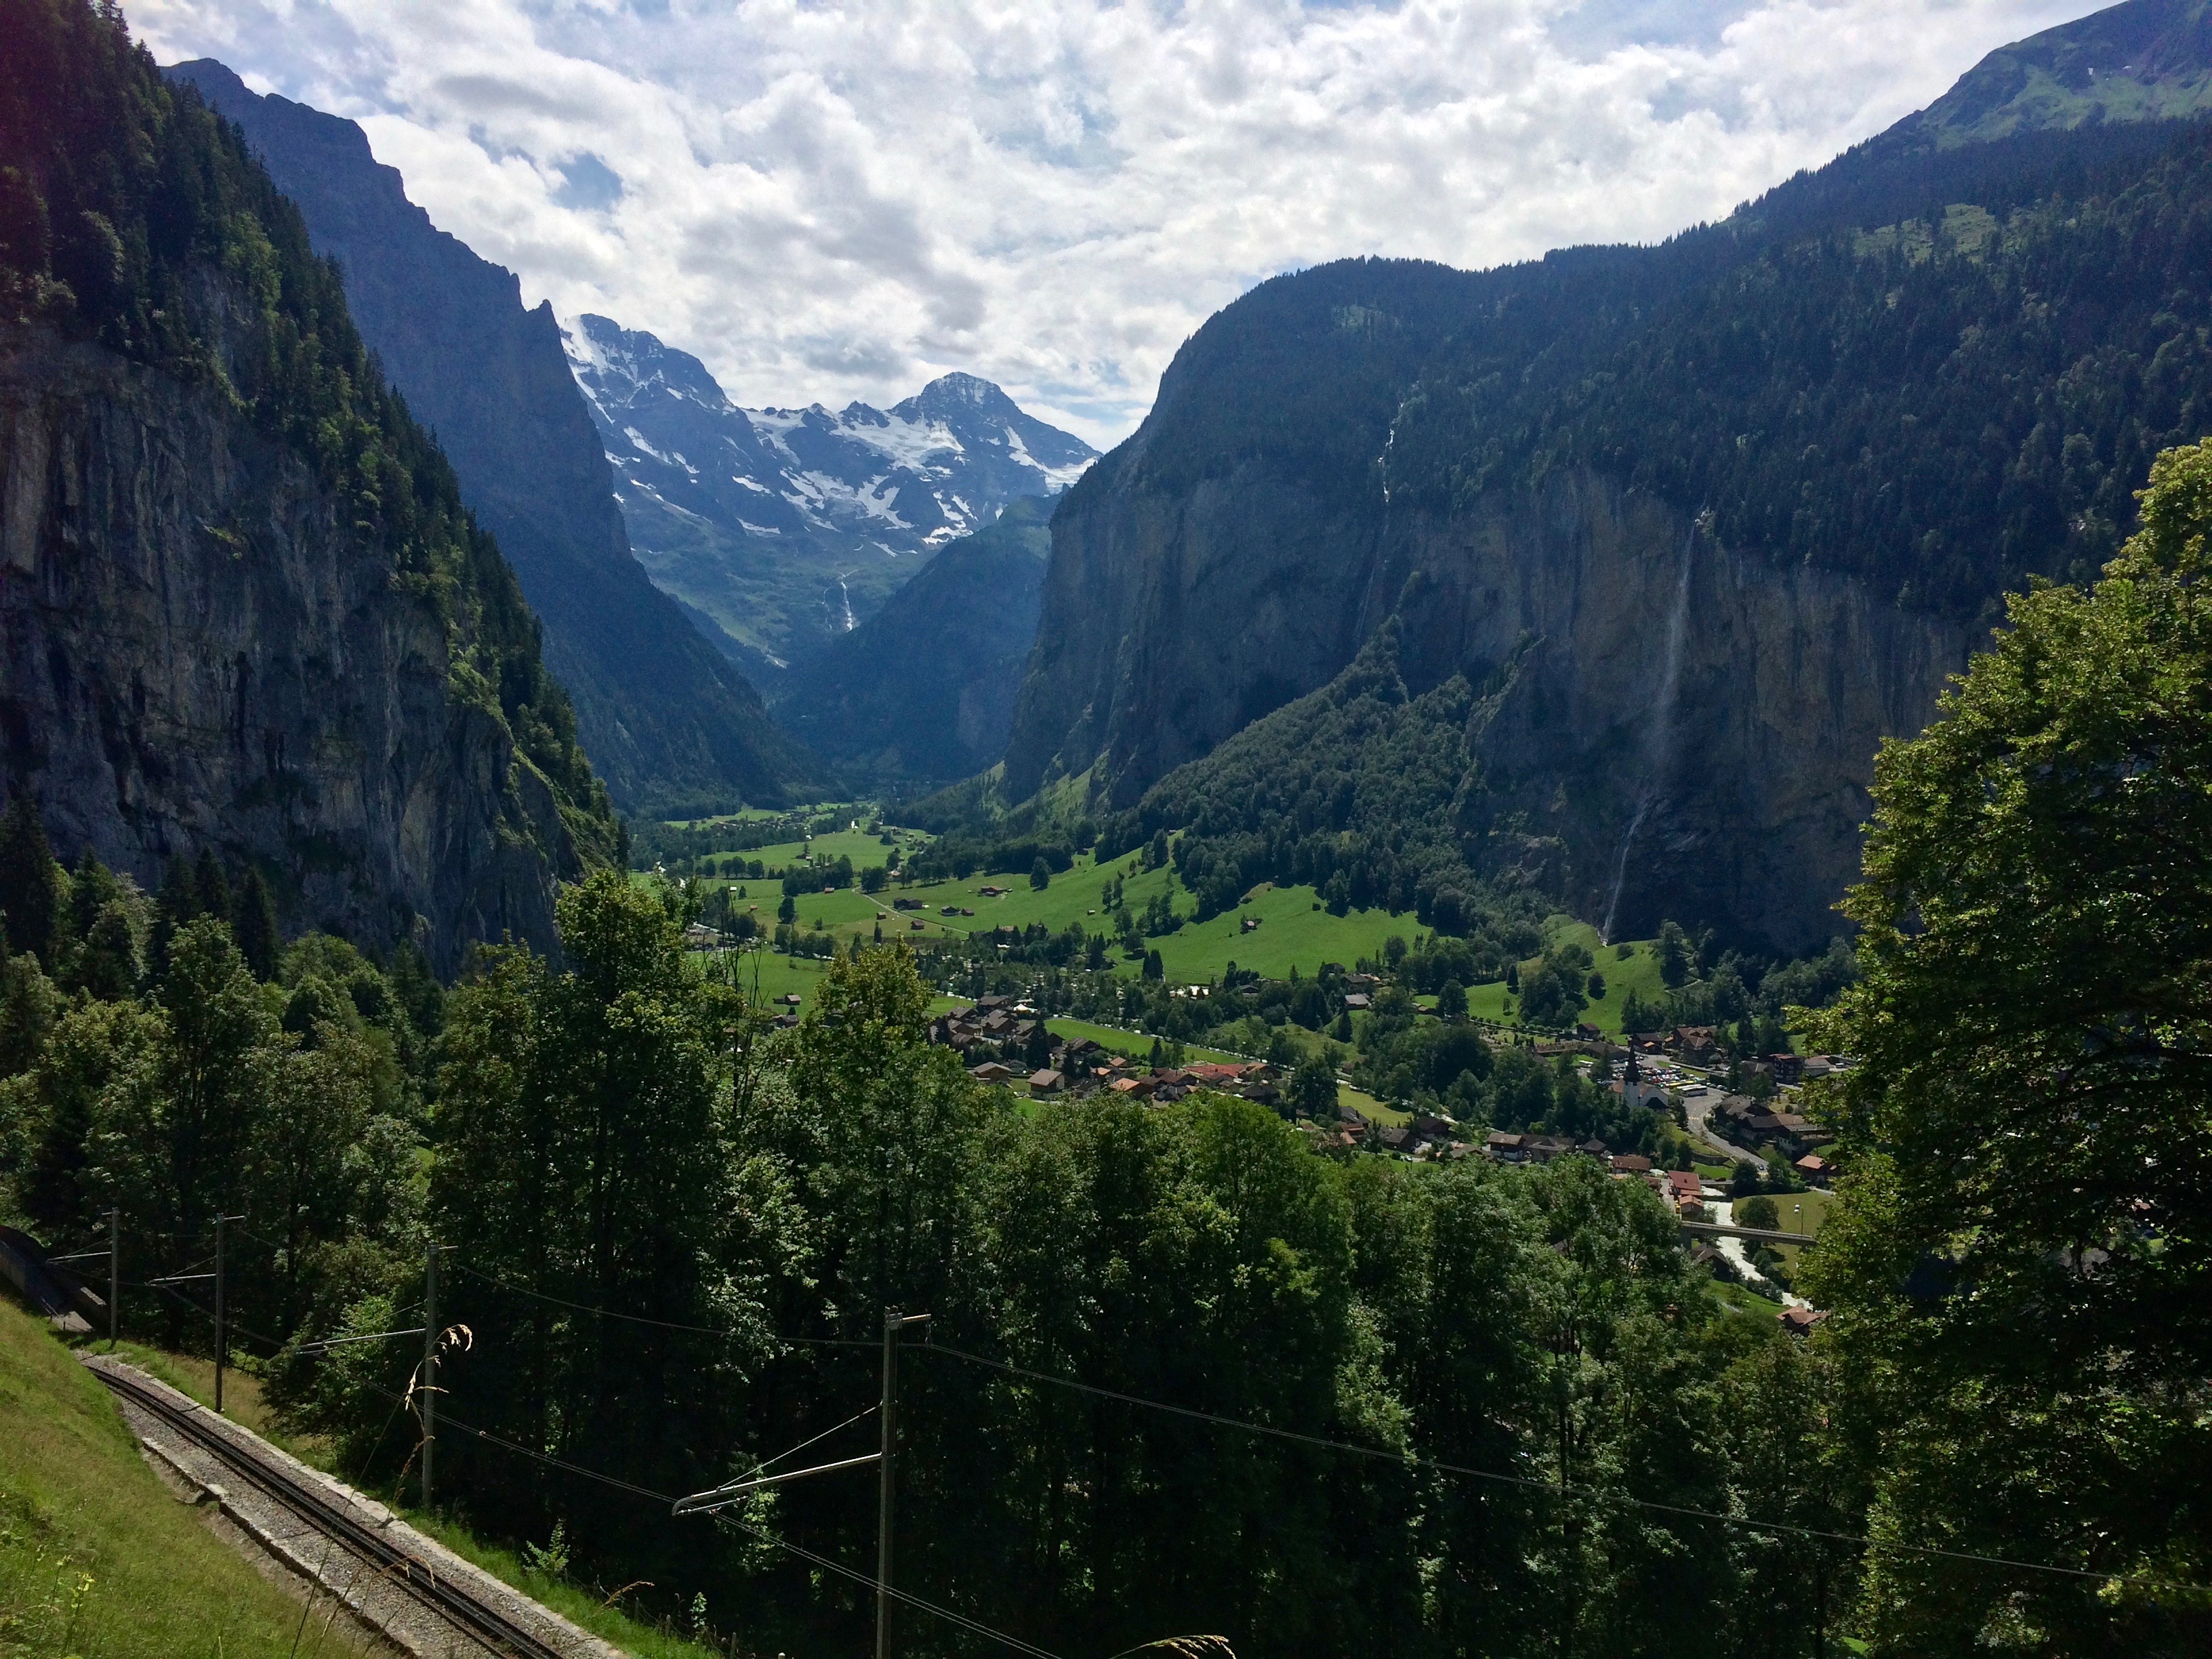
This is why people come to Switzerland.  To soak in Switzerland’s widely known natural wonder, to admire one of the rare valleys arguably more beautiful than Yosemite, to fly, to jump, to hike.

We had arrived to Lauterbrunnen Valley regrettably too early in the season; late May still saw endless gray skies and there was no end to the rain in the forecast.  Almost every hike in my itinerary was still closed due to snow and unfortunate weather.  After thinking long and hard, we made a choice to leave one dreary morning and return to Switzerland during the high season, the end of July, in order to relish Lauterbrunnen Valley at its prime time.

It was absolutely the right decision.

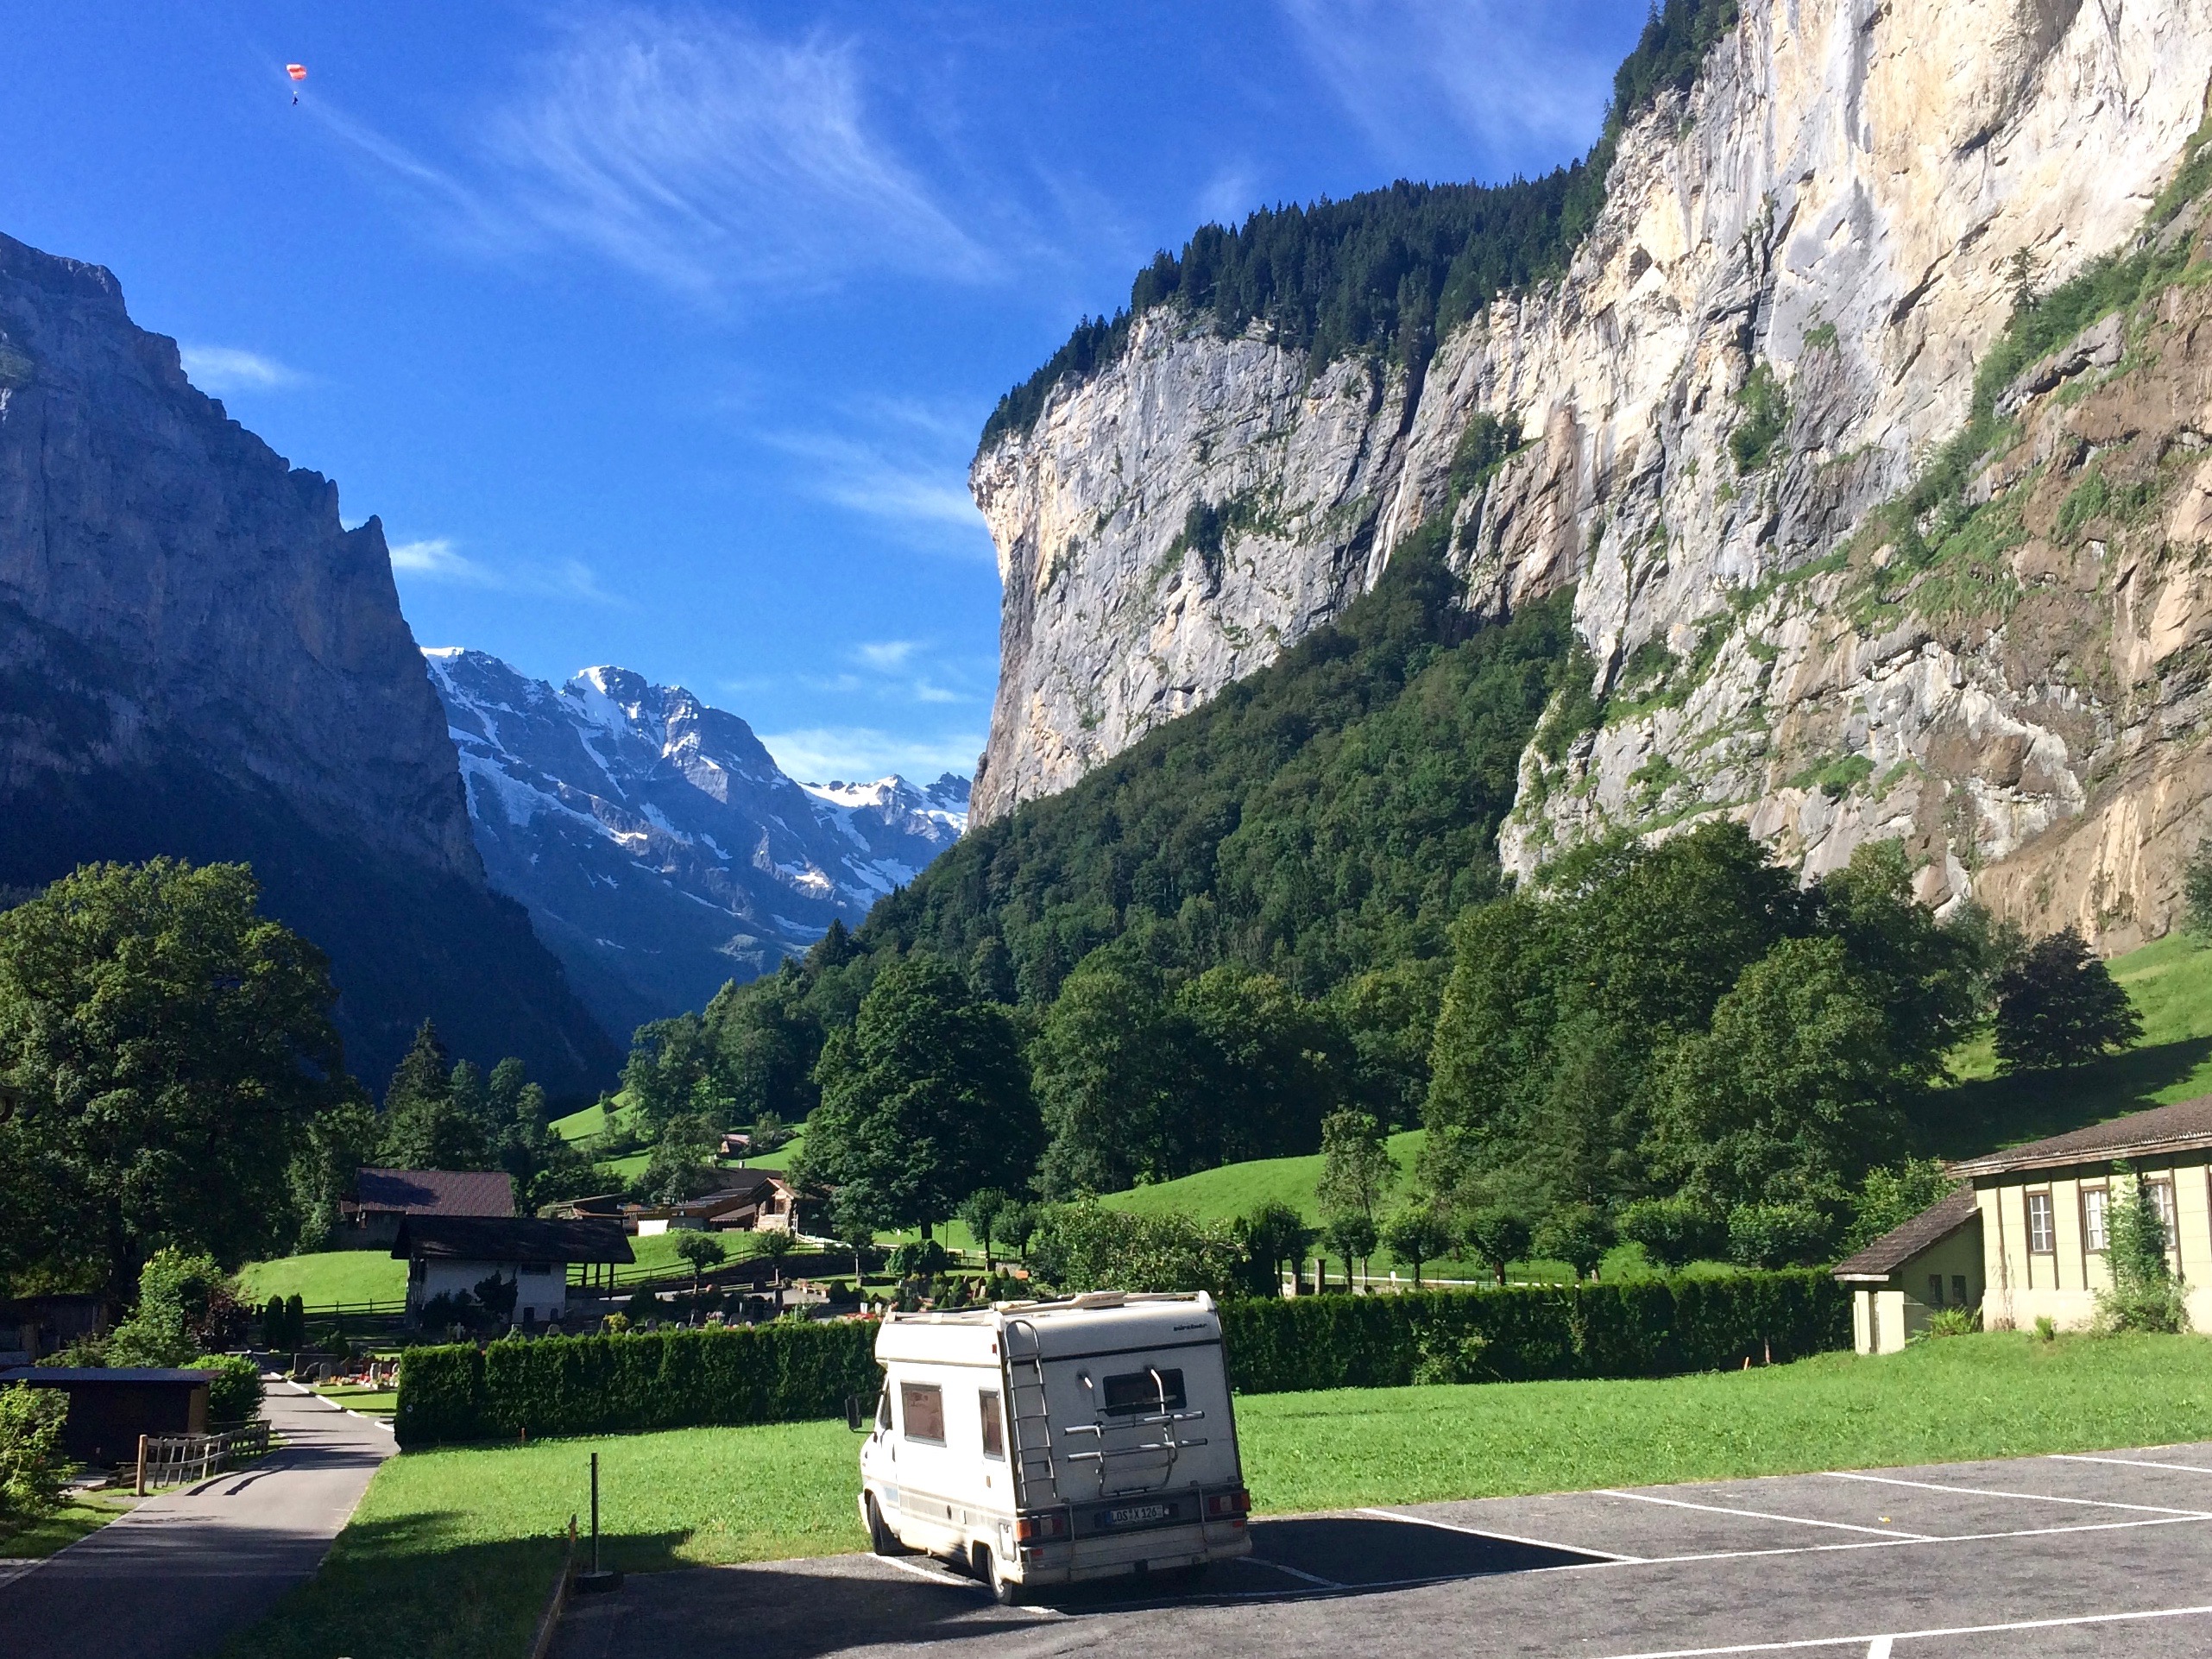
Early in the morning after a night in Grindelwald, we drove through the valley to the southernmost tip of Stechelberg.  Not wanting to deal with the valley’s strict rules against wild camping, we opted to spend one night at Camping Ruiti for 31 CHF/night.IMG_4856

We scarfed down breakfast and headed out for a wonderful stroll through the valley to the town of Lauterbrunnen.  Waterfalls, glacier-carved walls, distant mountains, and specks of parachutes illustrated the scenery before us.IMG_4860

1 hour and 20 minutes after walking along the flat valley road, we made the turn up a steep road toward Grutschalp.  There is an aerial cable car that runs from Lauterbrunnen to Grutschalp, and for good reason.  The incredibly steep, hot hike took us about 1 hour and 15 minutes, and no one else dared hike that trail.

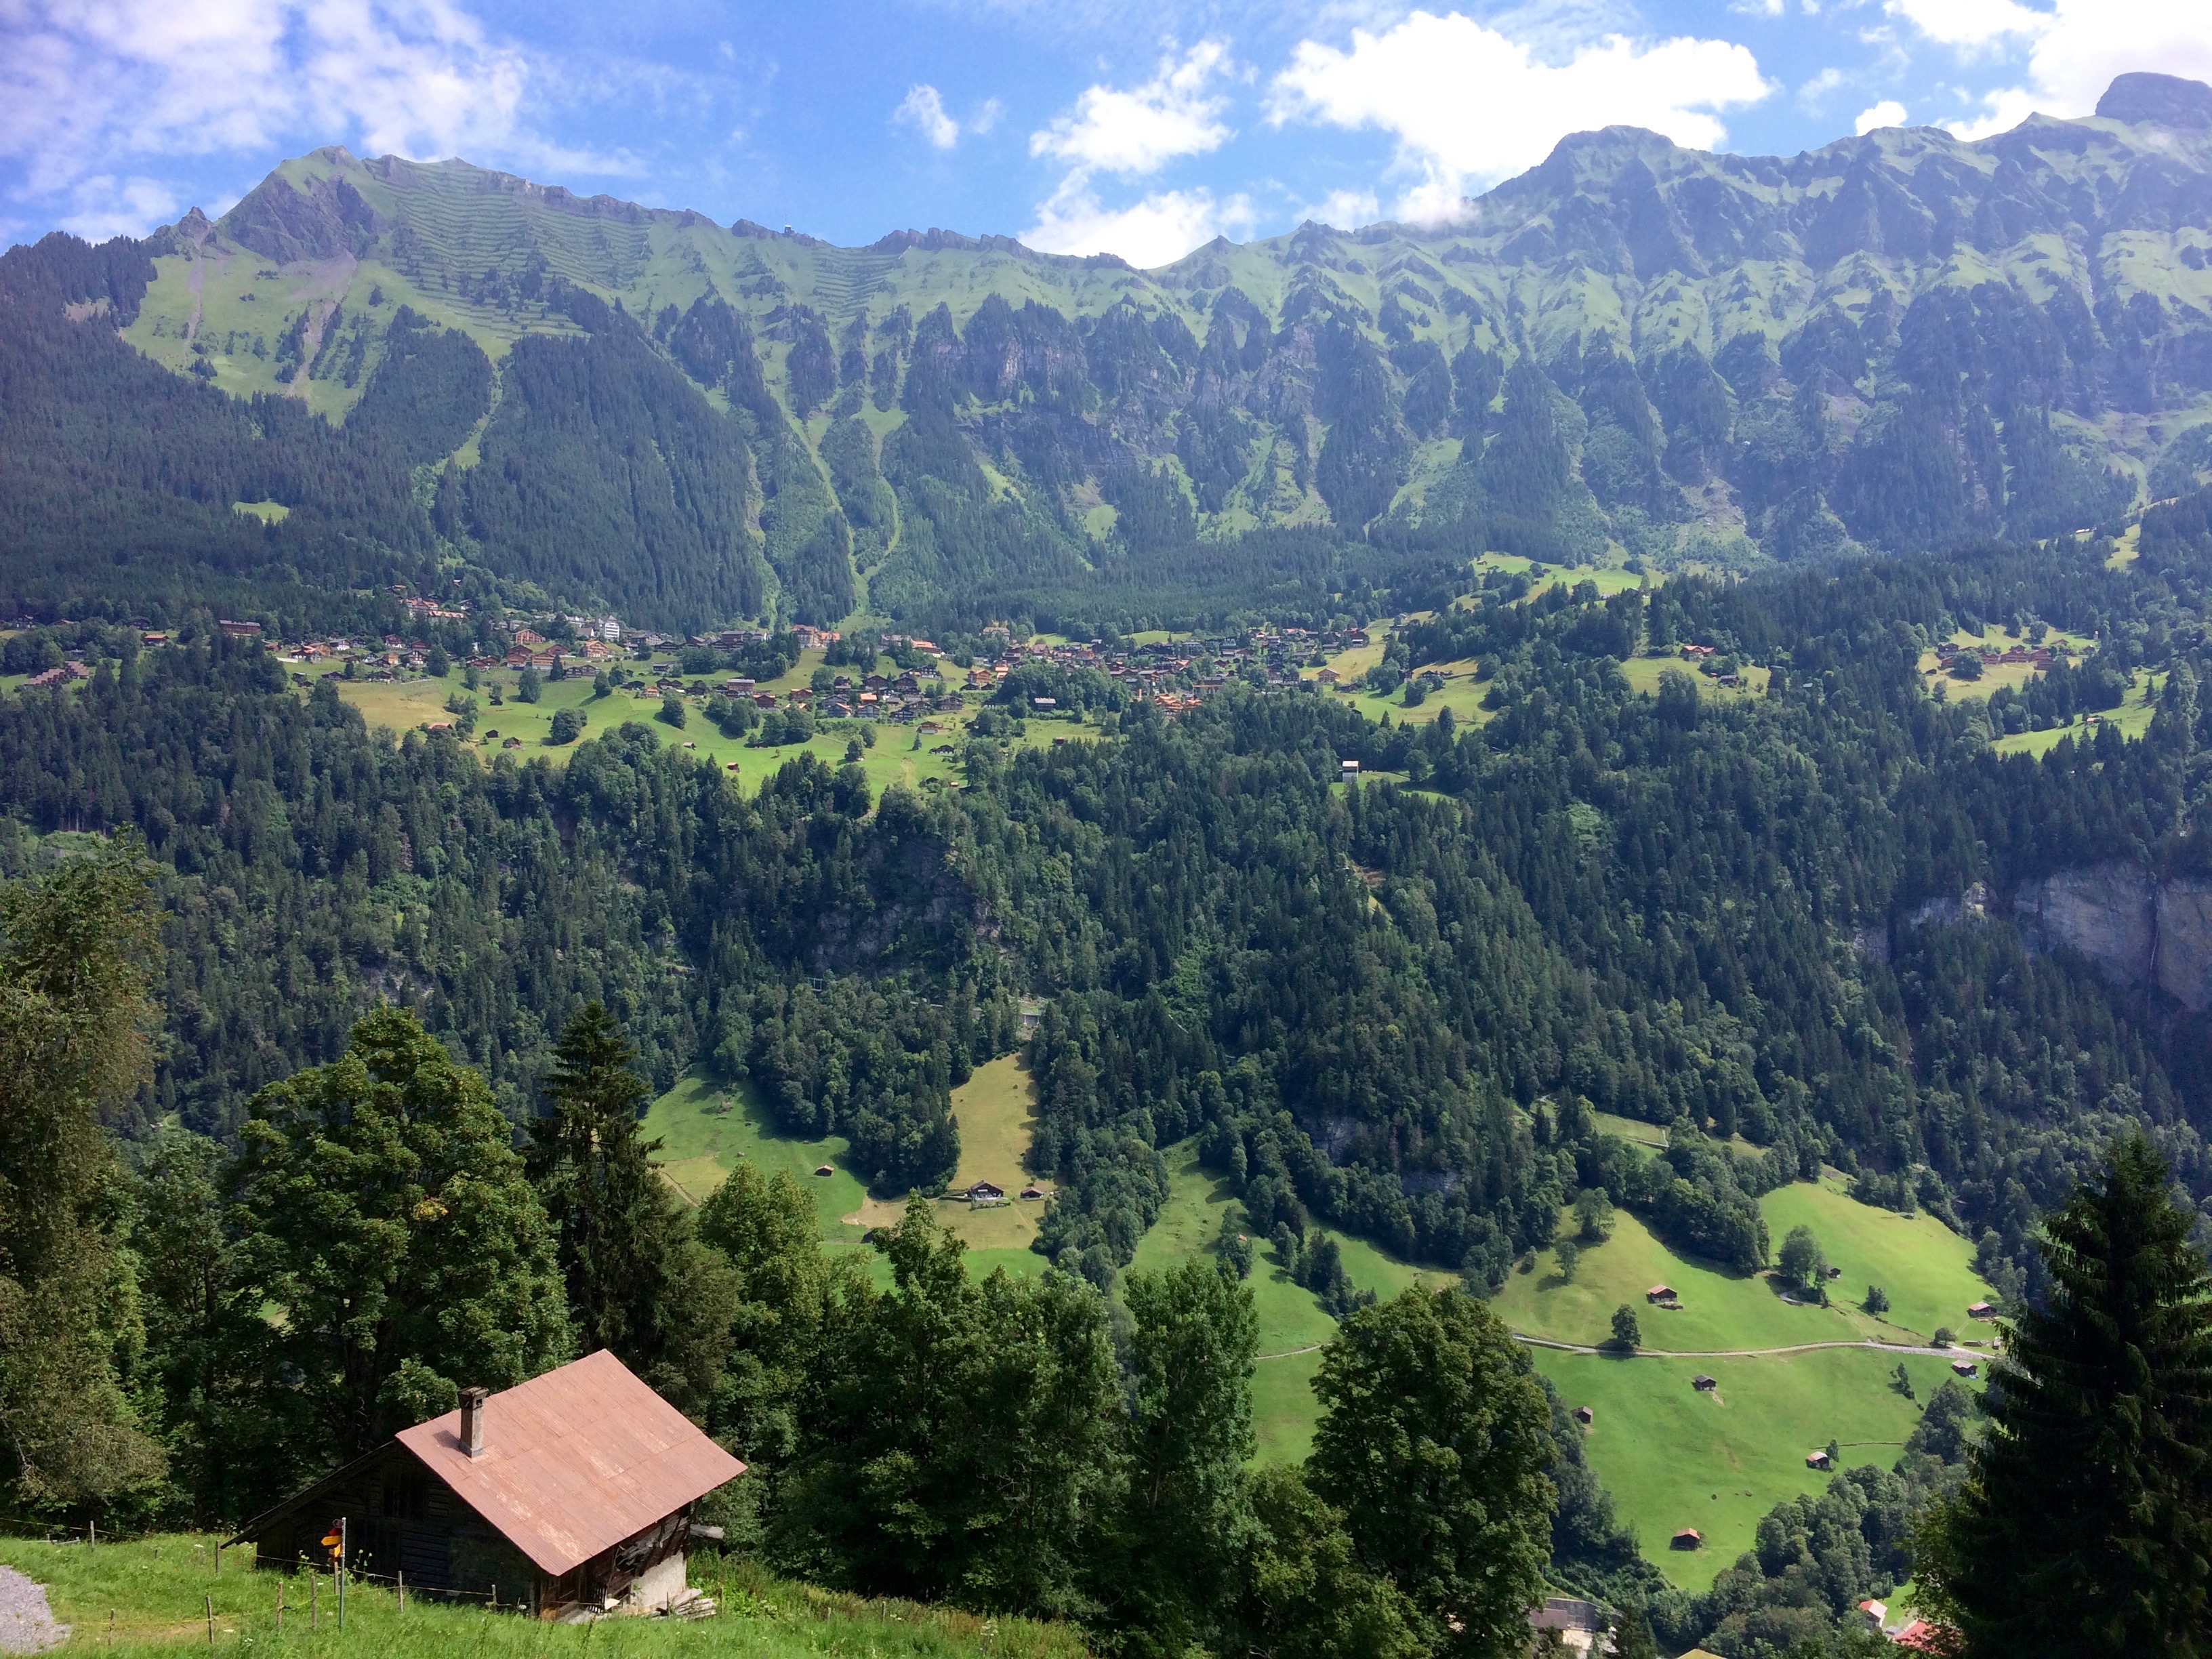
The view from Grutschalp, with Wengen in the distance:IMG_4861

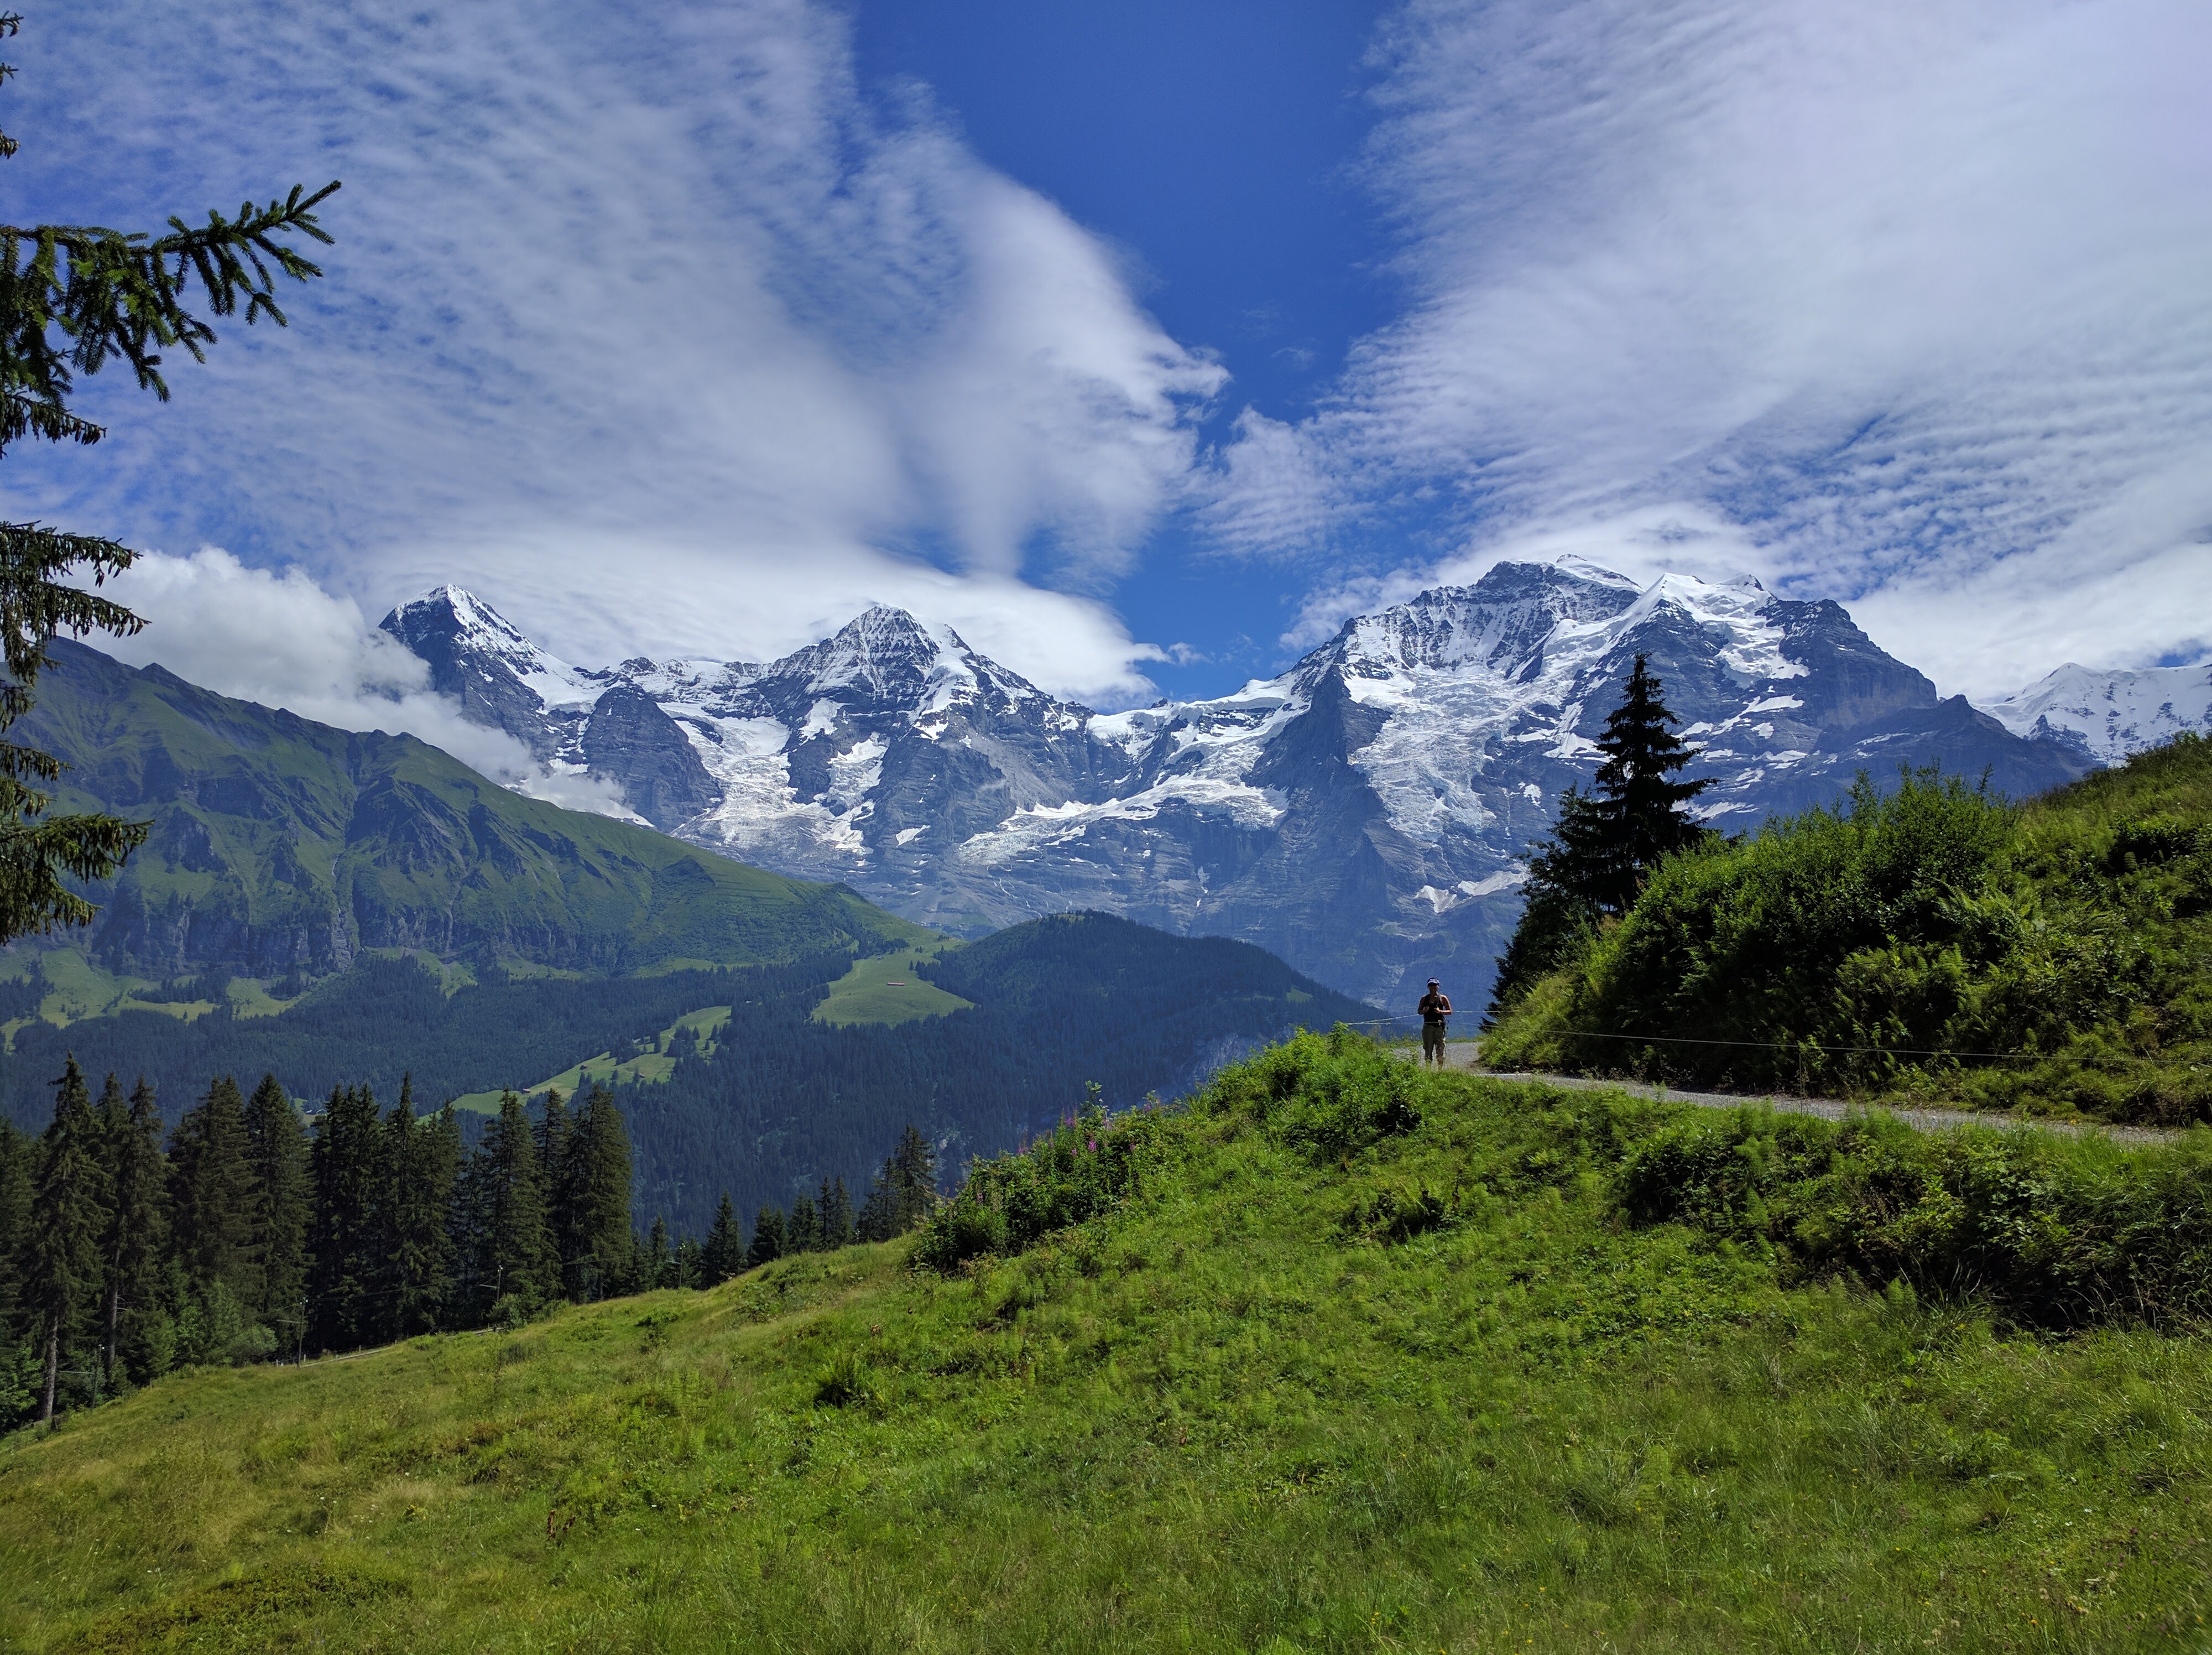
To our relief, the next hour was a slight descent all the way down to Murren.  This trail was incredibly popular; with aerial cable cars in Murren and Grutschalp, and even a train, people easily came up and down from the valley.  The views were spectacular too.

IMG_20160729_140147

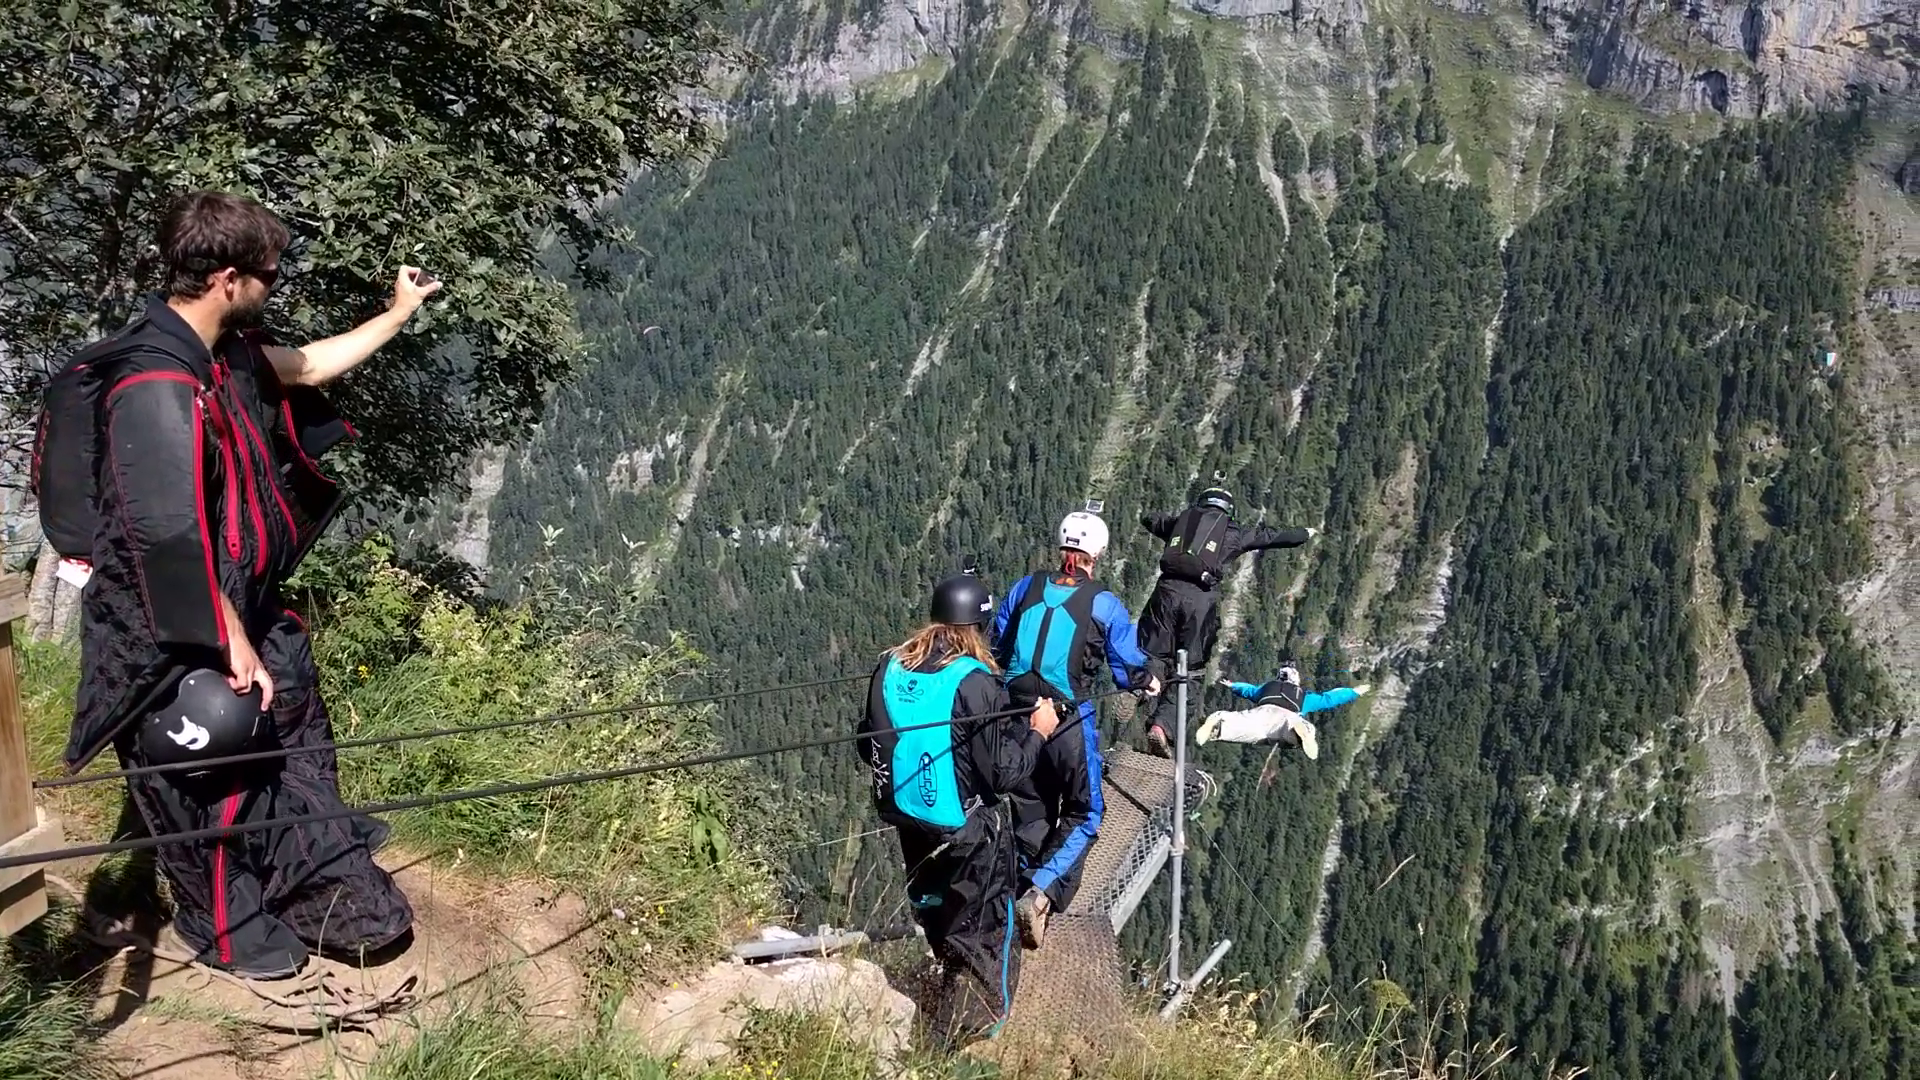
In Murren, we befriended several BASE jumpers, but they left pretty quickly.vlcsnap-2016-07-31-12h17m32s028

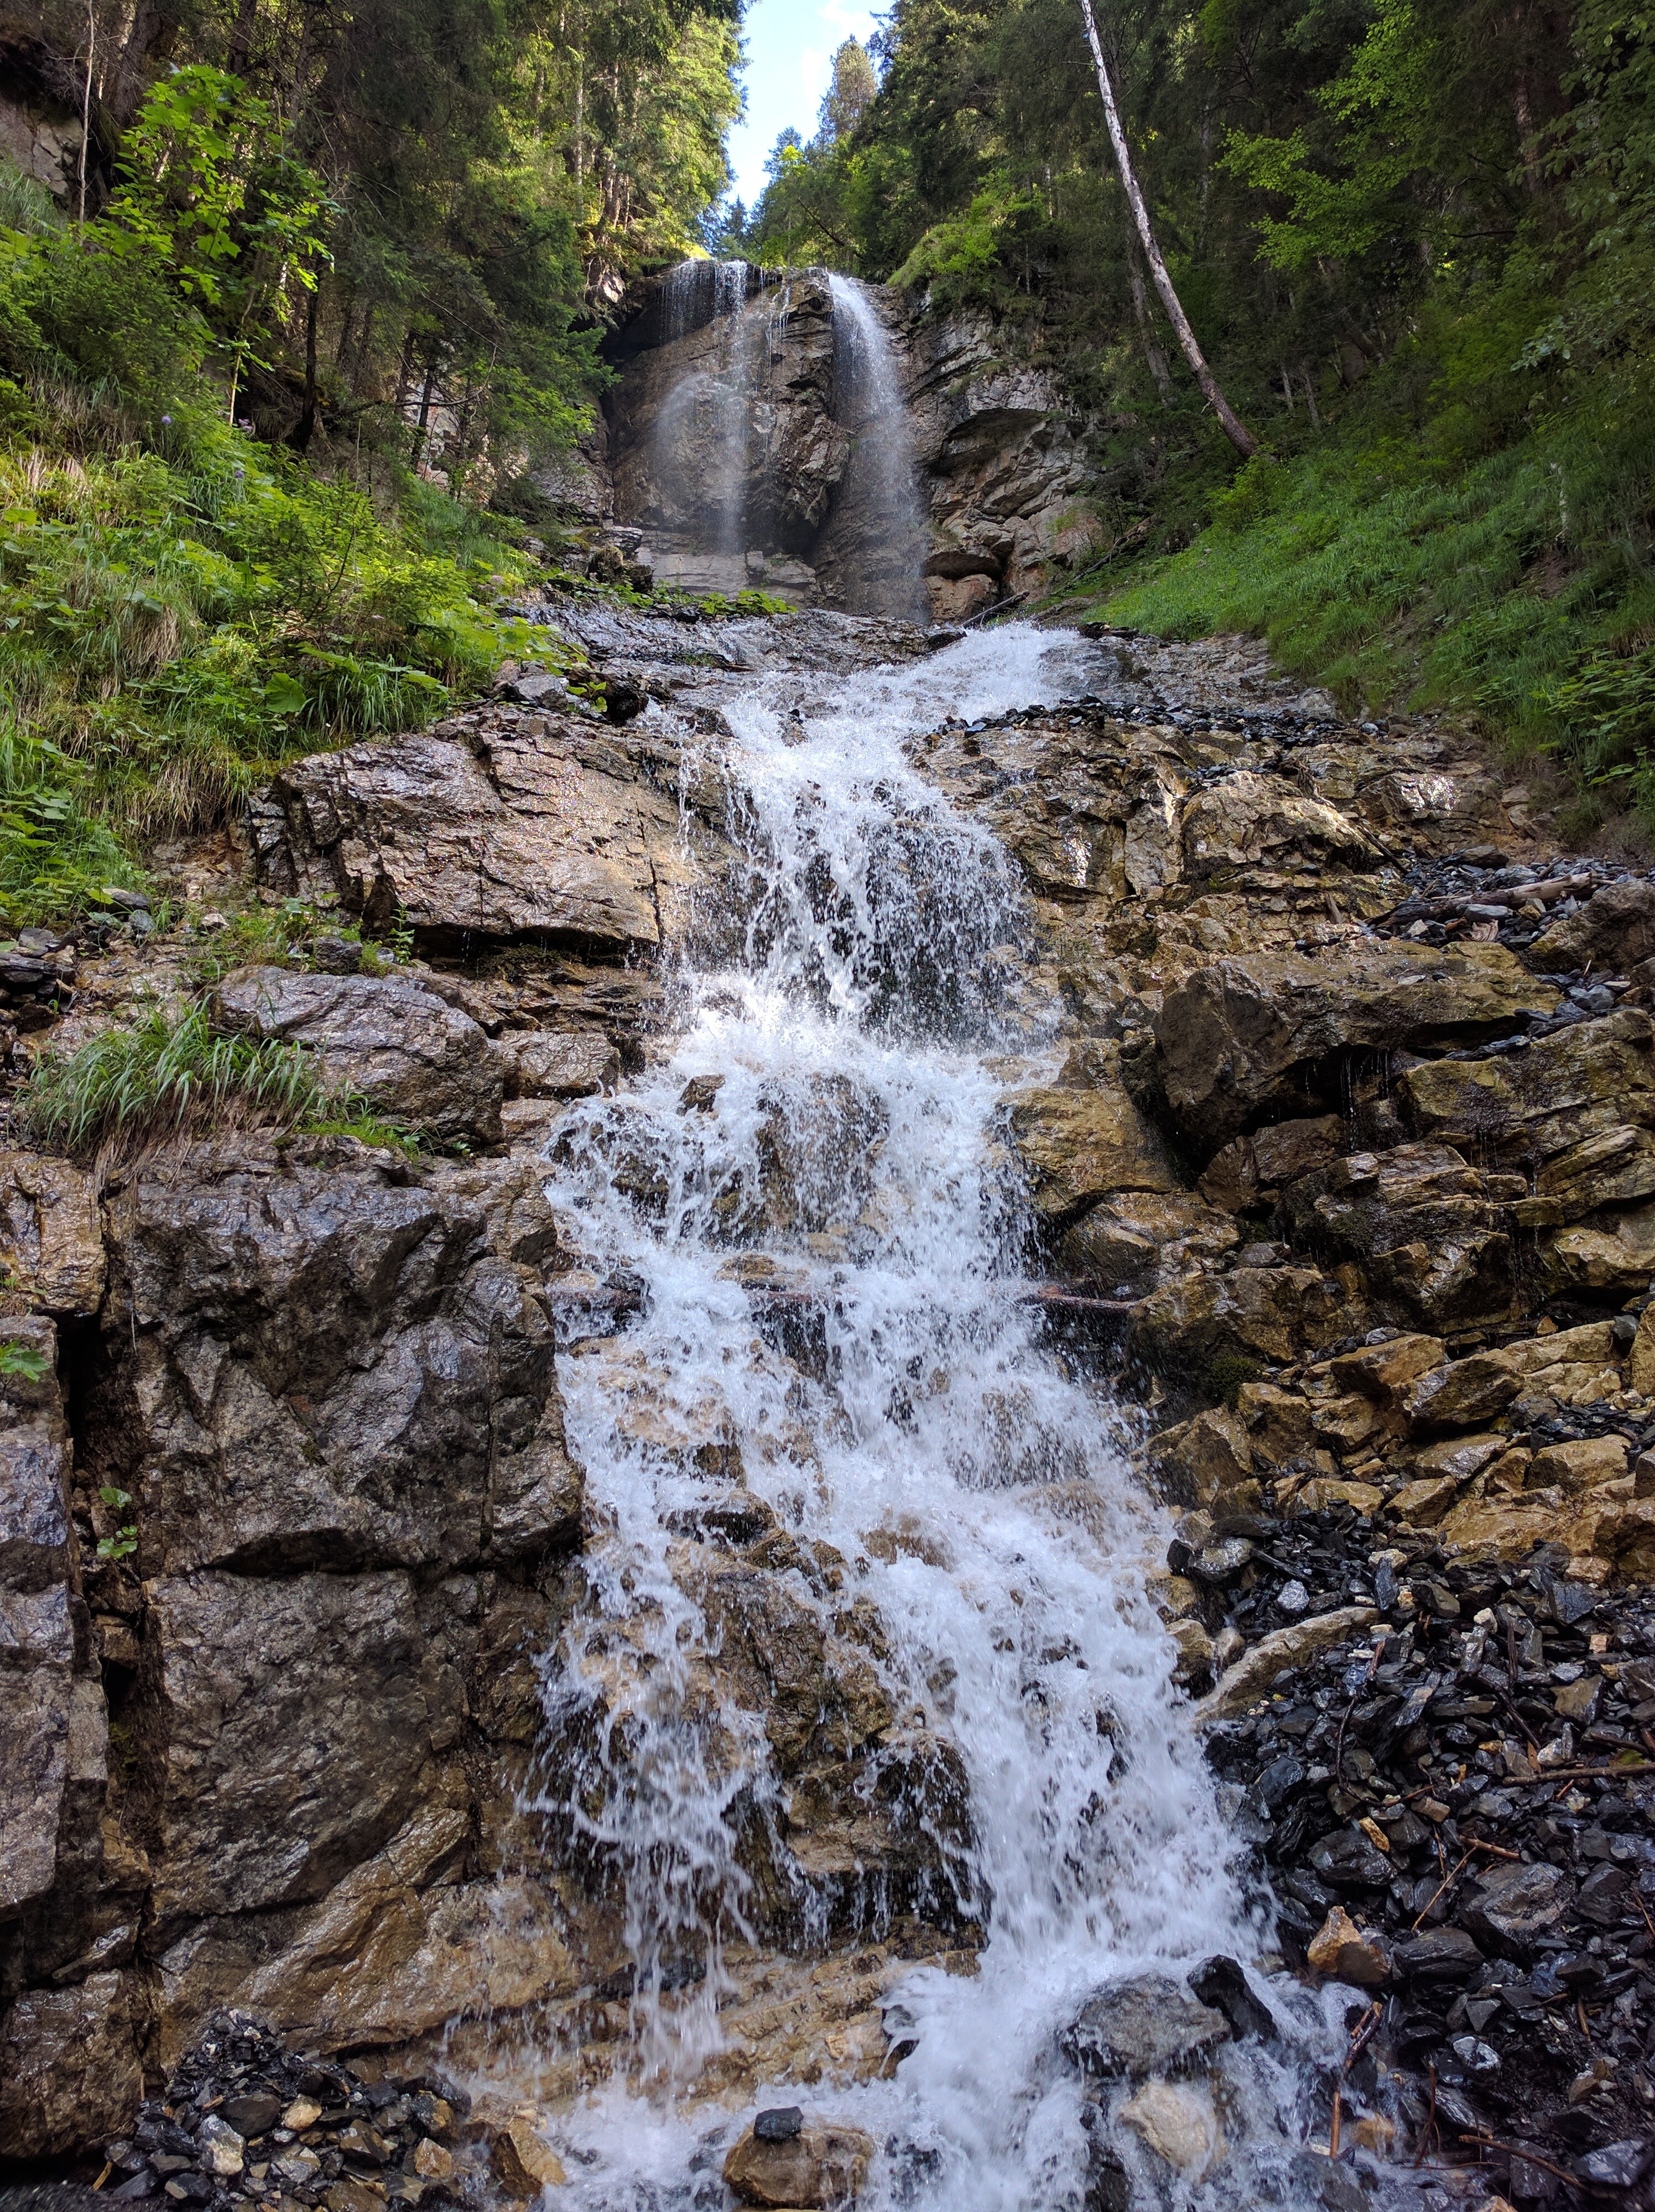
From Murren it was over a one-hour descent to Gimmelwald, and back to Stechelberg.  We stopped often to observe gushing waterfalls. IMG_20160729_165852

But the best view? Definitely the valley from the top of Stechelberg:IMG_20160729_171351

The next morning we checked out of Camping Ruiti and parked in the large, outdoor parking lot in the south of Lauterbrunnen town.  At 1 CHF/hour, parking in the lot for several hours instead of camping another night or parking at the Lauterbrunnen car park definitely saved us some money.IMG_4955

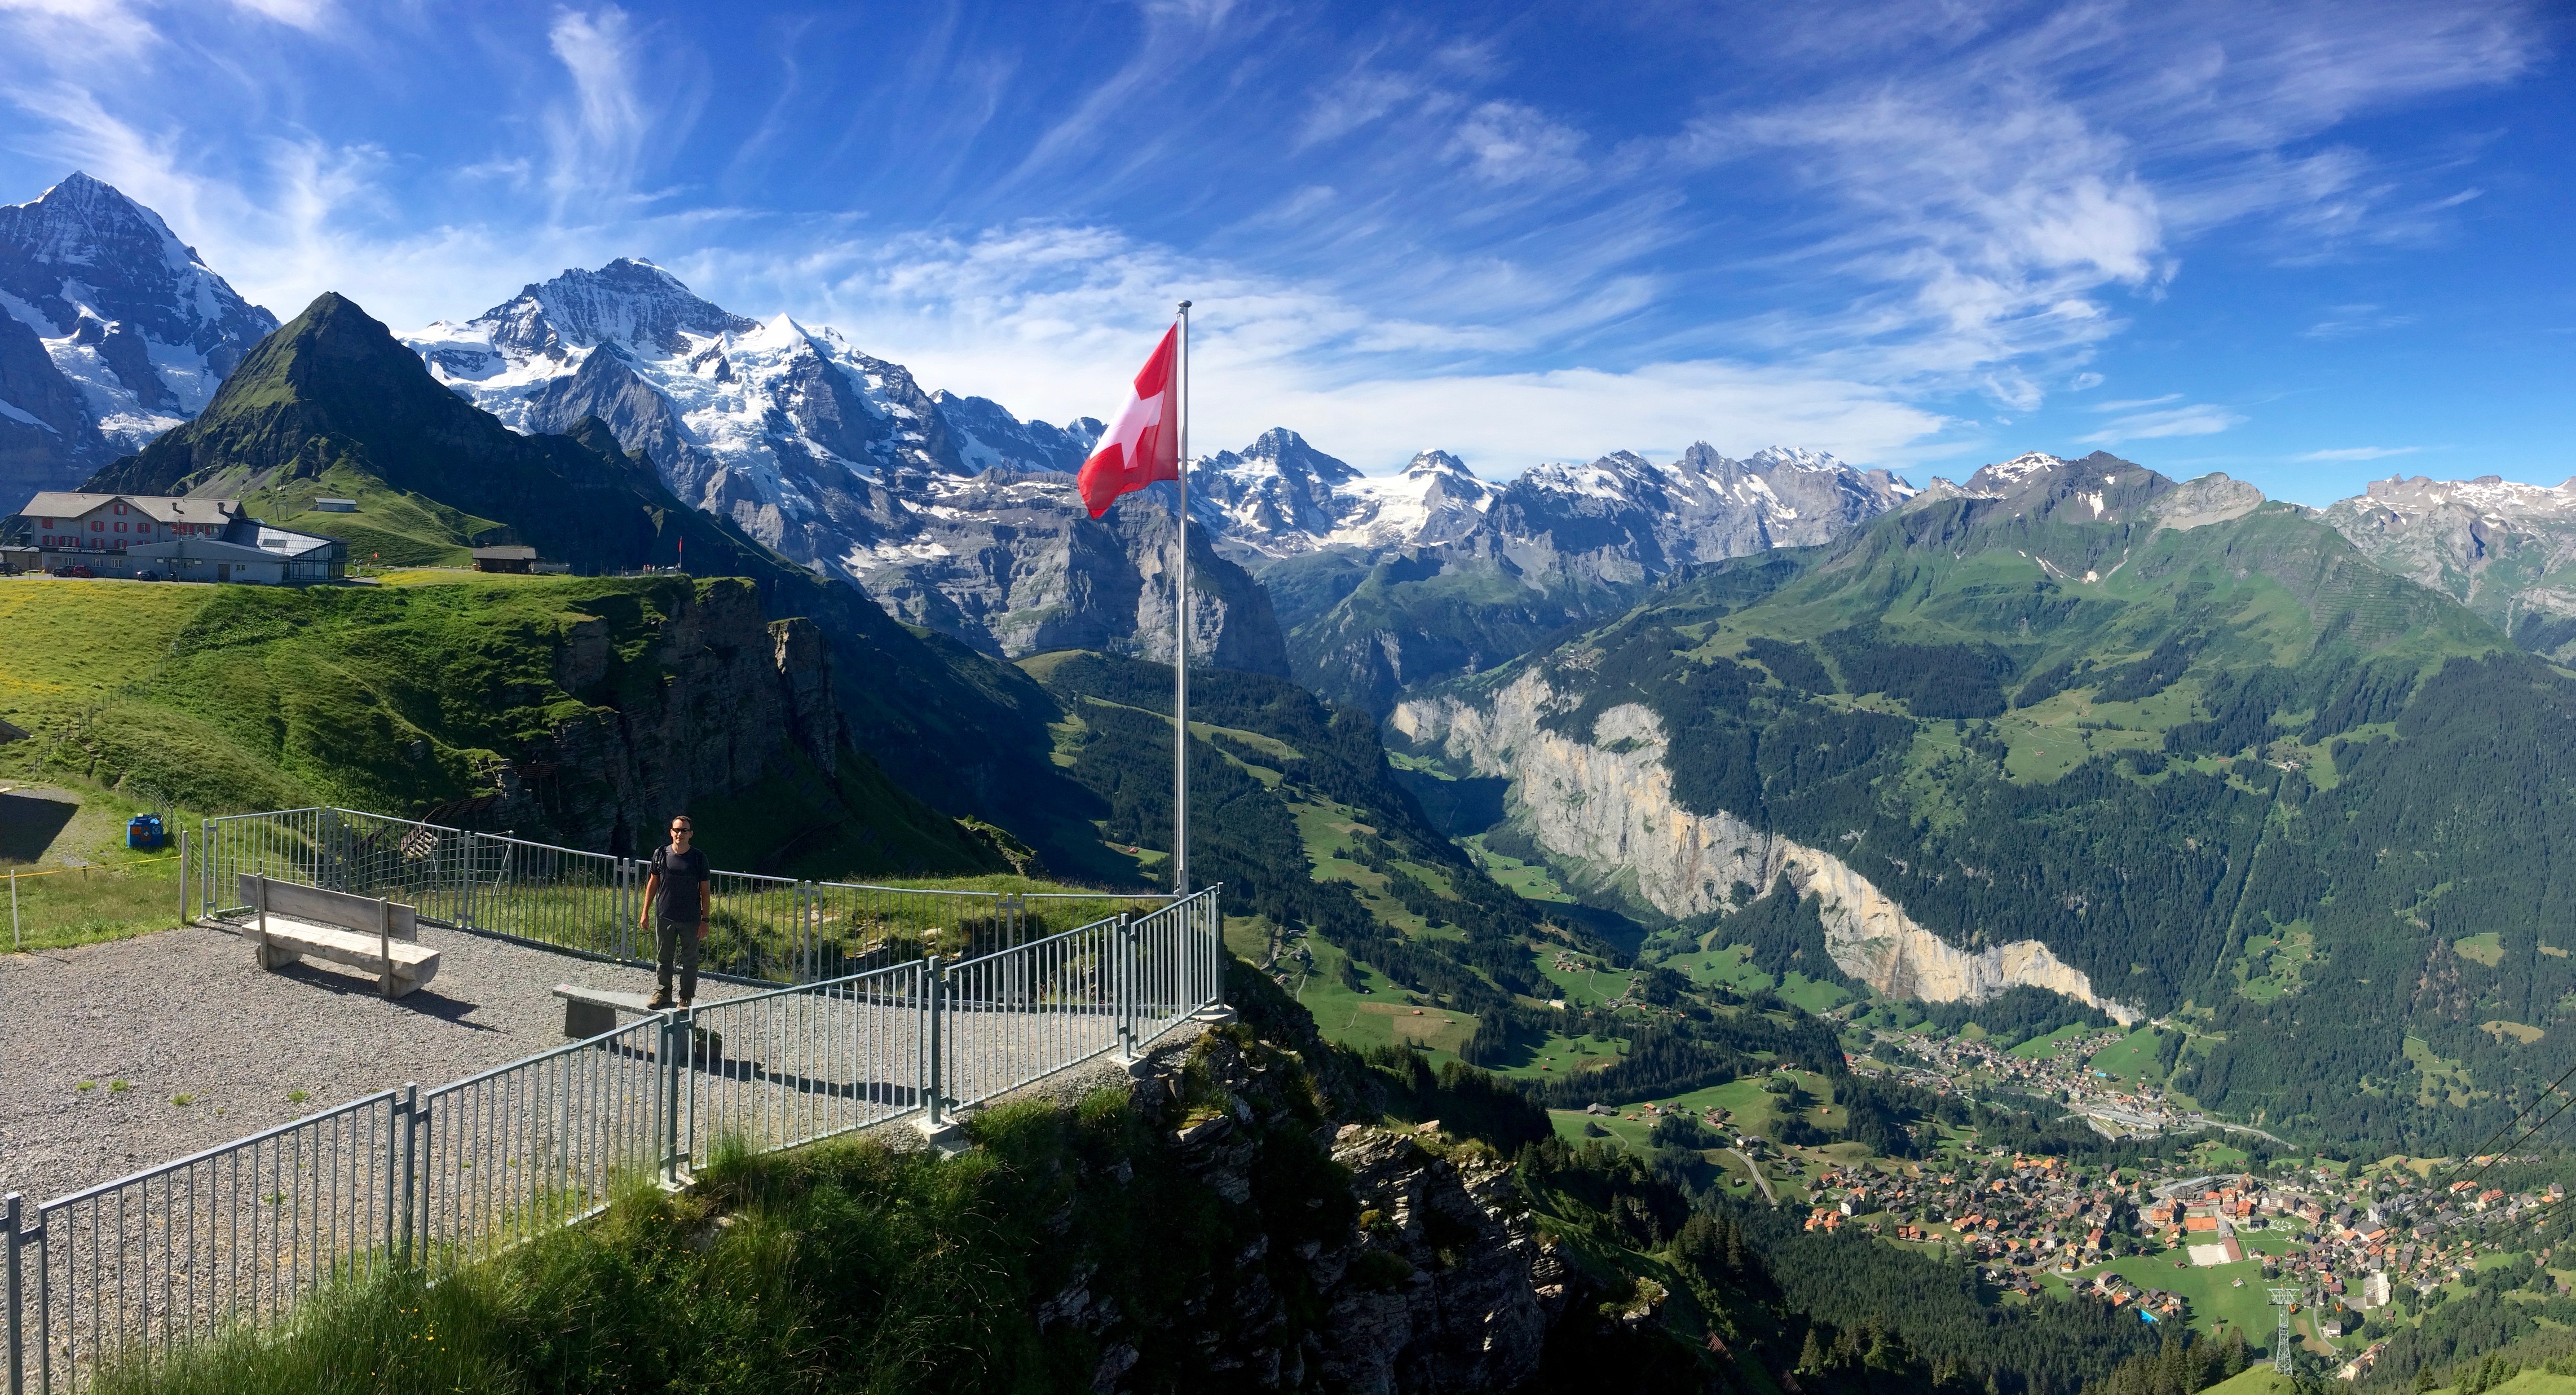
We walked to the train station, paid 6.80 CHF each to ride the train to Wengen, and then walked over to the aerial cable car for a ride to Mannlichen.  Thanks to the discount card we received from the campground, we paid the reduced price of 16 CHF each for the cable car instead of 22 CHF each.  Looks like the campground was totally worth it!

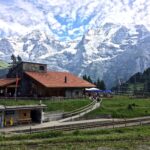
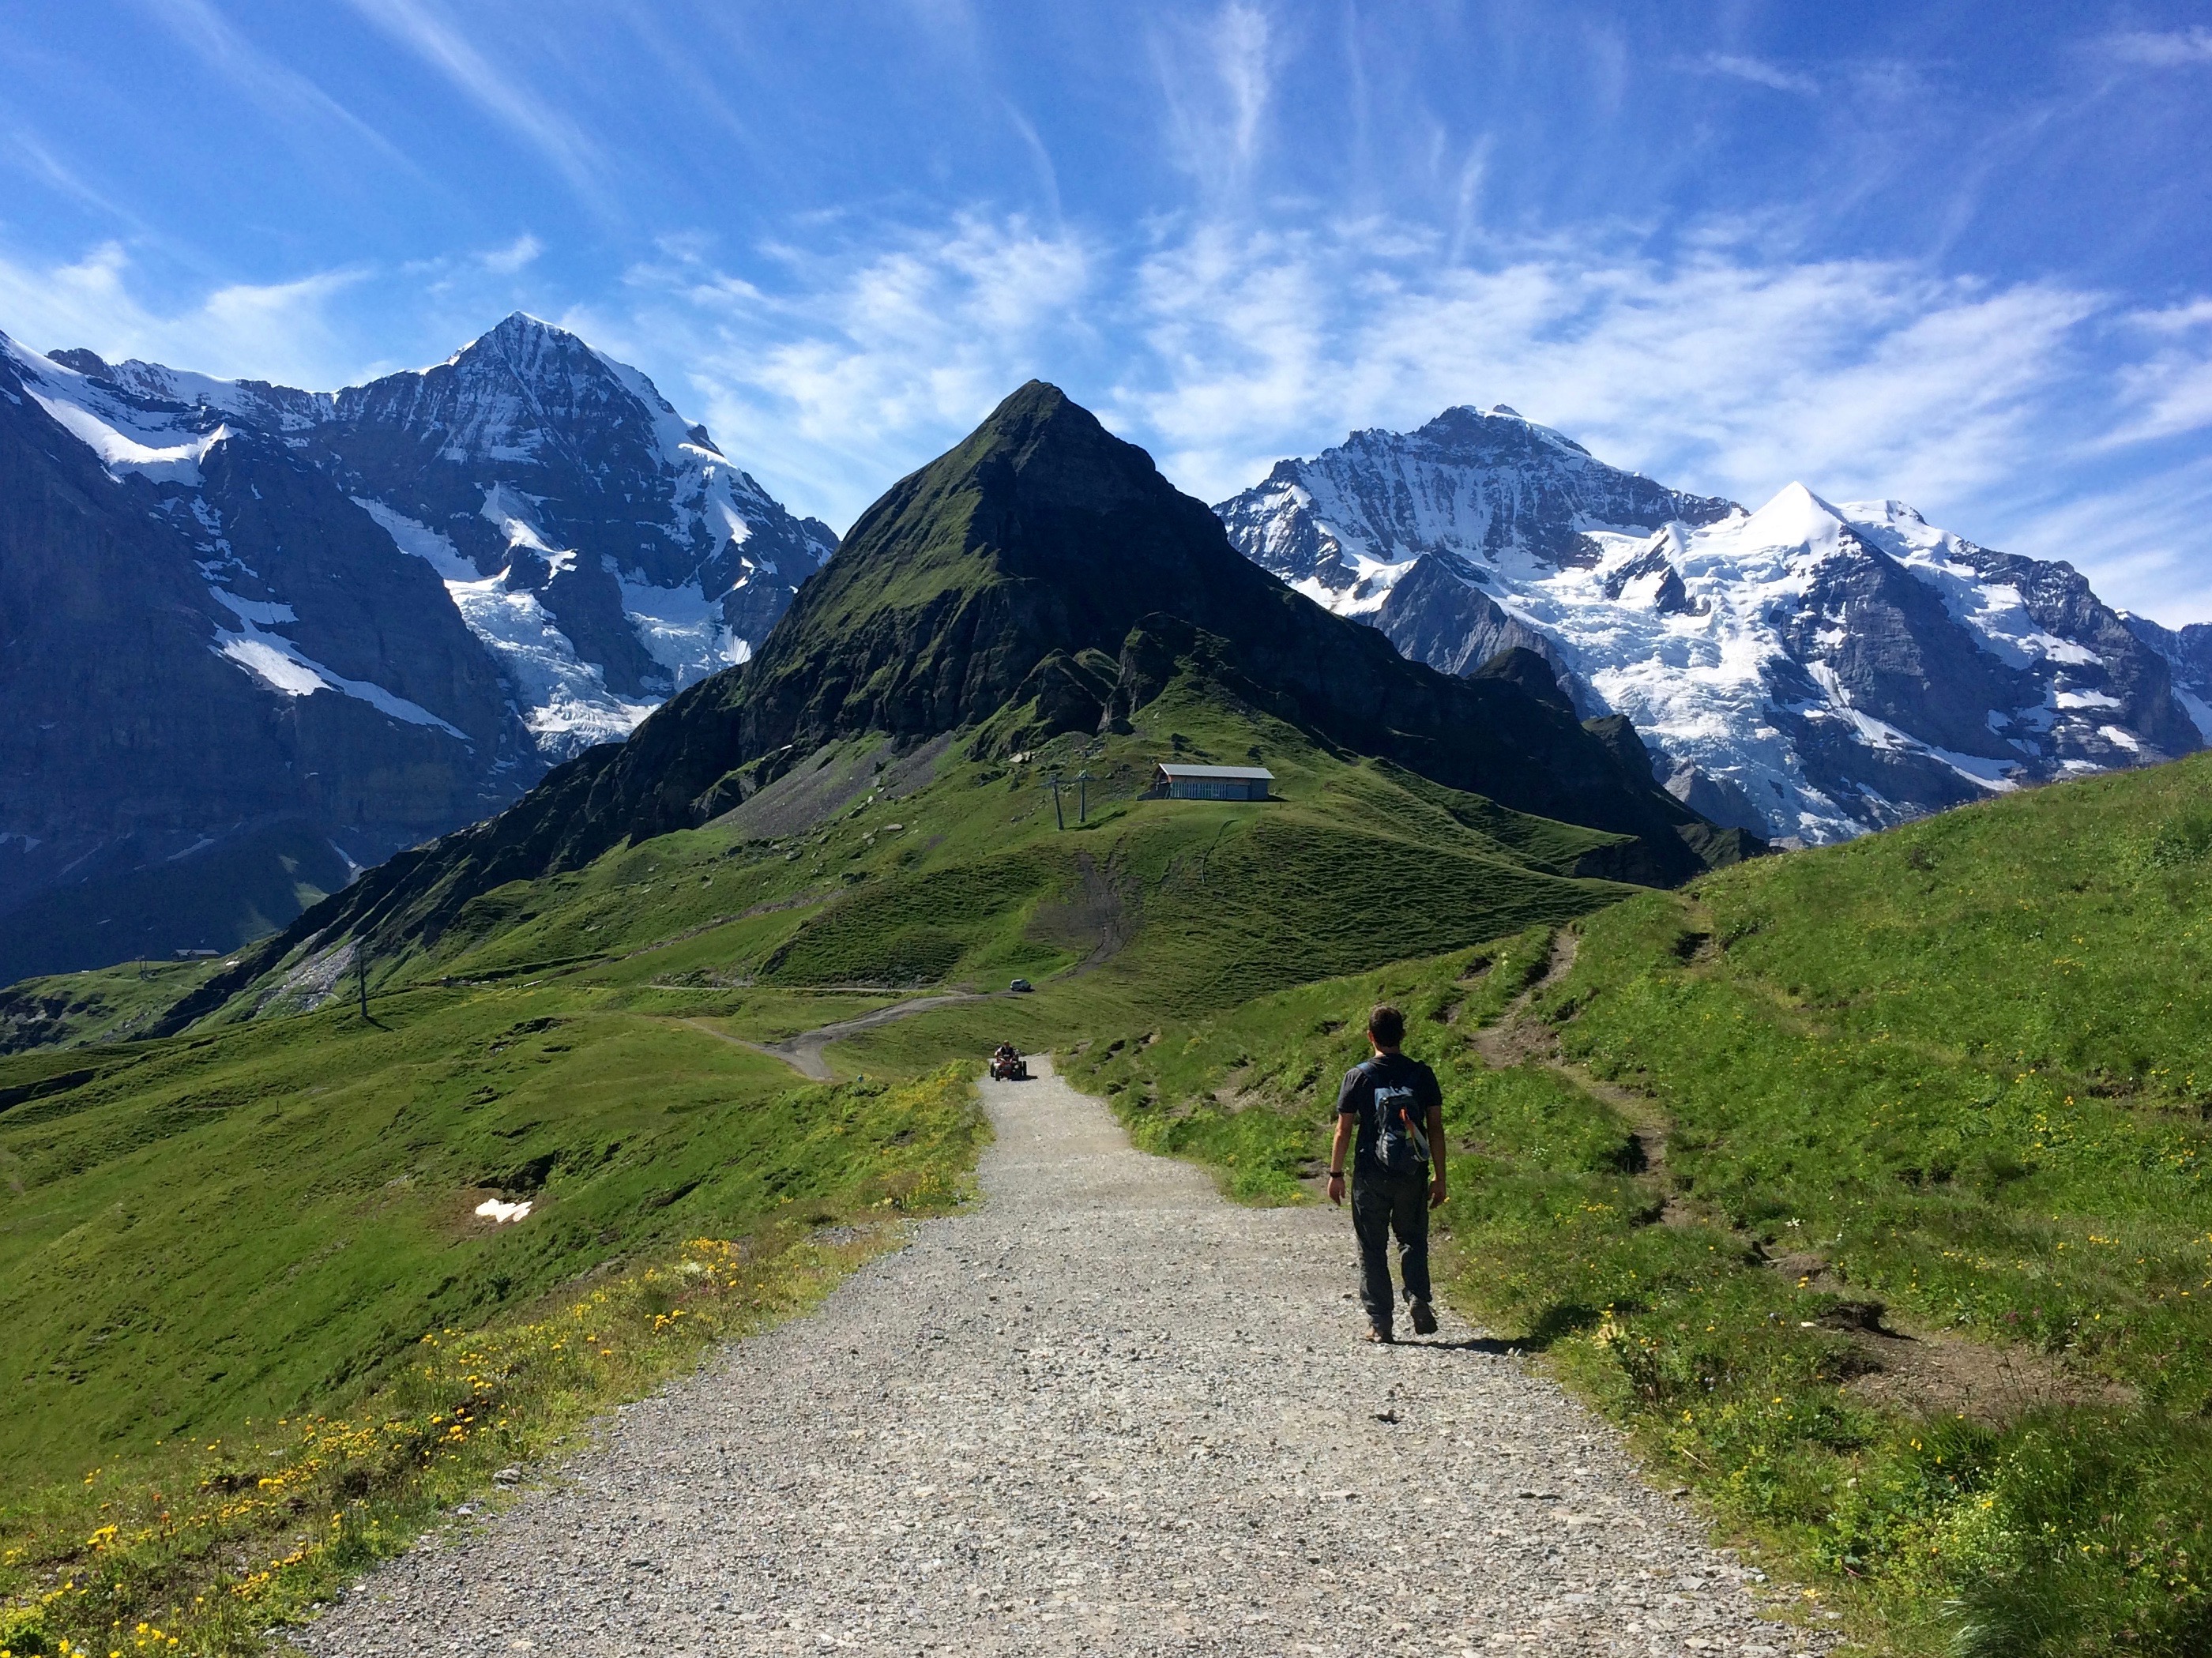
Immediately upon stepping off the aerial cable car, this view slapped us in the face:IMG_4960

Just a short stroll from the cable car is the most beautiful playground.

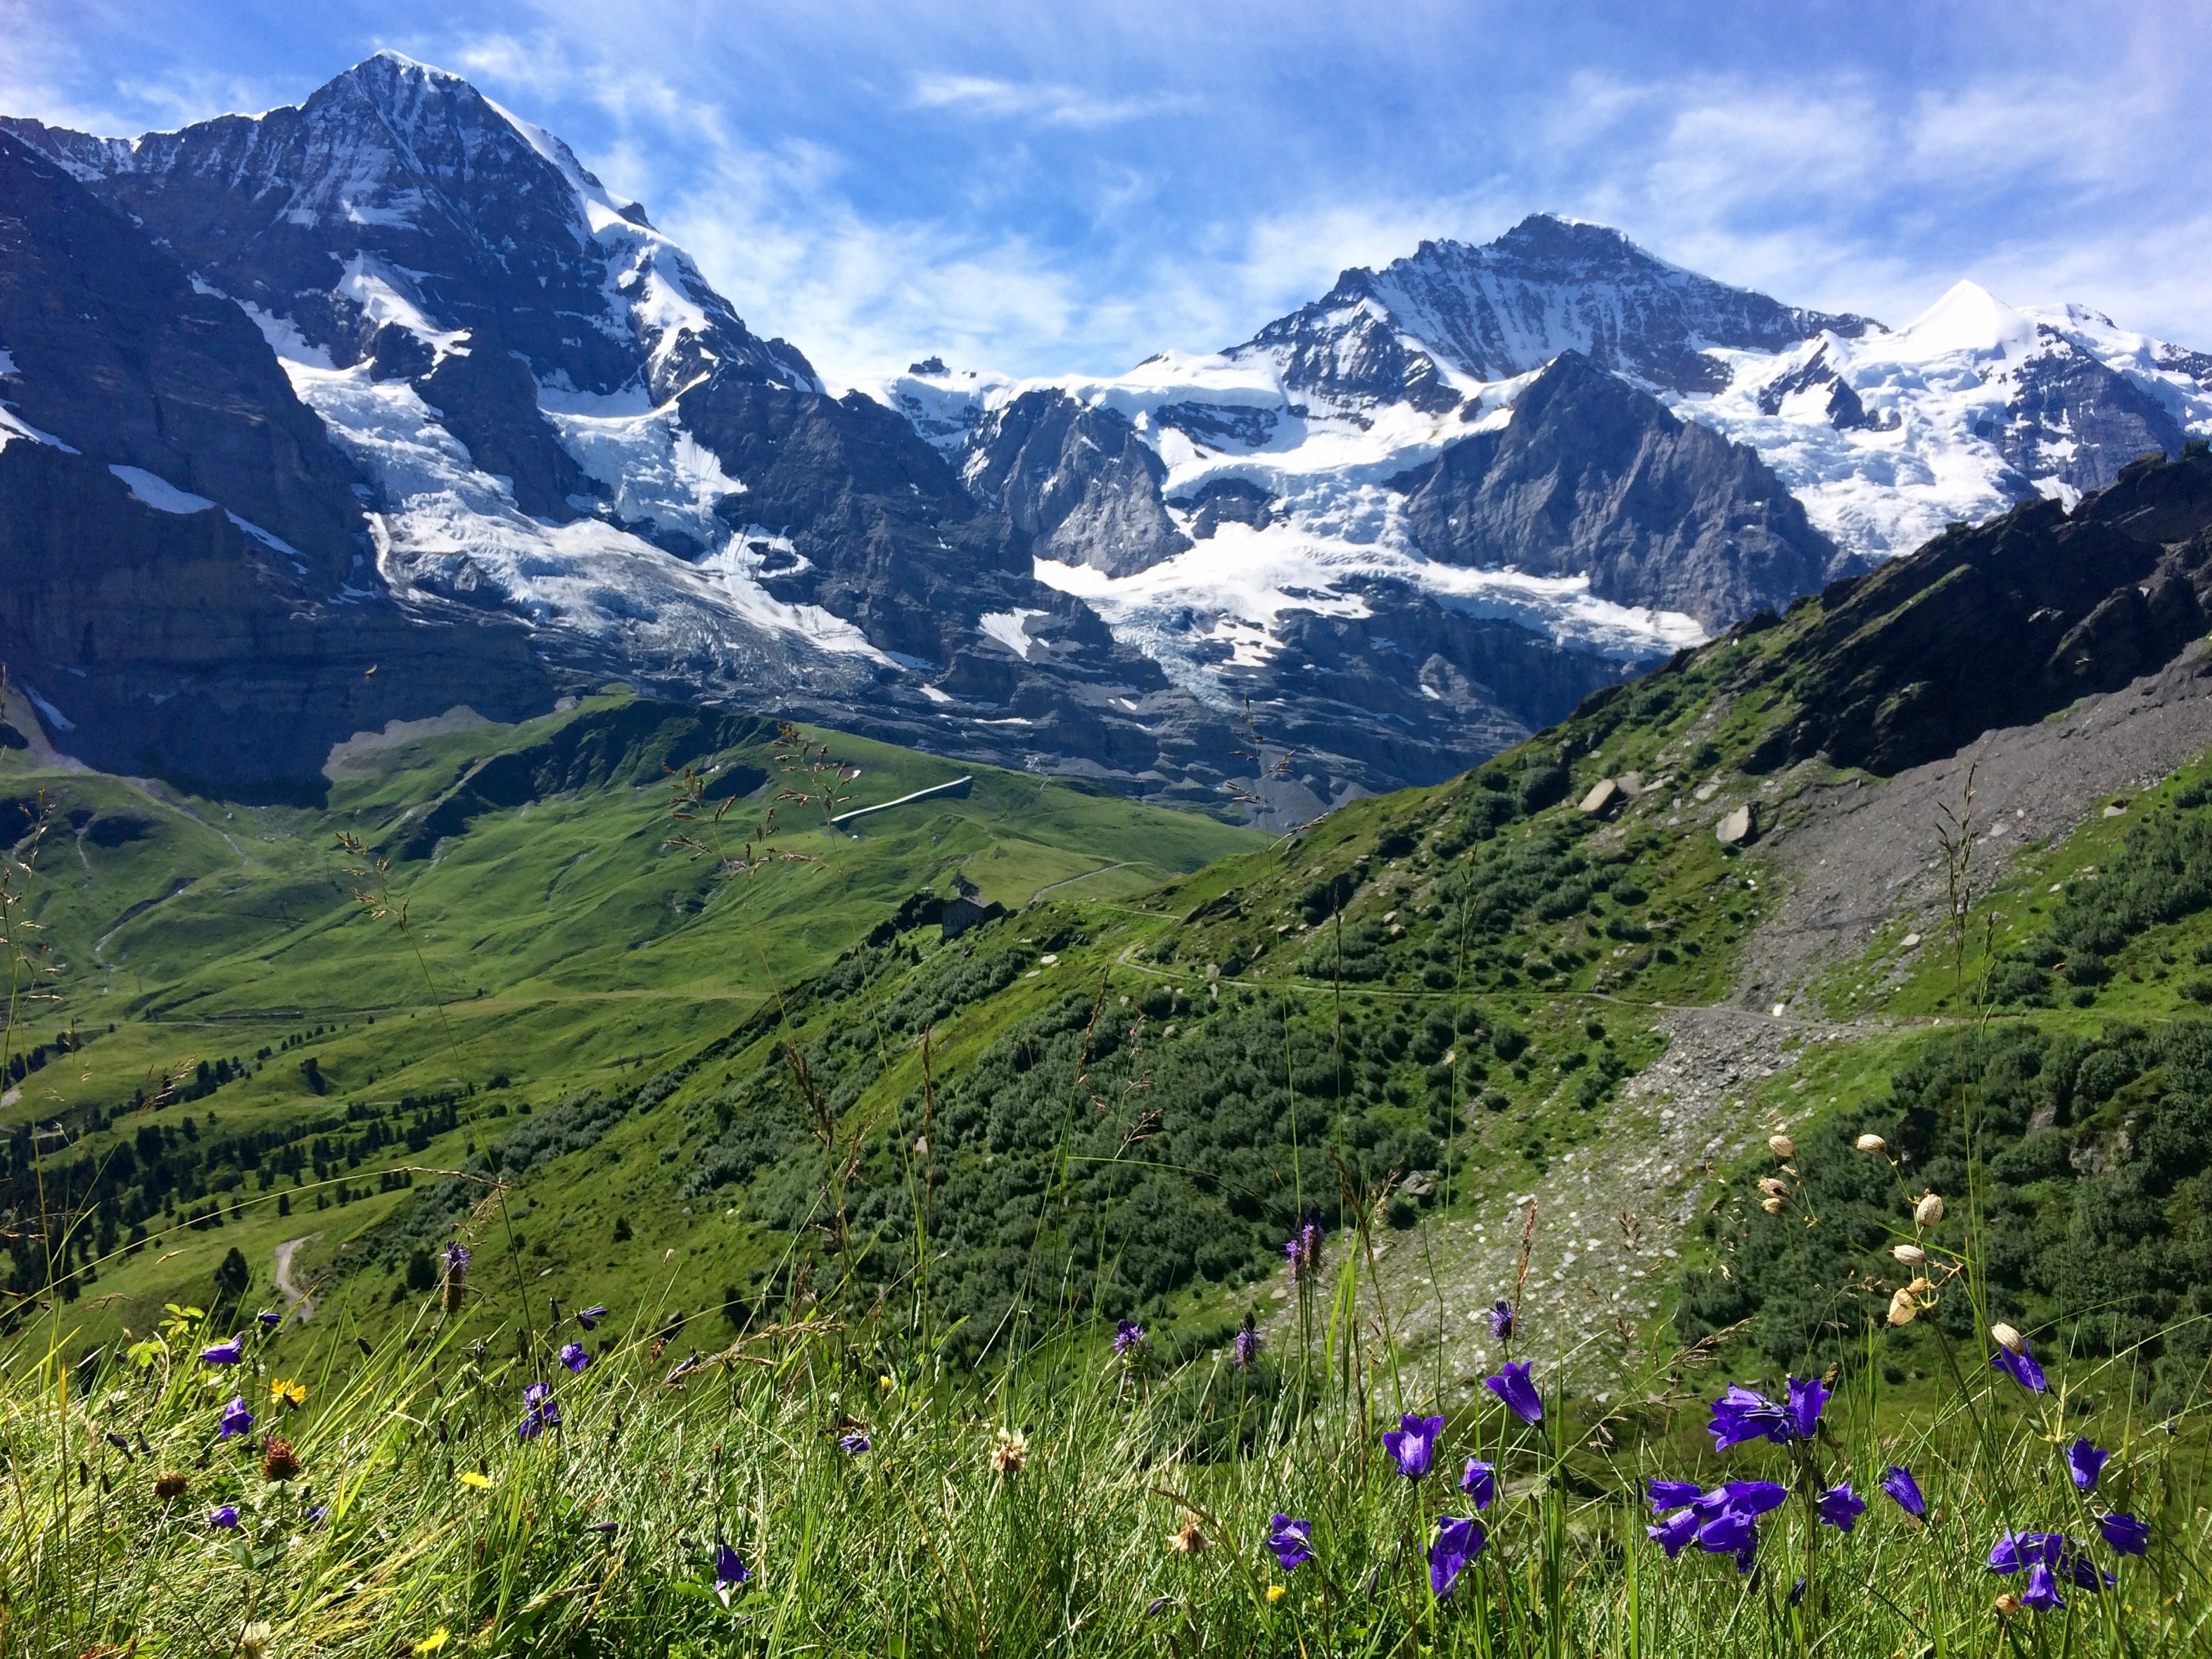
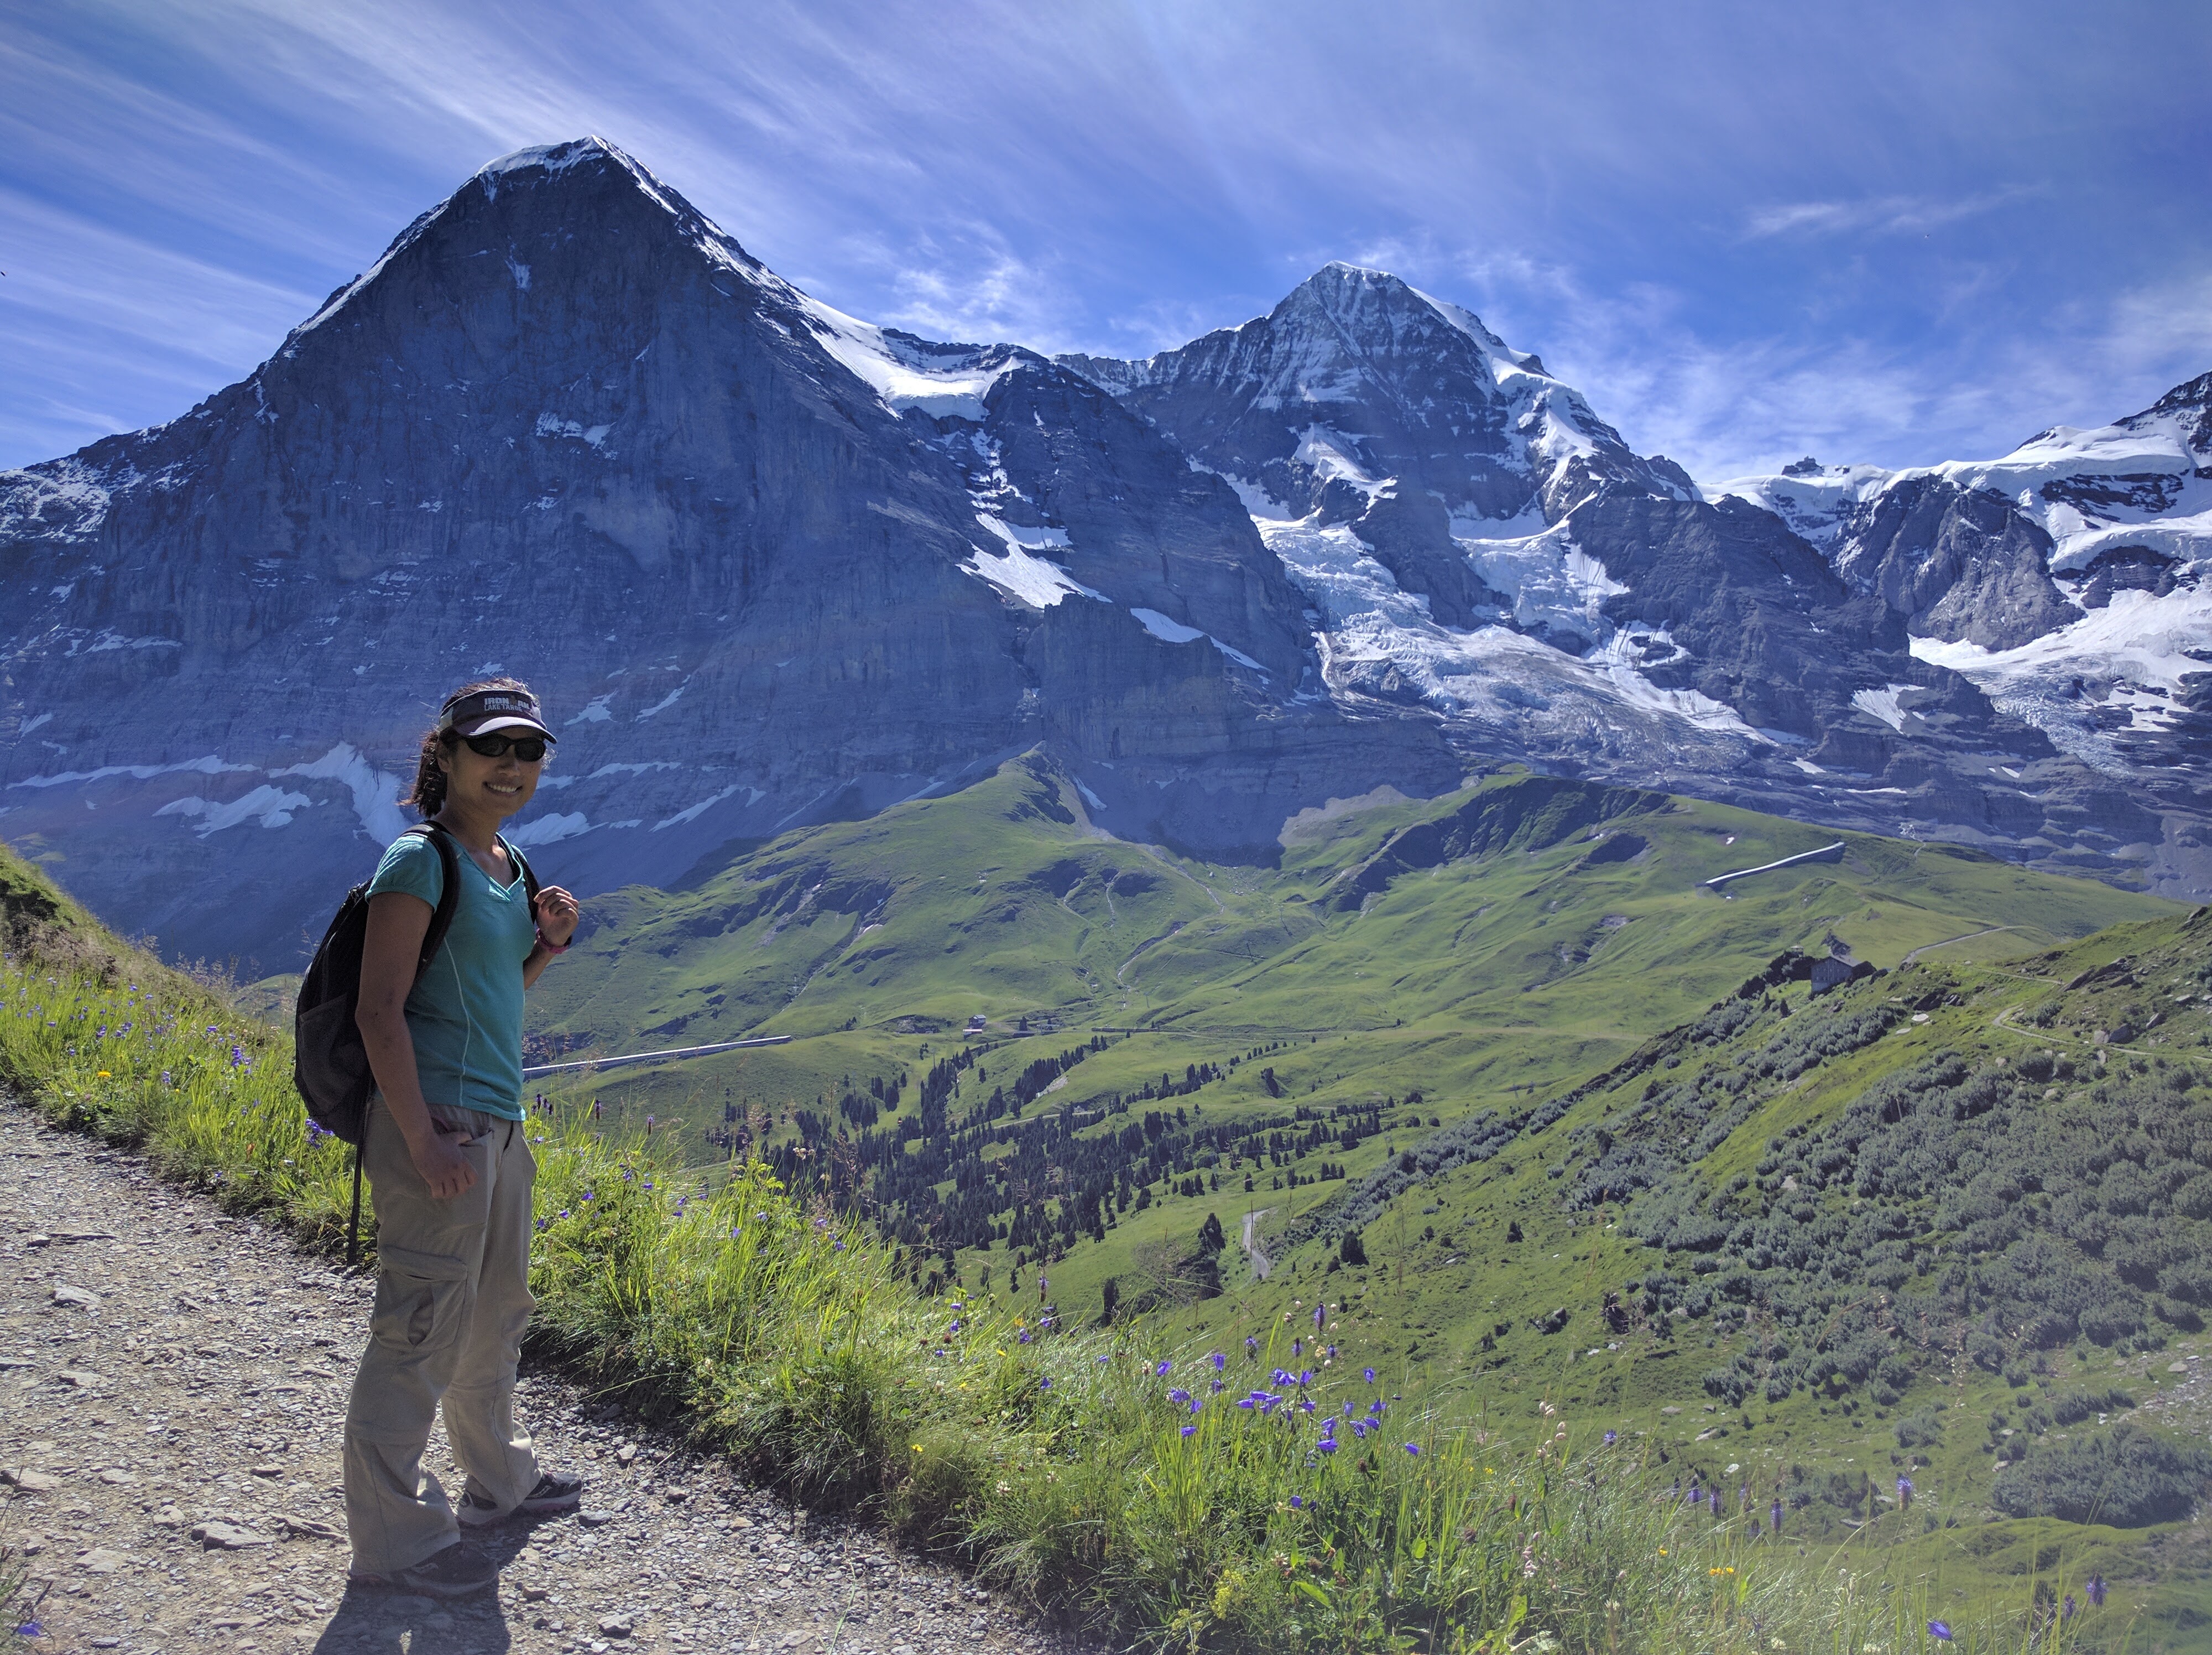
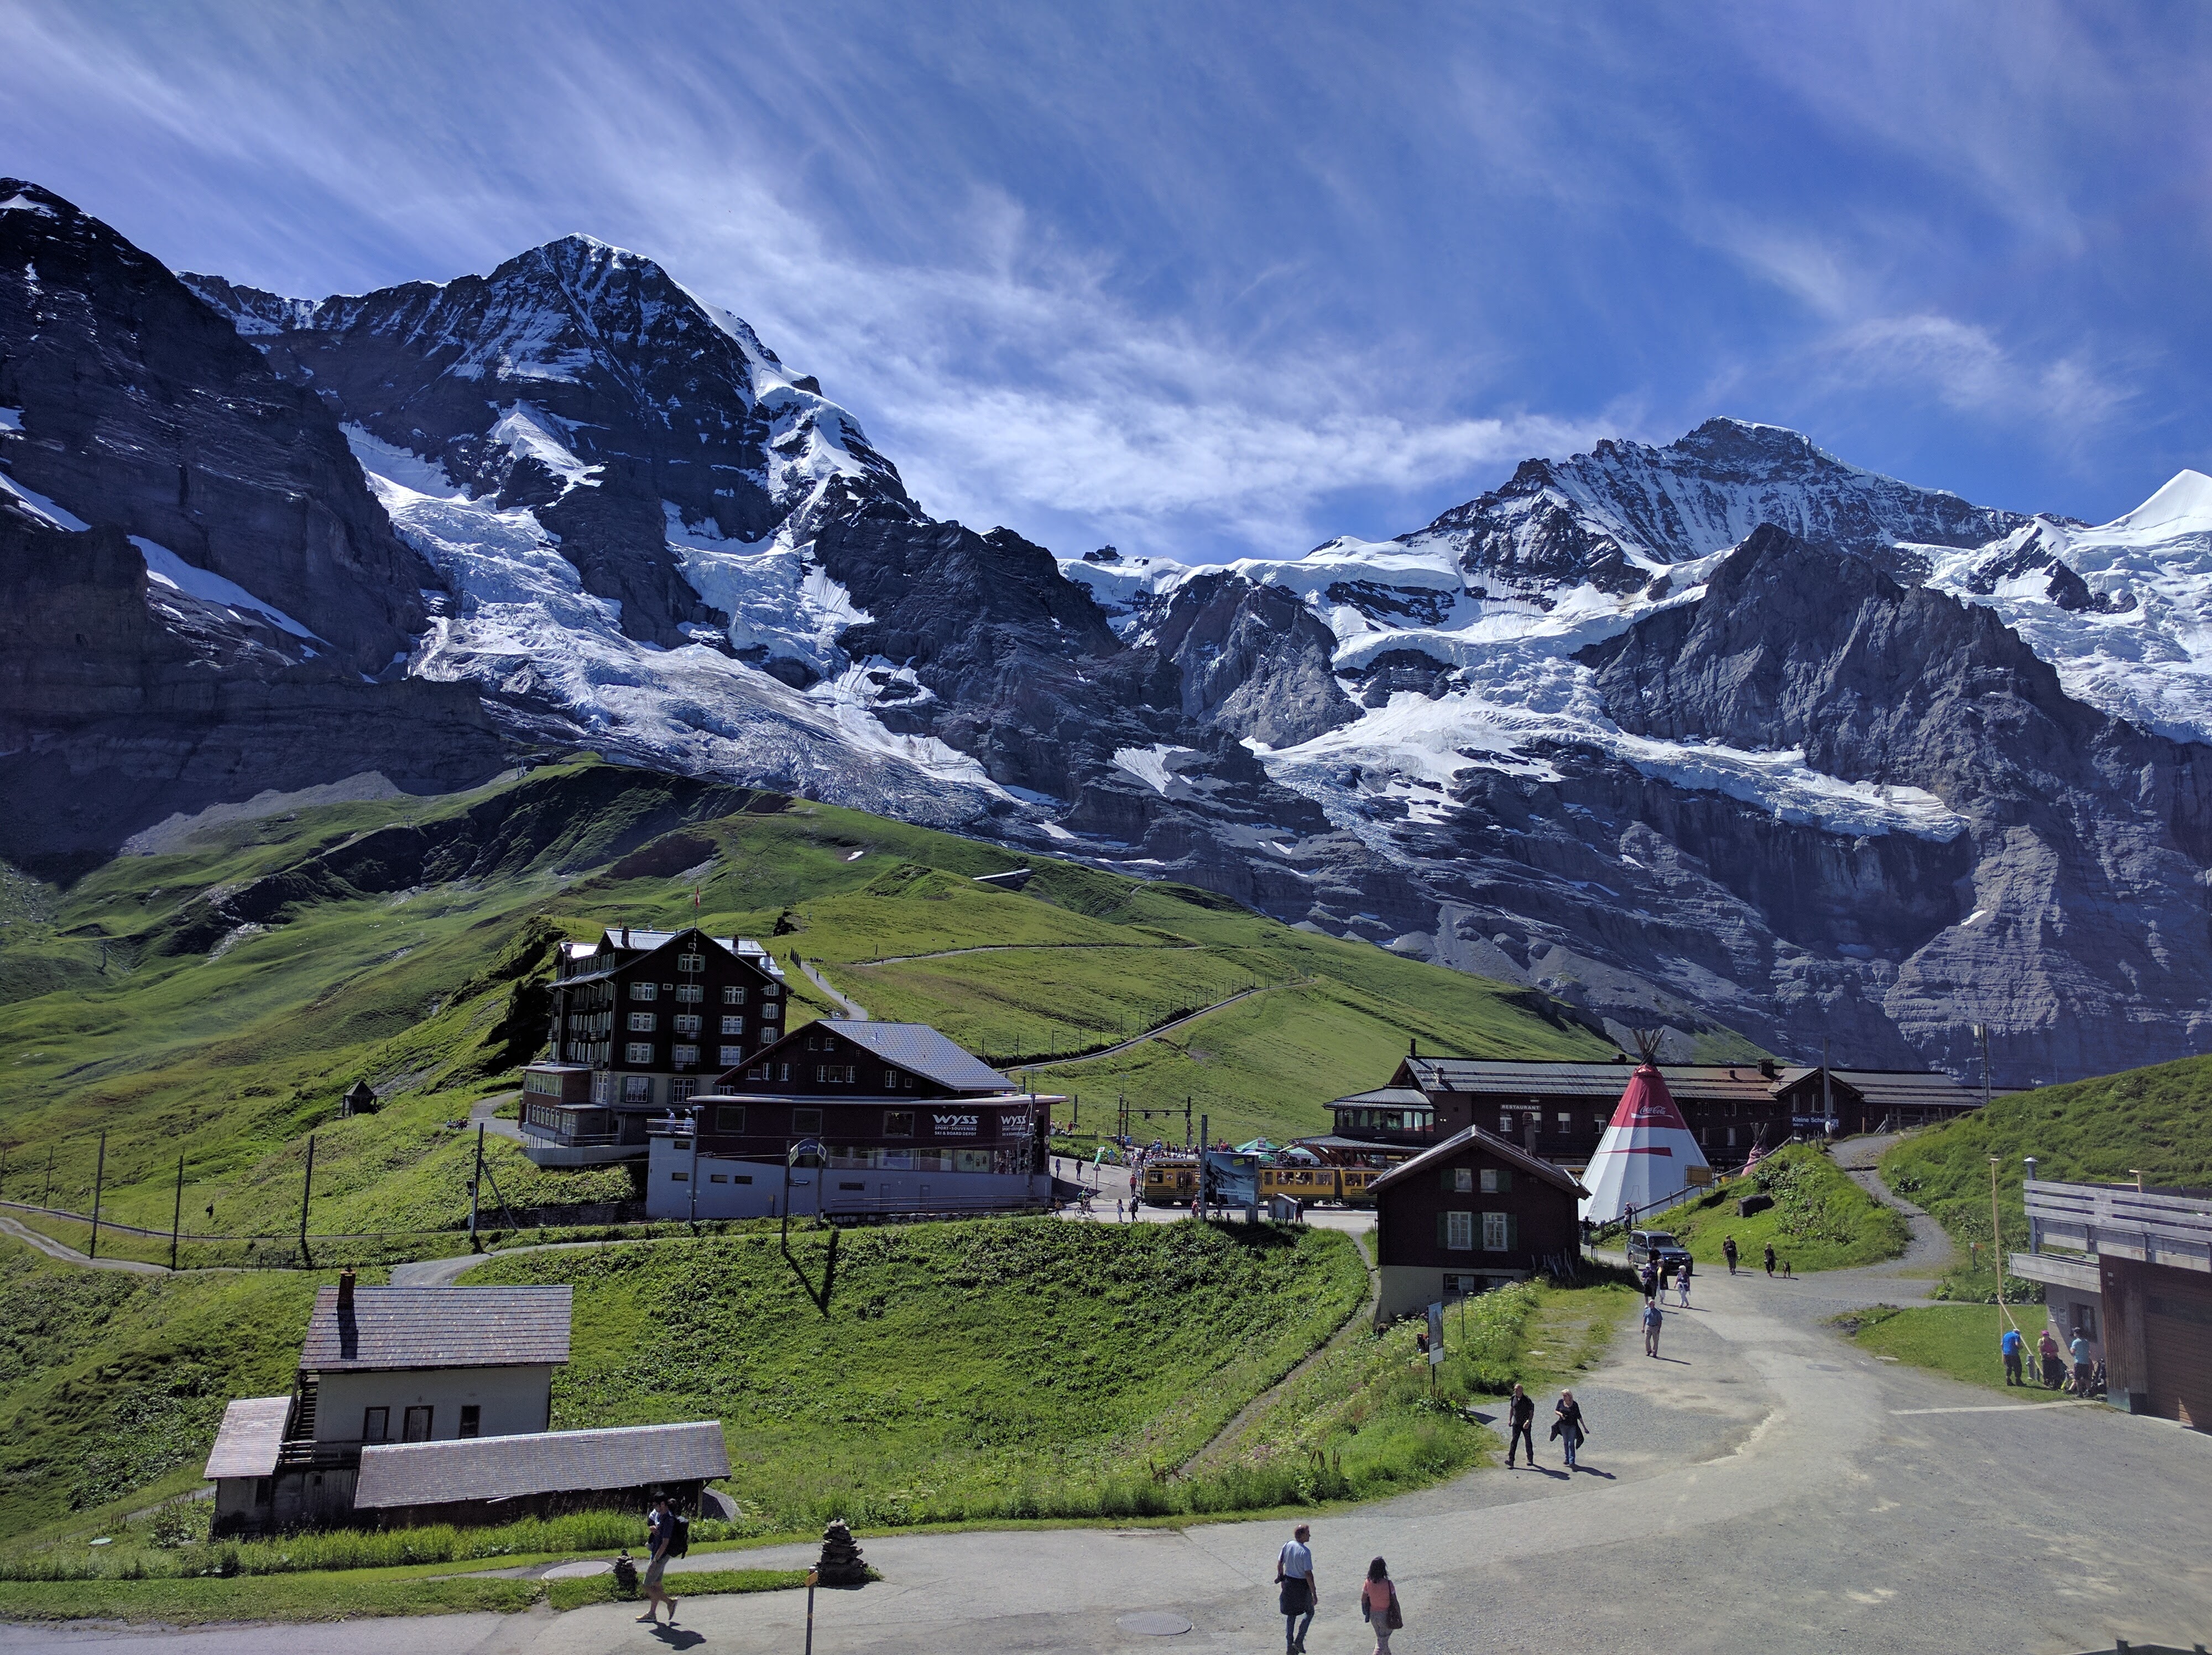
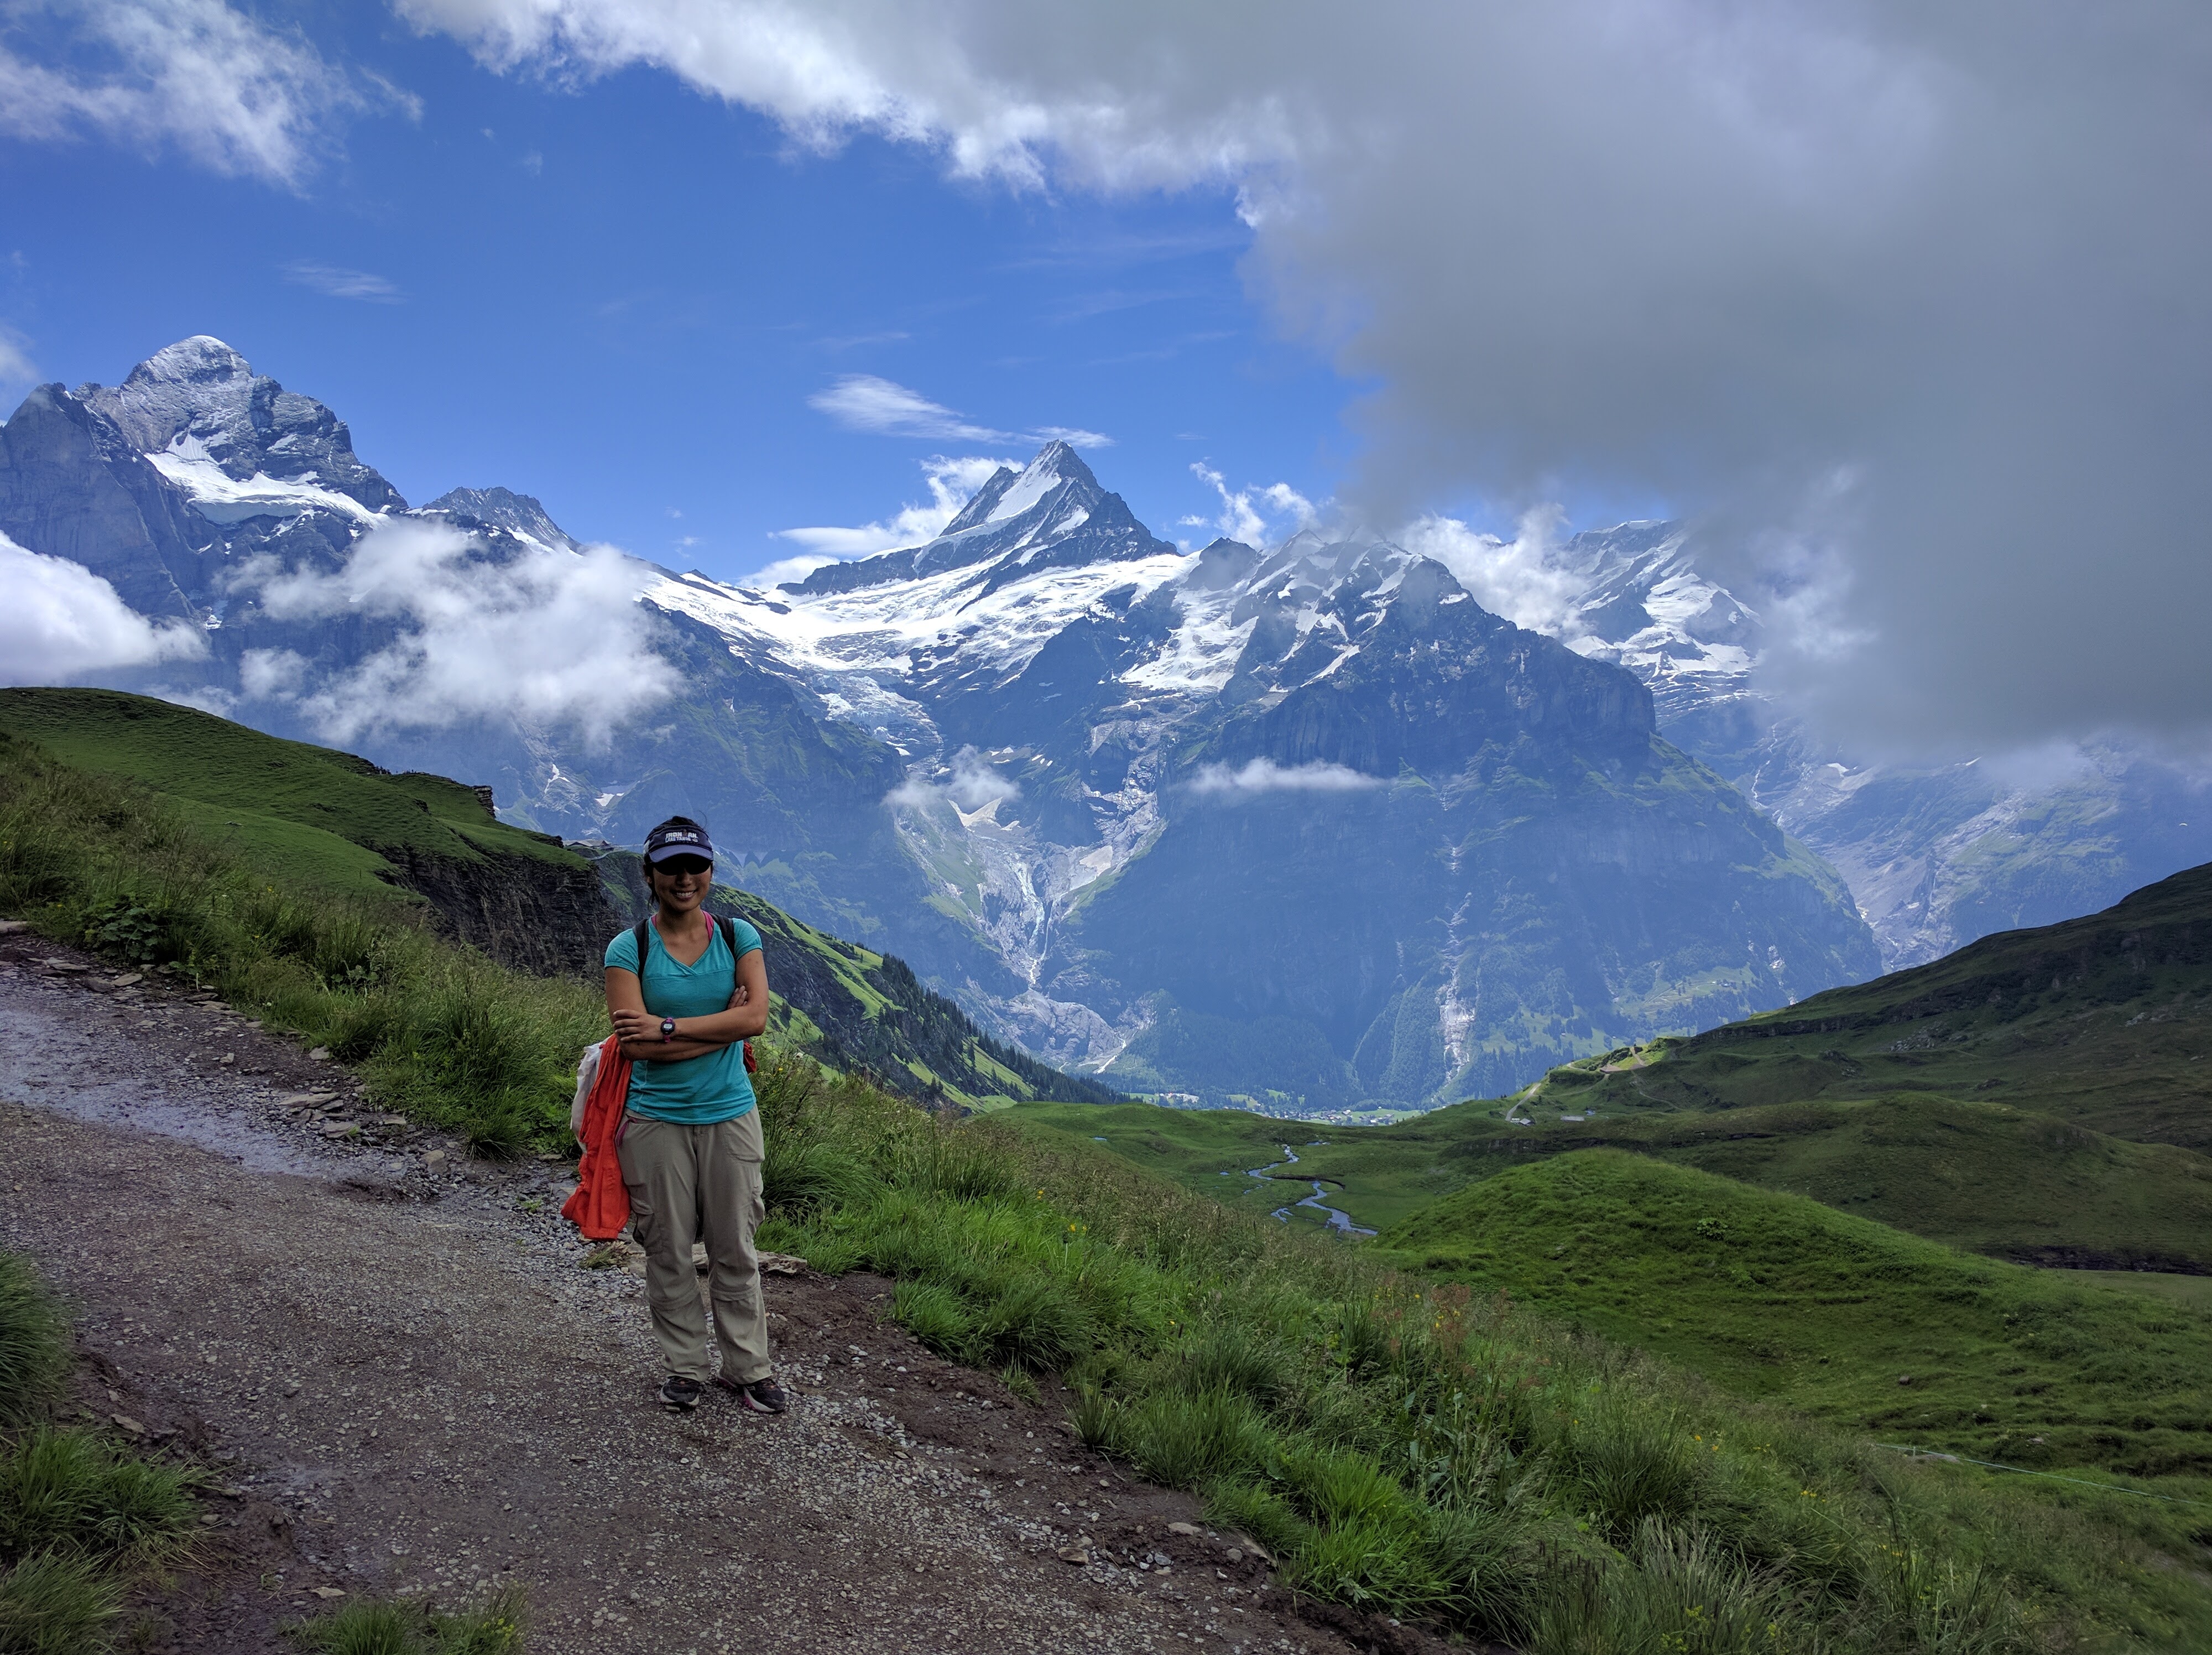
We walked the easy, gradual descent to Klein Scheidegg, perhaps the valley’s most popular walk due to the effort to scenery ratio.  No where else have I hiked where the mountains felt within reach, and for hardly any effort!  It was no wonder that this stunning walk was filled with families and people of all ages and abilities.IMG_4969IMG_4972IMG_20160730_110643

Klein Scheidegg, the “base” rail station to Jungfraujoch, Europe’s highest railway station at 3,466 meters above sea level, was the final destination for many.  Honestly, with the roundtrip price tag of over 100 CHF just to stand upon Europe’s highest rail way, we happily passed on that experience.  We could think of more wonderful, exciting ways to spend 100 CHF.  Plenty of tourists would probably disagree with us though.  At least the train station was pretty.IMG_20160730_112420

After scarfing down a packed lunch at Klein Scheidegg, we continued our hike down.IMG_4983

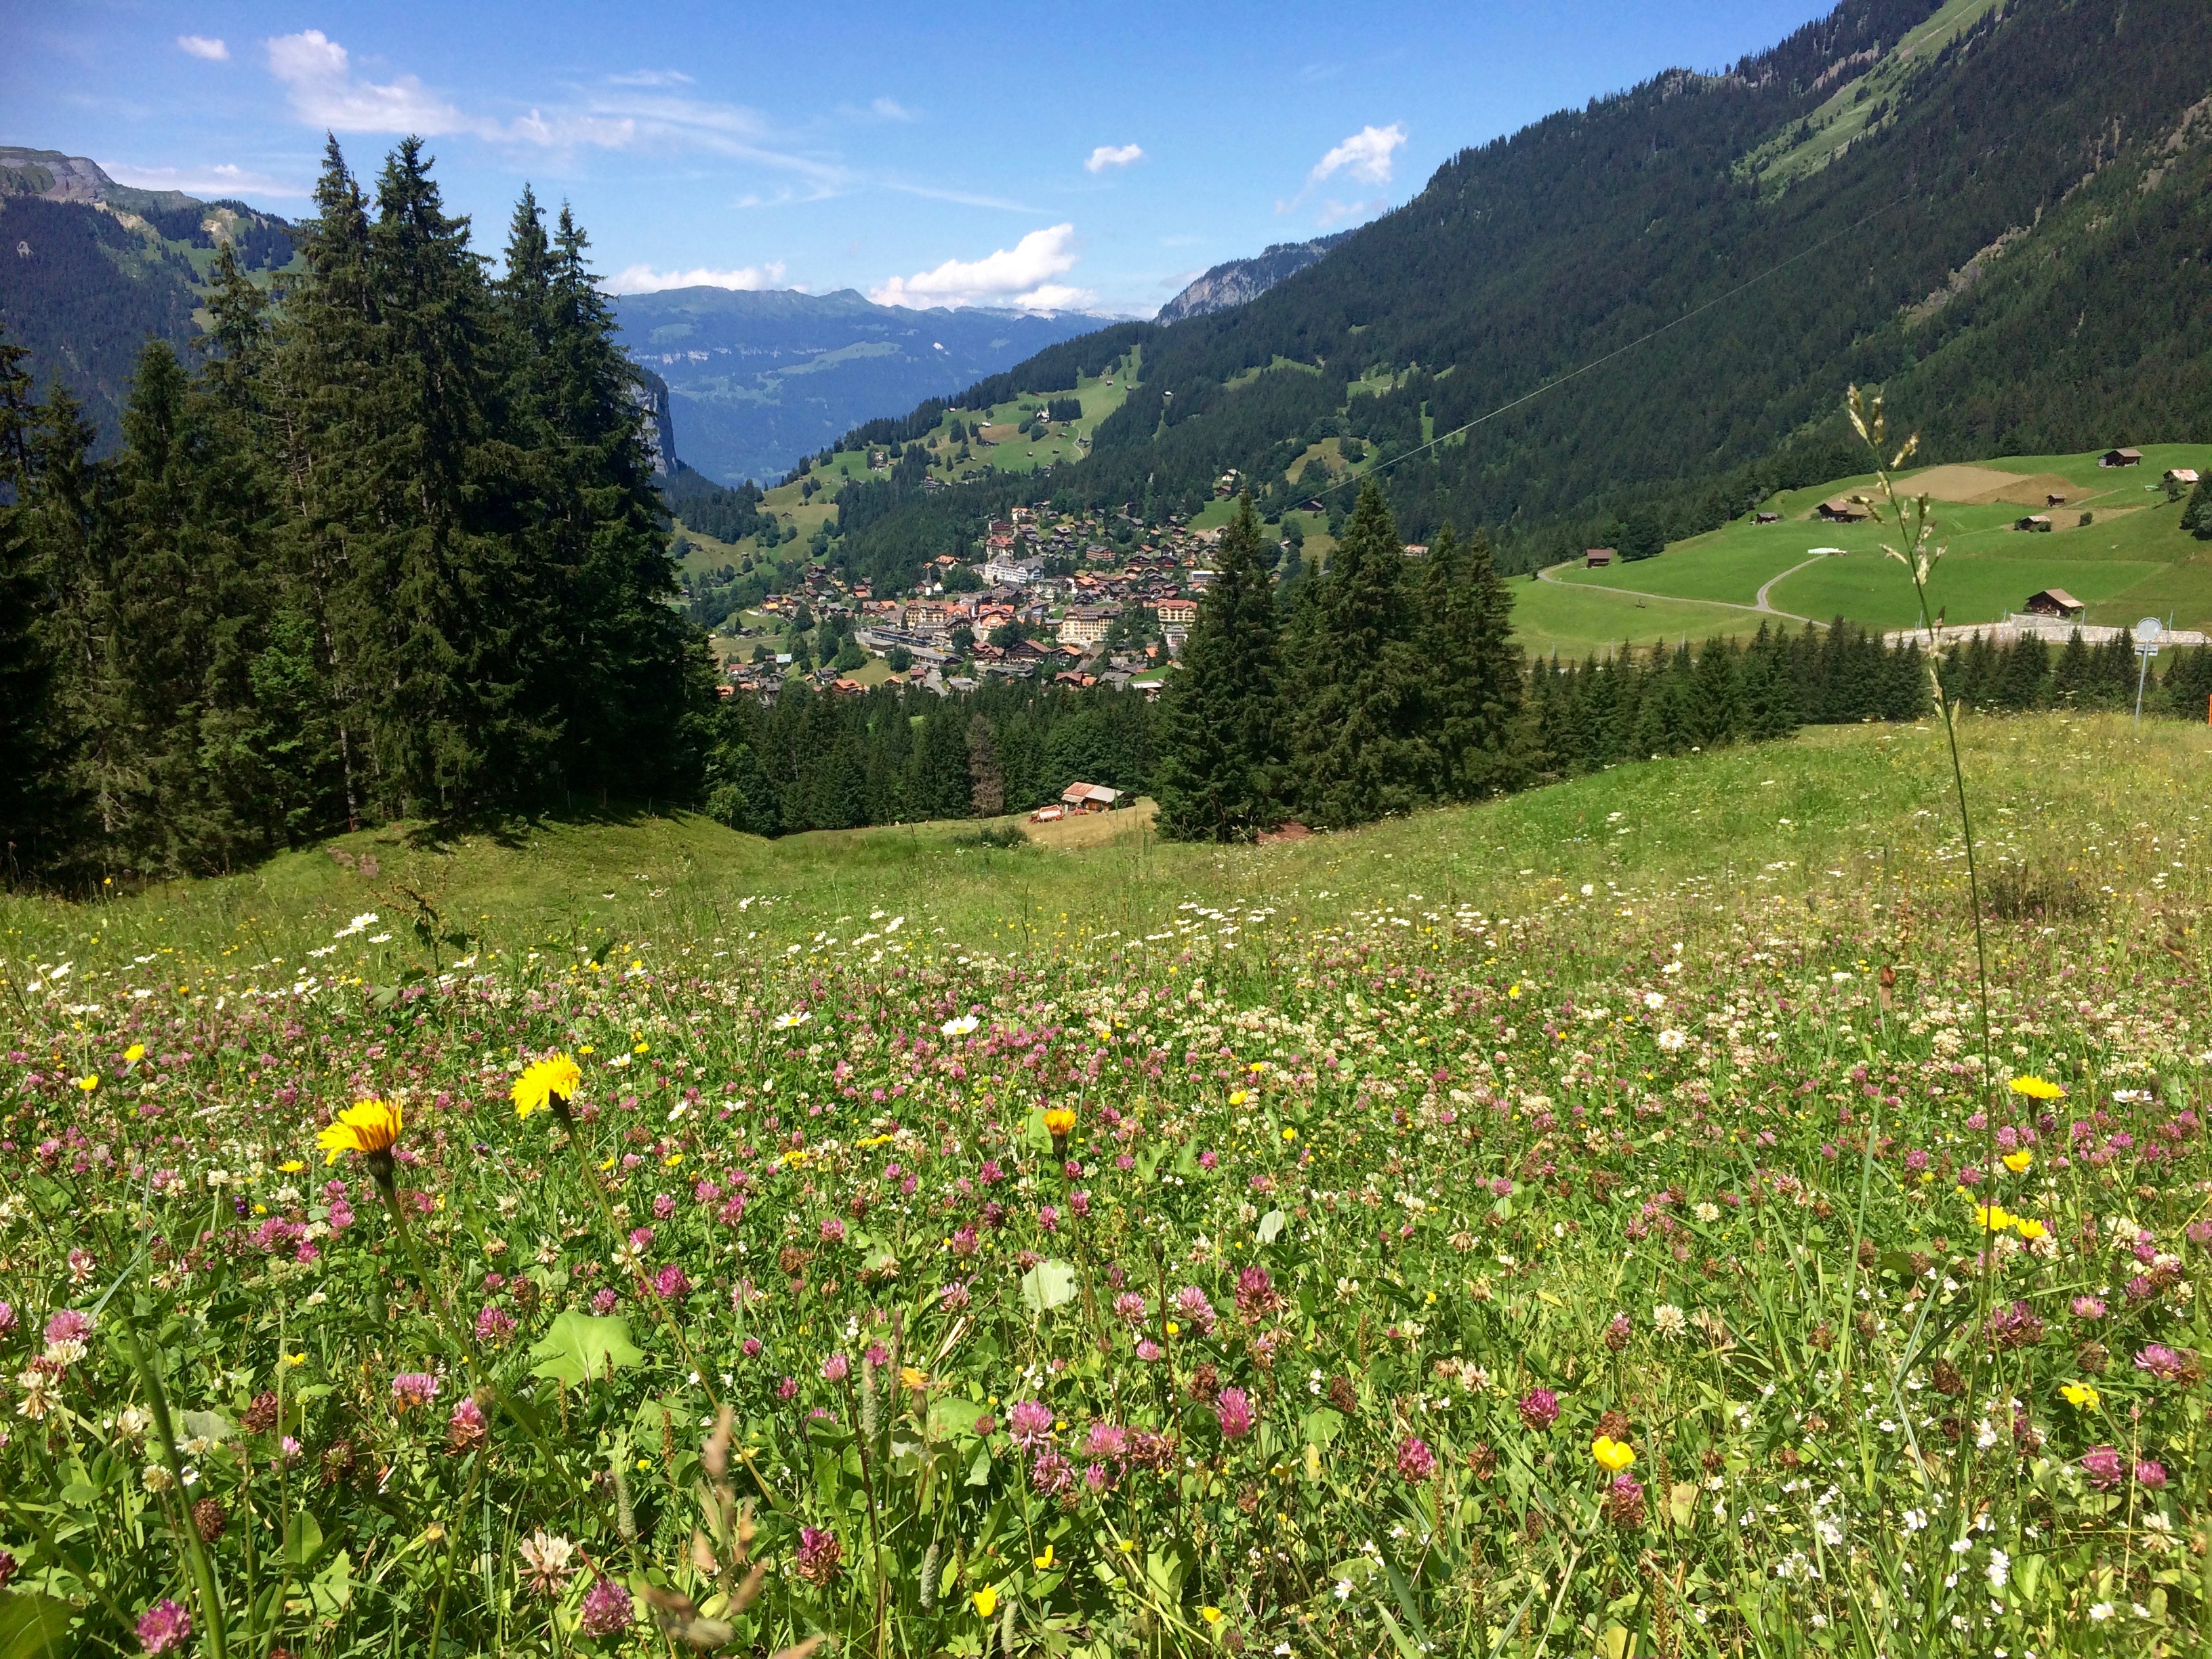
We passed by Wengen:IMG_4988

And back to Lauterbrunnen.IMG_4989

Wow. What a magical place.  I tell everyone that Switzerland is like a fairytale landscape we all dream of that happens to exist.  And an expensive fairytale landscape it is.

Budget travelers can easily spend approximately 30 CHF per night for a dorm bed, 10-20 CHF per meal, and 20-80 CHF for bus, train, and chair lift rides.  Fortunately with the motorhome and experience of road tripping through Europe, we were able to save hundreds of dollars by filling up on gas and stocking up on groceries in Austria before arriving to Switzerland.  Being equipped with our own home and transportation and enough food for the week meant we hardly spent any money in Switzerland.  YAY!

After four magical, consecutive hikes at Trift Bridge, Grindelwald, Butschalp to Murren, and Mannlichen to Klein Scheidigg in Lauterbrunnen Valley, we sadly wrapped up our Swiss adventure to move onward.  At least our sadness was quickly replaced with excitement for the Black Forest in Germany!

Posted in Switzerland | 1 Comment

Grindelwald

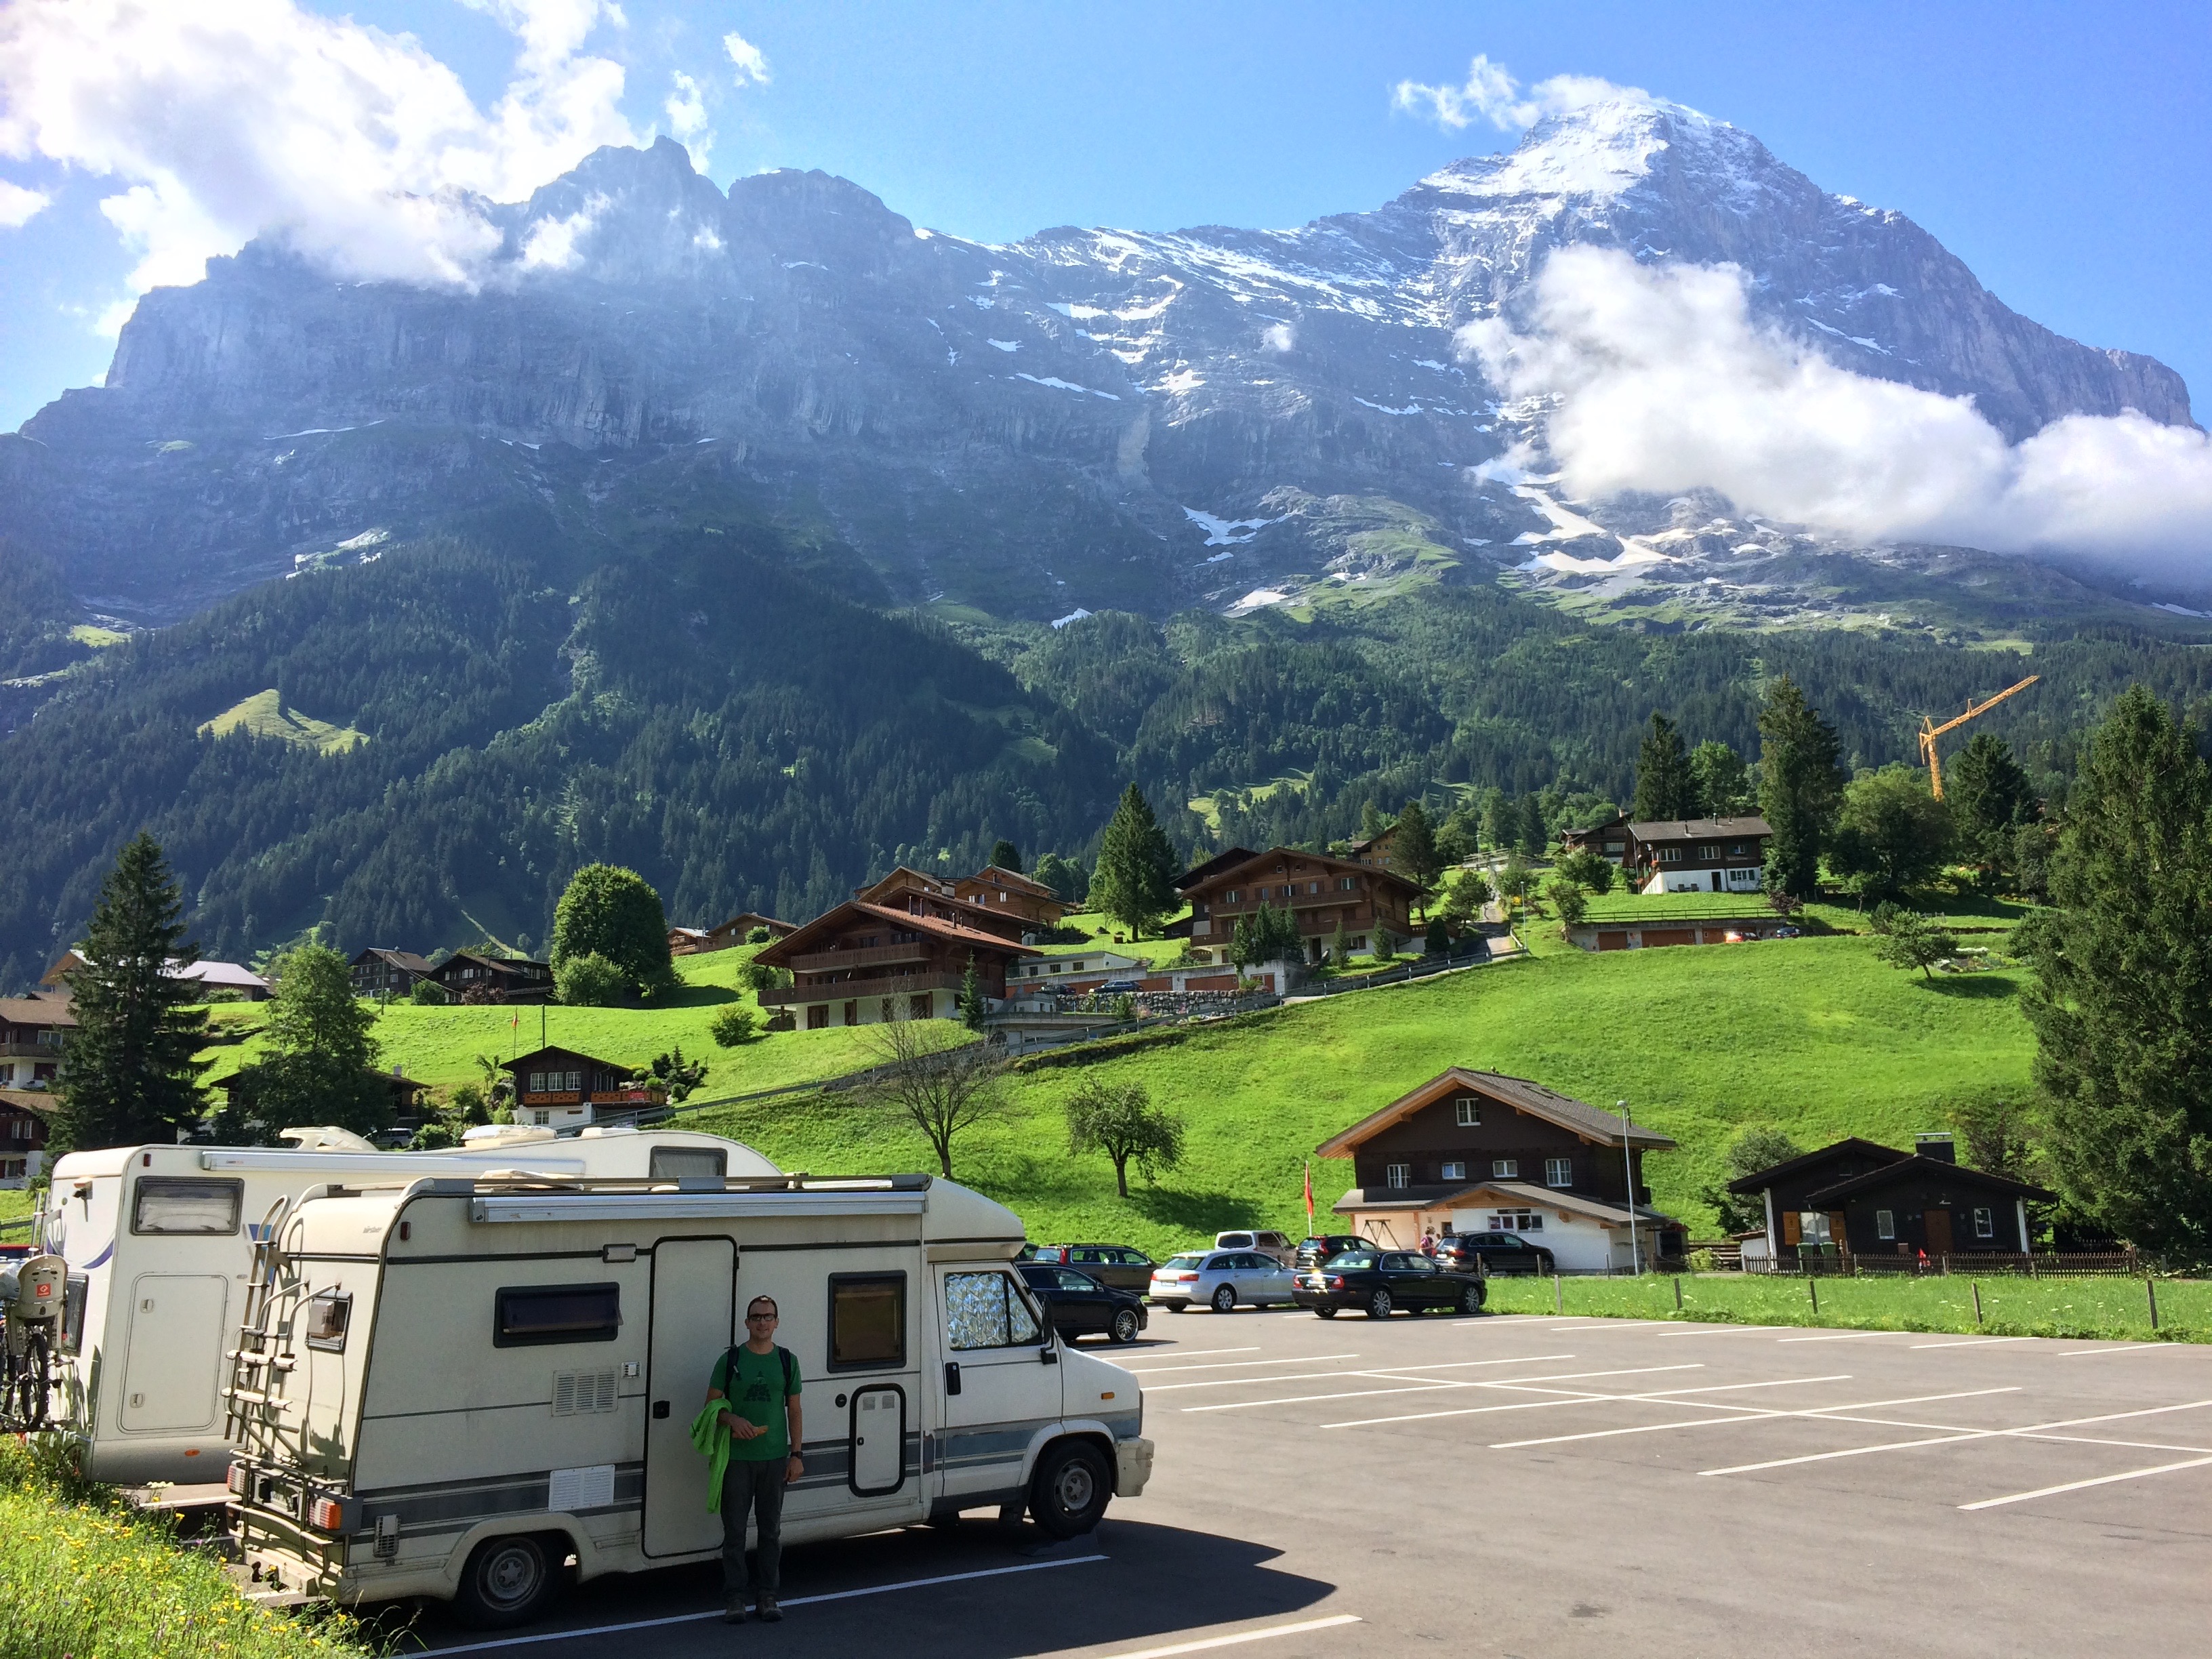
We spent one night in the unimaginably beautiful village of Grindelwald. Why? Because we found that hunkering down in our motorhome and illegally “camping” in the Grindelwald Grund rail station for only 6 CHF/24 hours was easy, despite all the “Camping Prohibited” signs displayed throughout the entire valley.

The mountain scenery from the parking lot was also incredible.  Yep, this suited us just fine.IMG_4801

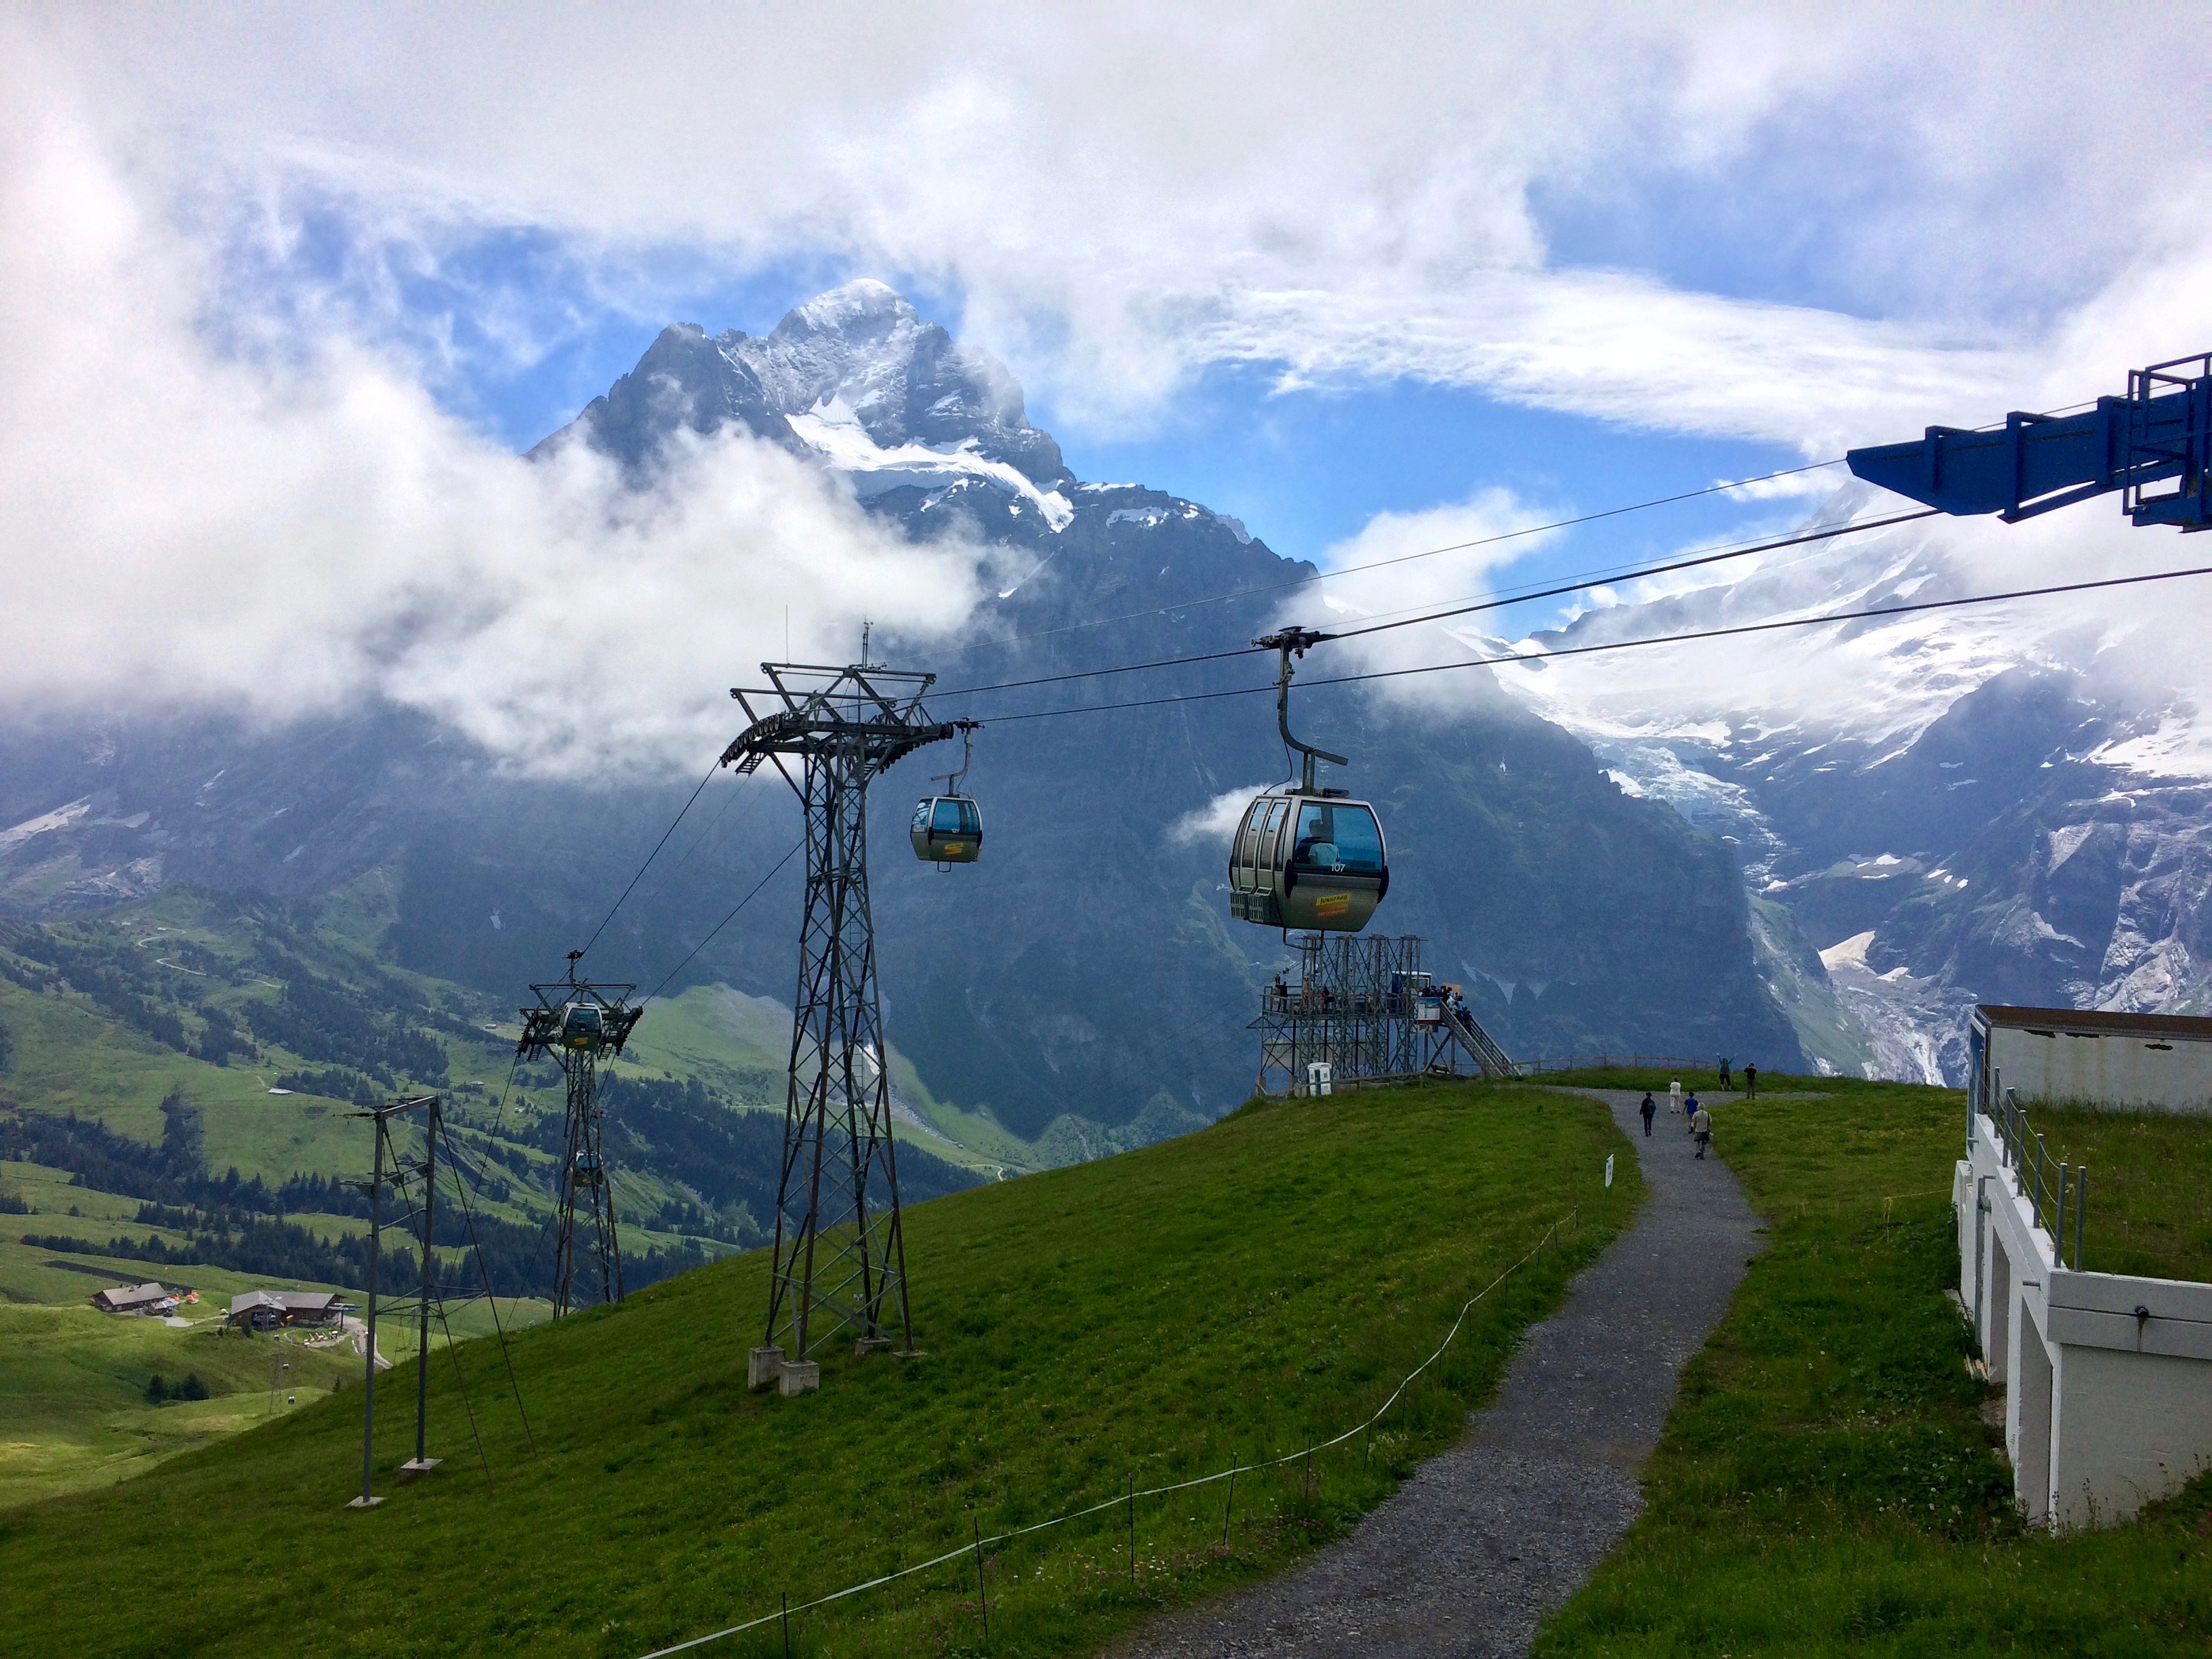
Oh, and the hikes in and around Grindelwald were lovely too, especially when they involve Switzerland’s most famous aerial cable car, Grindelwald to First.IMG_4805

From the Grindelwald Gund rail station to the aerial cable car was a 25-minute walk uphill, and from Grindelwald to First was a 30-minute cable car ride through spectacular mountain scenery.  We probably could have hiked the two hours to First, but our desire to sightsee the surrounding mountains via cable car for 30 minutes surpassed our interest to hike up yet another long slope.  To save money on ½ the fare, we each paid 29 CHF for a one-way ride to First (as opposed to 58 CHF roundtrip!); our return to Grindelwald was completely on foot.

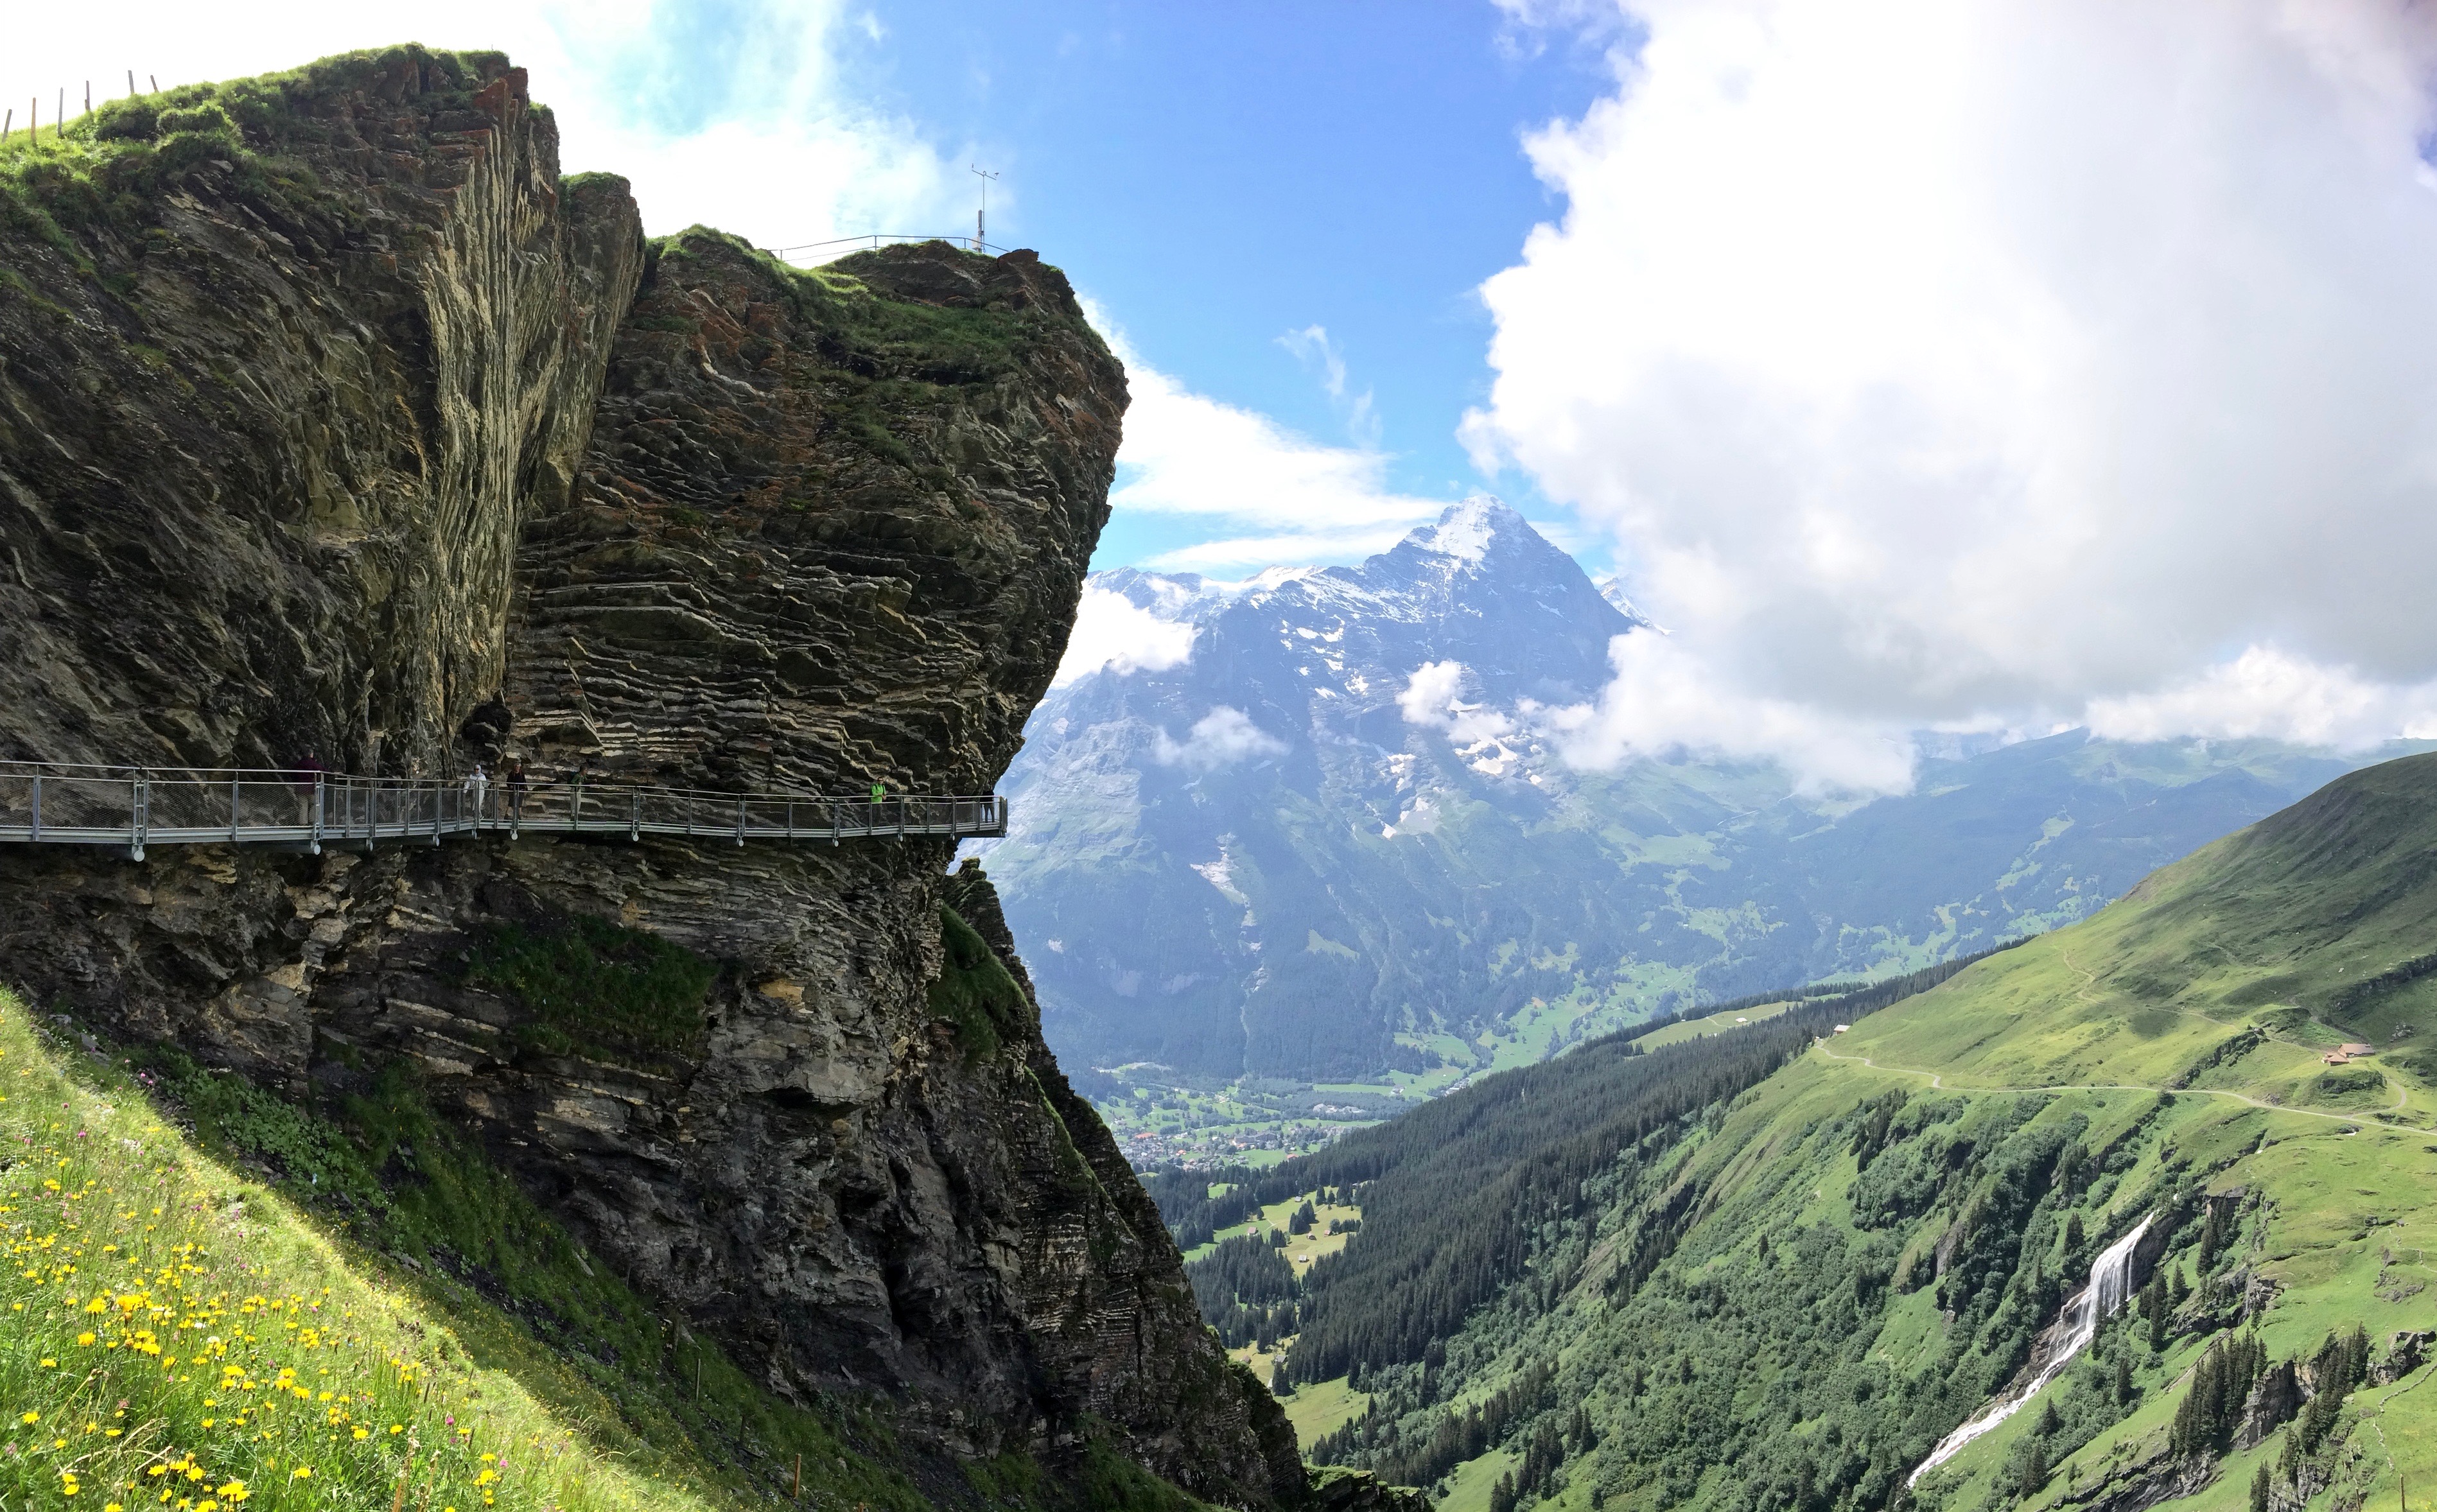
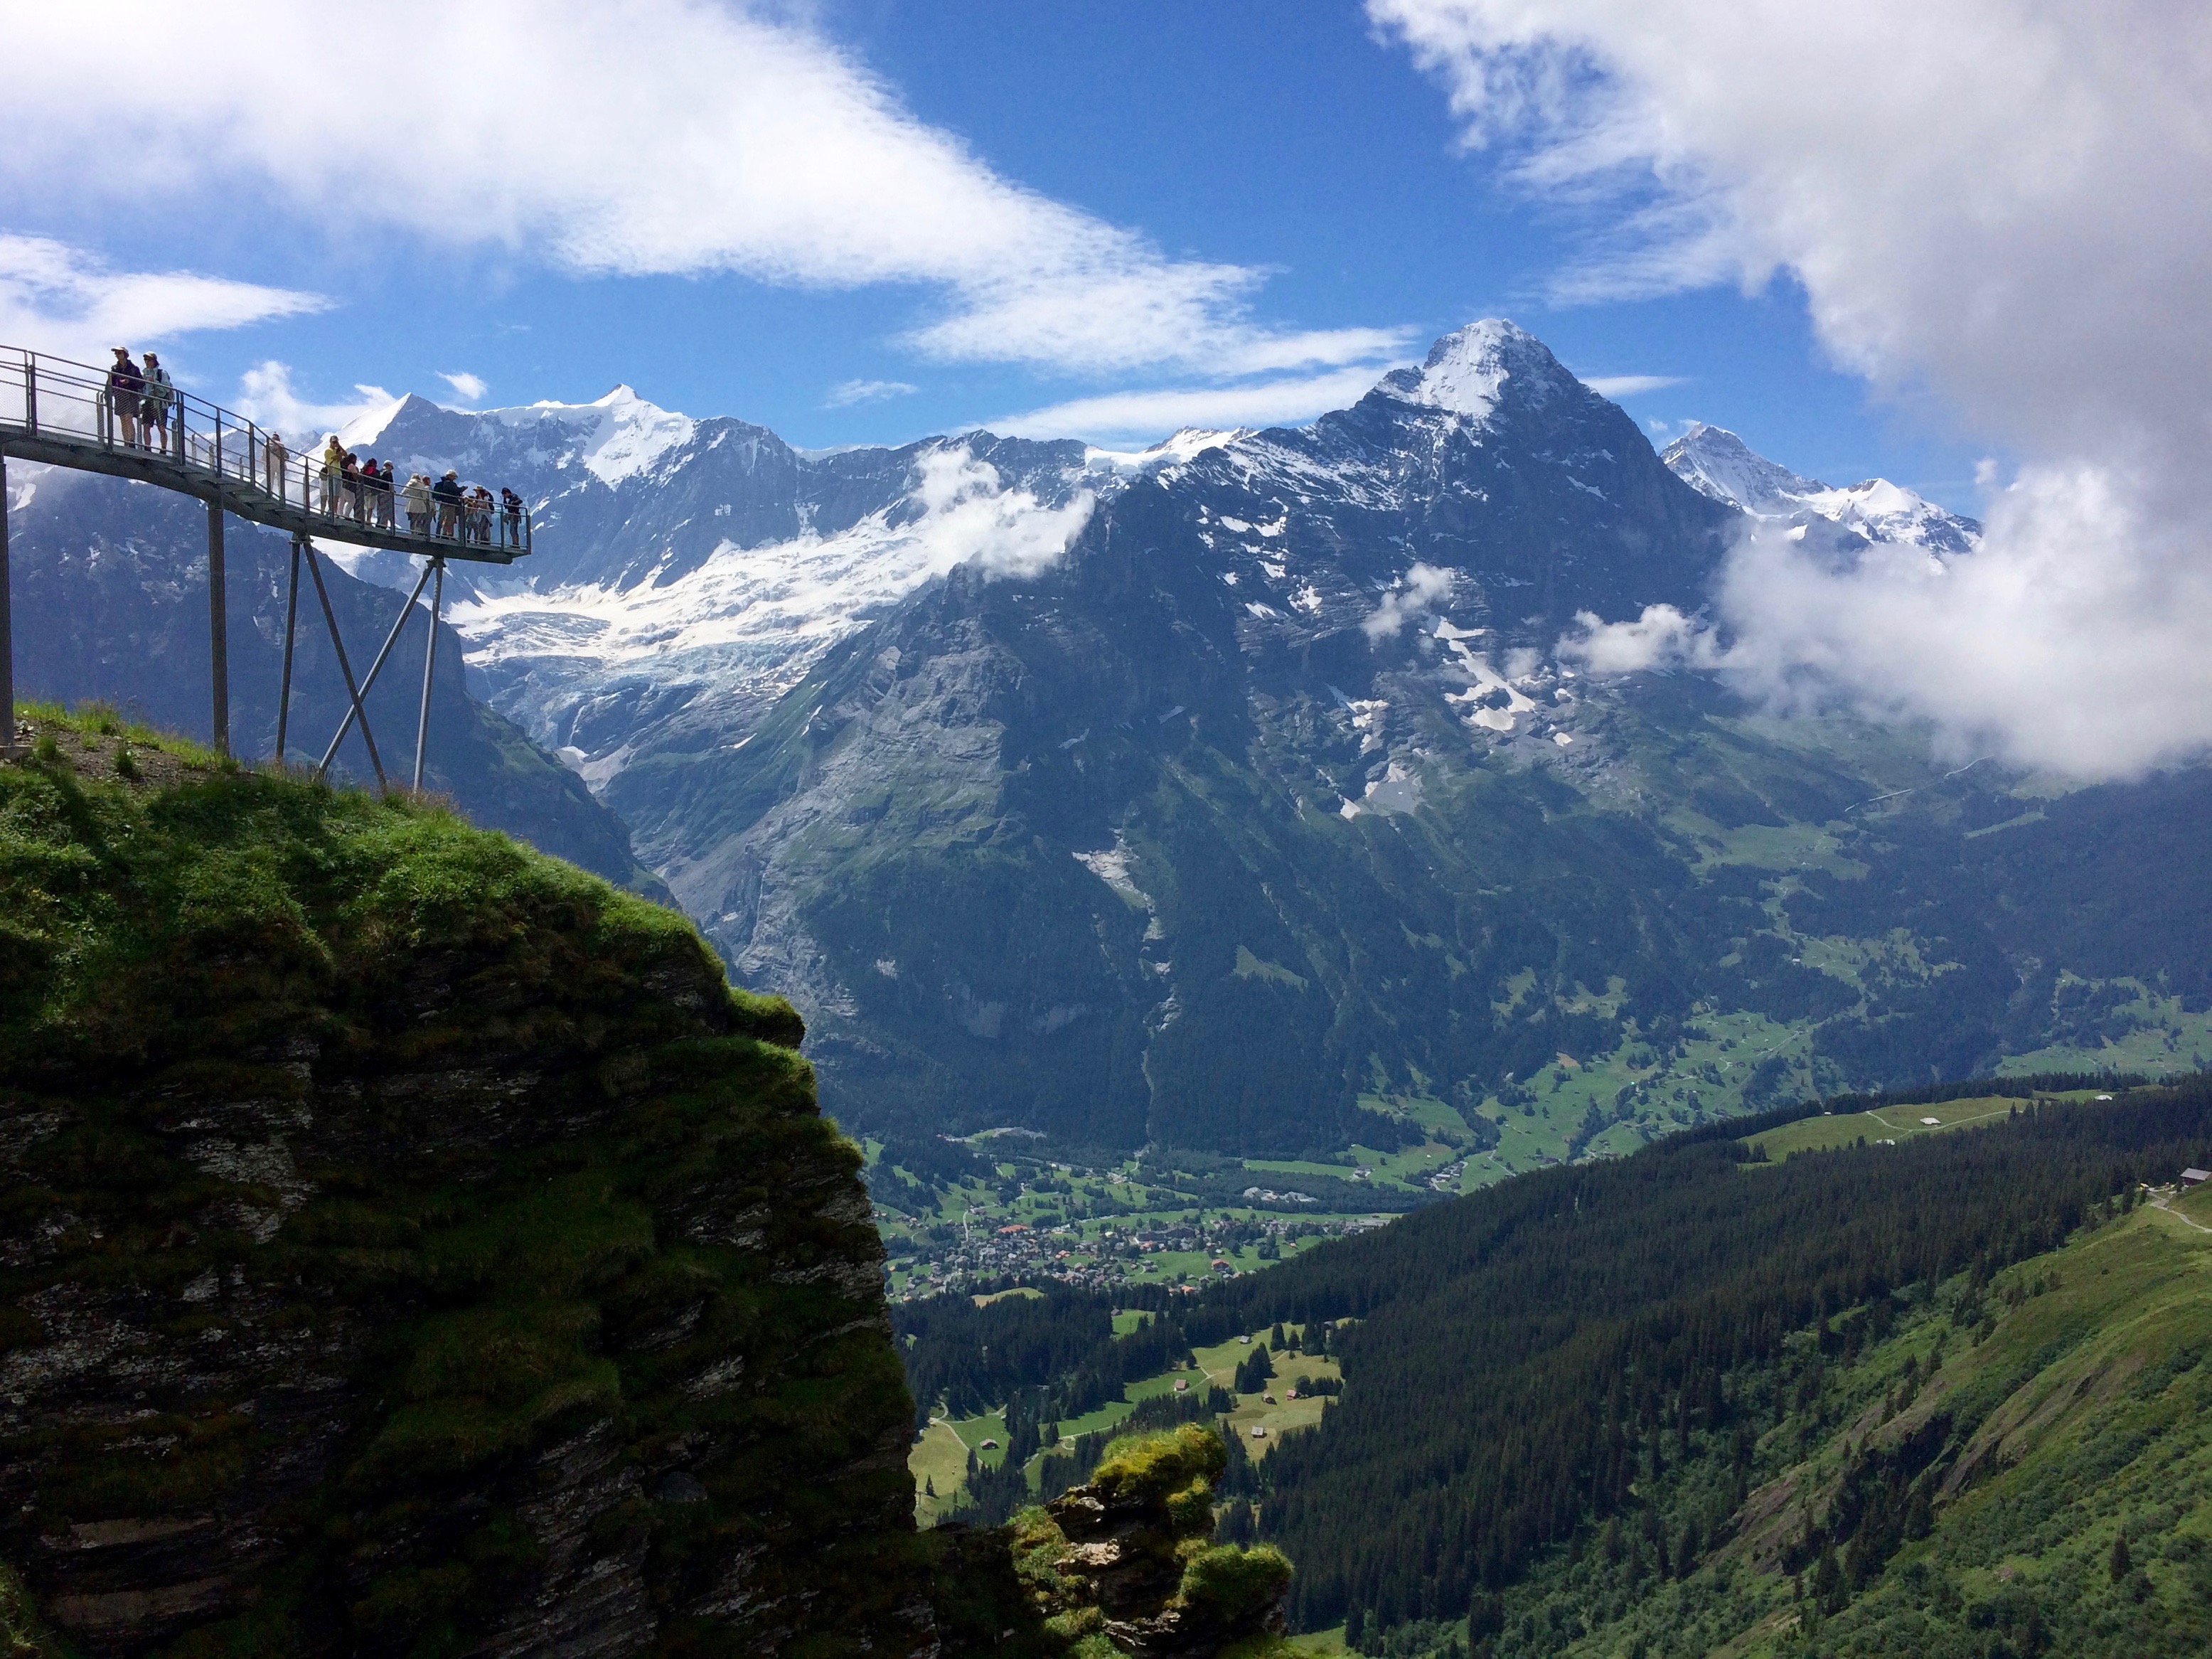
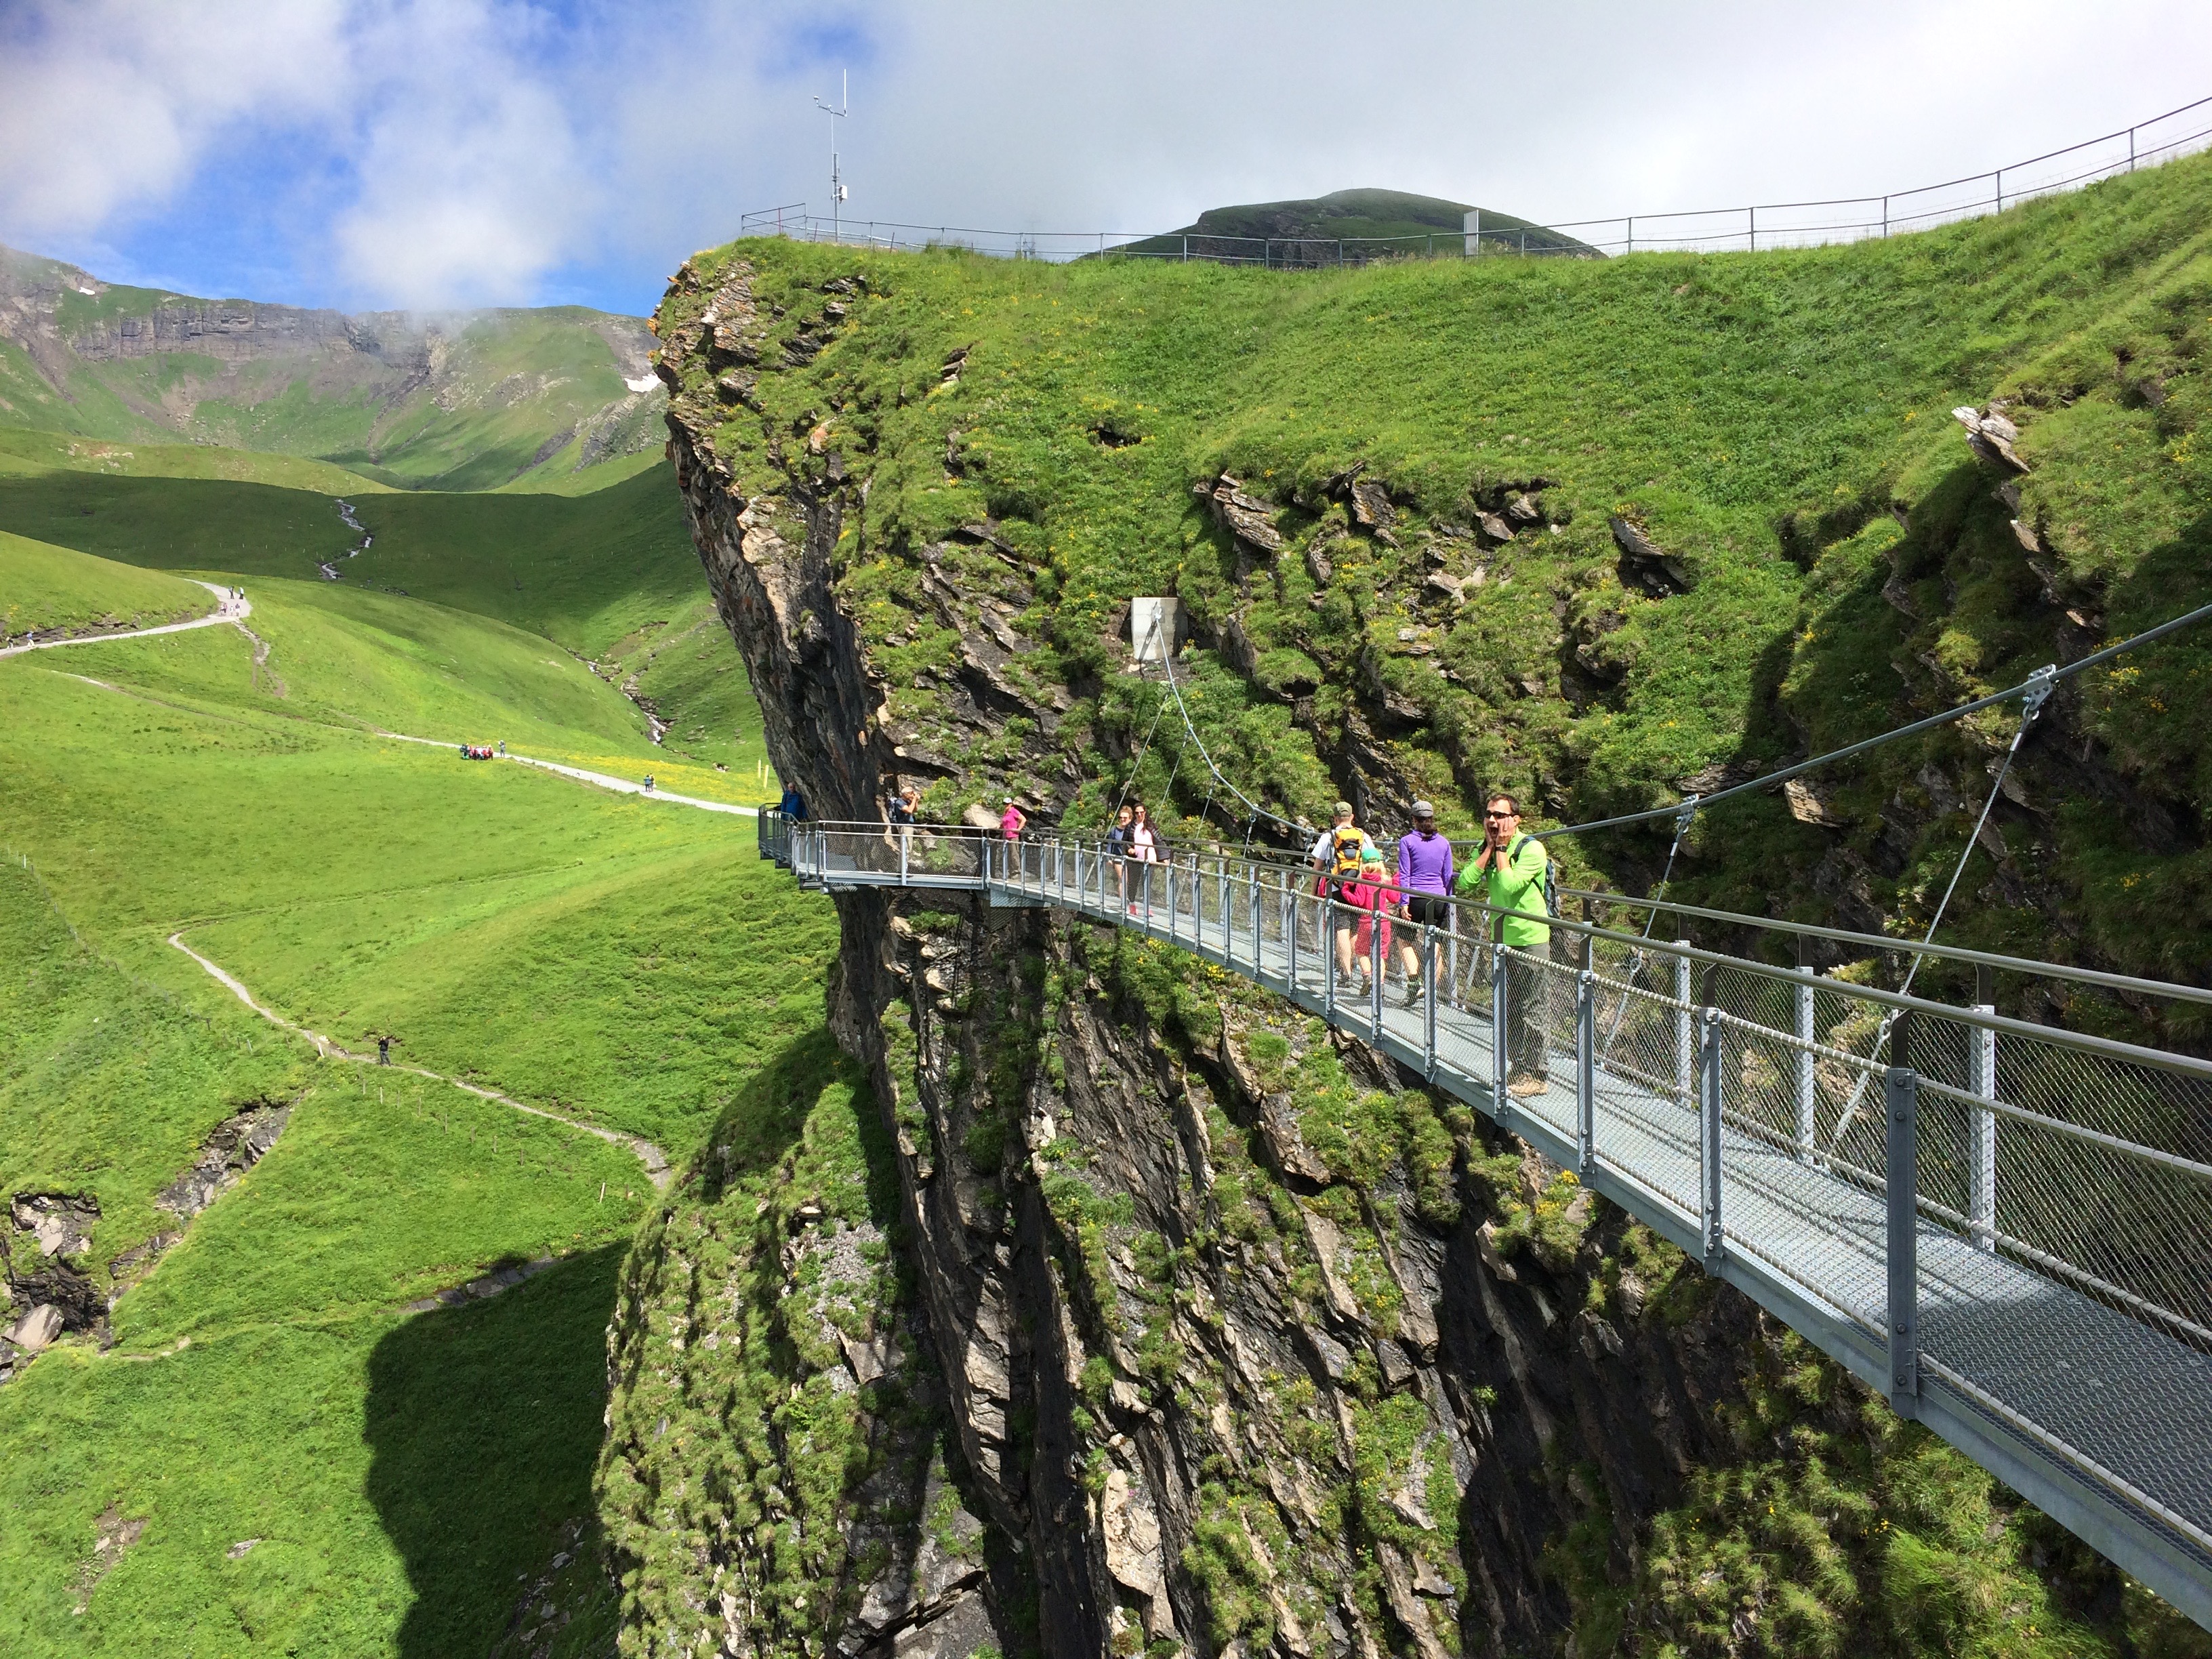
At the summit of First Station, several tourist attractions such as the zip line, scooter bikes, and a cliff walk kept the tourists and non-hikers entertained. Fortunately the cliff walk was free!IMG_4810IMG_4811IMG_4812

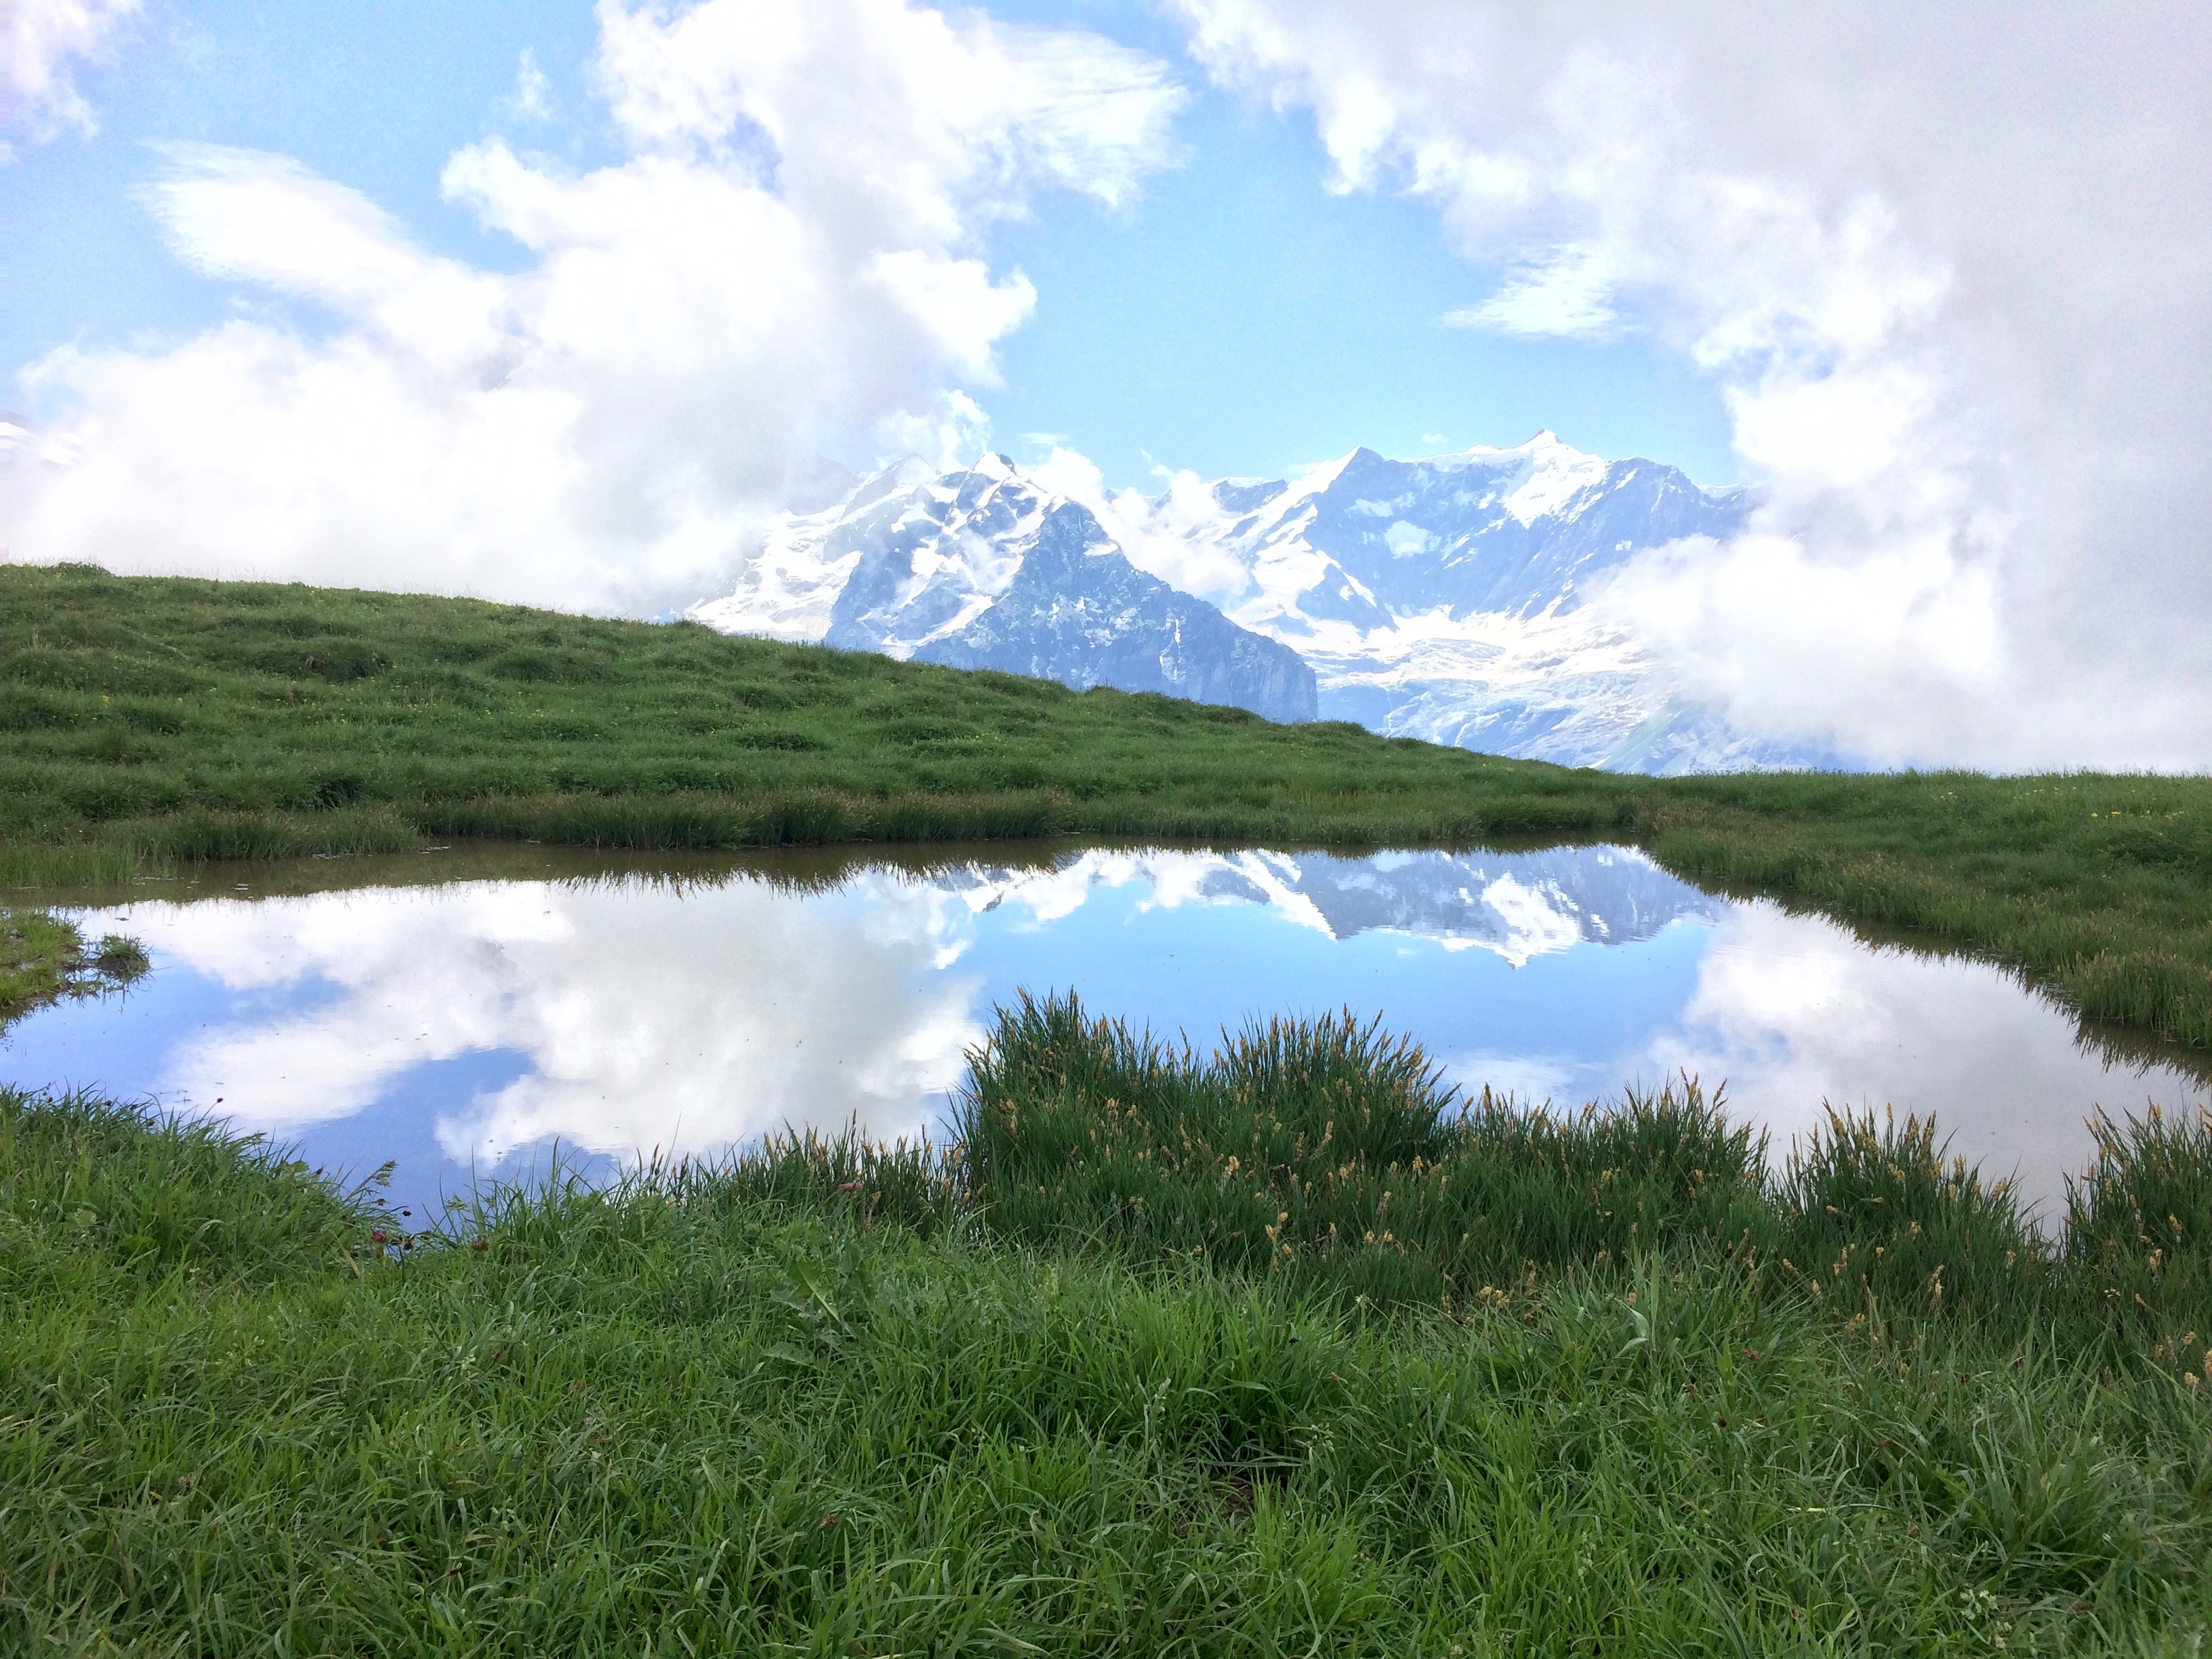
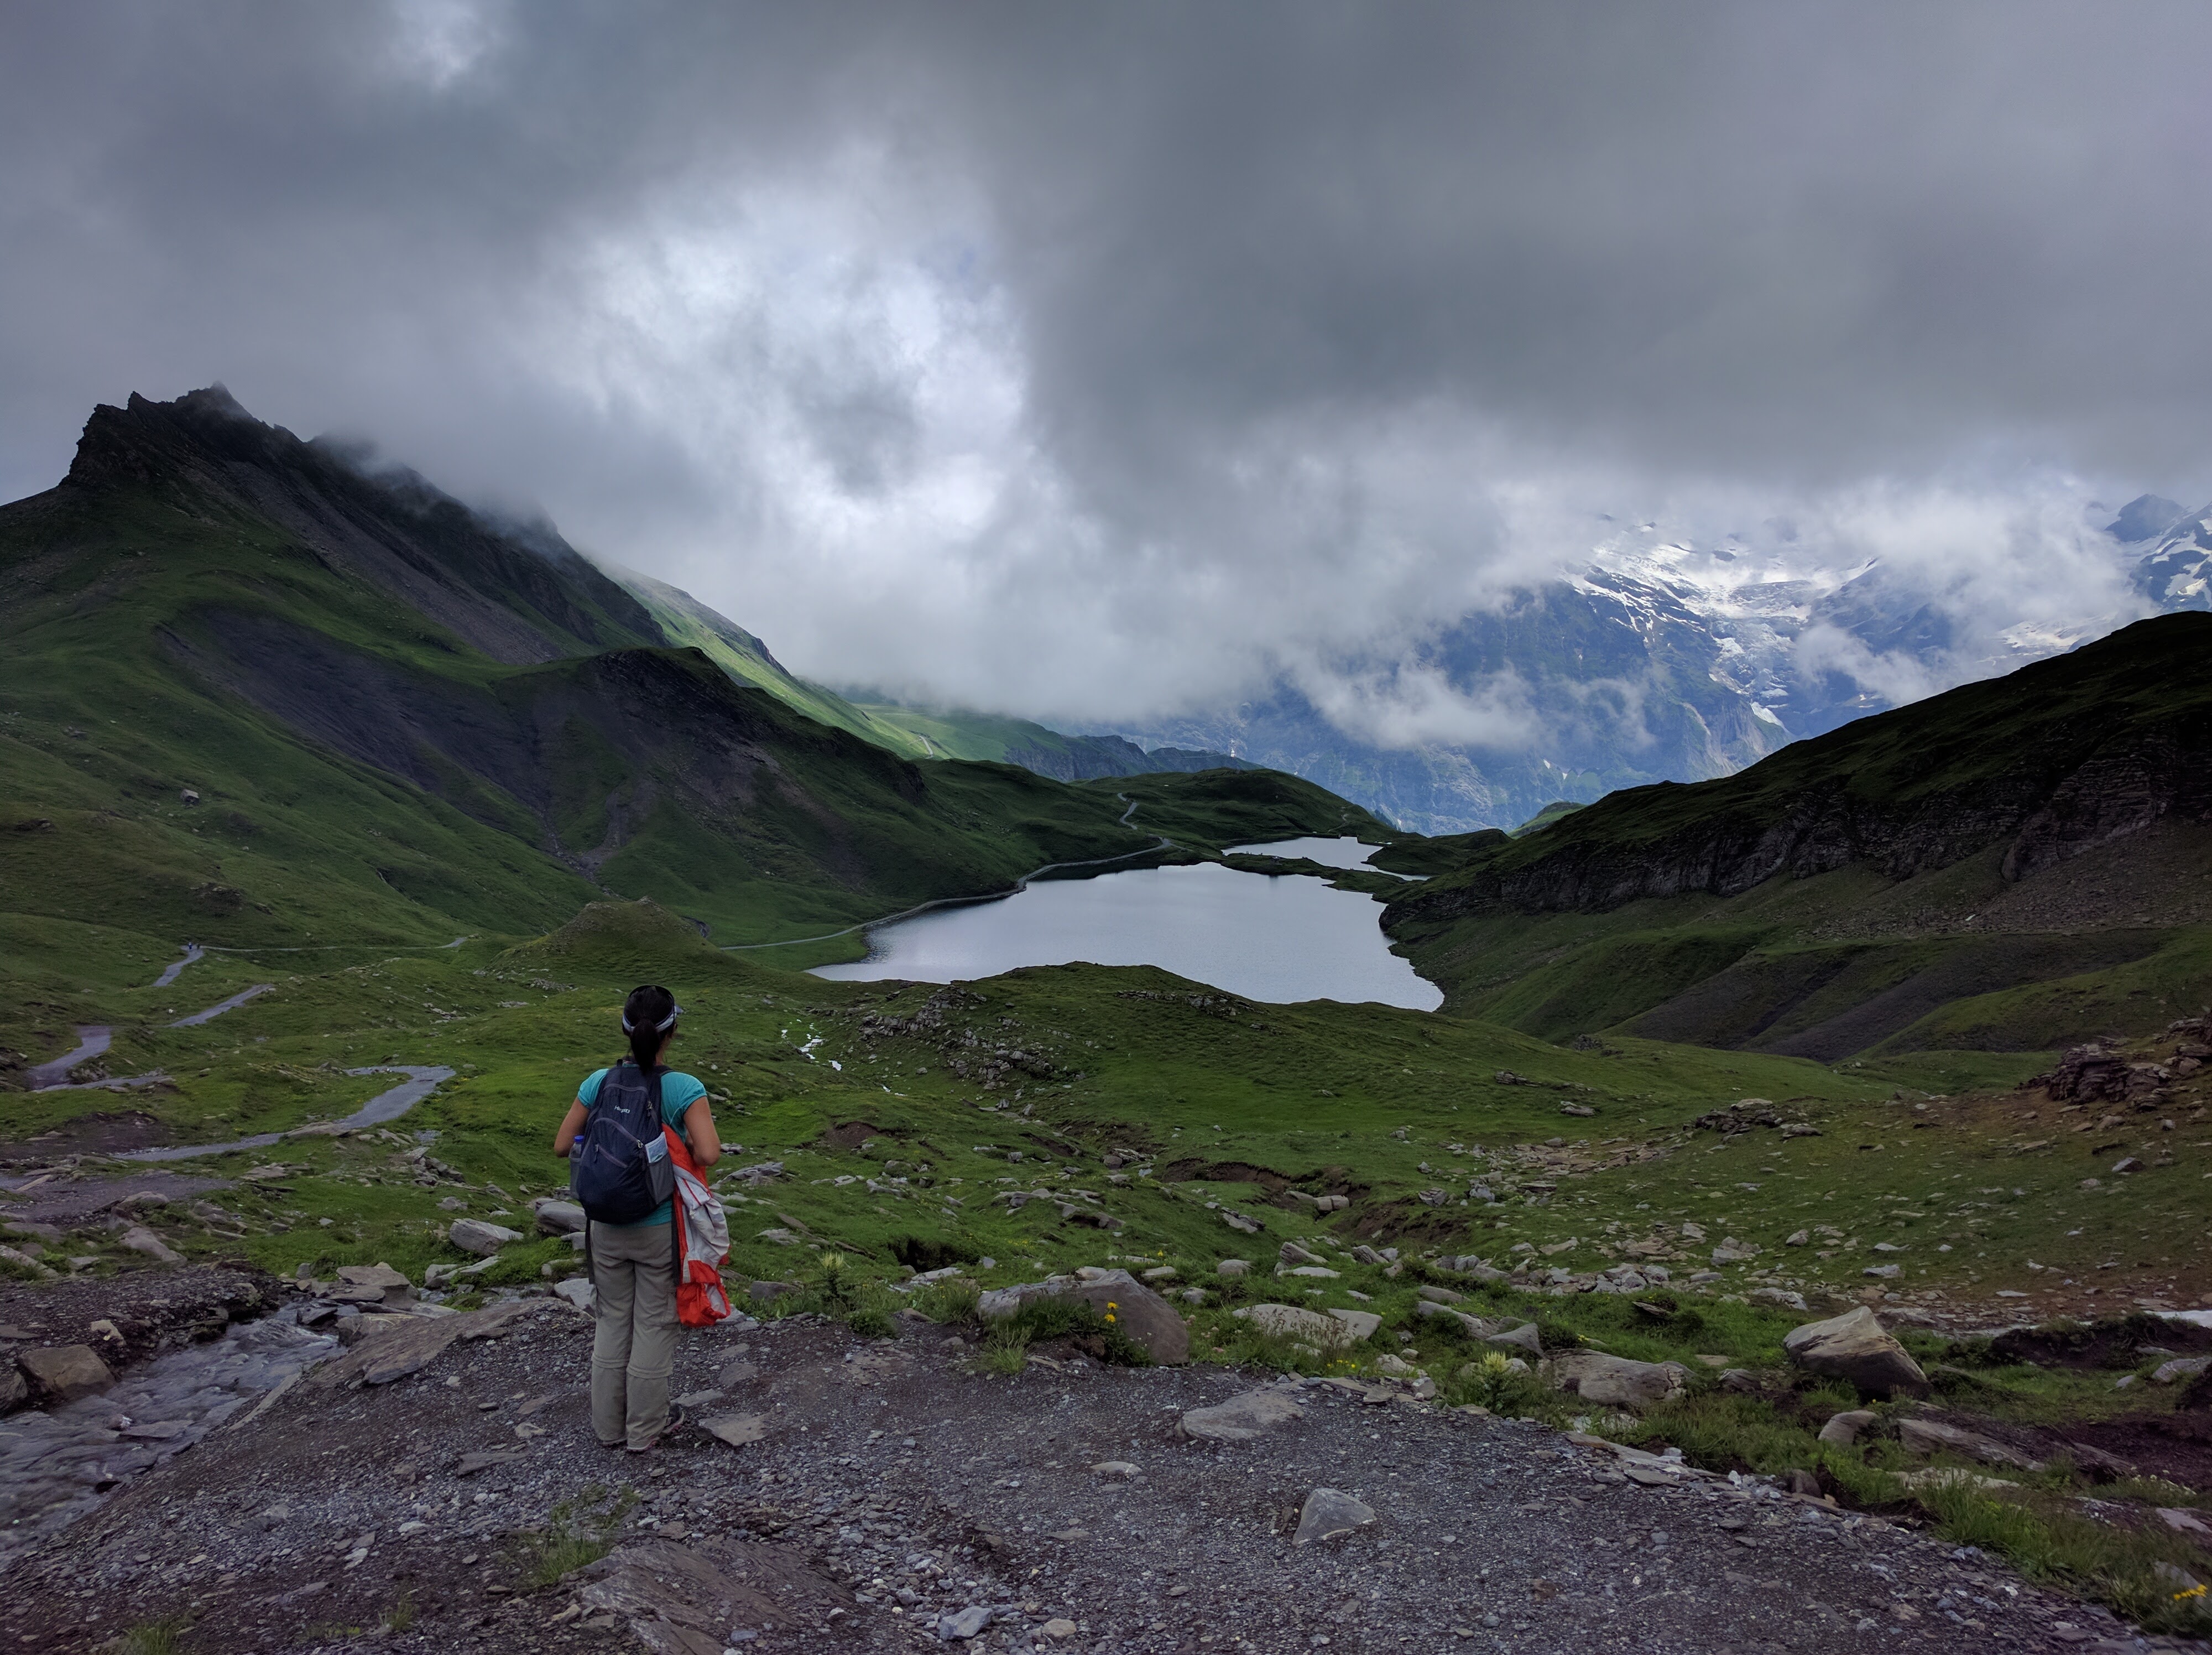
Plenty of tourists, families with small children, and walkers “hiked” from First to Bachalpsee Lake, an undemanding trail that only took 50 minutes one way. It was no wonder why this walk saw numerous people; its views were breathtaking.IMG_4817IMG_20160728_124508IMG_20160728_123424

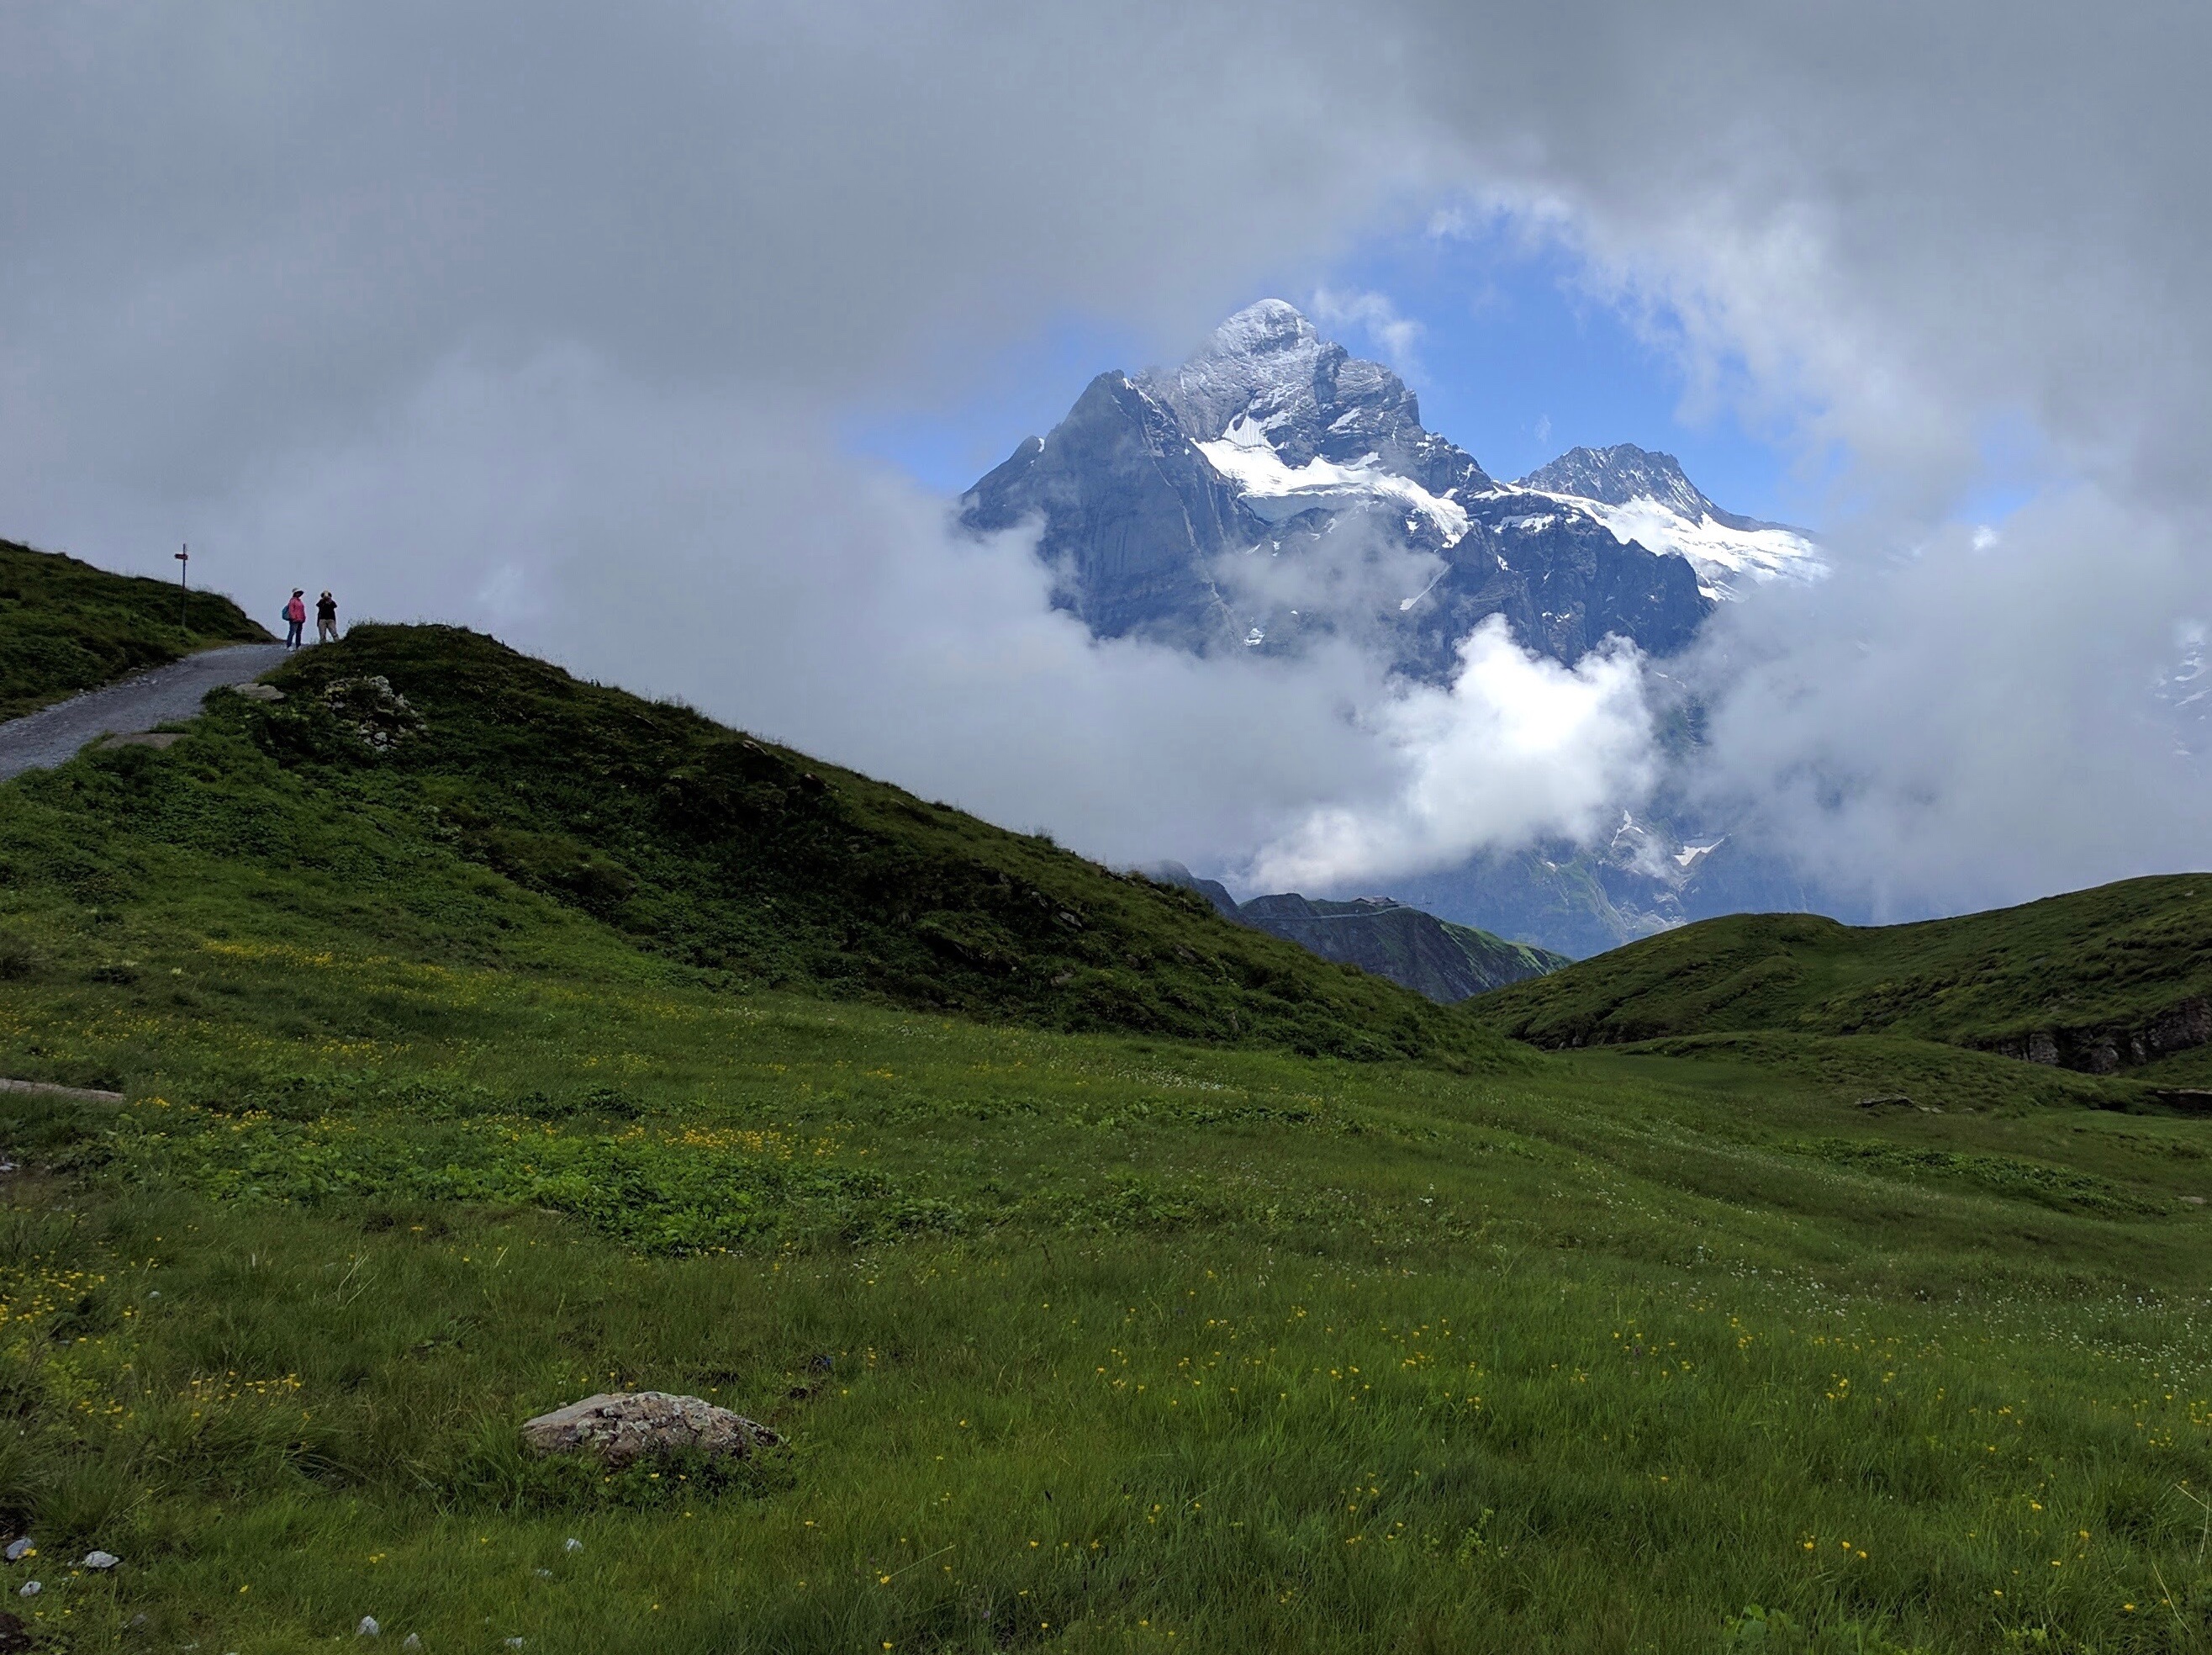
Sadly, the clouds blocked the gorgeous mountain views at Bachalpsee Lake.IMG_20160728_131054

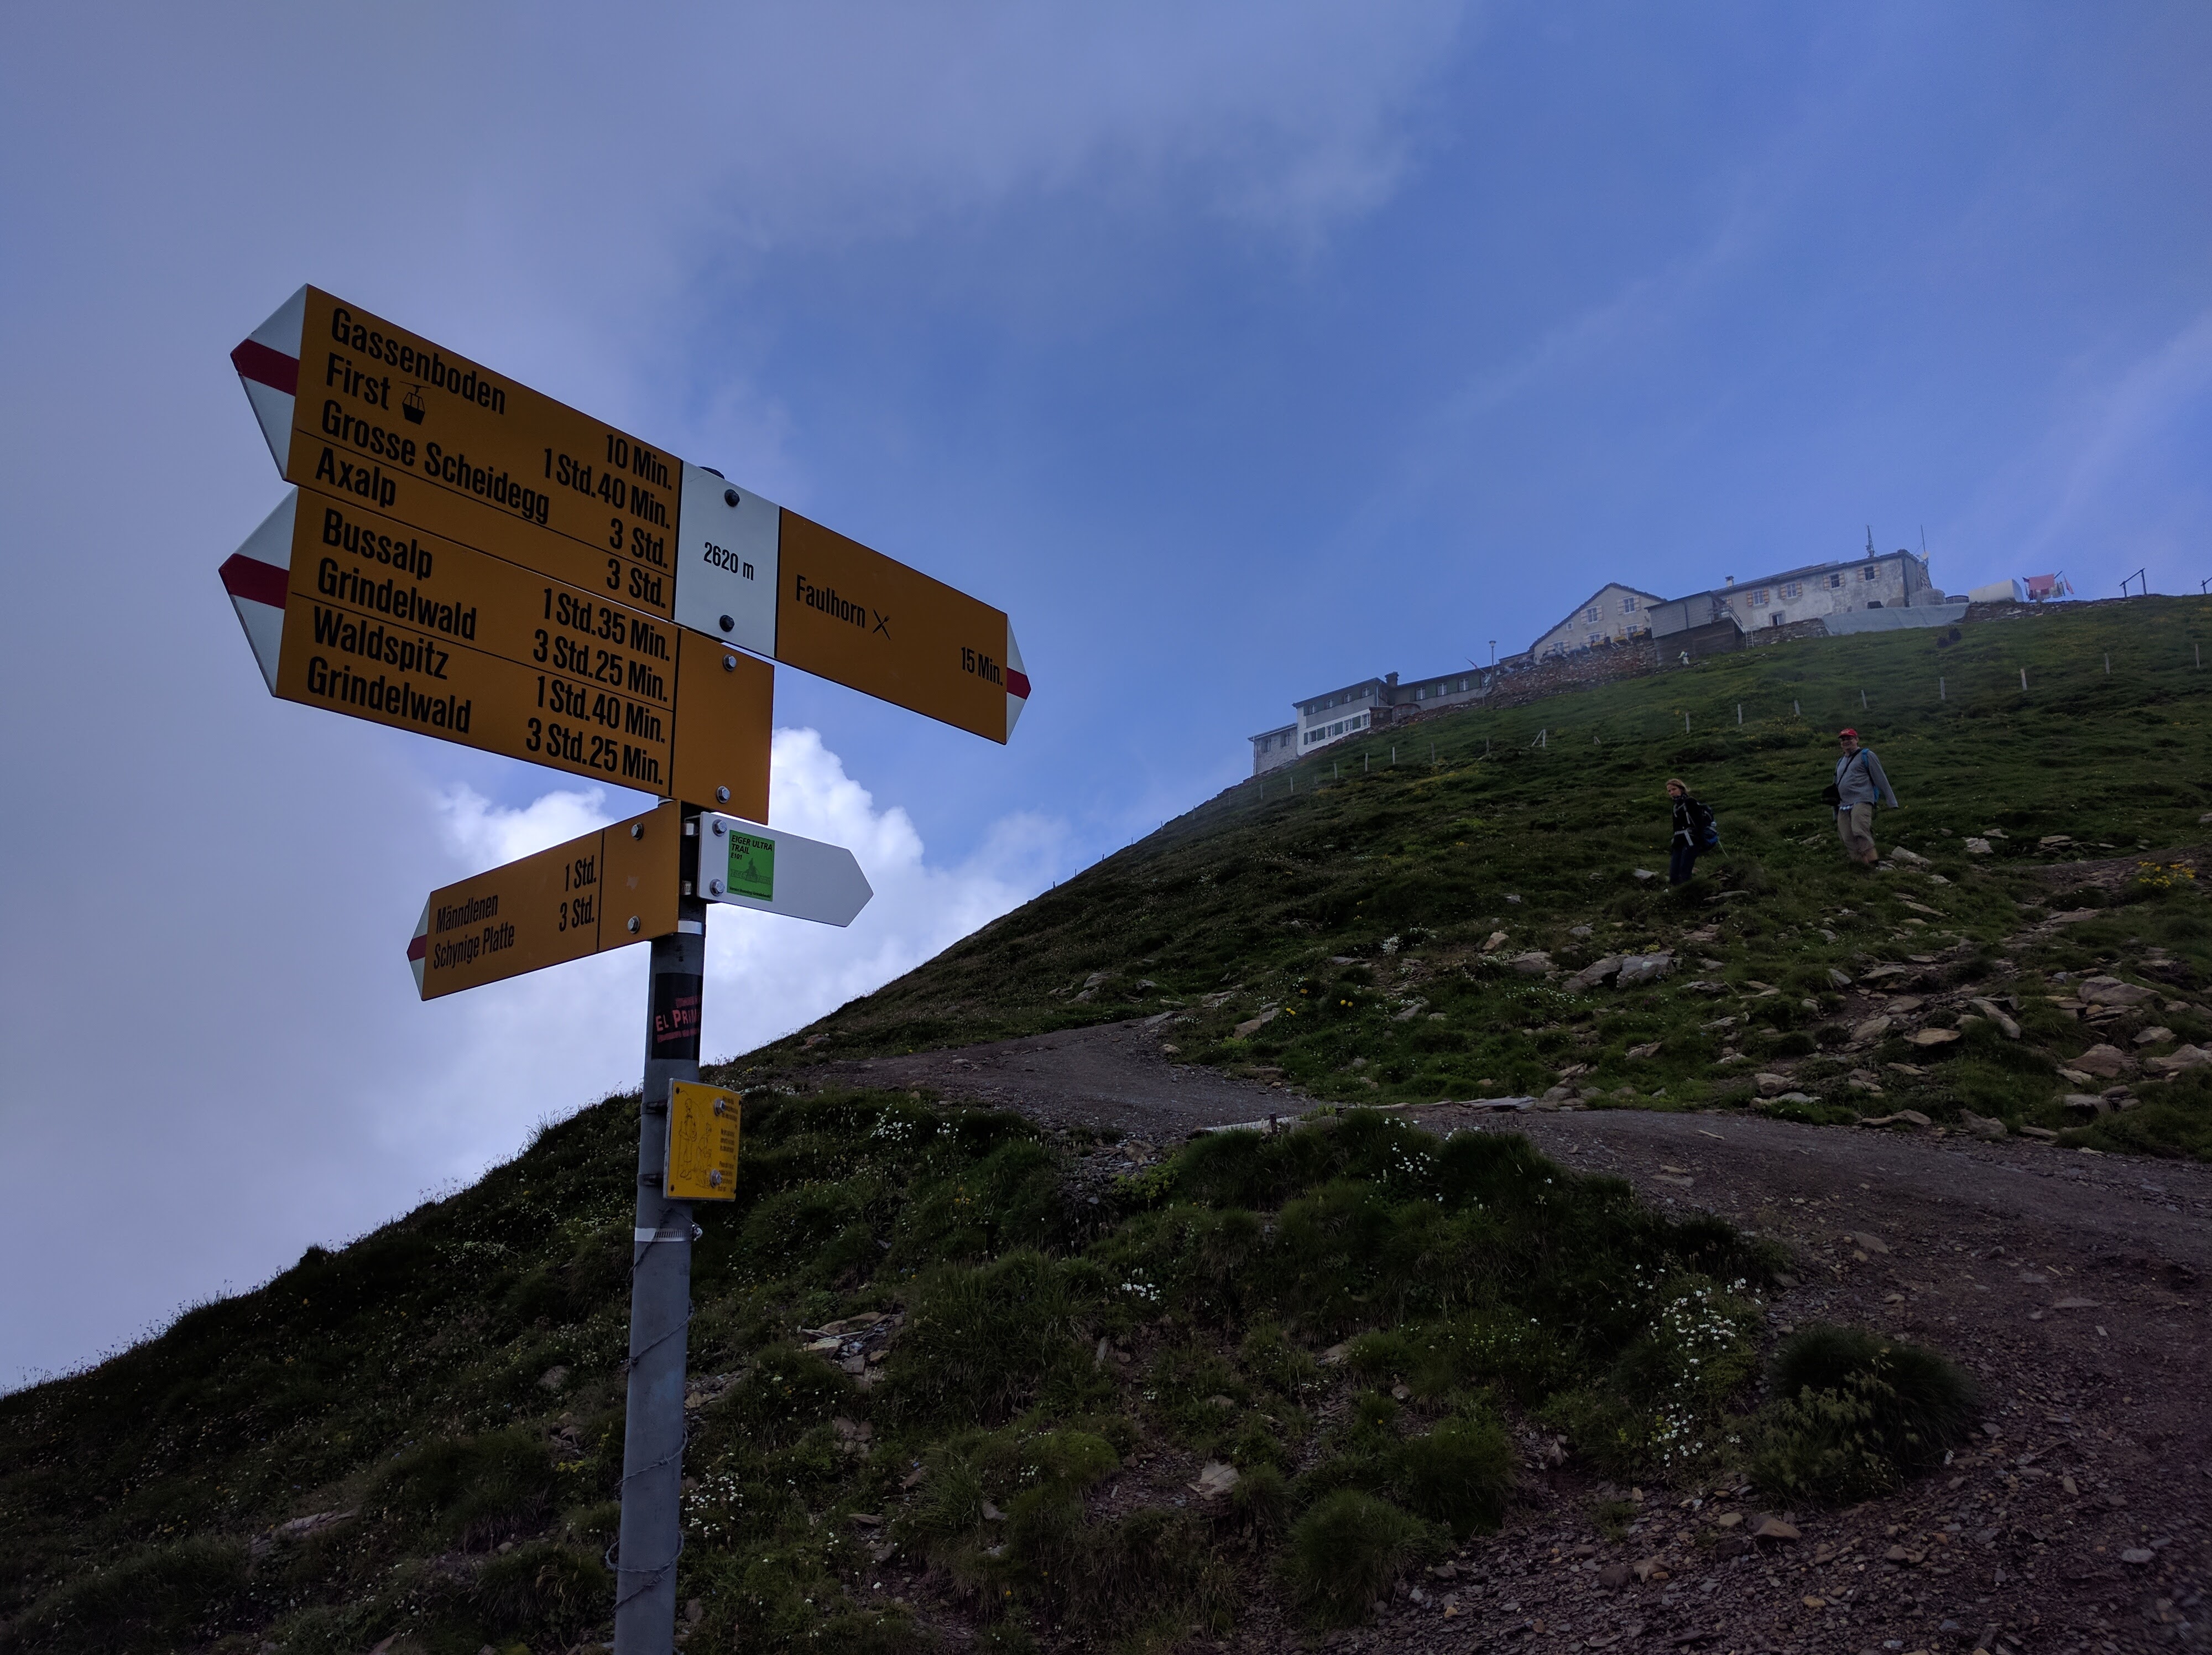
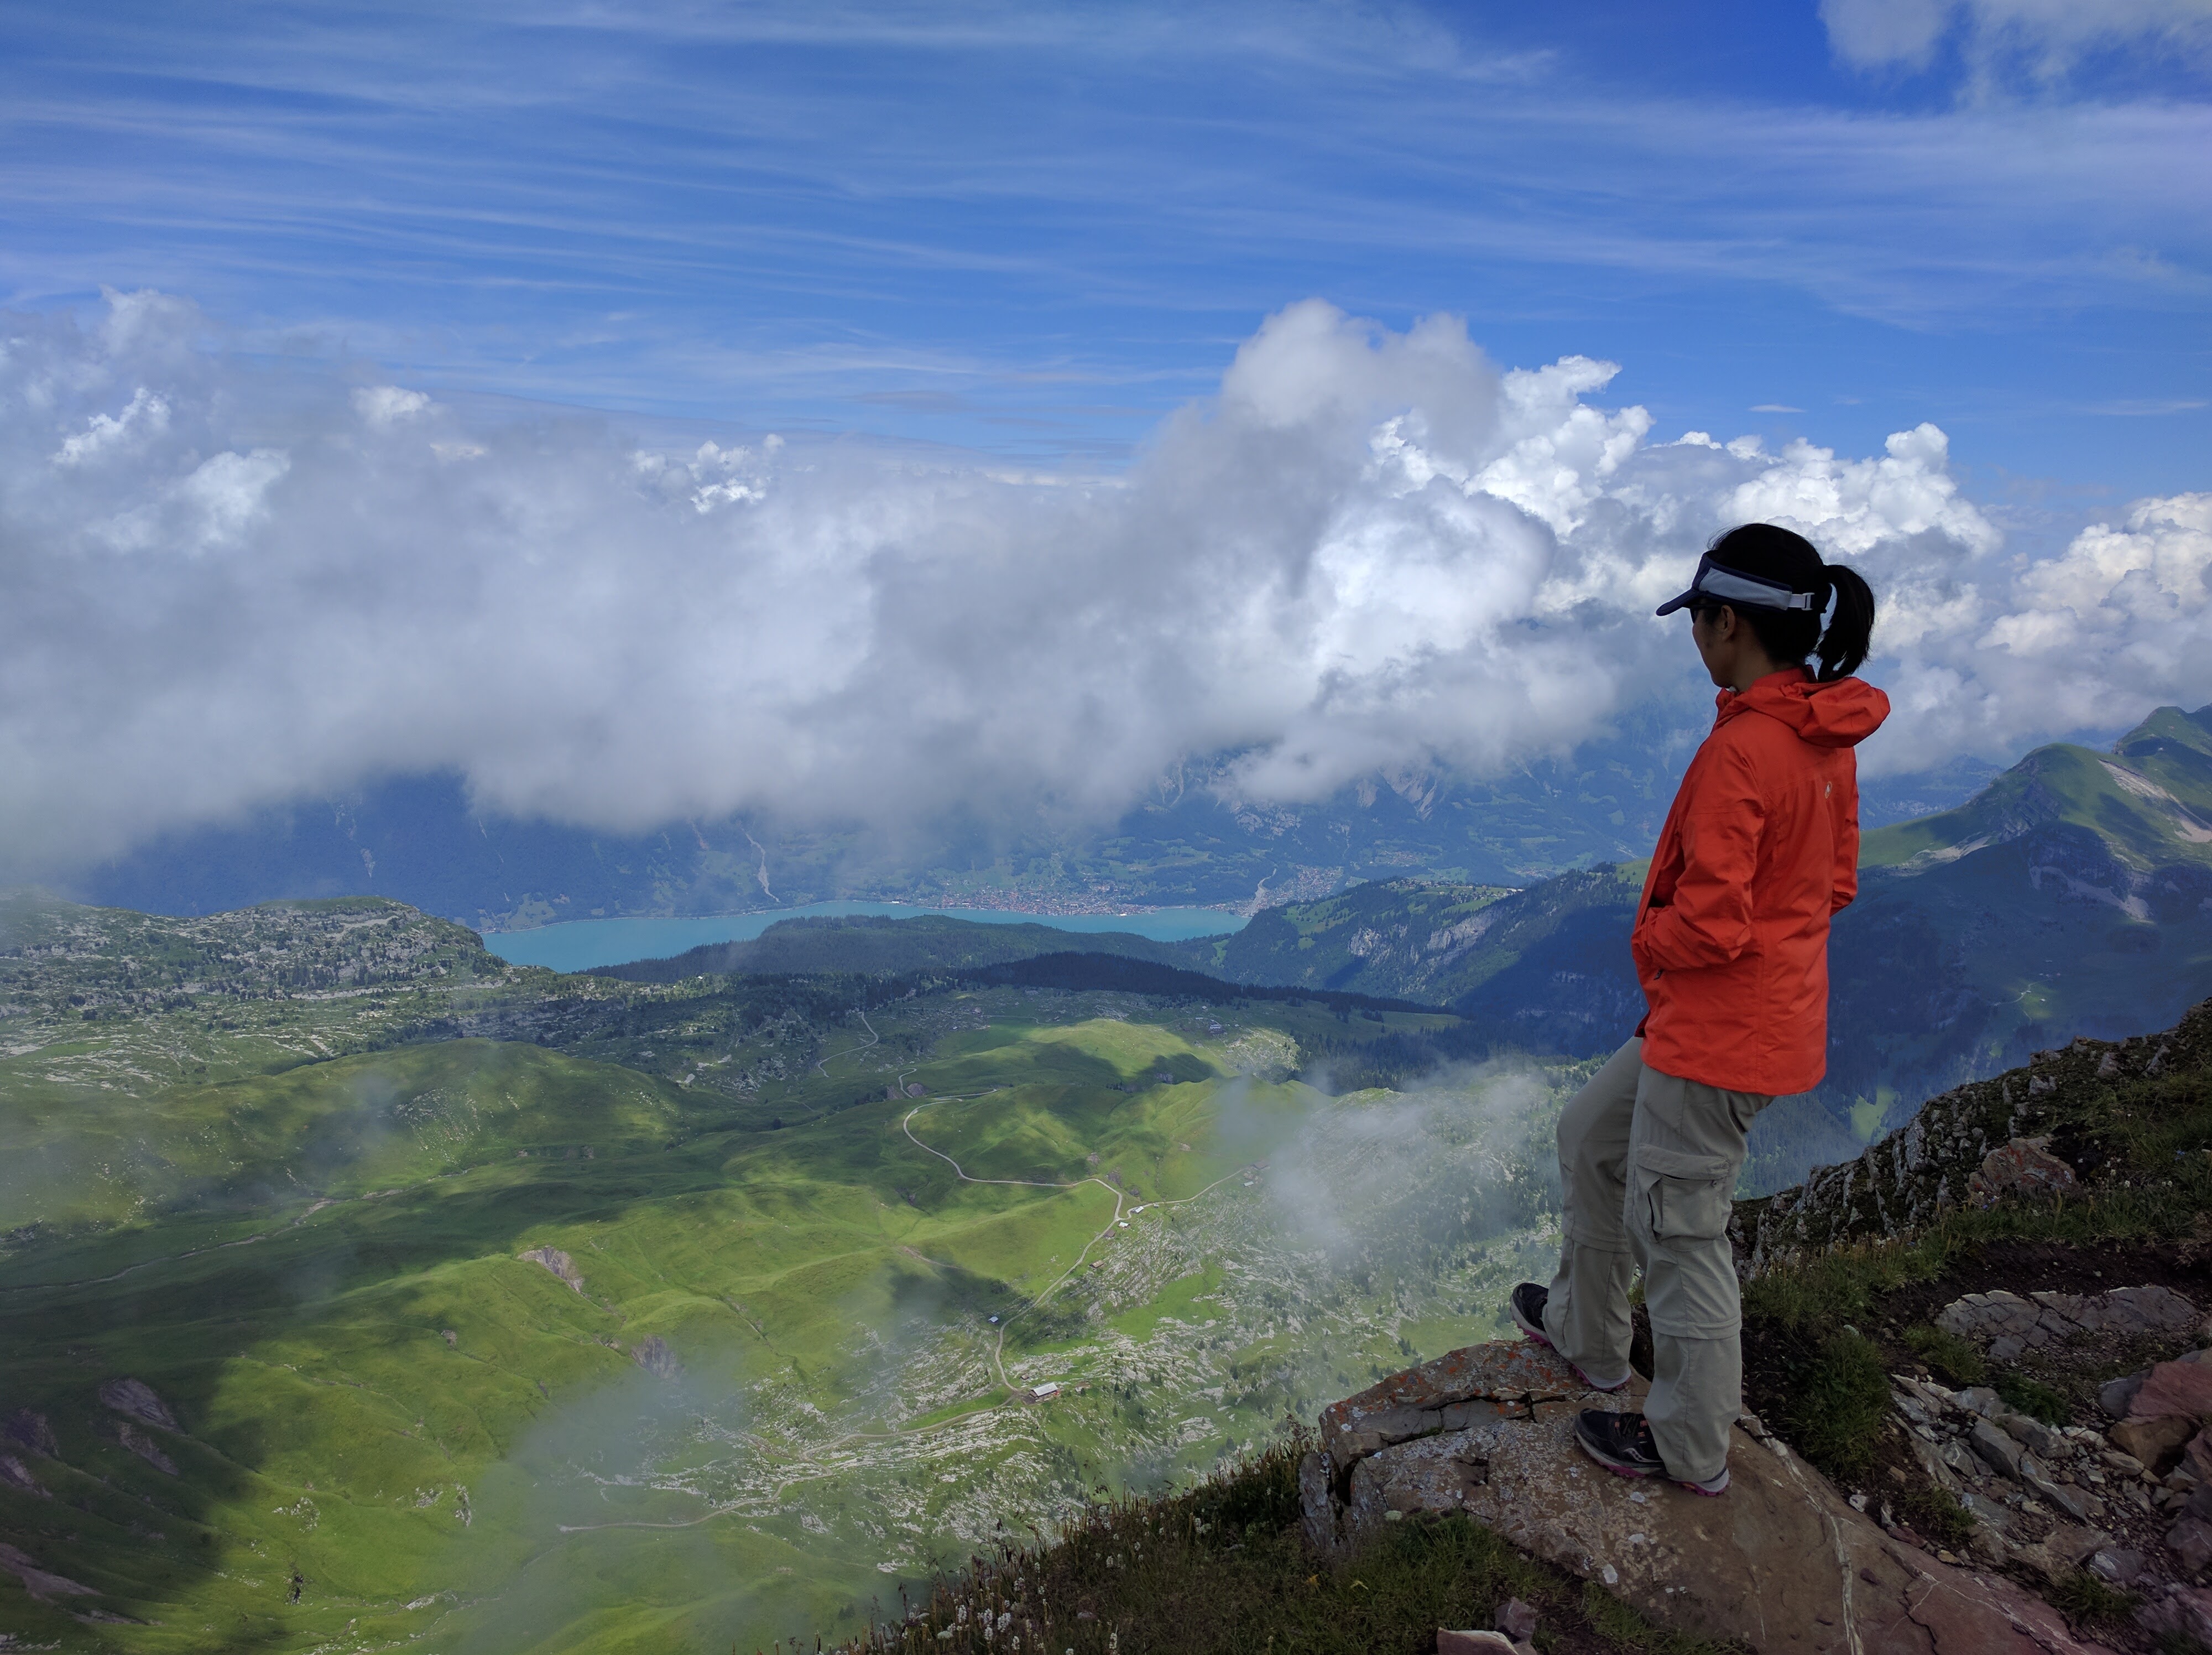
Beyond Bachalpsee Lake to the Faulhorn summit, the number of hikers dropped dramatically. This hike was only for the committed. However, it did only take us under an hour from Bachalpsee Lake to Faulhorn.IMG_20160728_133910

Unfortunately the stubborn clouds refused to part, allowing us only a glimpse into the valley below.  Looking toward Interlaken:IMG_20160728_140200

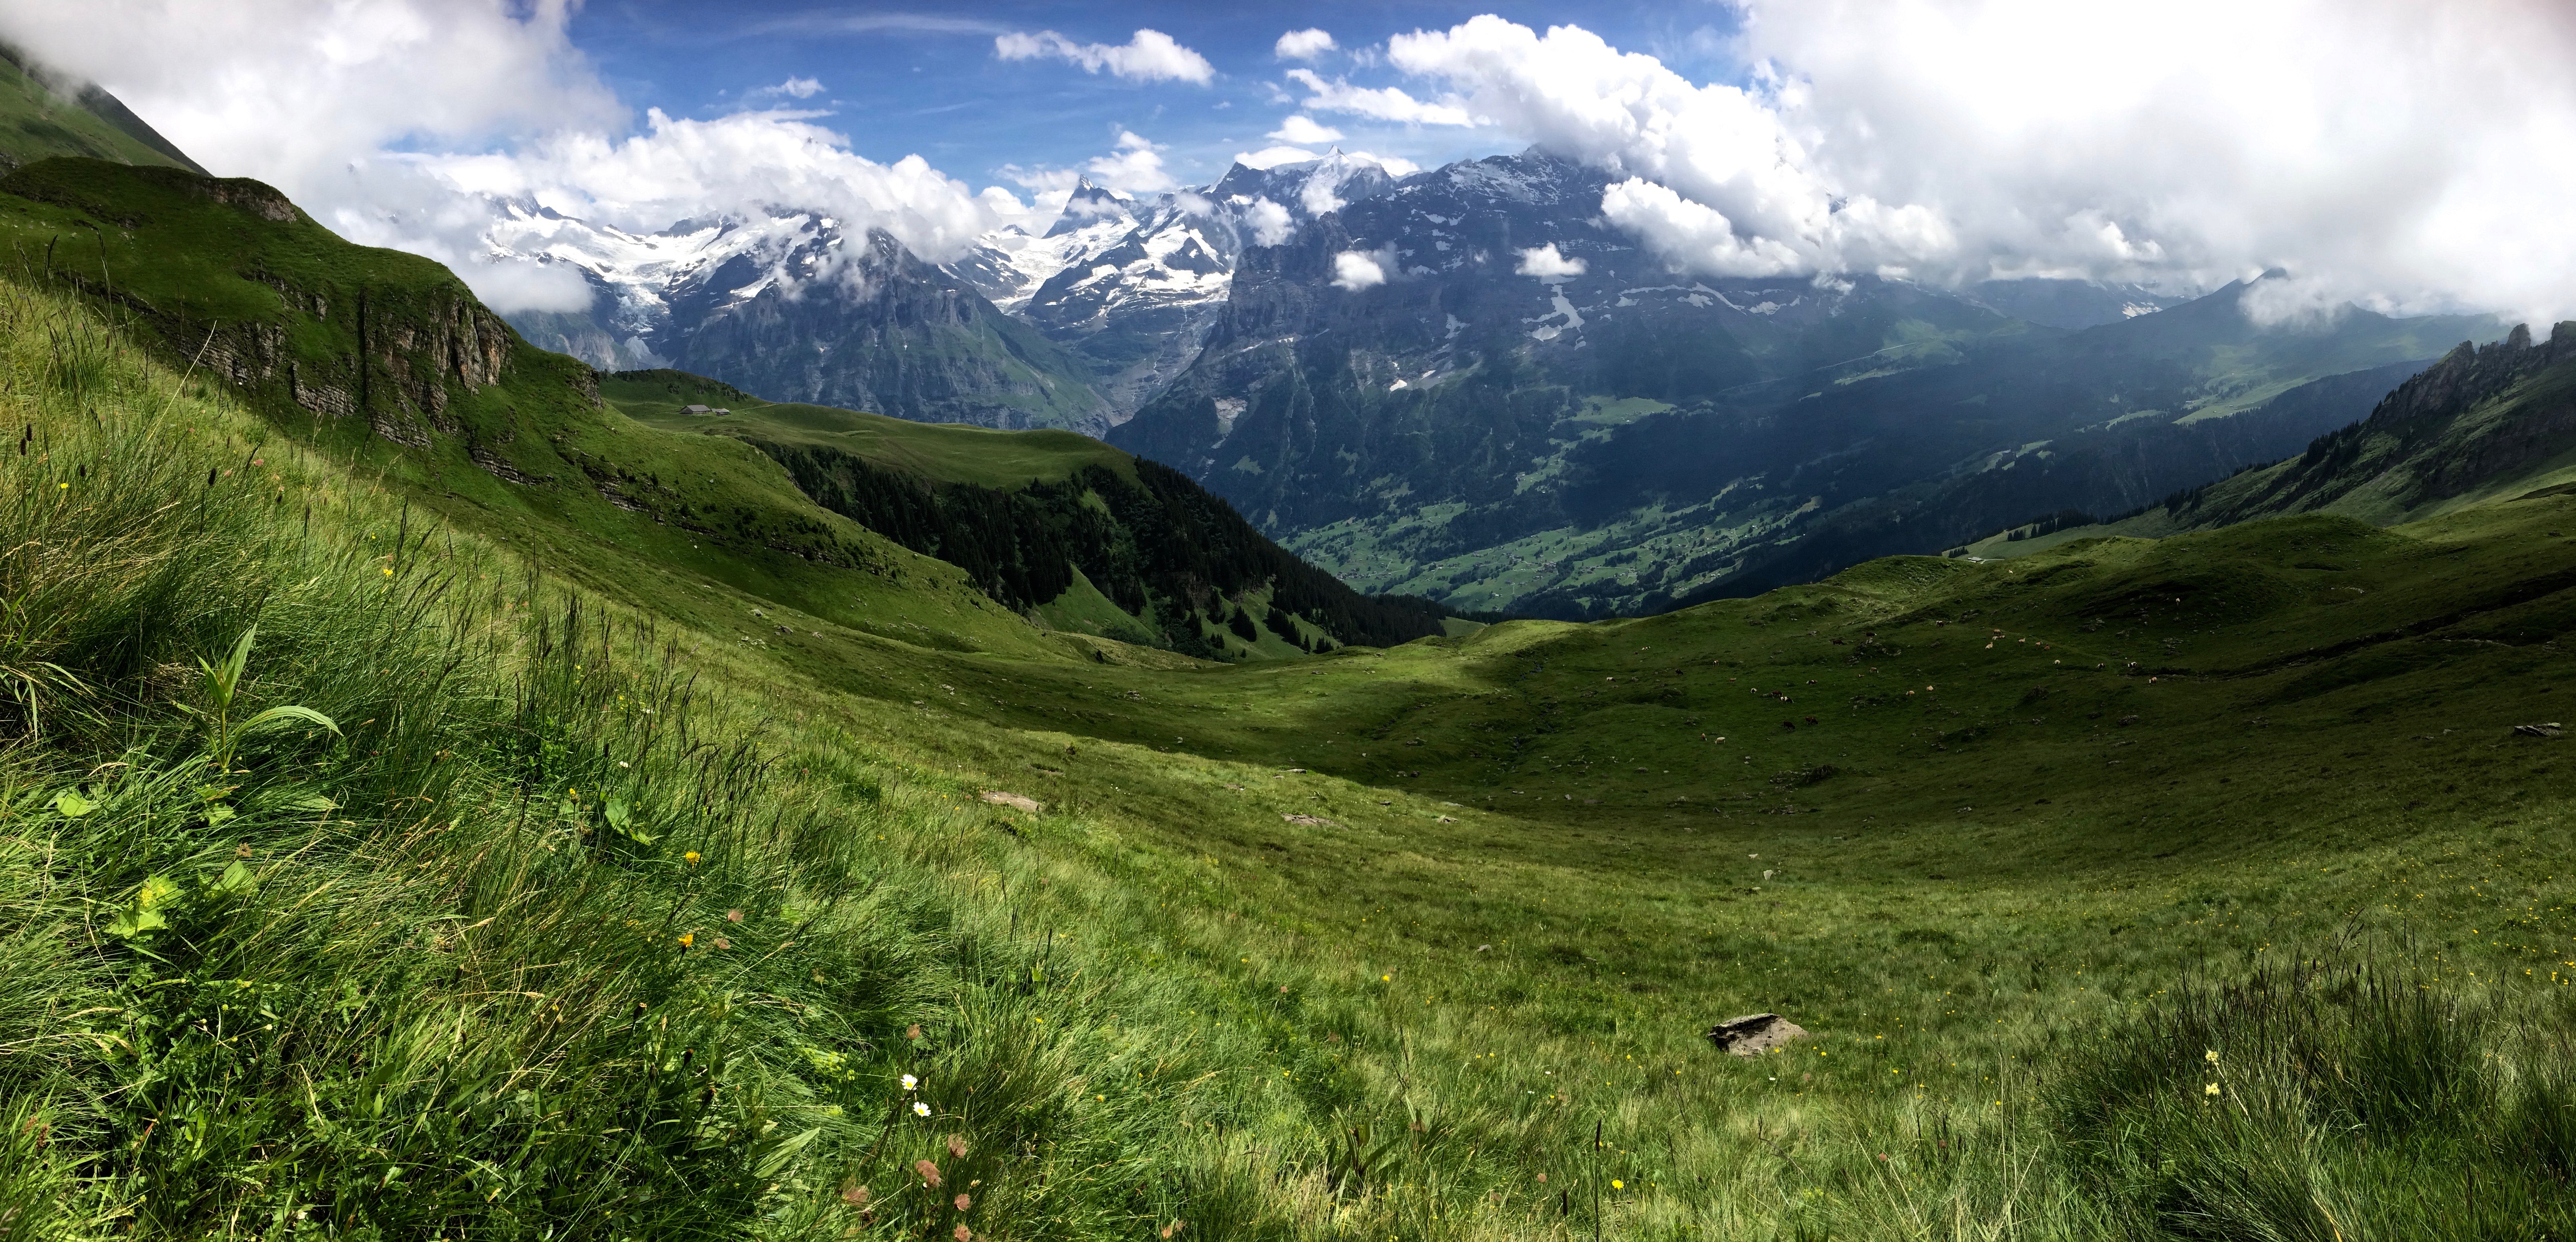
We chose not to hike to the popular Schynige Platte due to the costs (64 CHF each) and logistics associated with the cog railway down to Winderswil and a regular train back to Grindelwald, and we ended up hiking down to Bussalp instead. While I’ve heard that the hike from Schynige Platte to Faulhorn to First is arguably Switzerland’s most stunning hike, I have no regrets taking the trail to Bussalp. This section of our hike saw the fewest hikers, and the views were still rewarding.IMG_4834

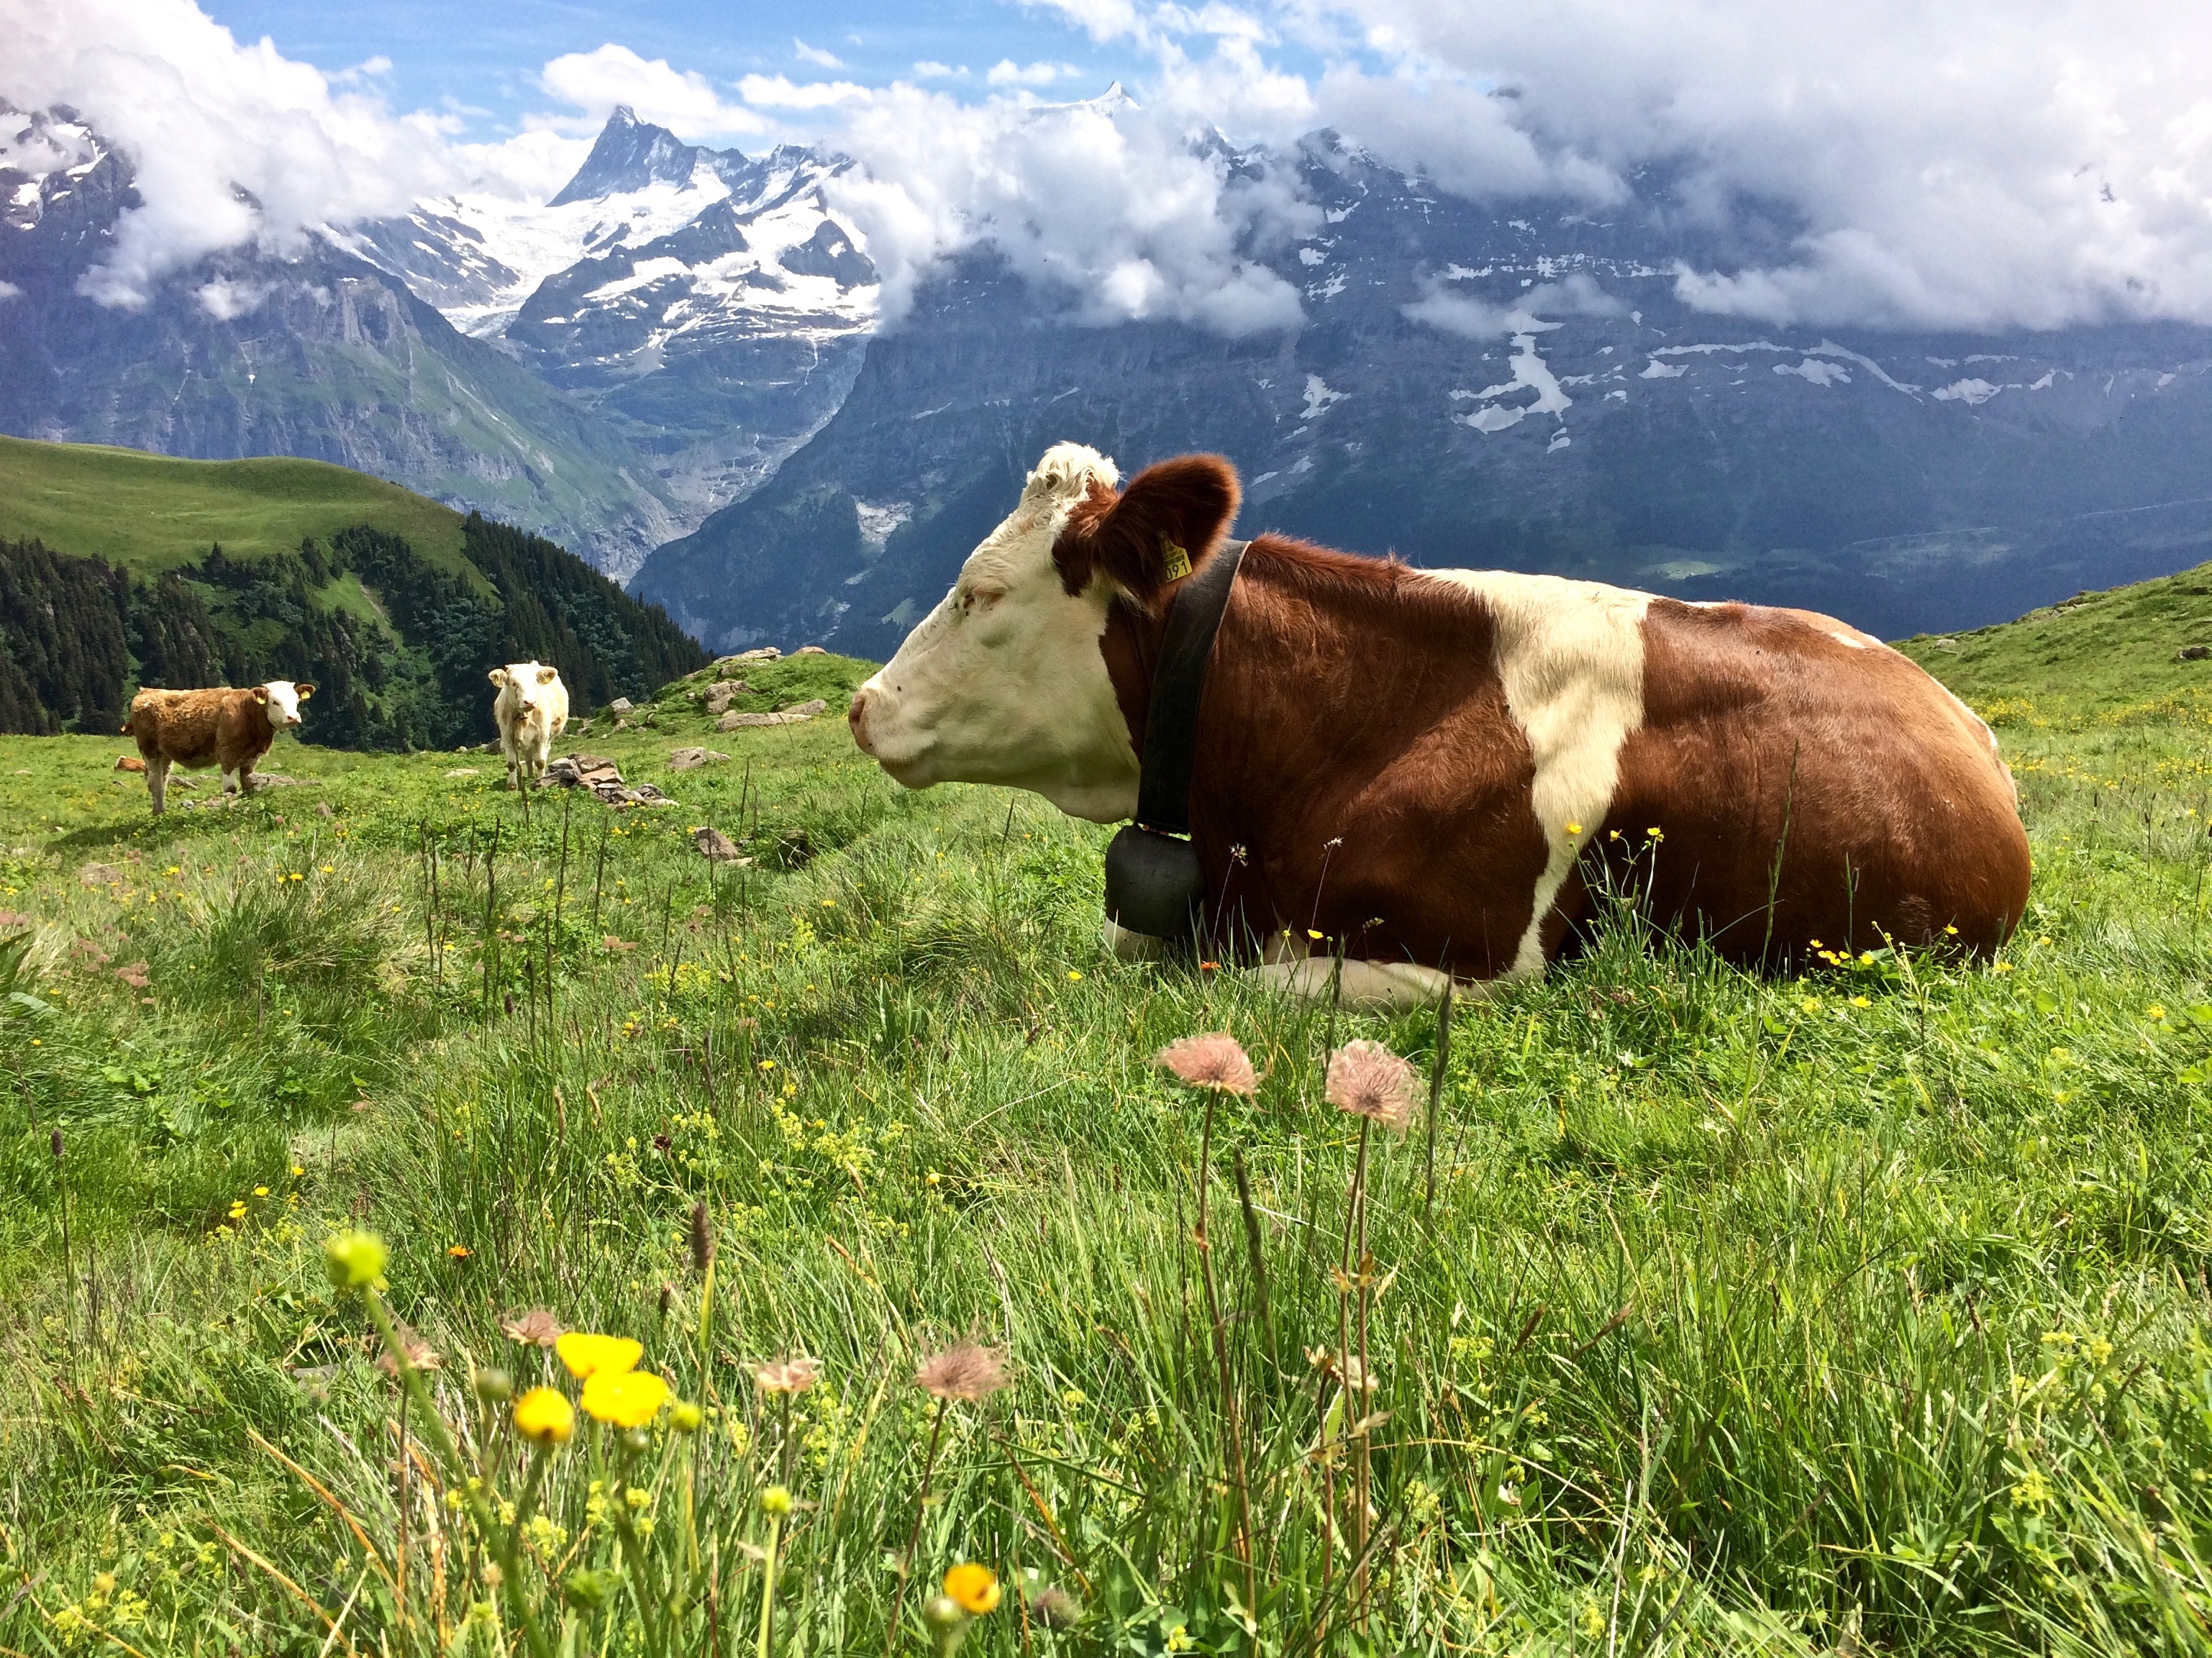
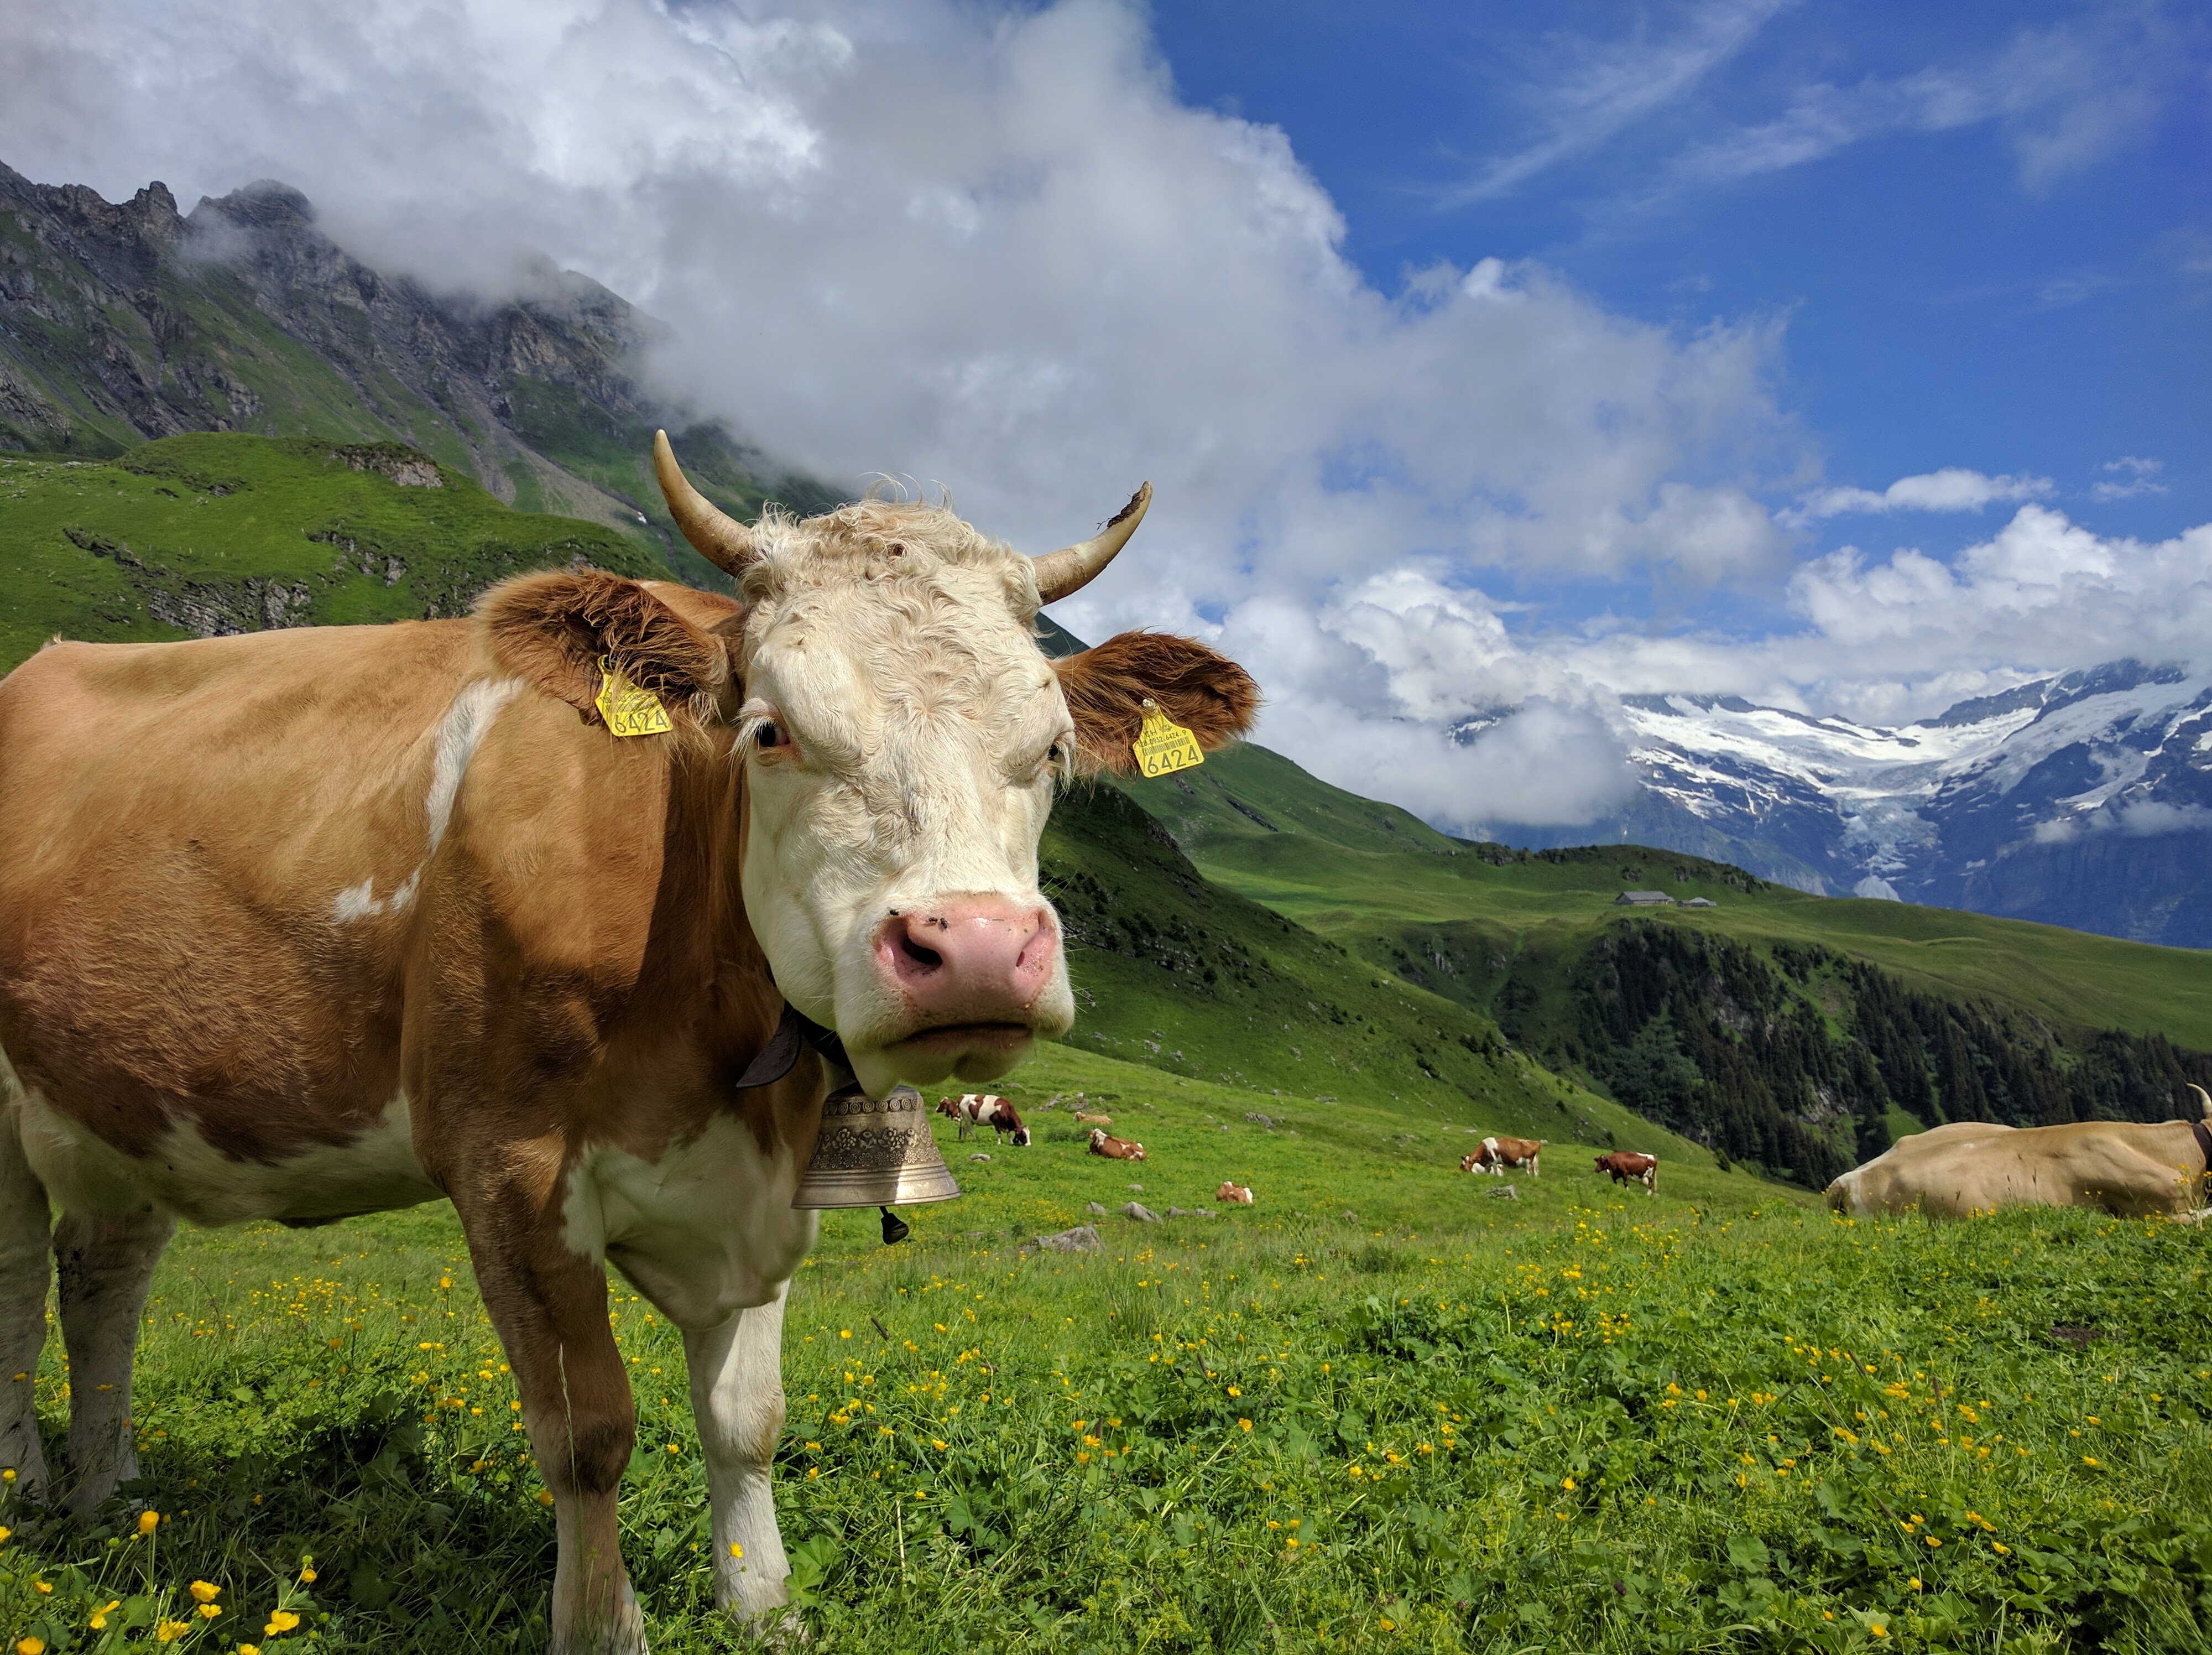
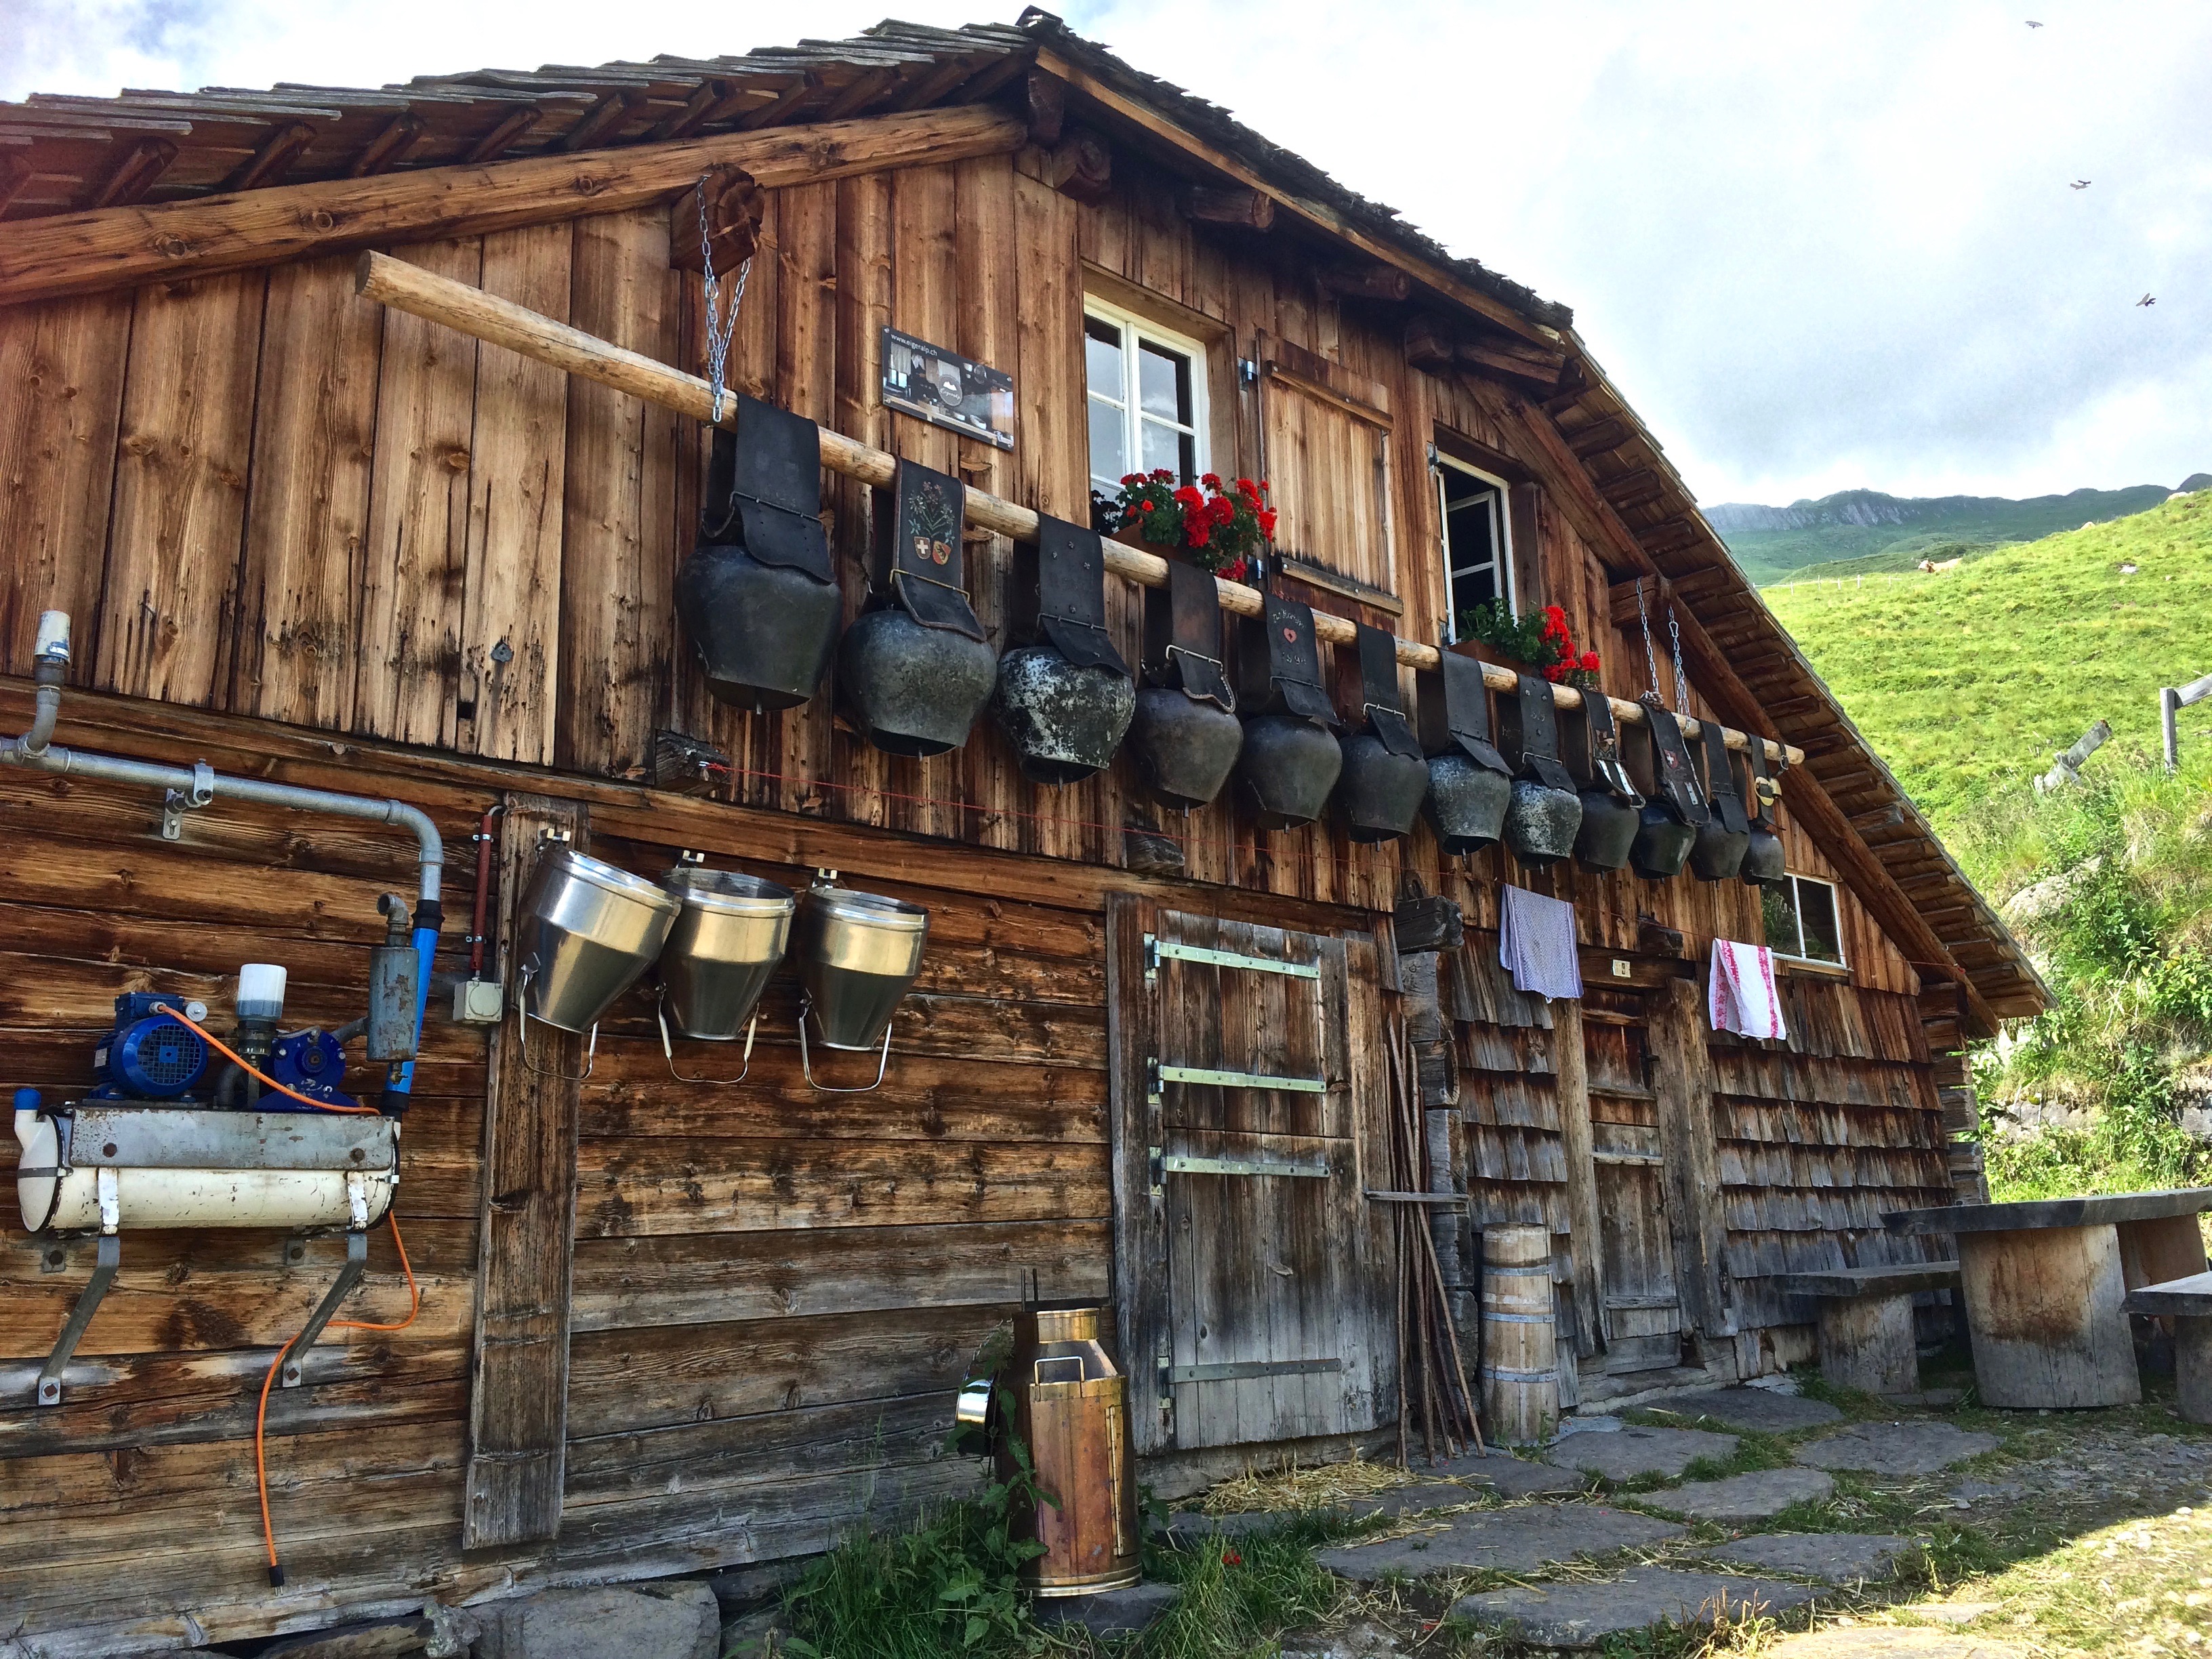
I couldn’t get over the Swiss landscape with the happy cows and their intricate cowbells.IMG_4843

IMG_20160728_145915

A quaint Swiss farm decorated with gorgeous cow bells:IMG_4853

By the time we reached Bussalp, it became evident that most hikers returned to Grindelwald by bus. It just so happened that the hourly bus arrived within 5 minutes of our arrival, but we continued down to Grindelwald. Doing so saved us 23 CHF each—as with all Swiss private transportation, that’s an expensive bus ride!

To our surprise, we didn’t find the hike down to Grindelwald as steep as we expected it to be. We definitely preferred the hike over taking the pricy bus.

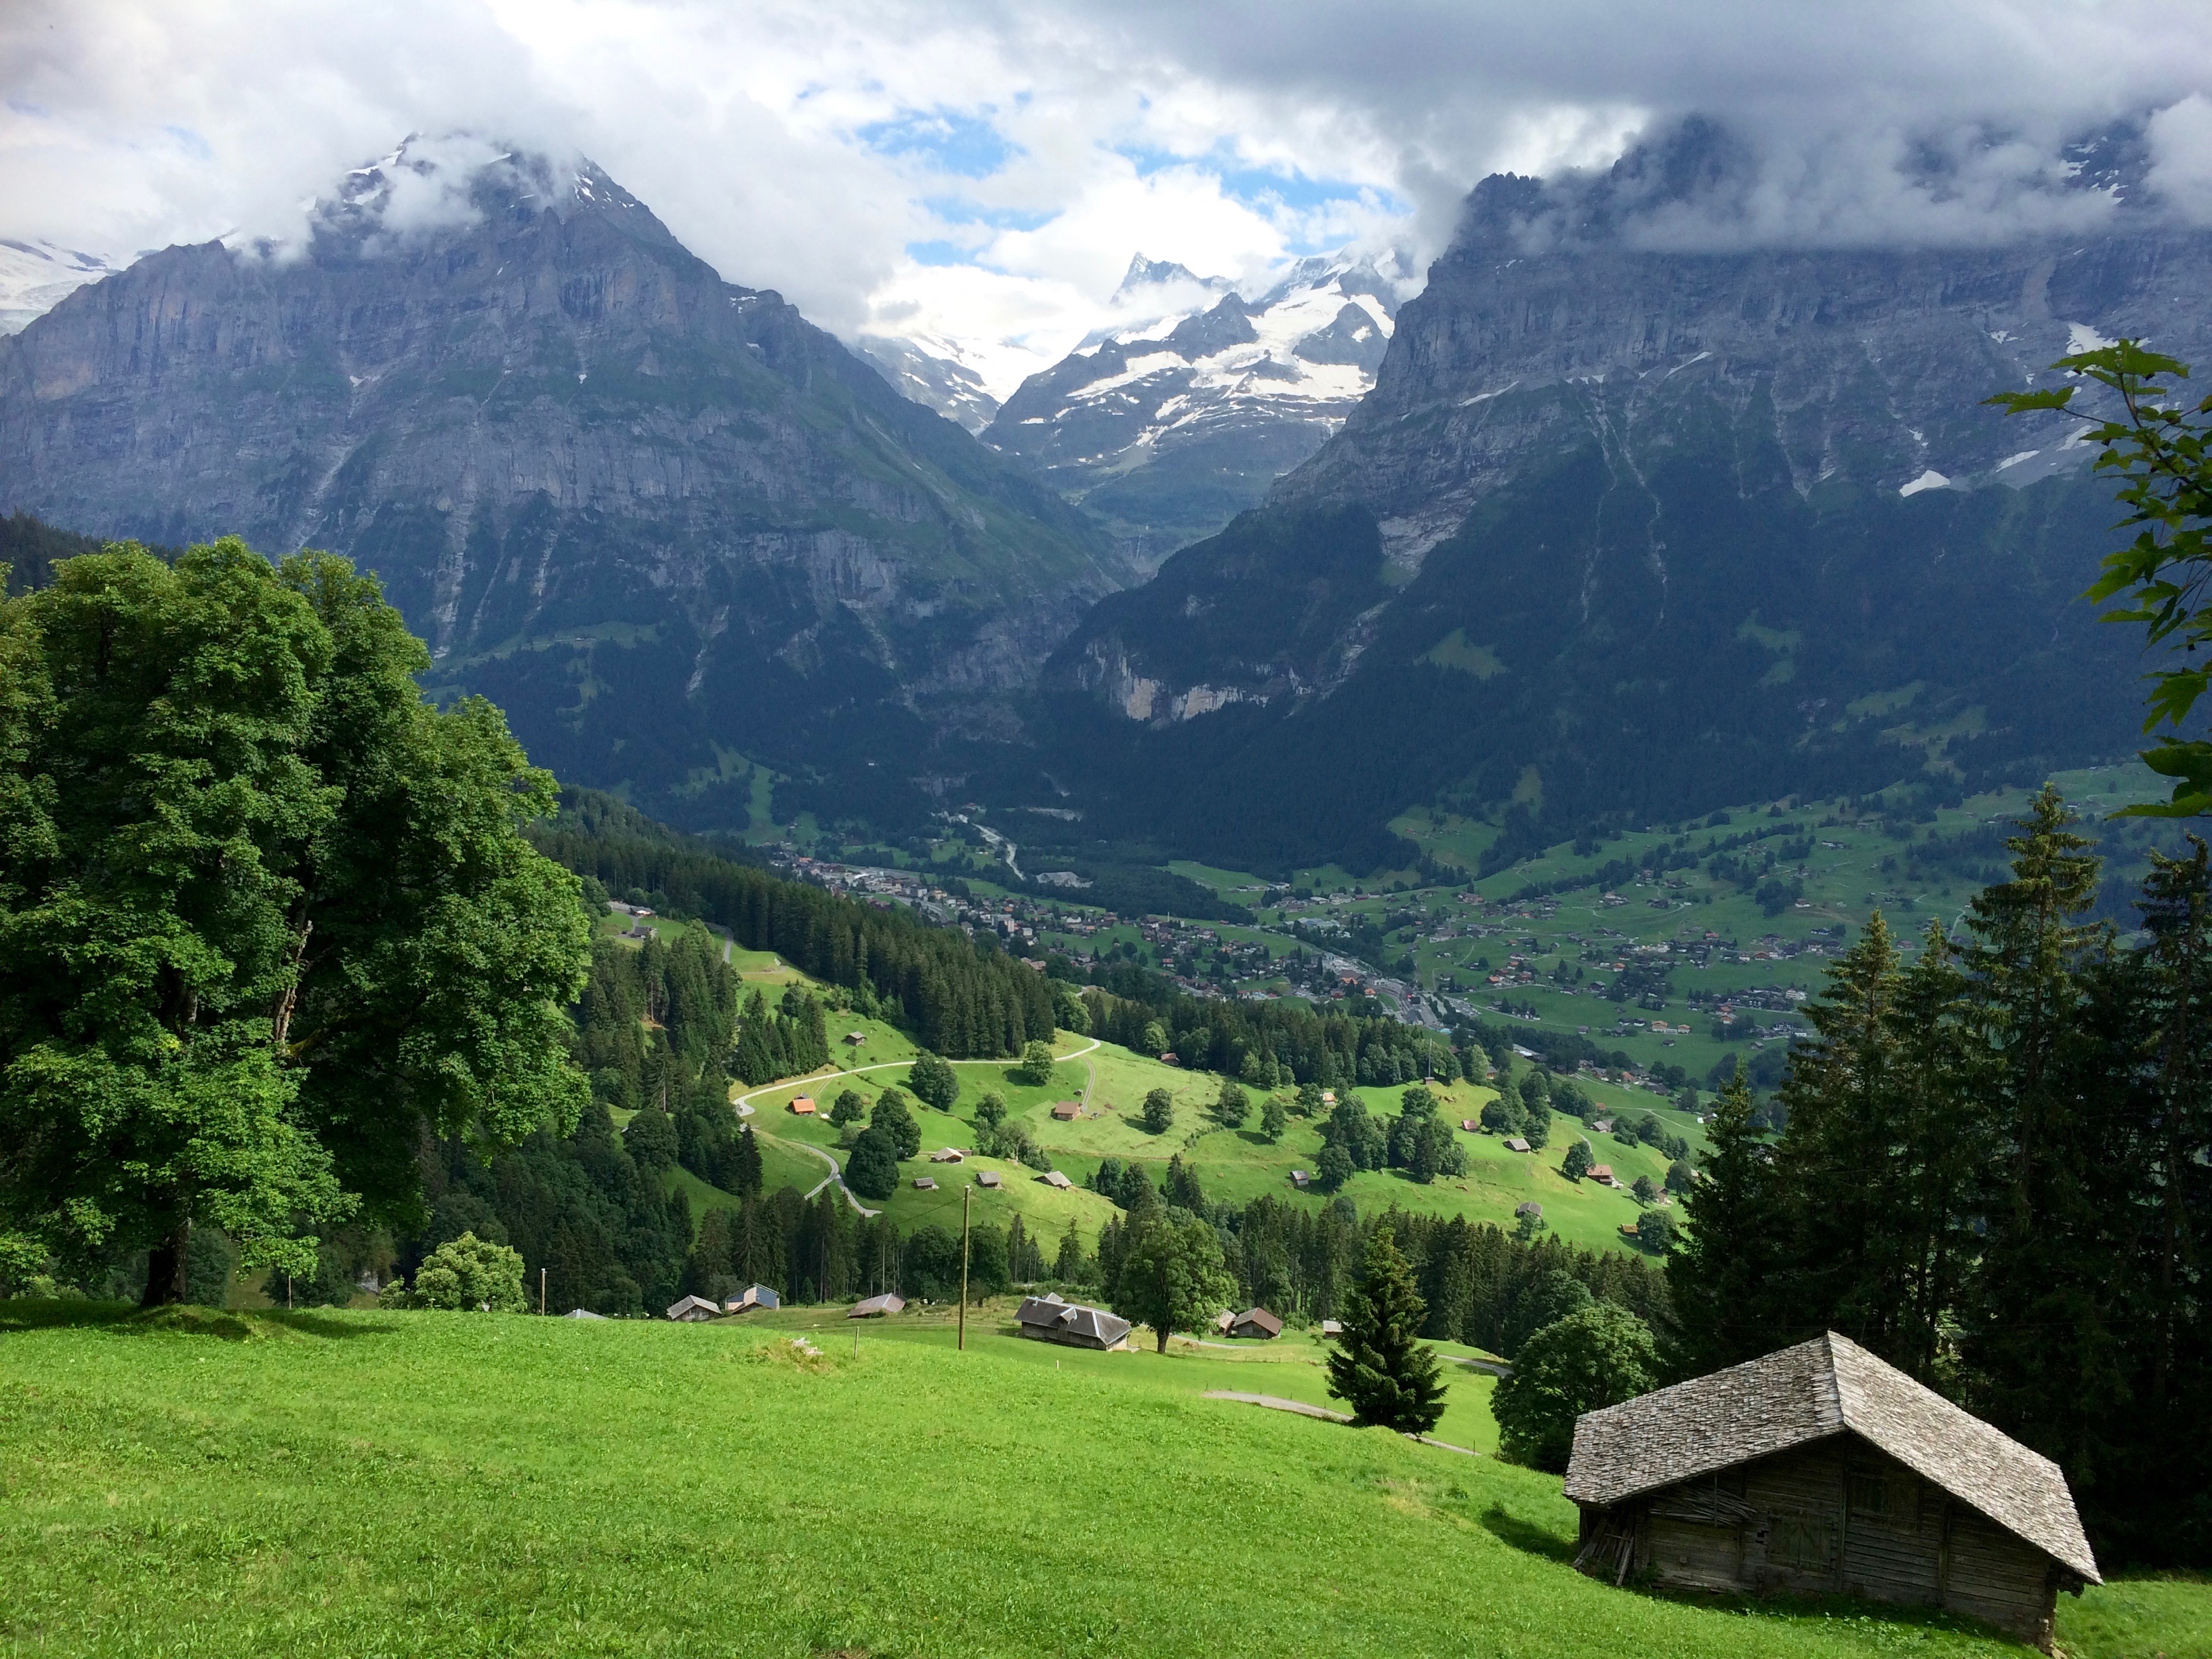
Looking down into Grindelwald from the mountains:IMG_4854

We found the hike to not be as arduous or long as most hikers make it seem; for our next Swiss trip (whenever that may be) we hope to take the cog railway to Schynige Platte, hike to Faulhorn, to First, and then back down to Grindelwald.  Regardless of what hike we pick or anyone picks, we at least know that any hike in Grindelwald will be memorable.

Posted in Switzerland | 2 Comments

Trift Bridge

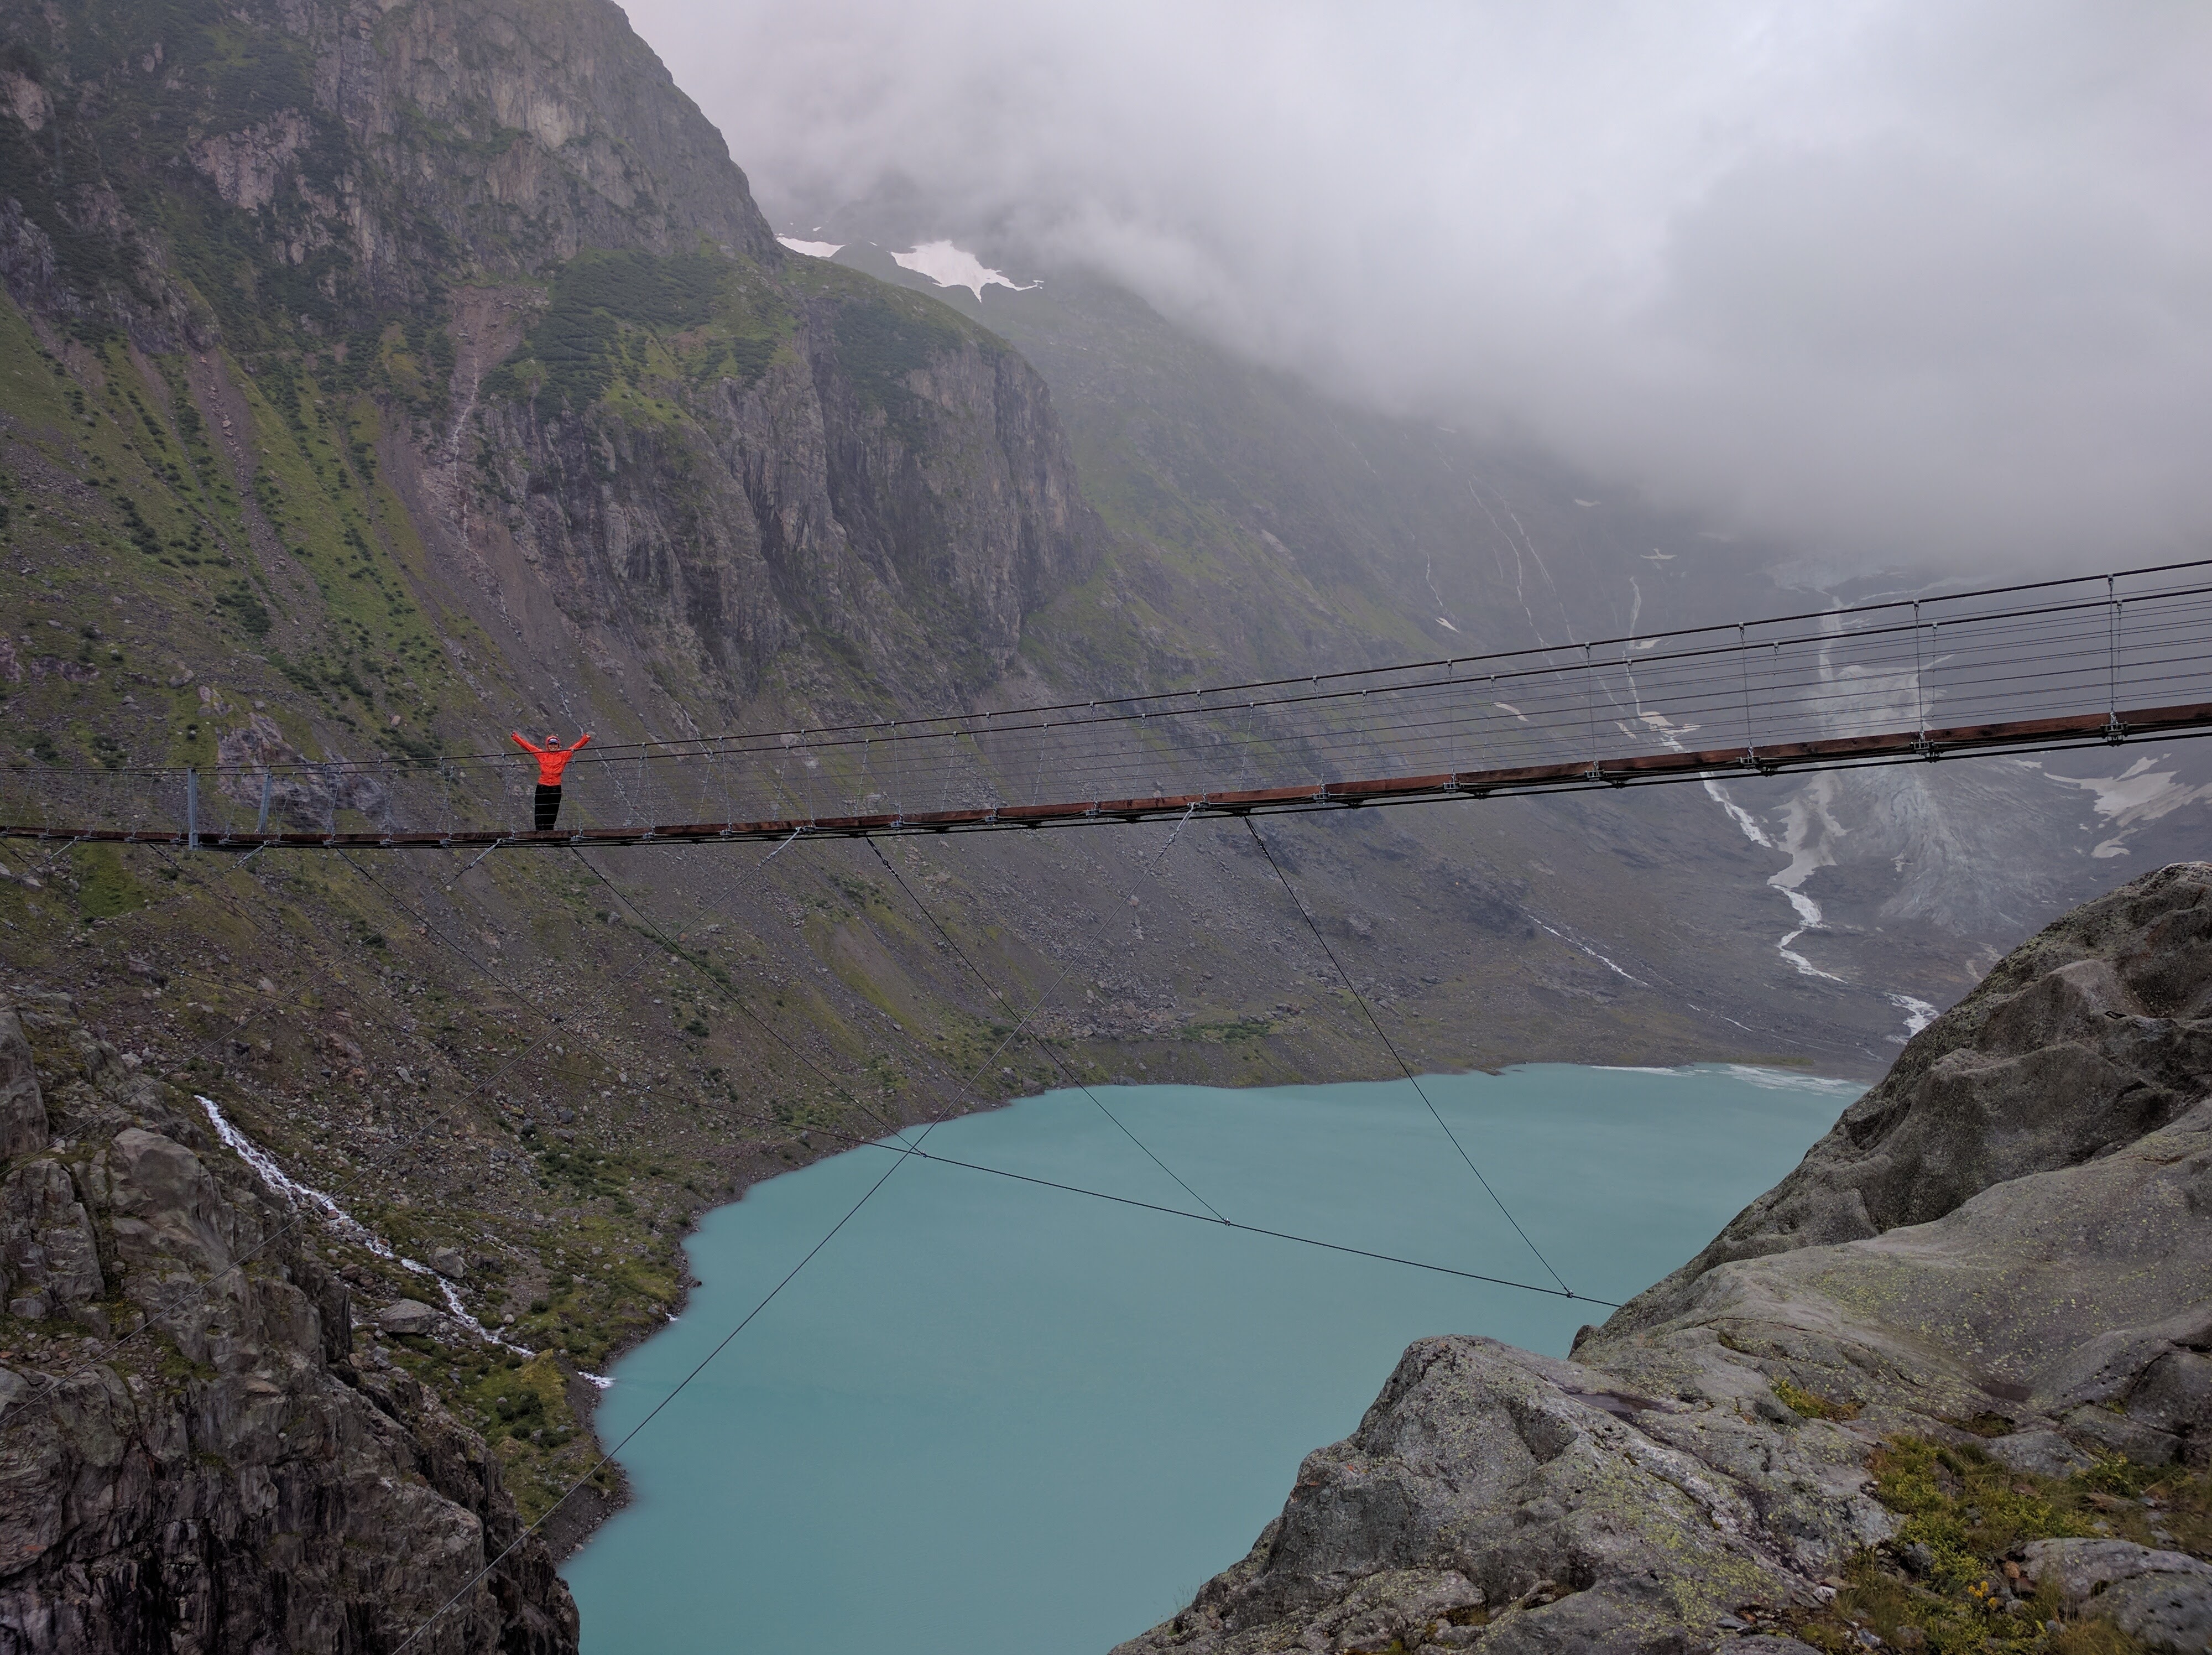
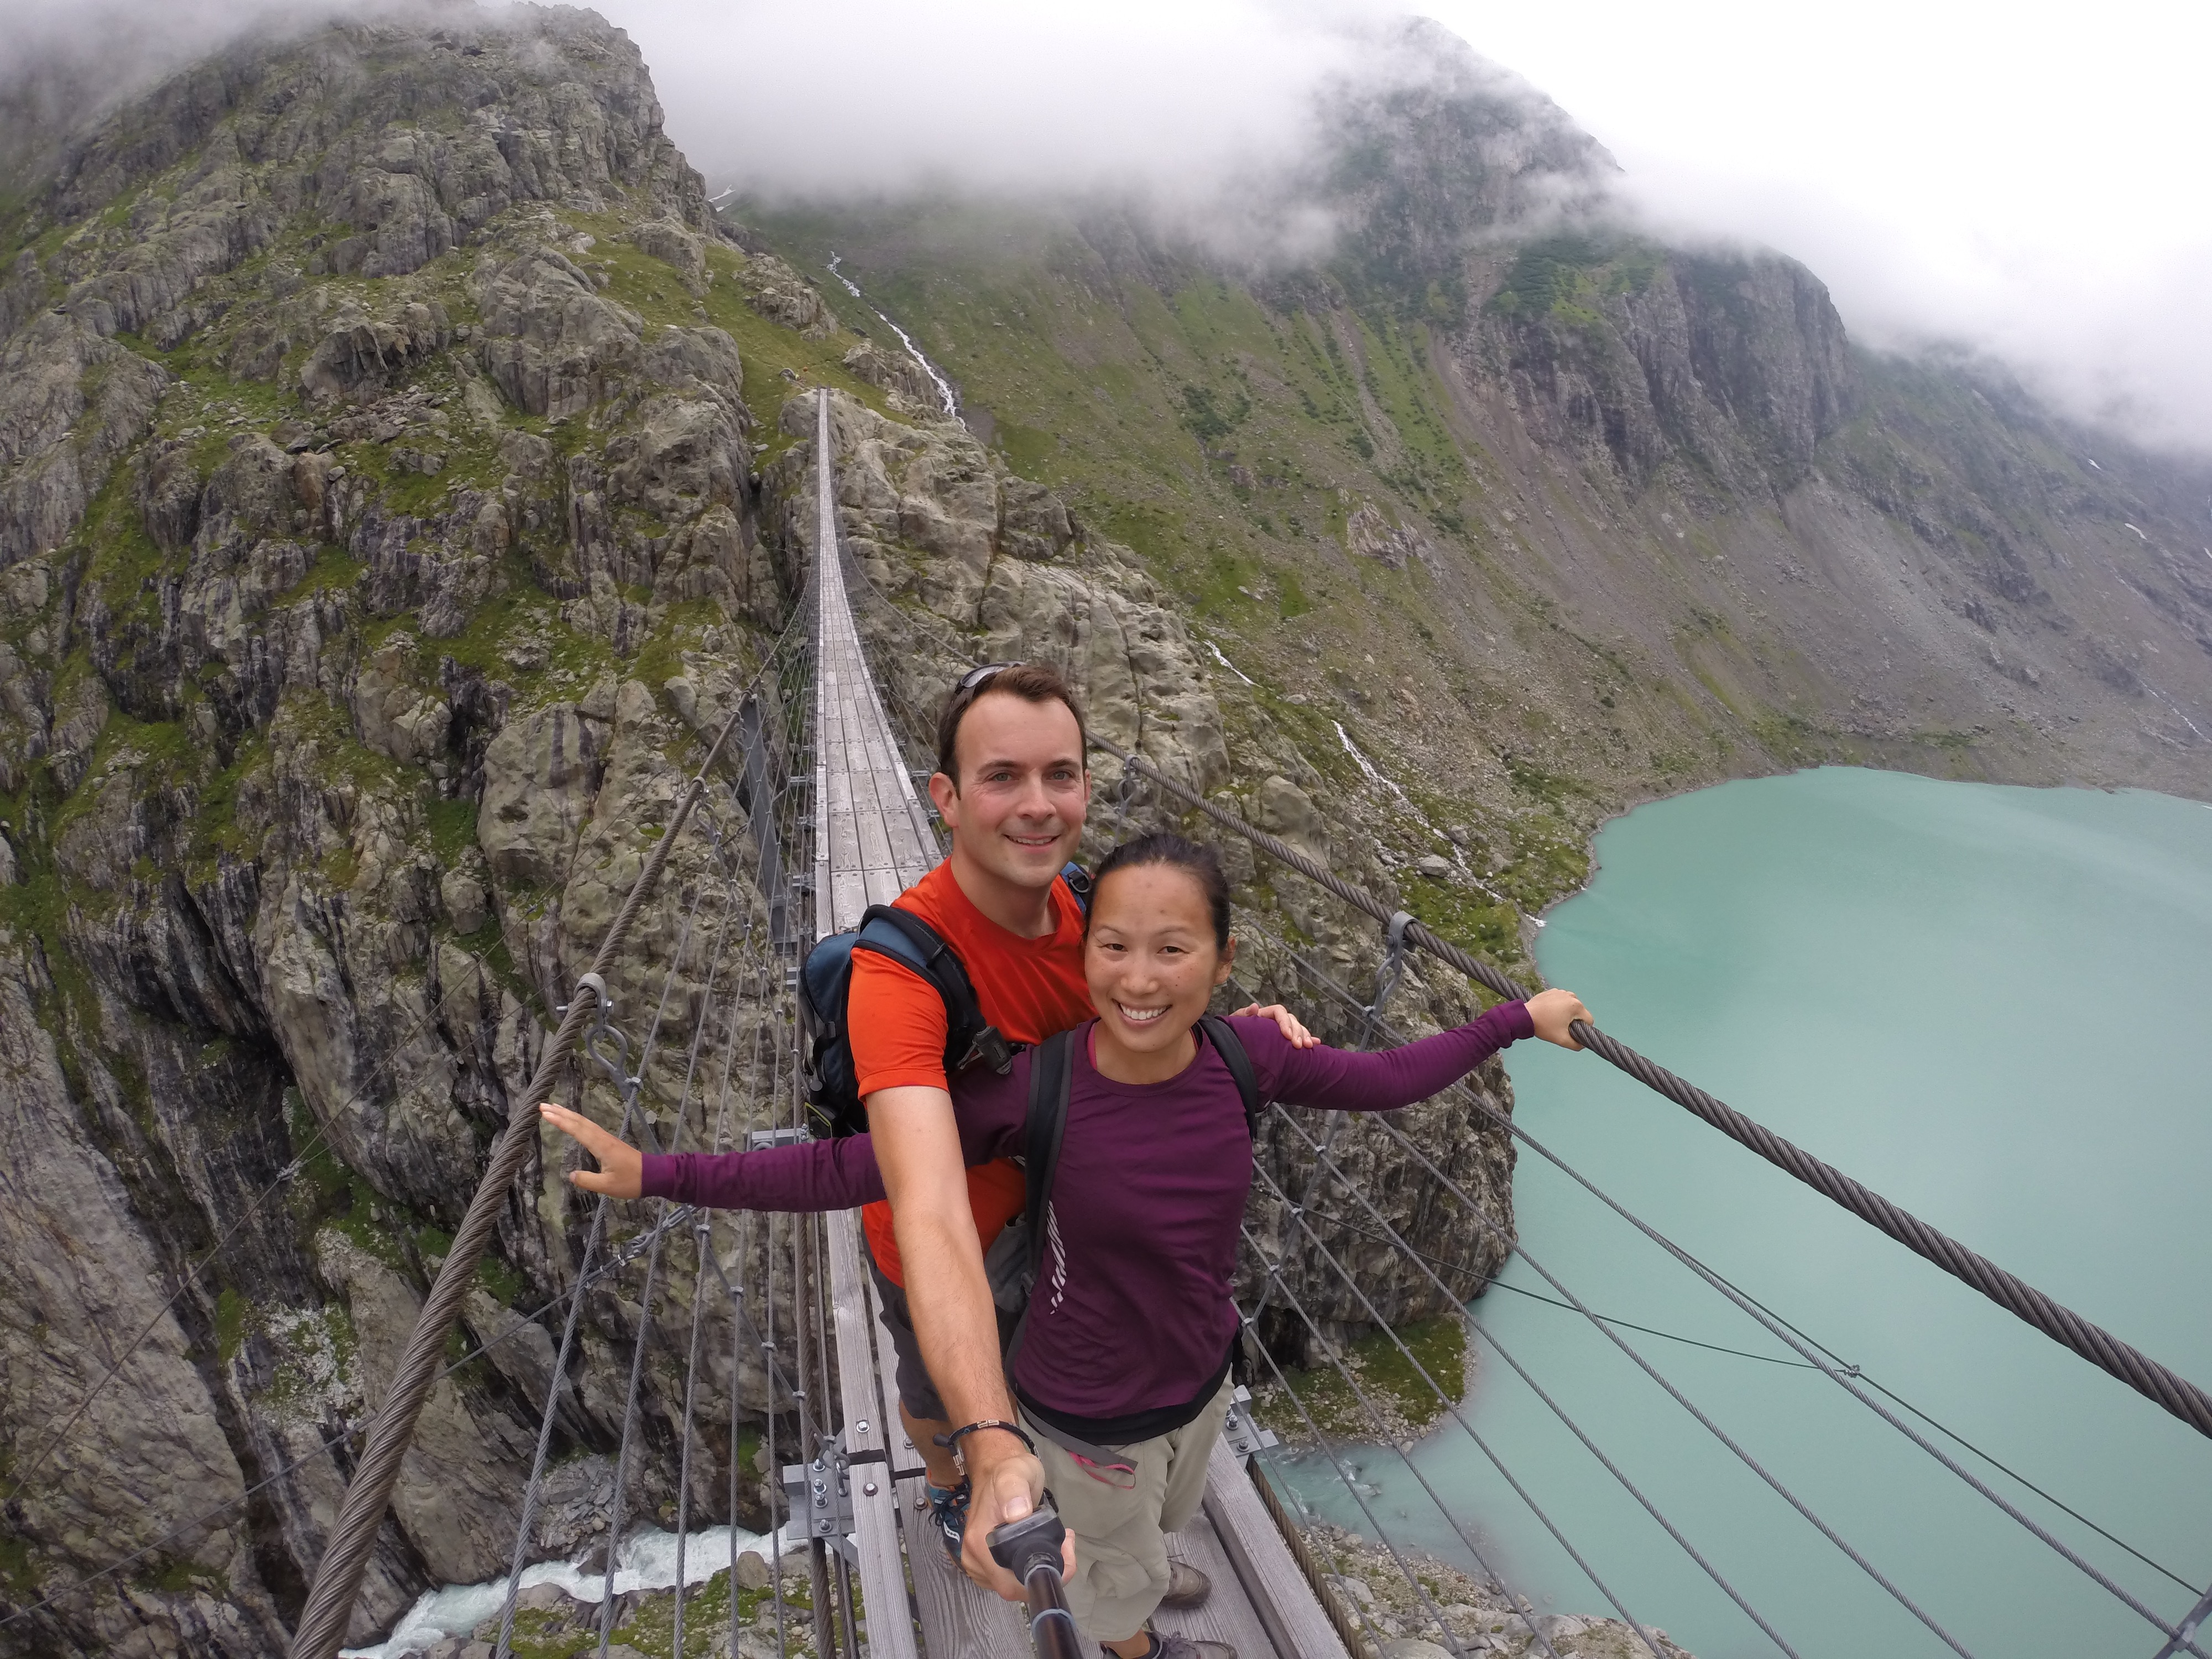
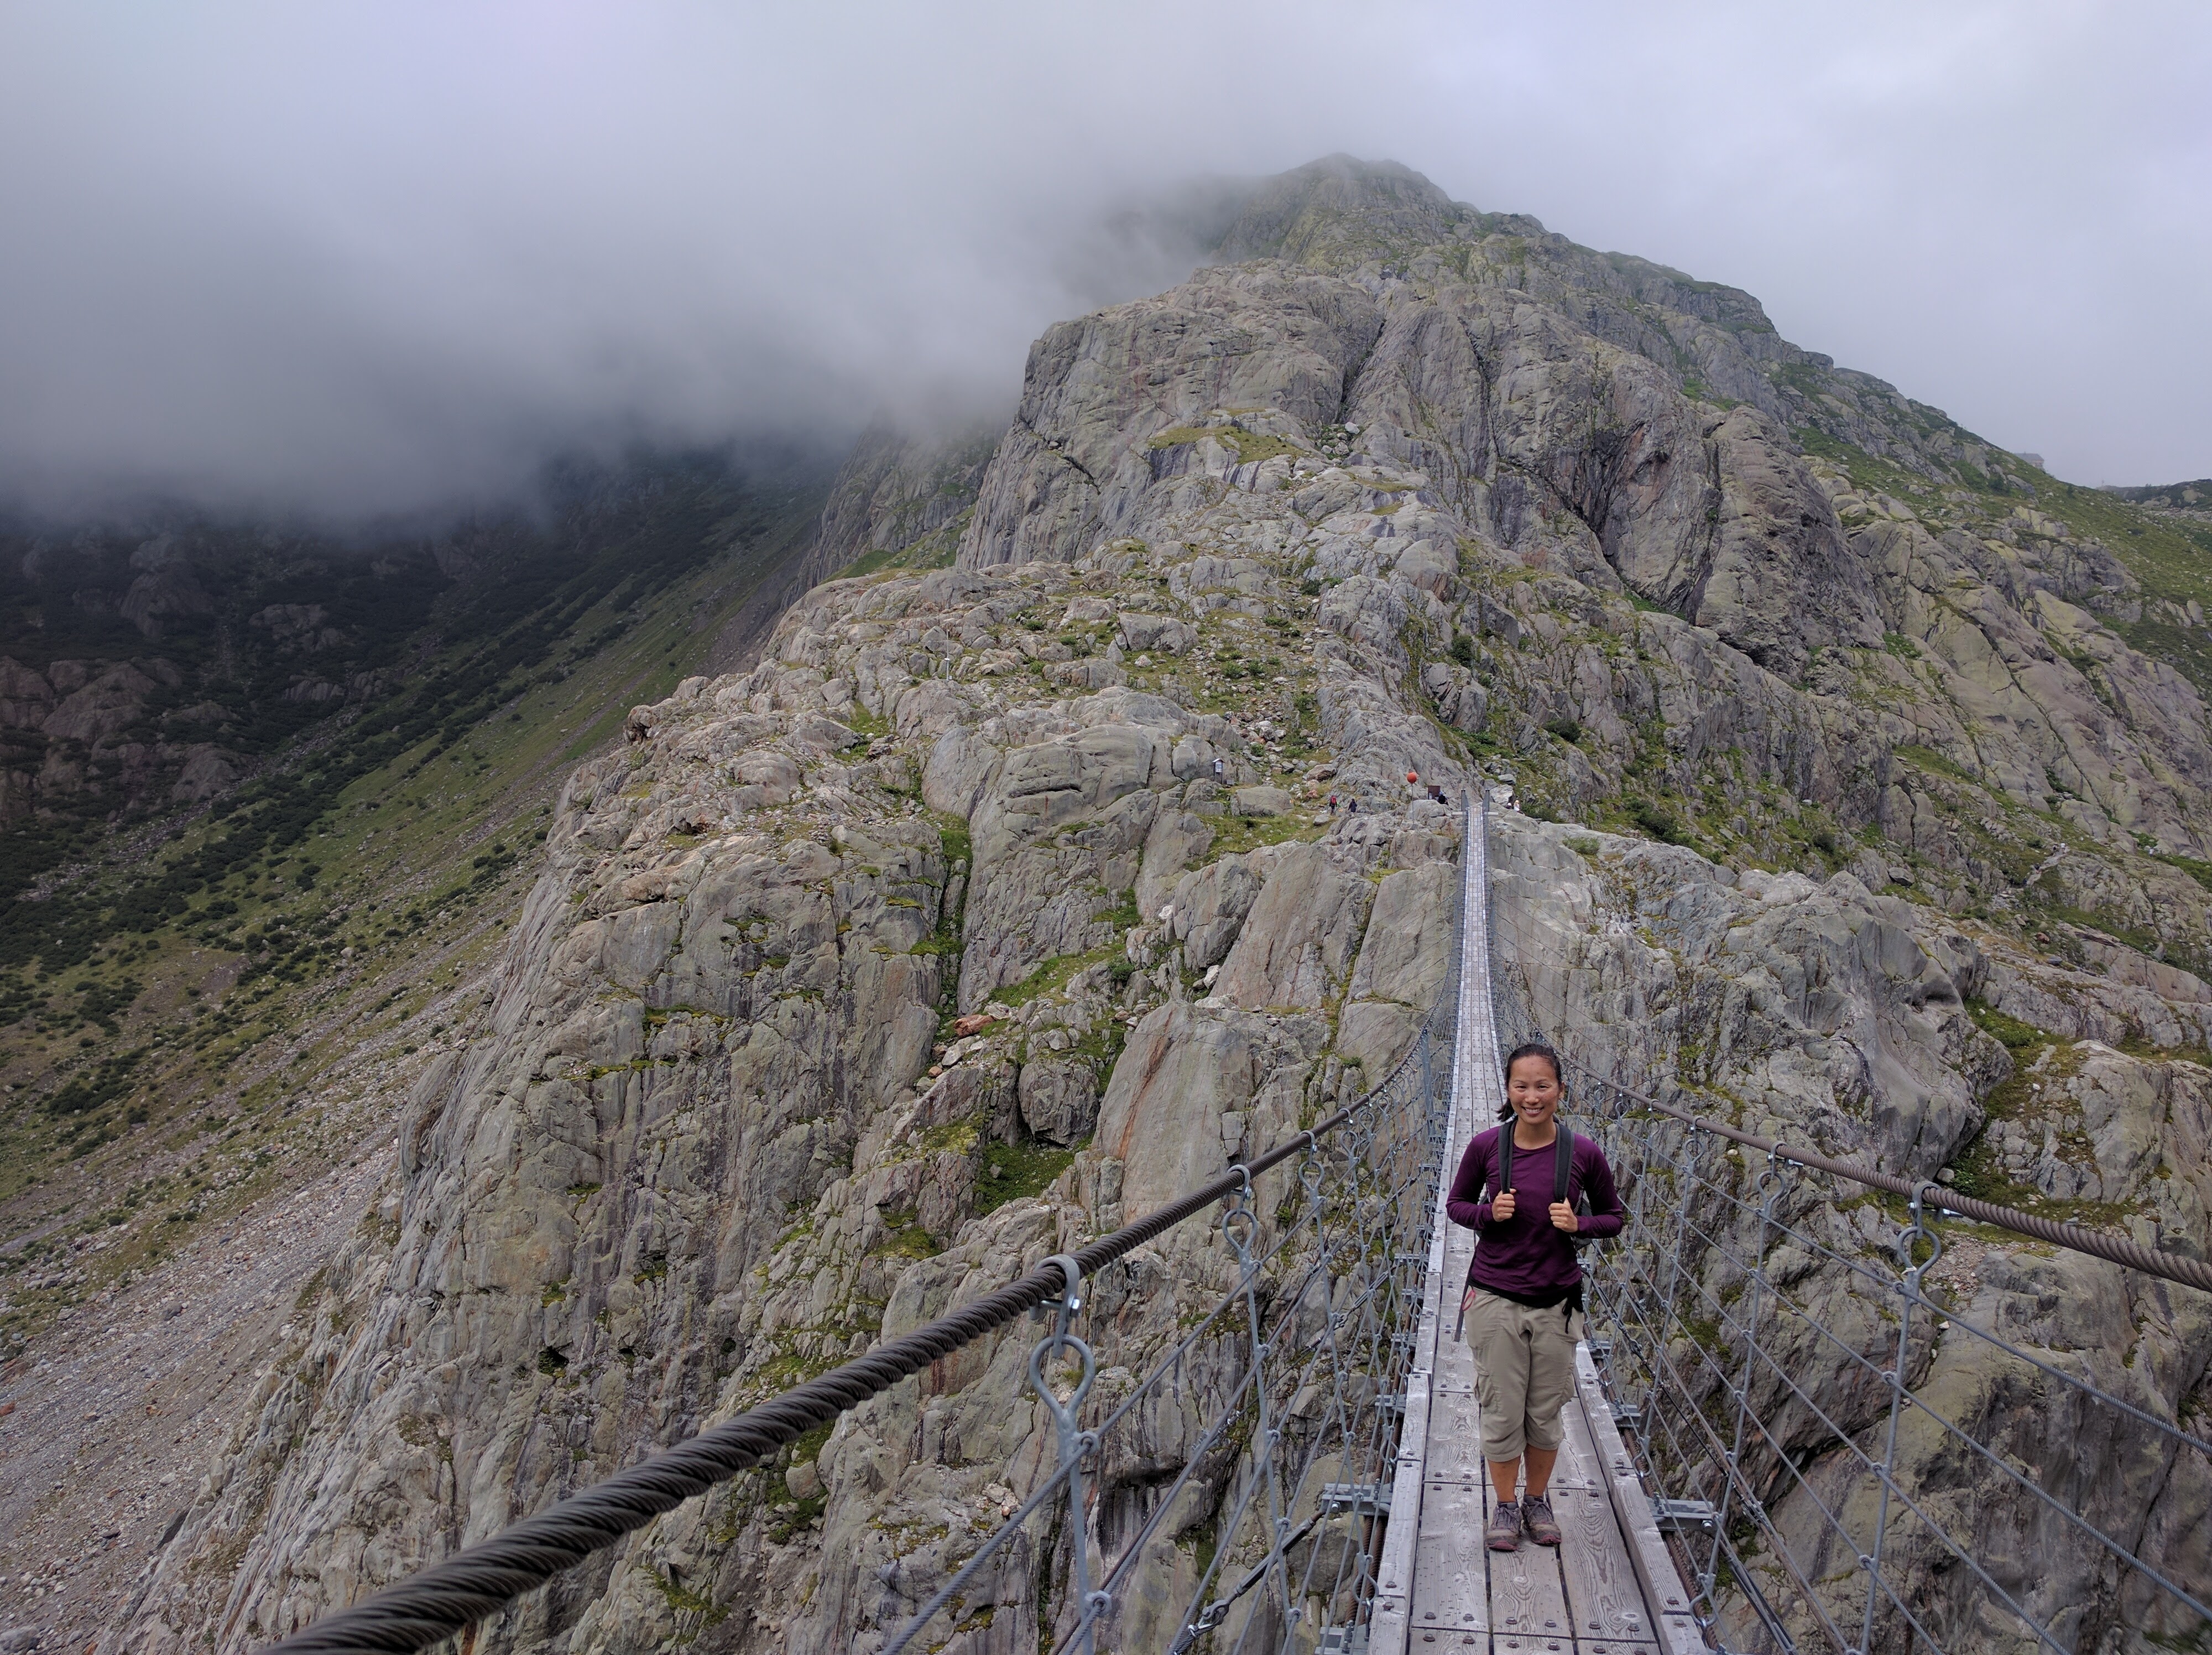
At 170 meters (560 feet) long, the Trift Bridge is the longest pedestrian-only suspension bridge in the Swiss Alps.  All aspects of the bridge are incredible–the drive to the bridge, then the hike (or chair lift + hike if you choose) to the bridge, and the bridge itself.  Not even the crummy weather could have dampened our experience.

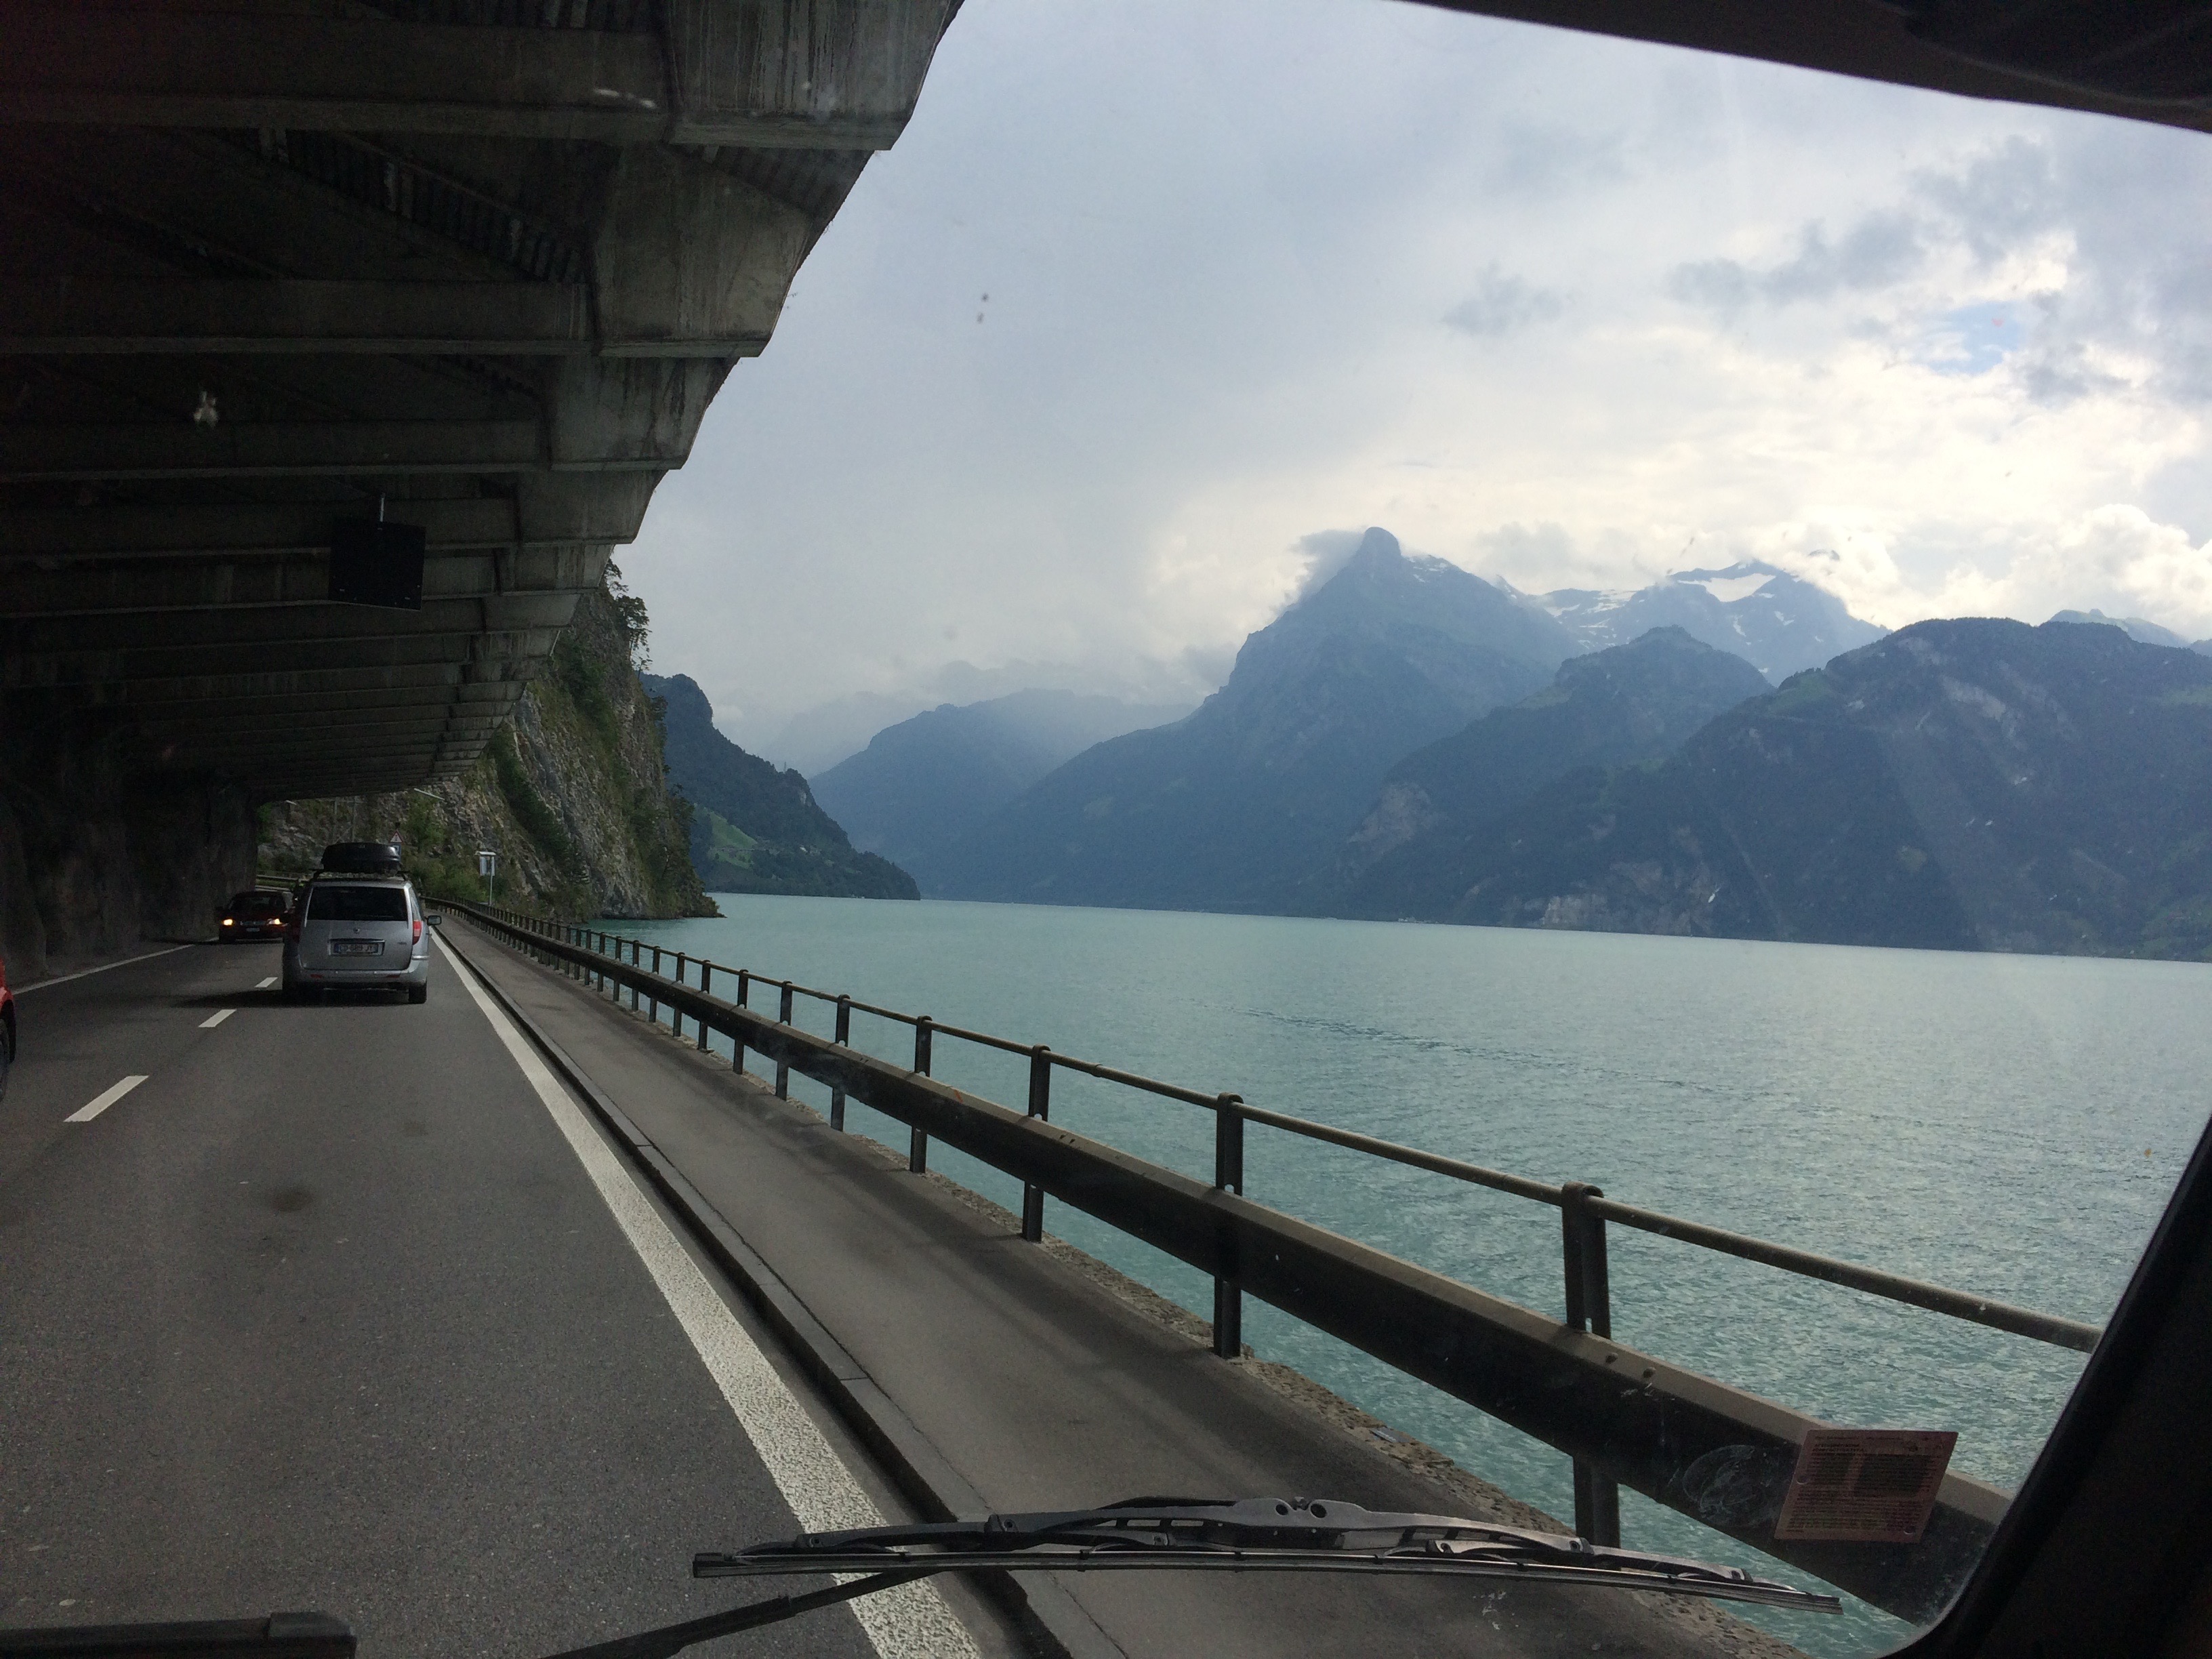
First, in order to arrive to the trailhead from Liechtenstein, we drove along Lake Lucerne.IMG_4780

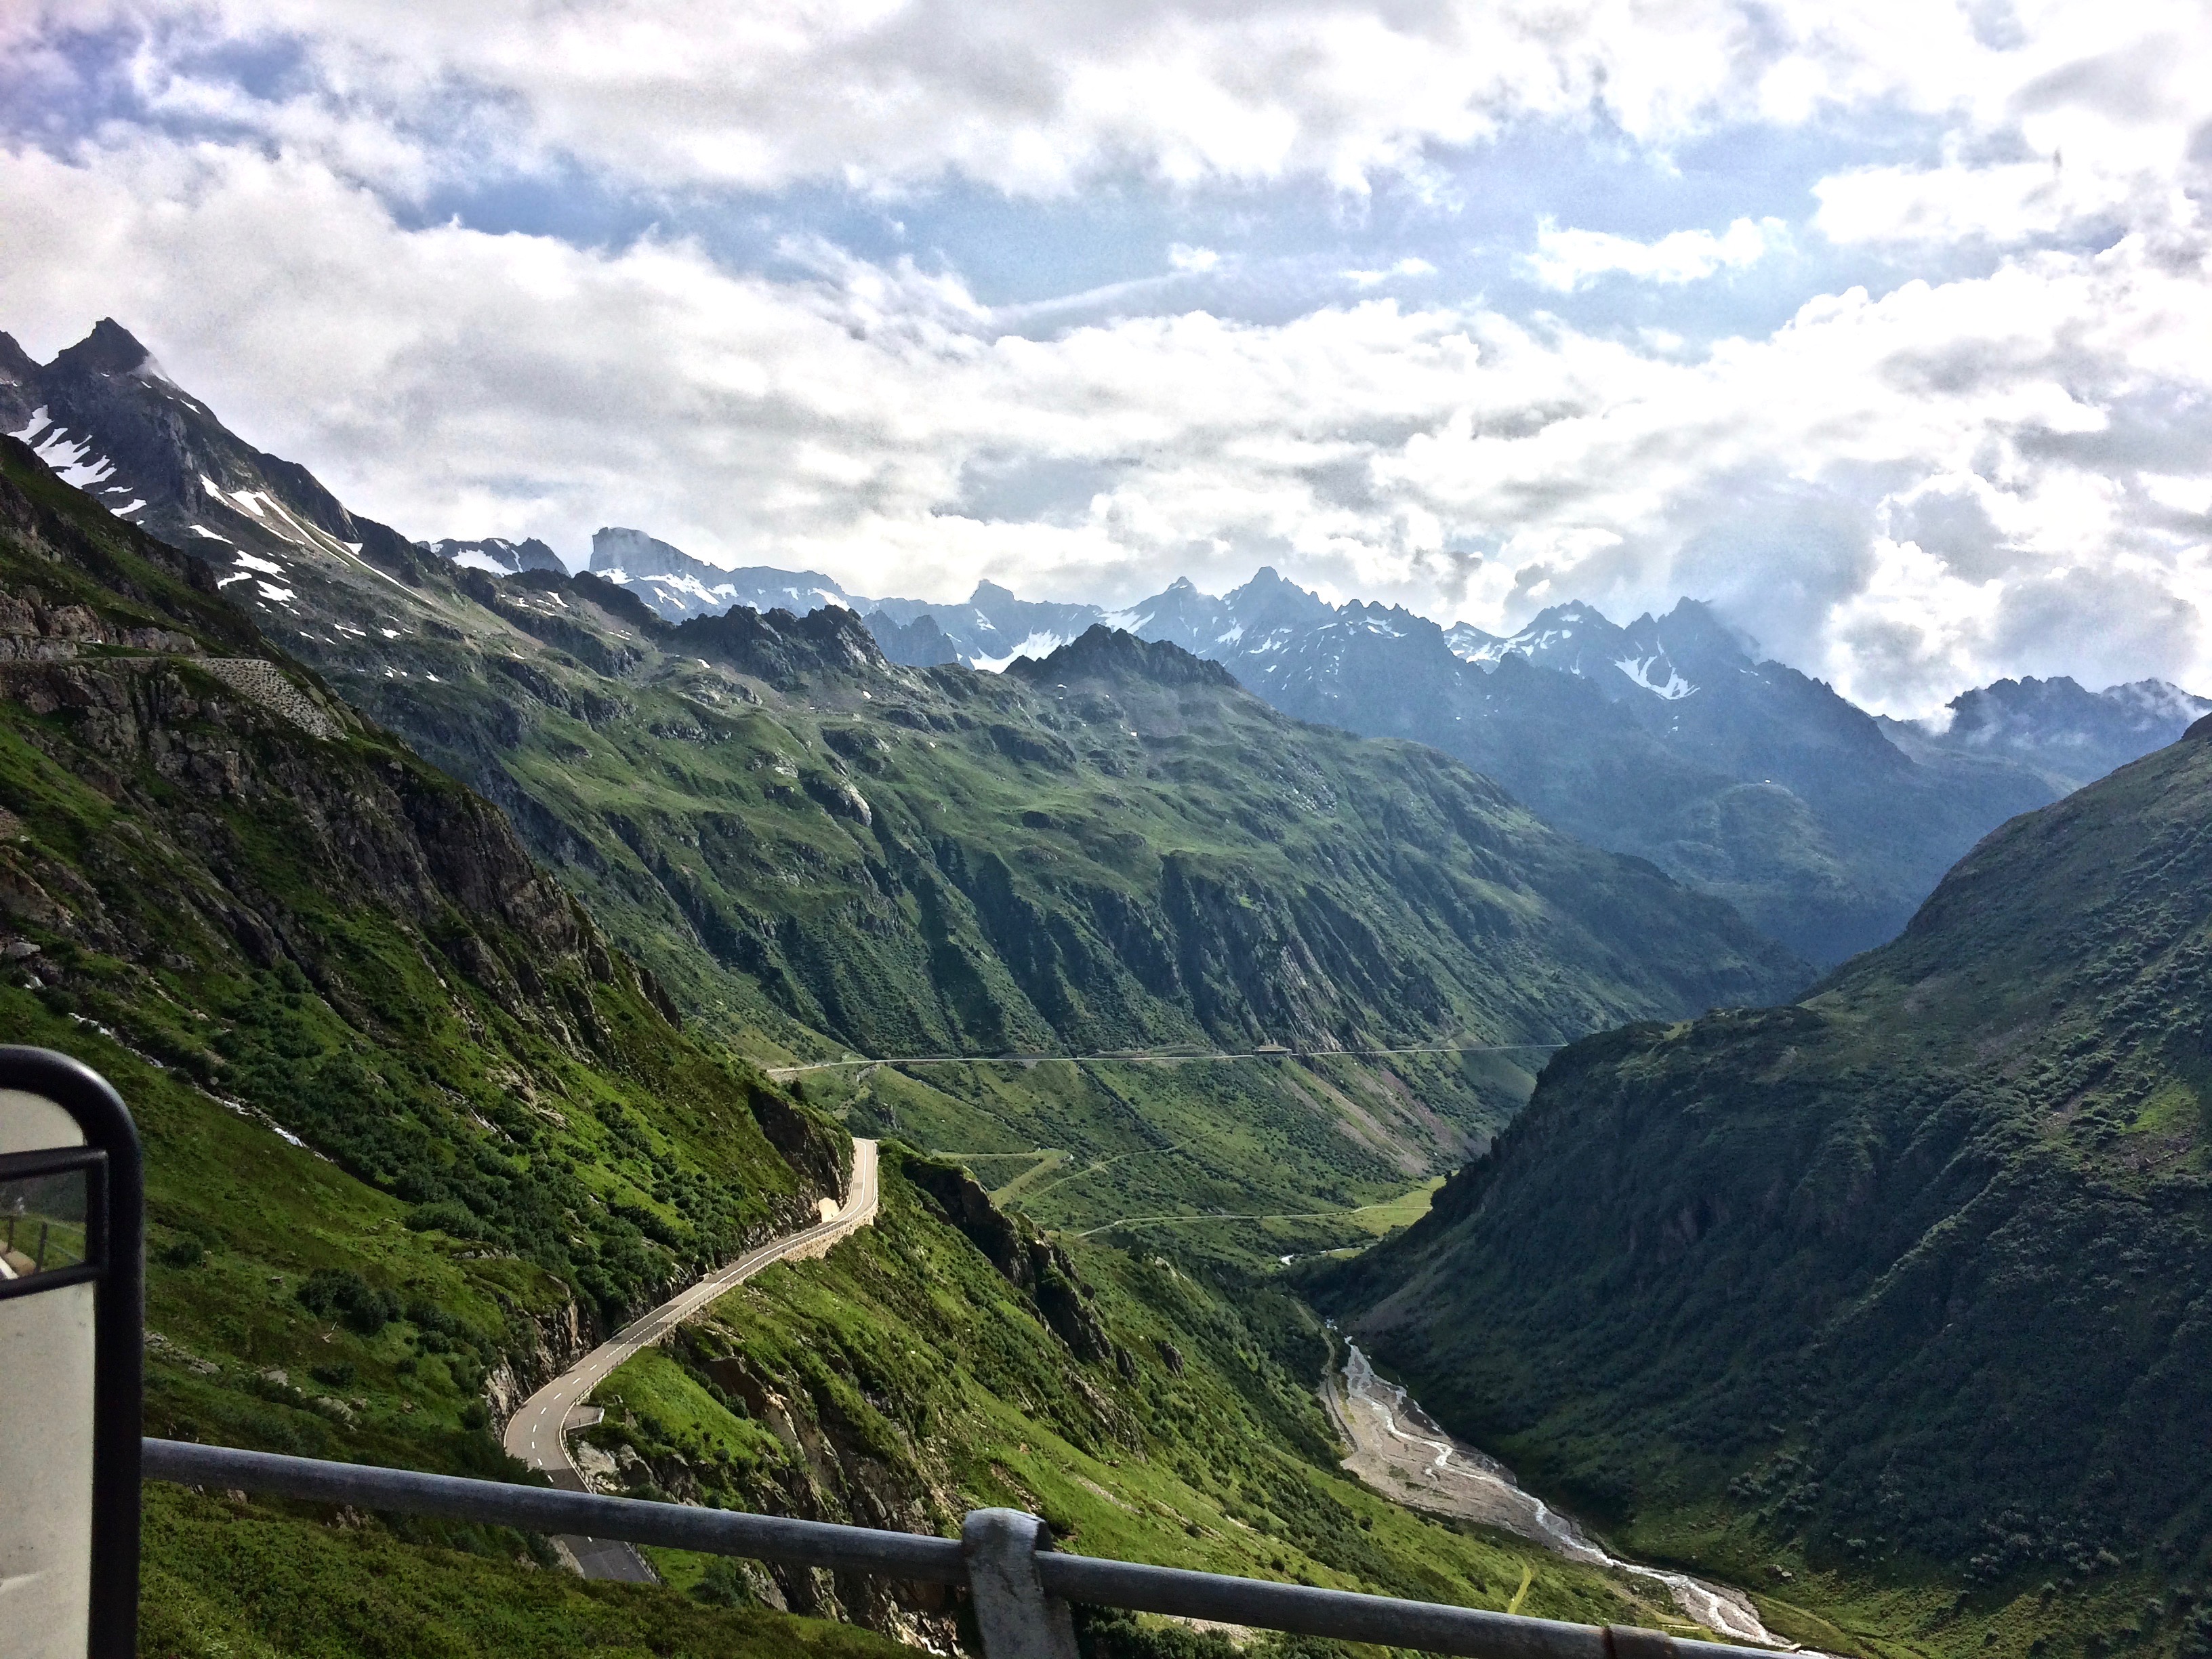
Then we continued up and over Susten Pass from east to west.  Like all passes in Switzerland, the pass left us in awe with its incredible views at every turn.  Dozens of trailheads dotted the pass, rivers and waterfalls gushed from all directions, motorcycles and even cyclists zig-zagged along its cliffs, and a small cafe or two sleepily awaited the wandering traveler.  IMG_4786

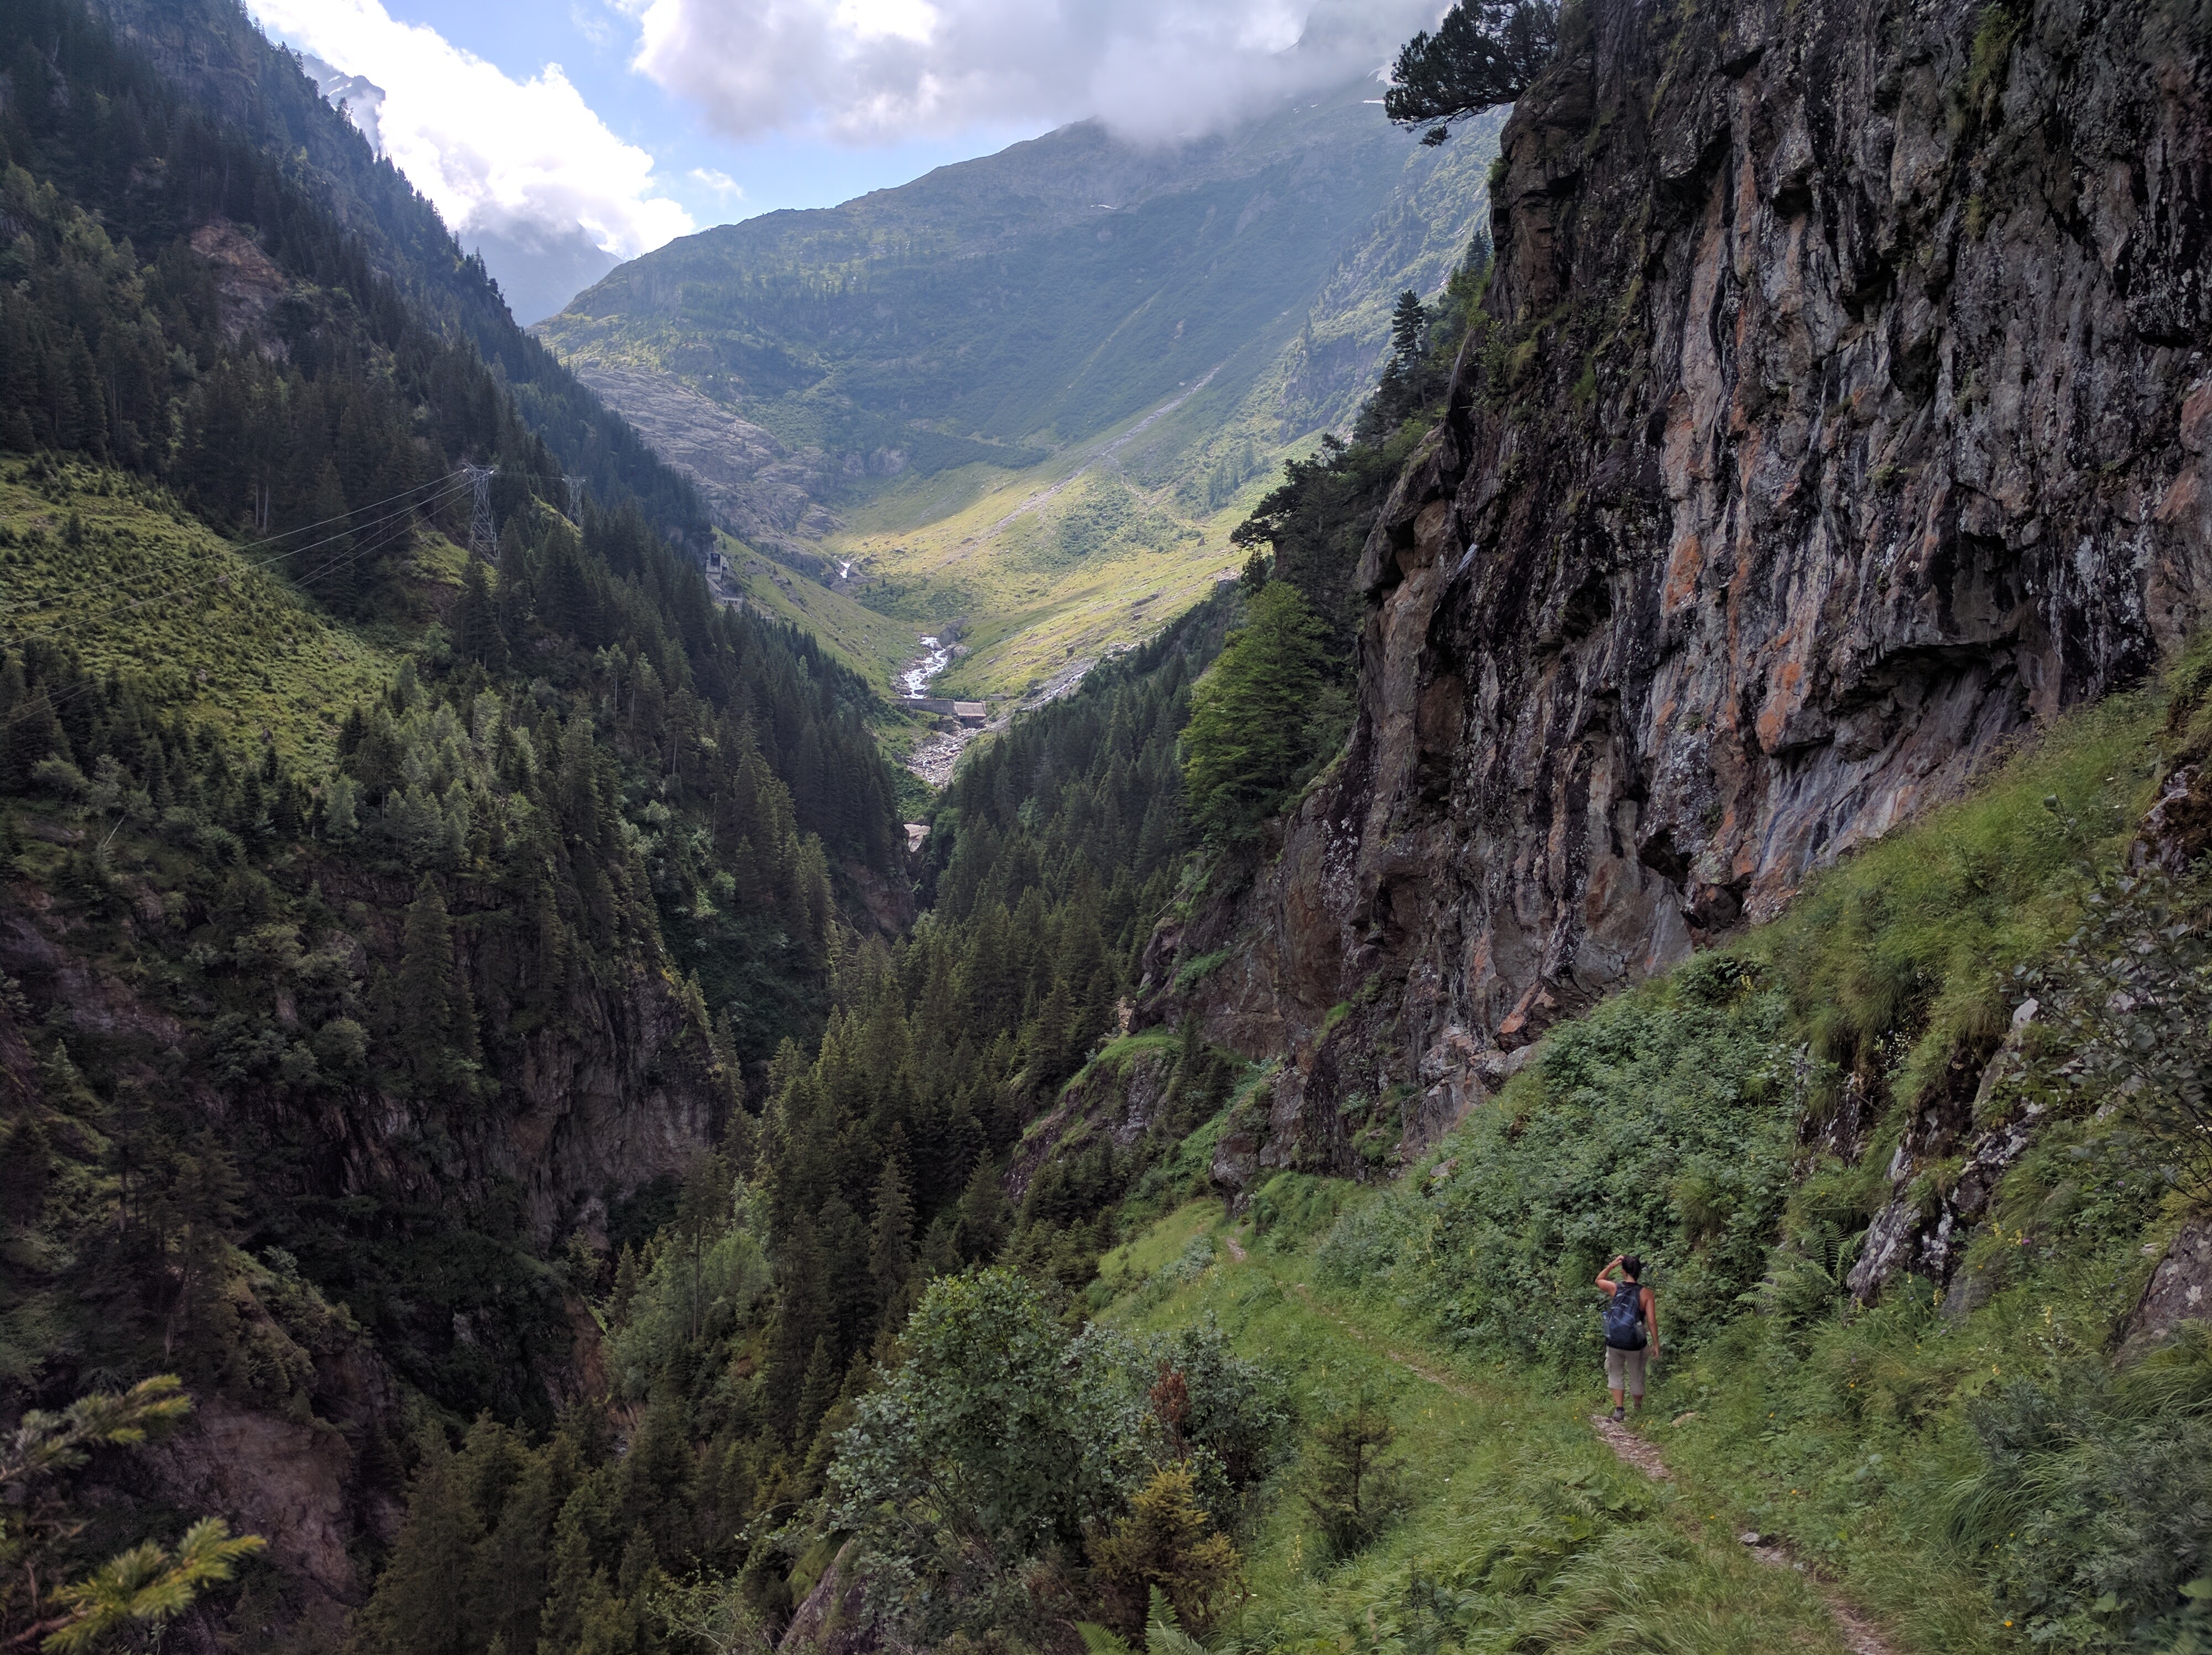
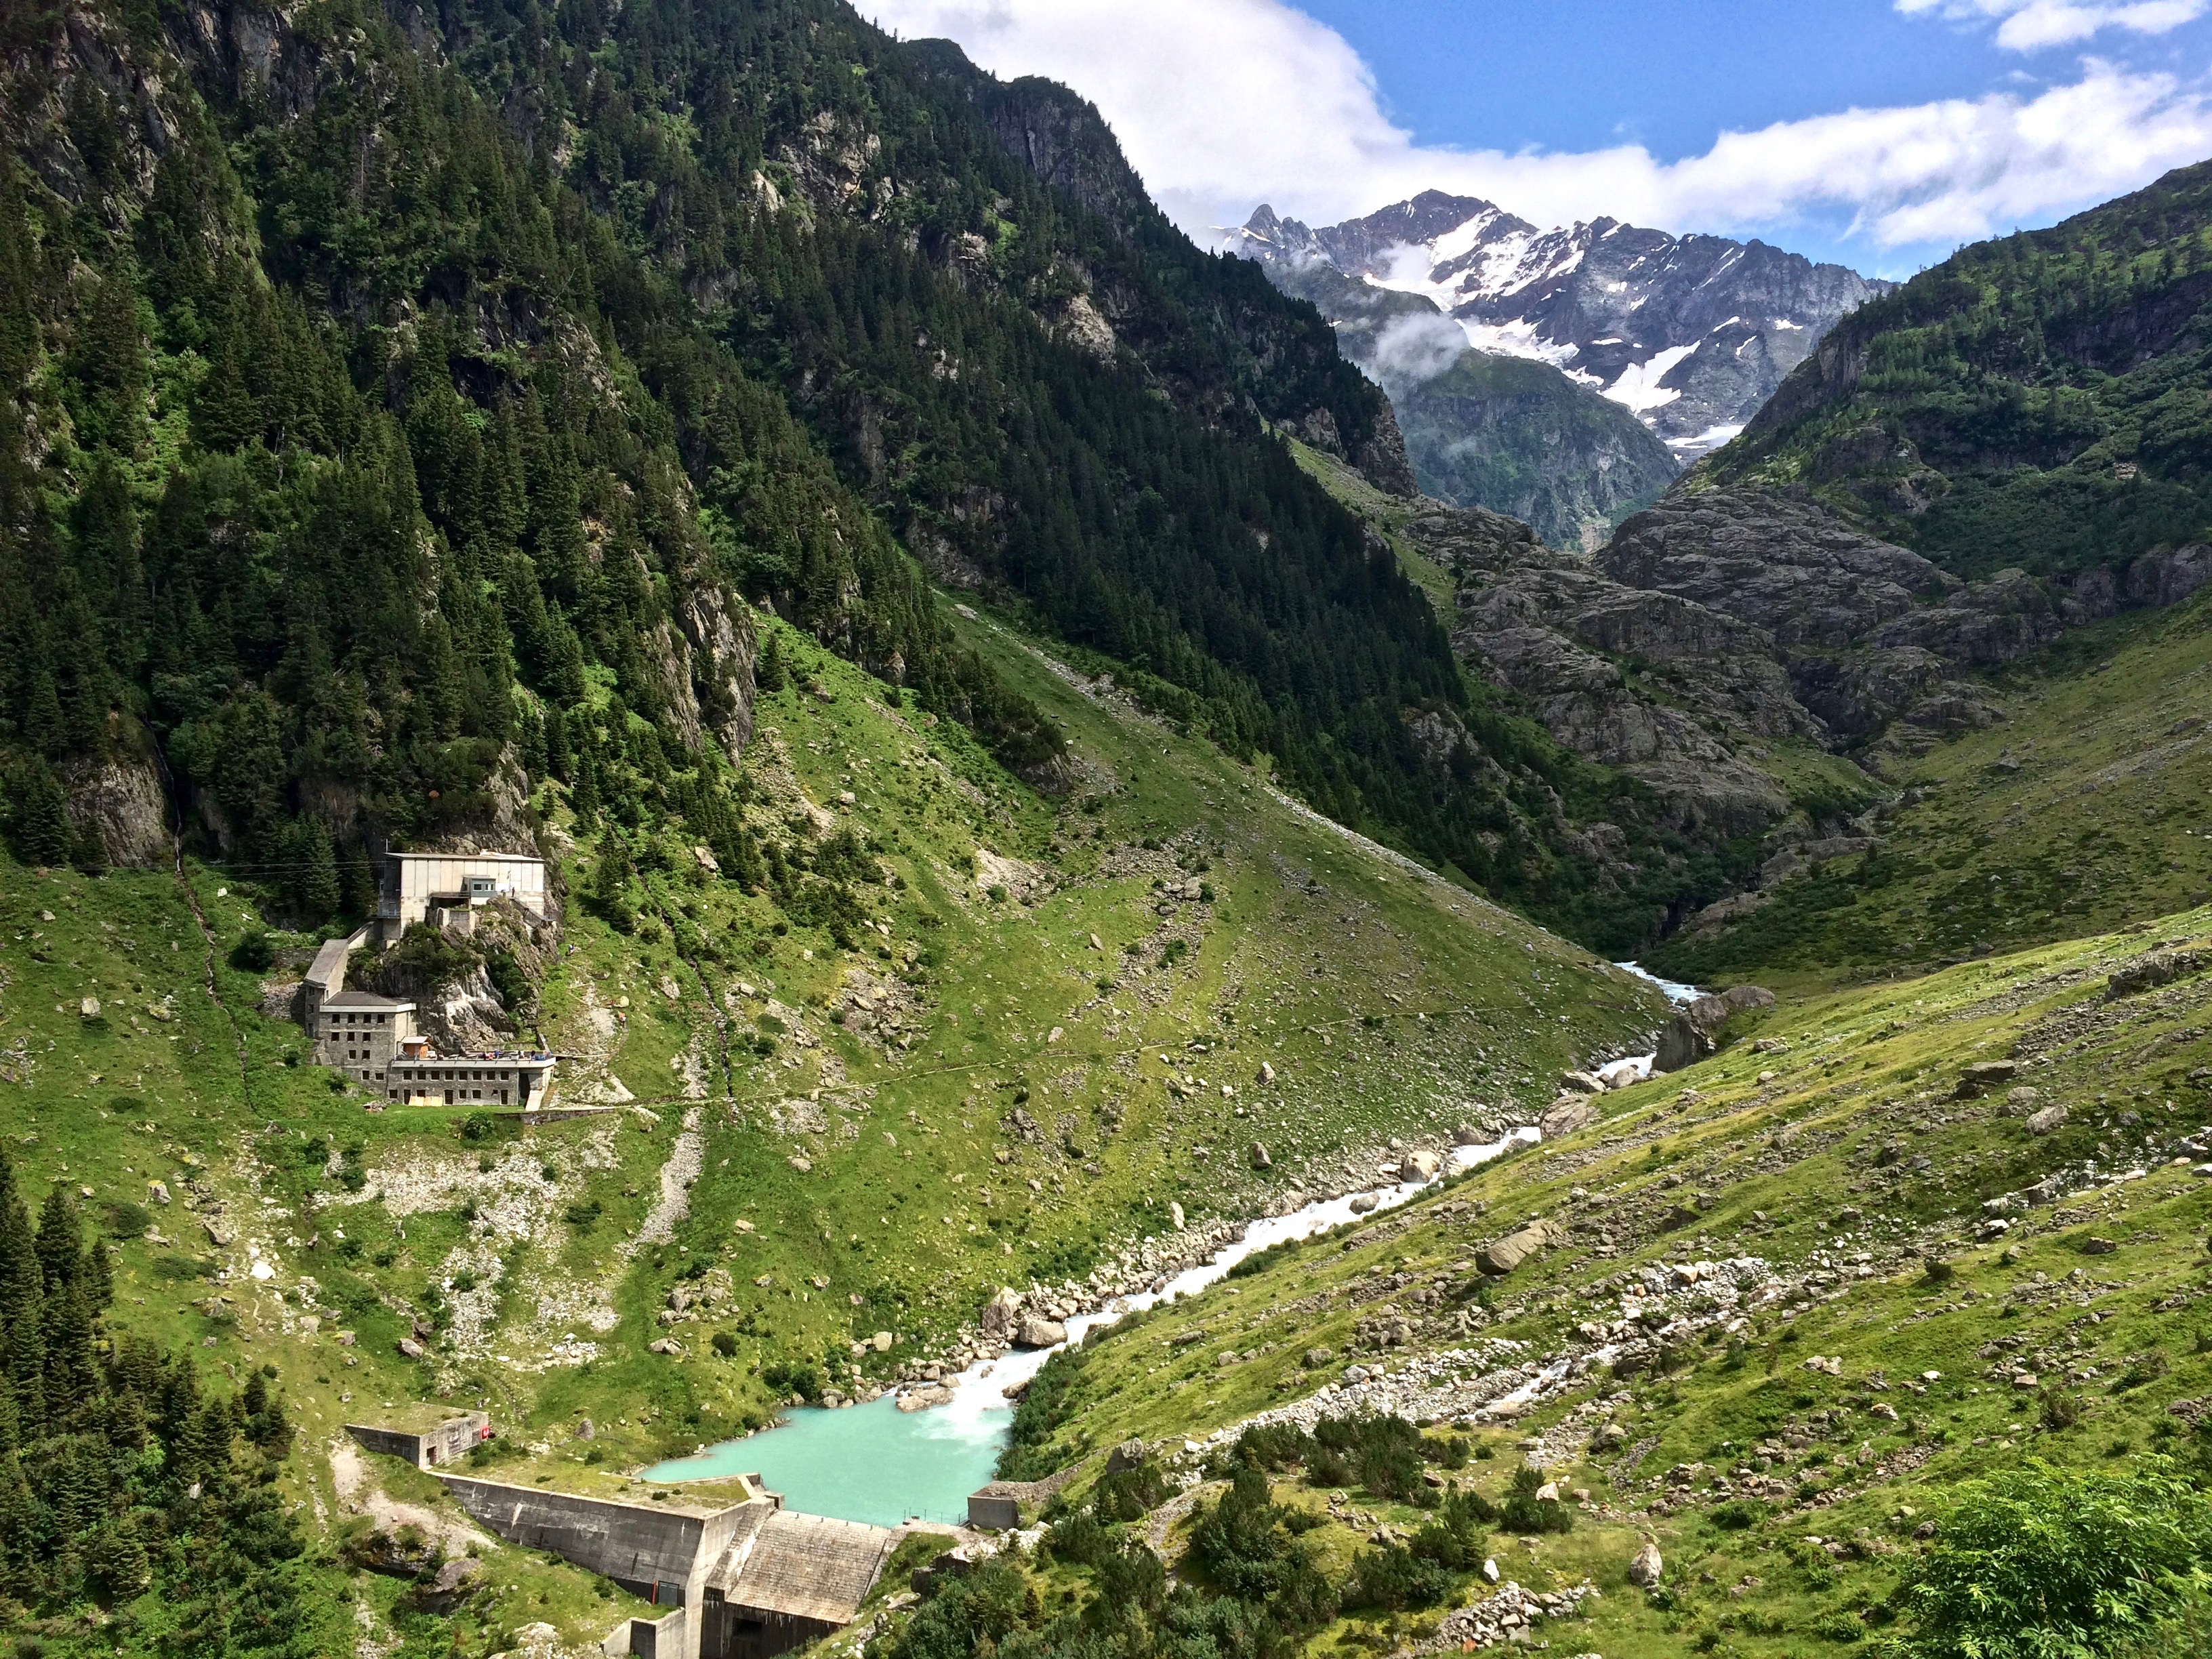
Once at the Trift Bridge trailhead, we had two options: to ride the aerial cable car (24 CHF roundtrip or 12 CHF one-way) and hike the remainder of the way to the bridge, or skip the aerial cable car completely and hike from the trailhead.  To save the 48 CHF ($50) we hiked the entire way up and back.  Despite being a steep ascent into the valley, it wasn’t difficult, especially compared to summiting Mount Olympus!  To my amazement, everyone else that day rode the cable car up, giving us a beautiful trail all to ourselves.IMG_20160727_120232

What also makes this bridge so spectacular is how it seldom sees crowds. Trift Bridge is surprisingly off the tourist radar; tour buses definitely don’t stop there, and most inexperienced hikers (and unfit people) won’t be able to reach the bridge.  It took us about 1 hour and 15 minutes to hike from the bottom of the trail to the path that crossed with the aerial cable car trail, and an additional hour or so to Trift Bridge.IMG_4799

Trift Bridge and the glacial lake below:IMG_20160727_134307

Crossing the bridge:DCIM105GOPROIMG_20160727_132045

Unfortunately we didn’t stay long since the mix of high altitude and rain was too cold for us to endure.  Hiking down took longer than expected due to the mud and slippery rocks, but it was still a wonderful hike nonetheless.

https://youtu.be/ltH6k0RiGfM

Posted in Switzerland | 2 Comments

Vaduz

Since Luxembourg was a gorgeous, worthwhile place to visit, I figured Liechtenstein would be too. Ha, not so much.  Unless Liechtenstein happens to be conveniently located on your driving route (which it was for us between Austria and Switzerland), this principality is definitely not worth traveling a long way for.  Even Vaduz, the capital and primary tourist attraction of Liechtenstein, was rather tame. Now, in addition to all the tourists on day trips from Switzerland, we can say, “Yes, we’ve been to Liechtenstein!”

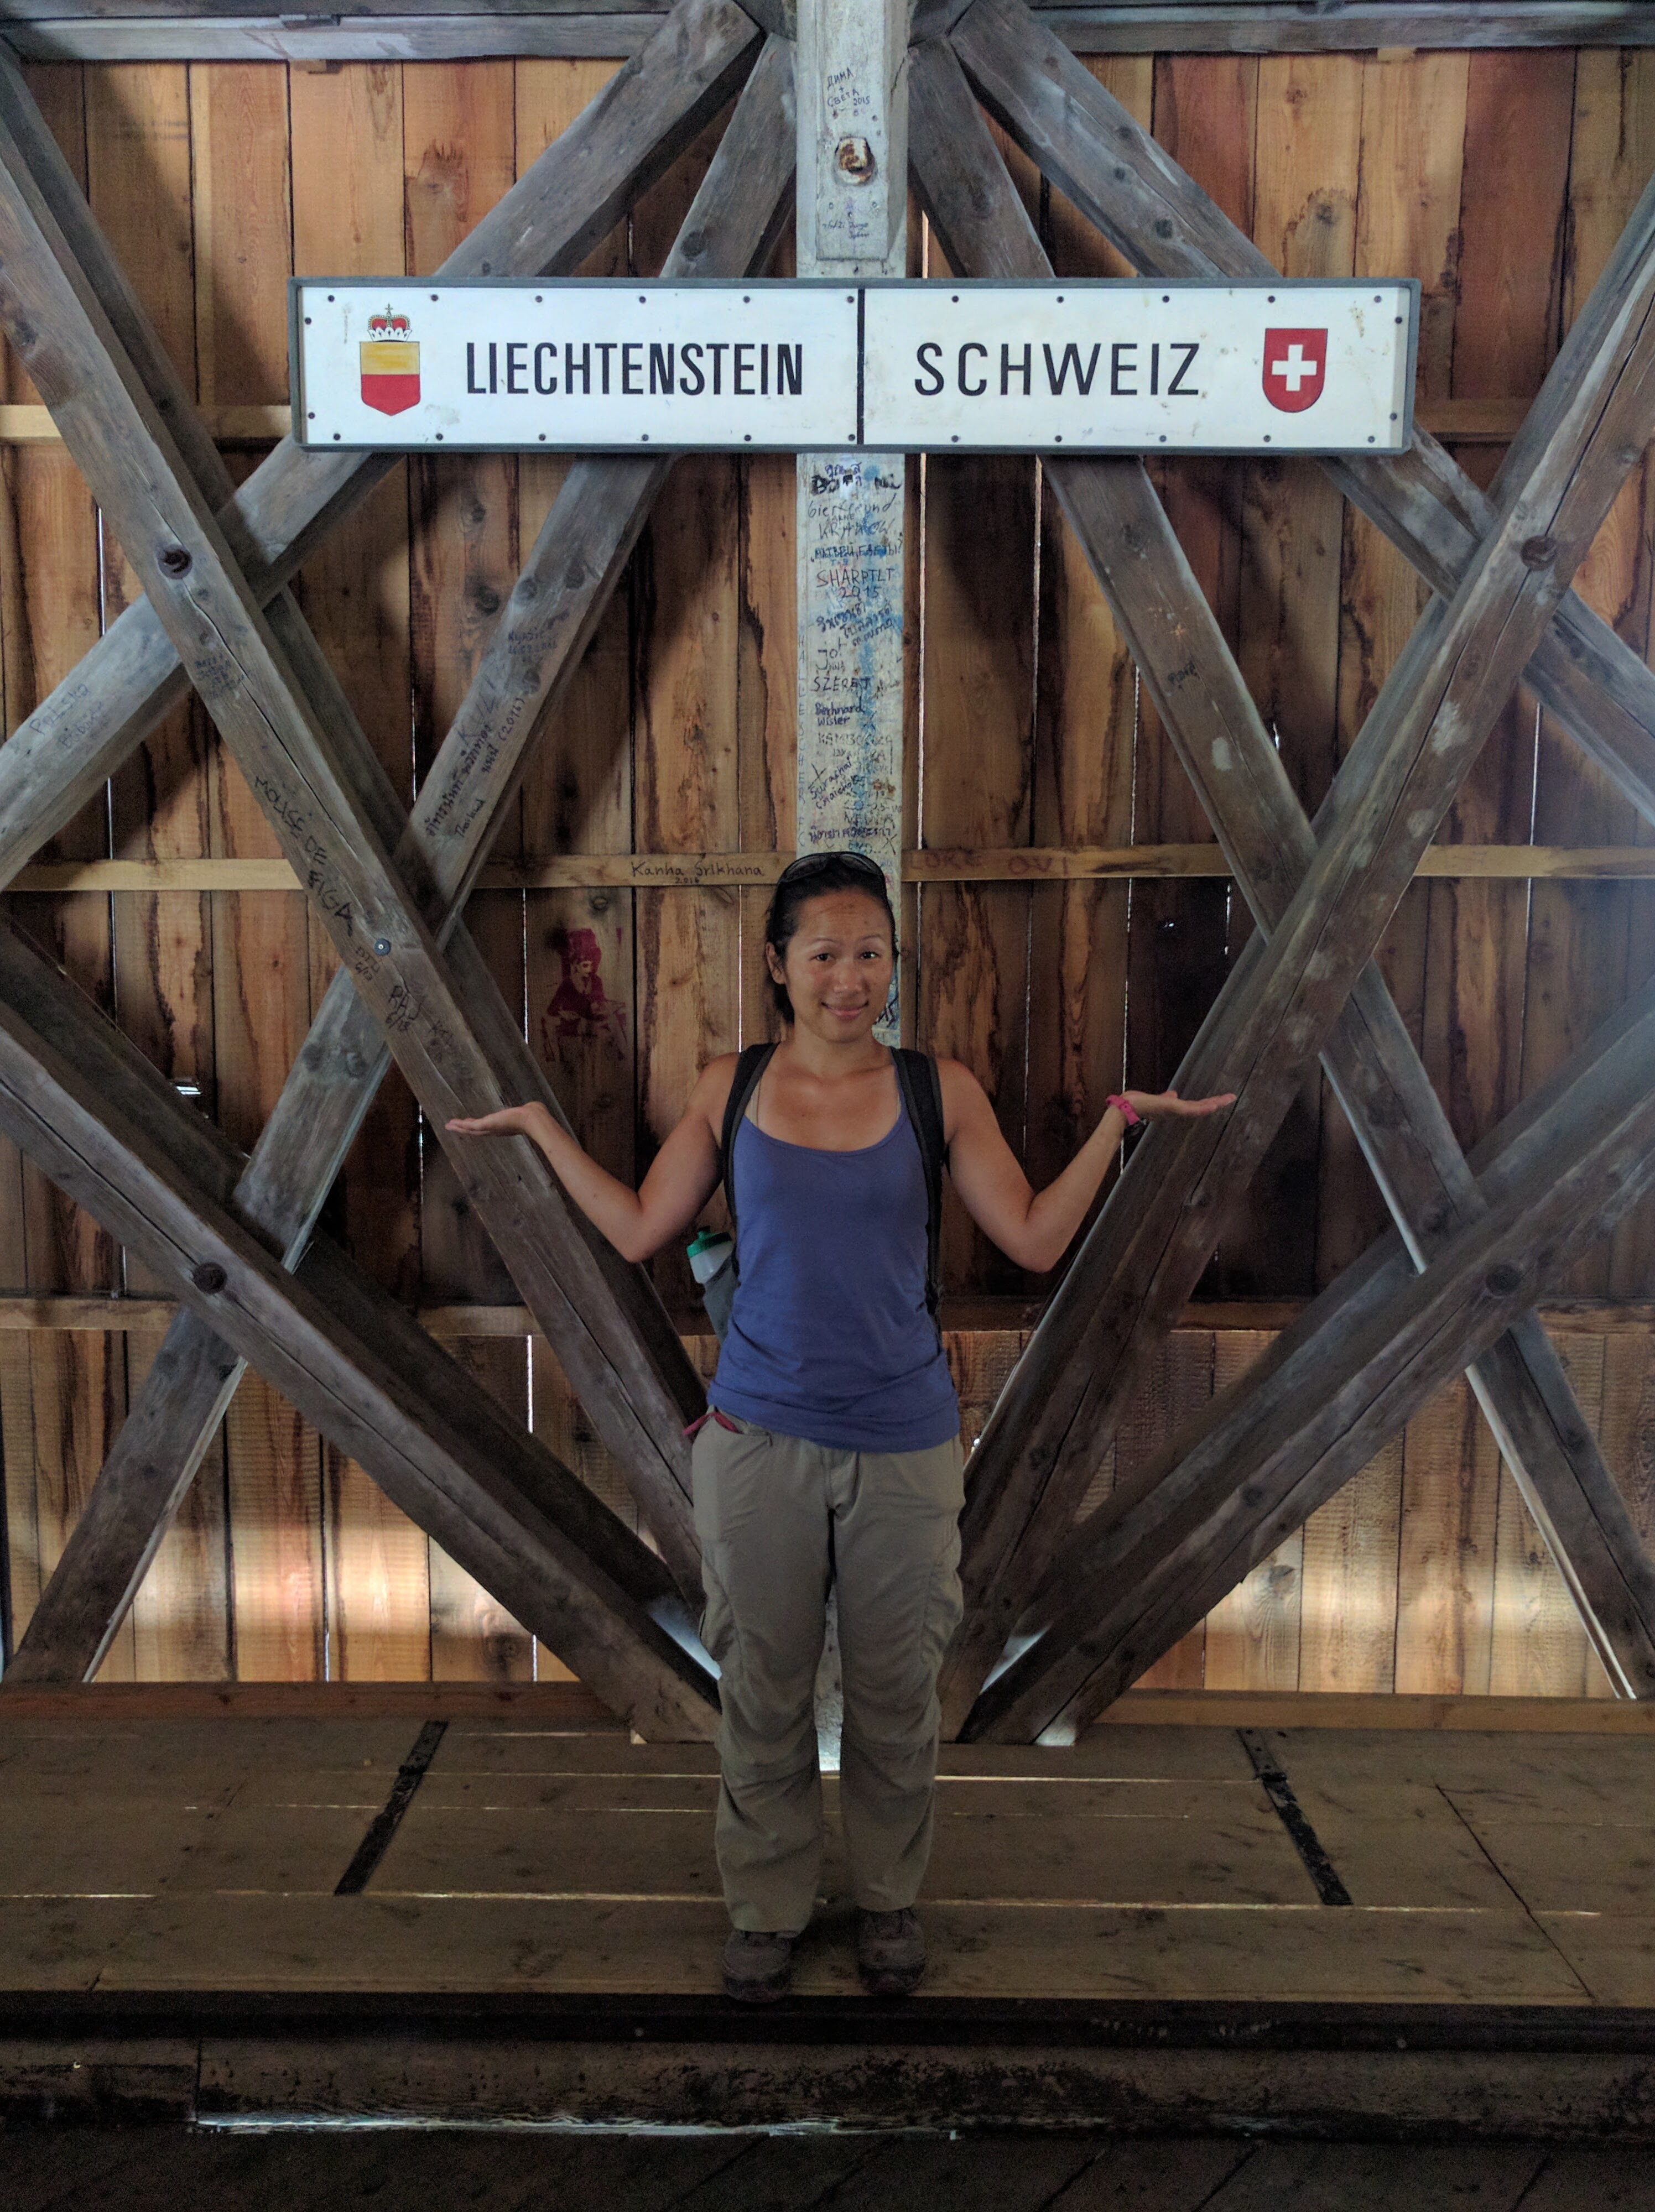
As Liechtenstein is only slightly larger than Manhattan, it was no surprise that we ended up crossing the border 6 times to enter and leave Vaduz.  We entered Liechtenstein from Austria, drove across the principality into Switzerland, then crossed back into Liechtenstein to Vaduz, parked, exited and returned to Liechtenstein on foot, and then exited for the final time to Switzerland.  Where else in the world does the most convenient travel method involve crossing a border multiple times in a day?IMG_20160726_135834

Fortunately, the “city” of Vaduz doesn’t mind motorhomes.  Free overnight parking with water, dump, and bathrooms can be found just outside the city center.  During business hours the fee is only 50¢ per hour.  Wish there could be more of these in European cities!

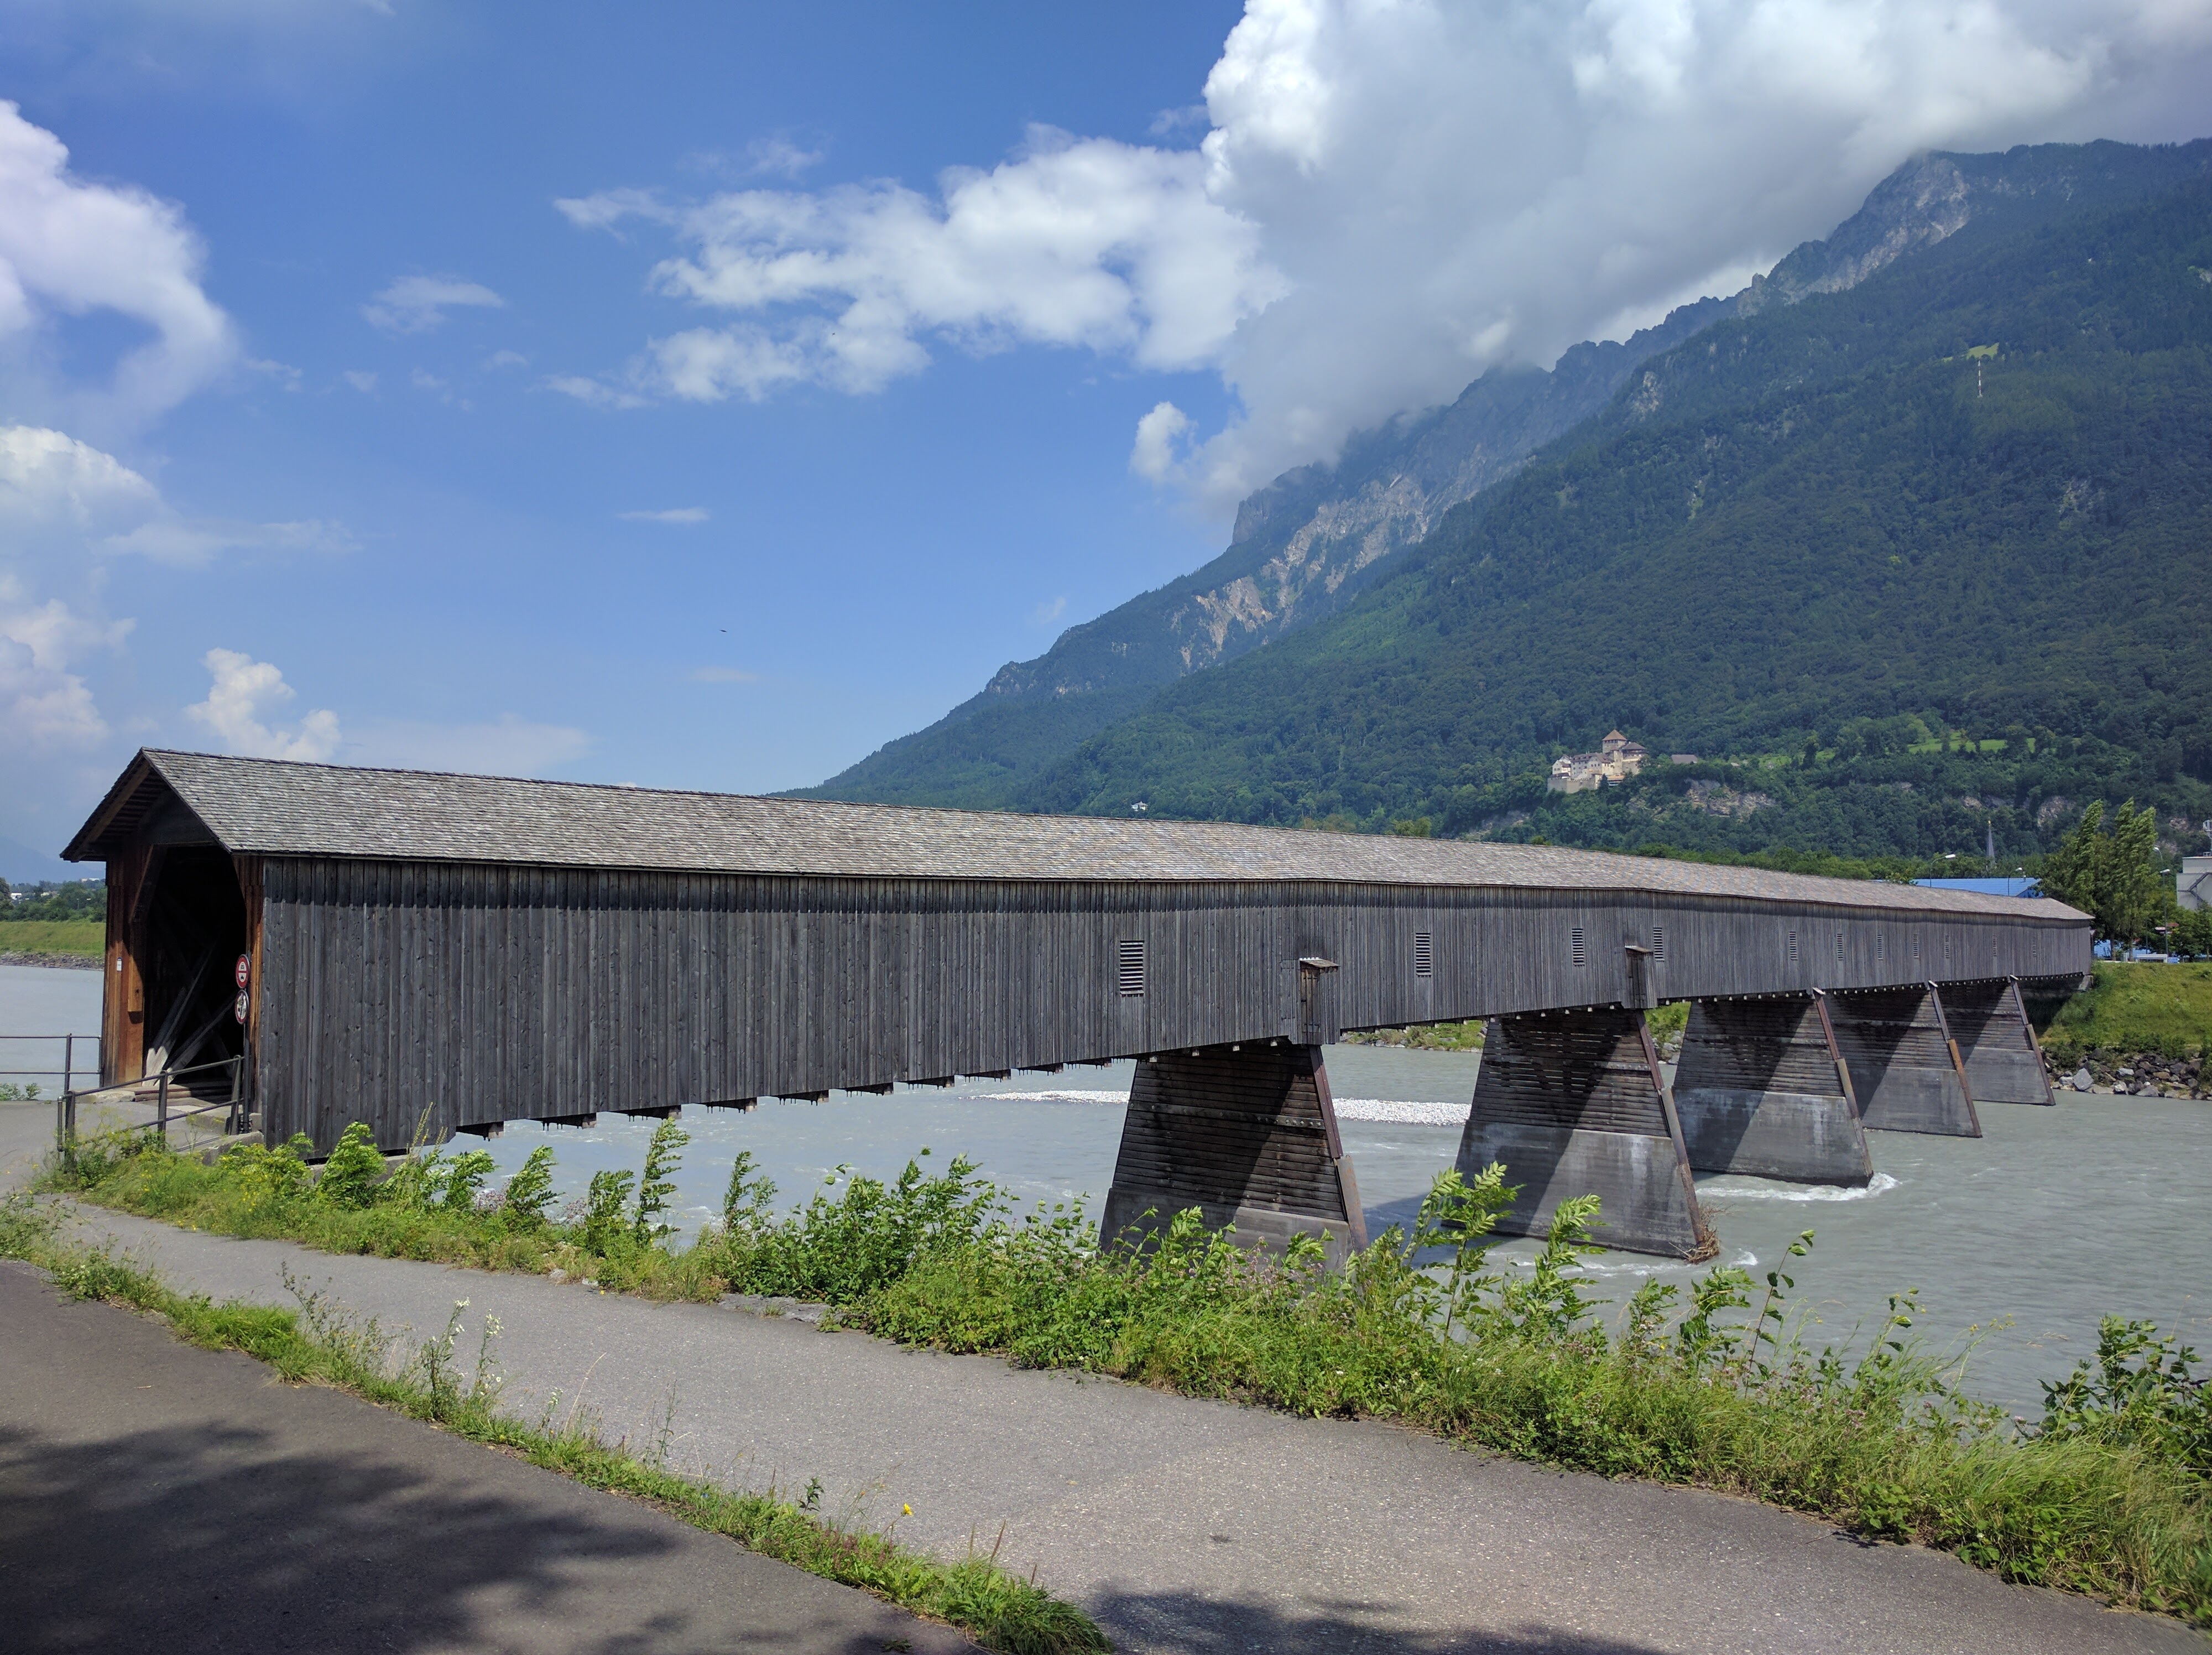
Just down the street from the parking lot is the old bridge over the Rhine River. Completed in 1901, the Alte Rheinbrucke is the only remaining wooden bridge connecting Liechtenstein with Switzerland.  Tourists didn’t seem to know of this site since we were practically the only tourists there when we visited. It was definitely amusing to check out and worth it for the photo above.IMG_20160726_140226

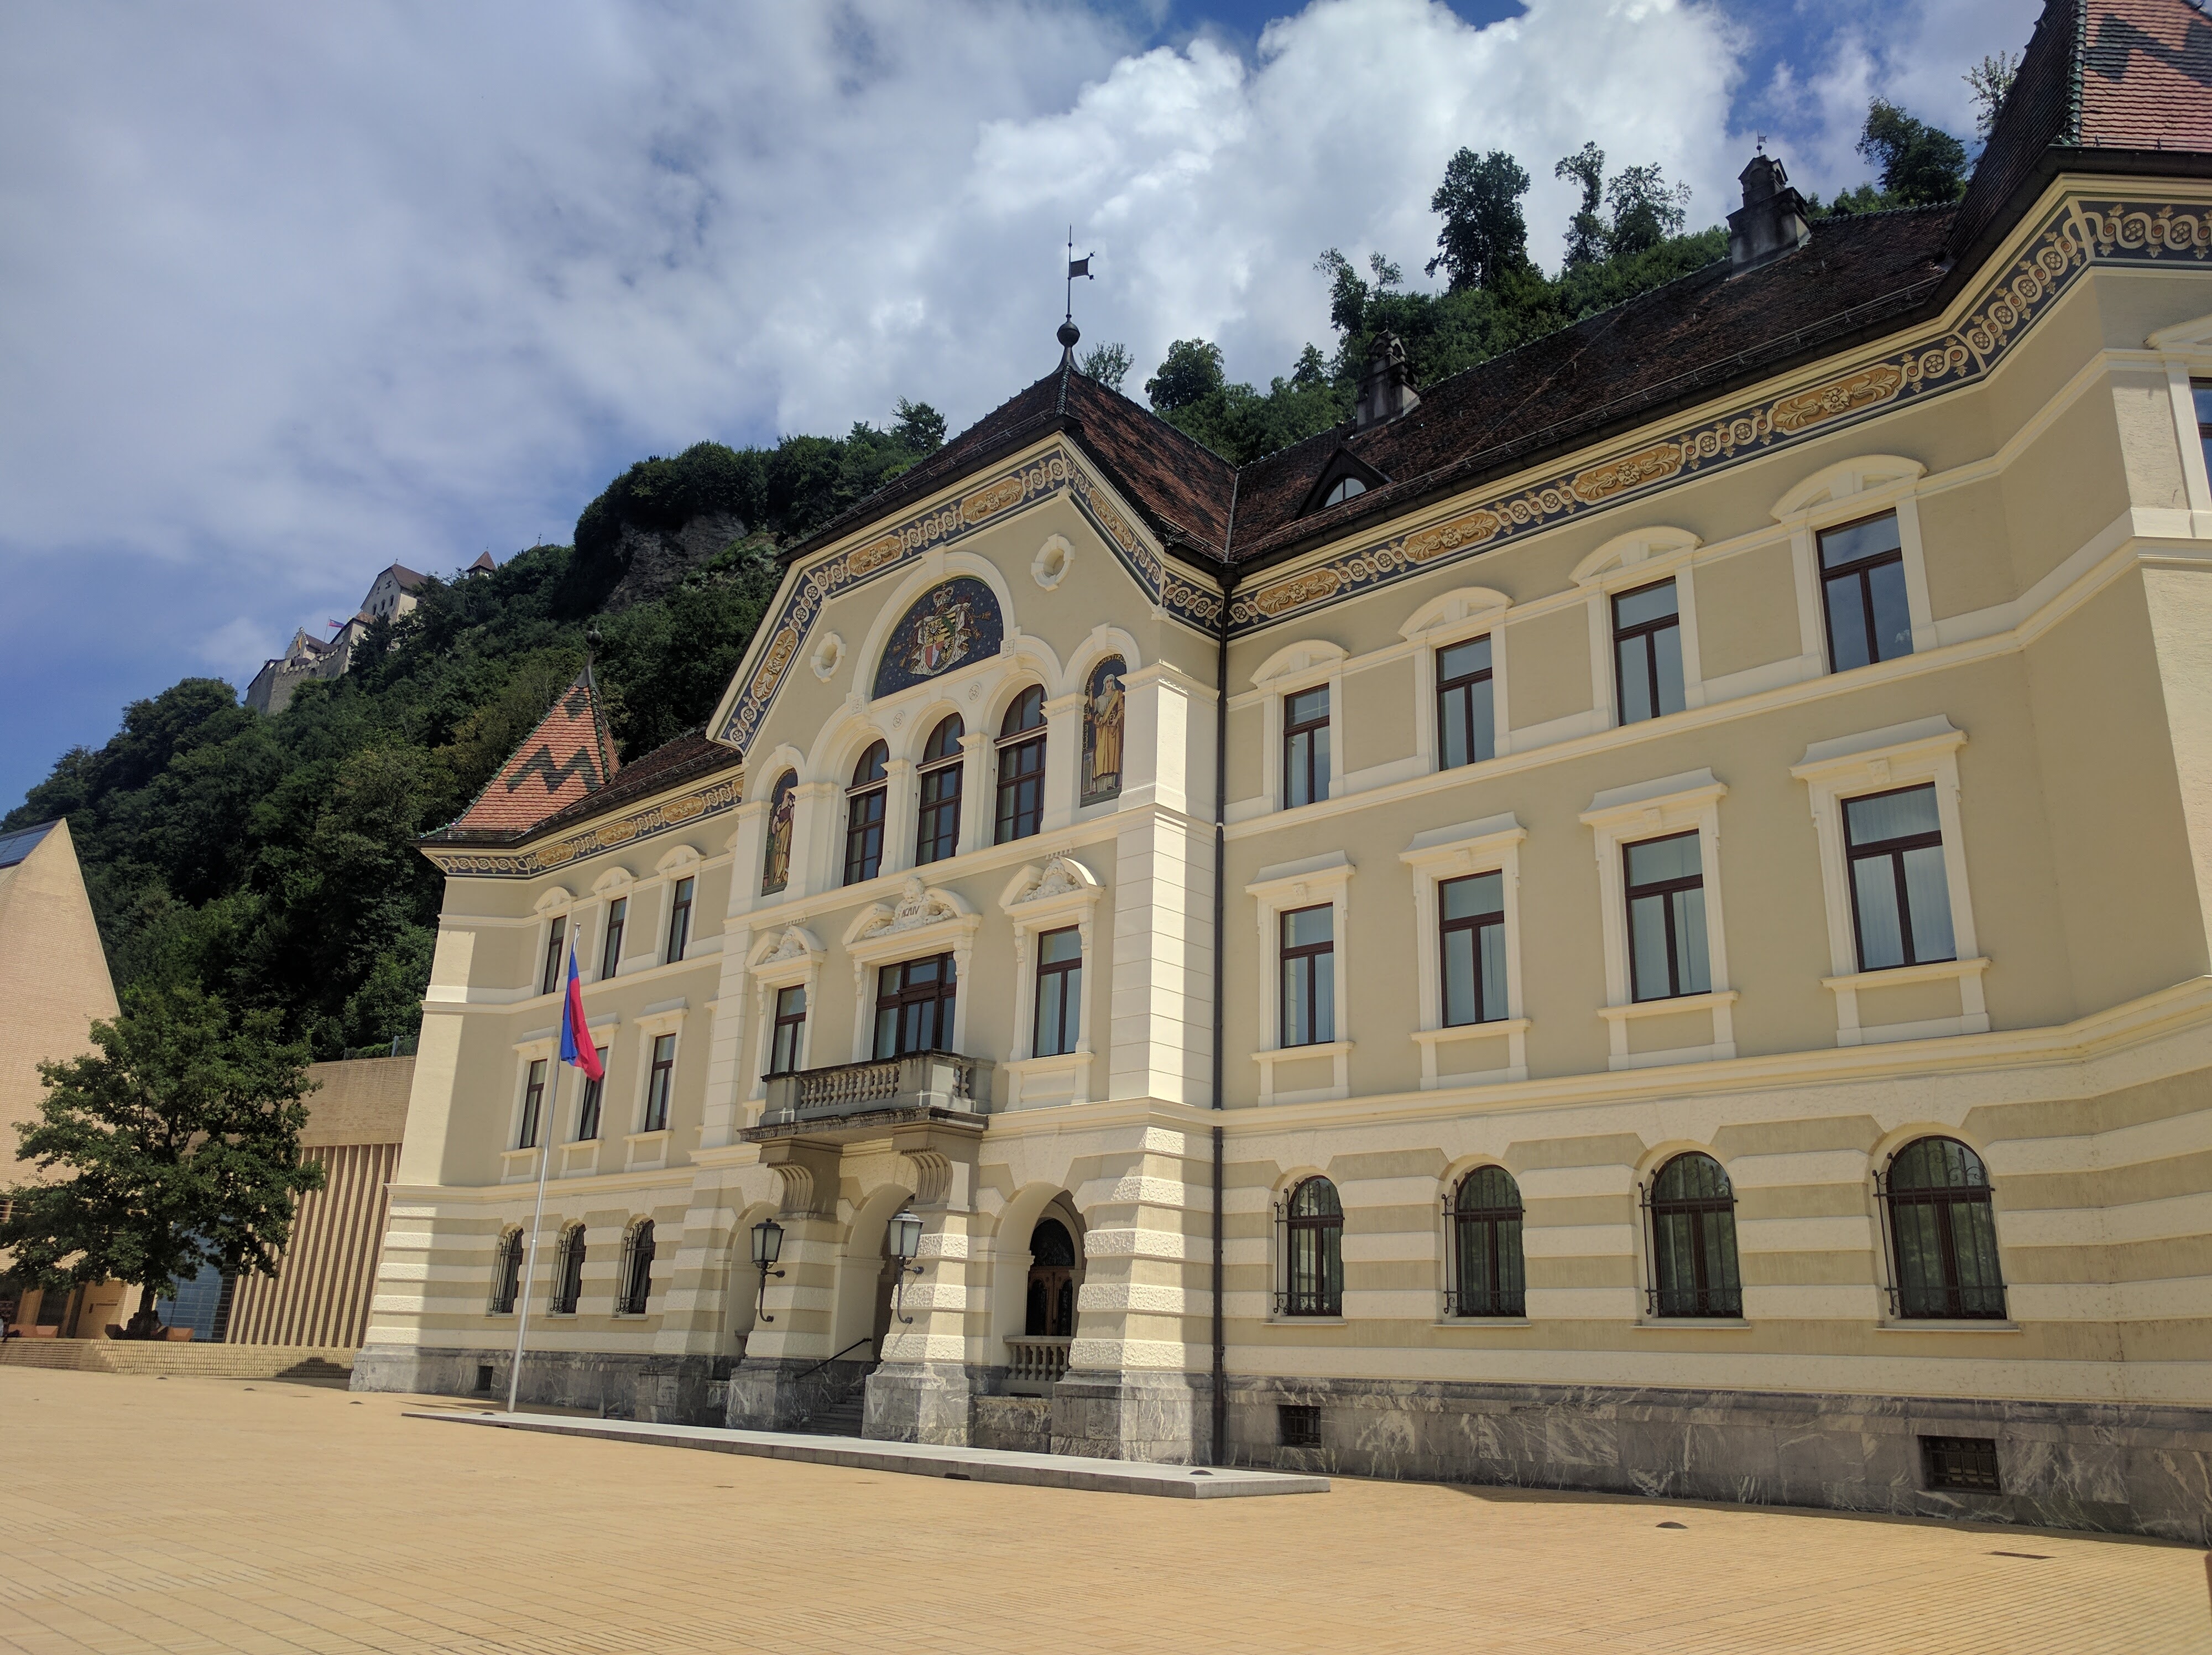
In town there is the government building and district. Meh.IMG_20160726_134045

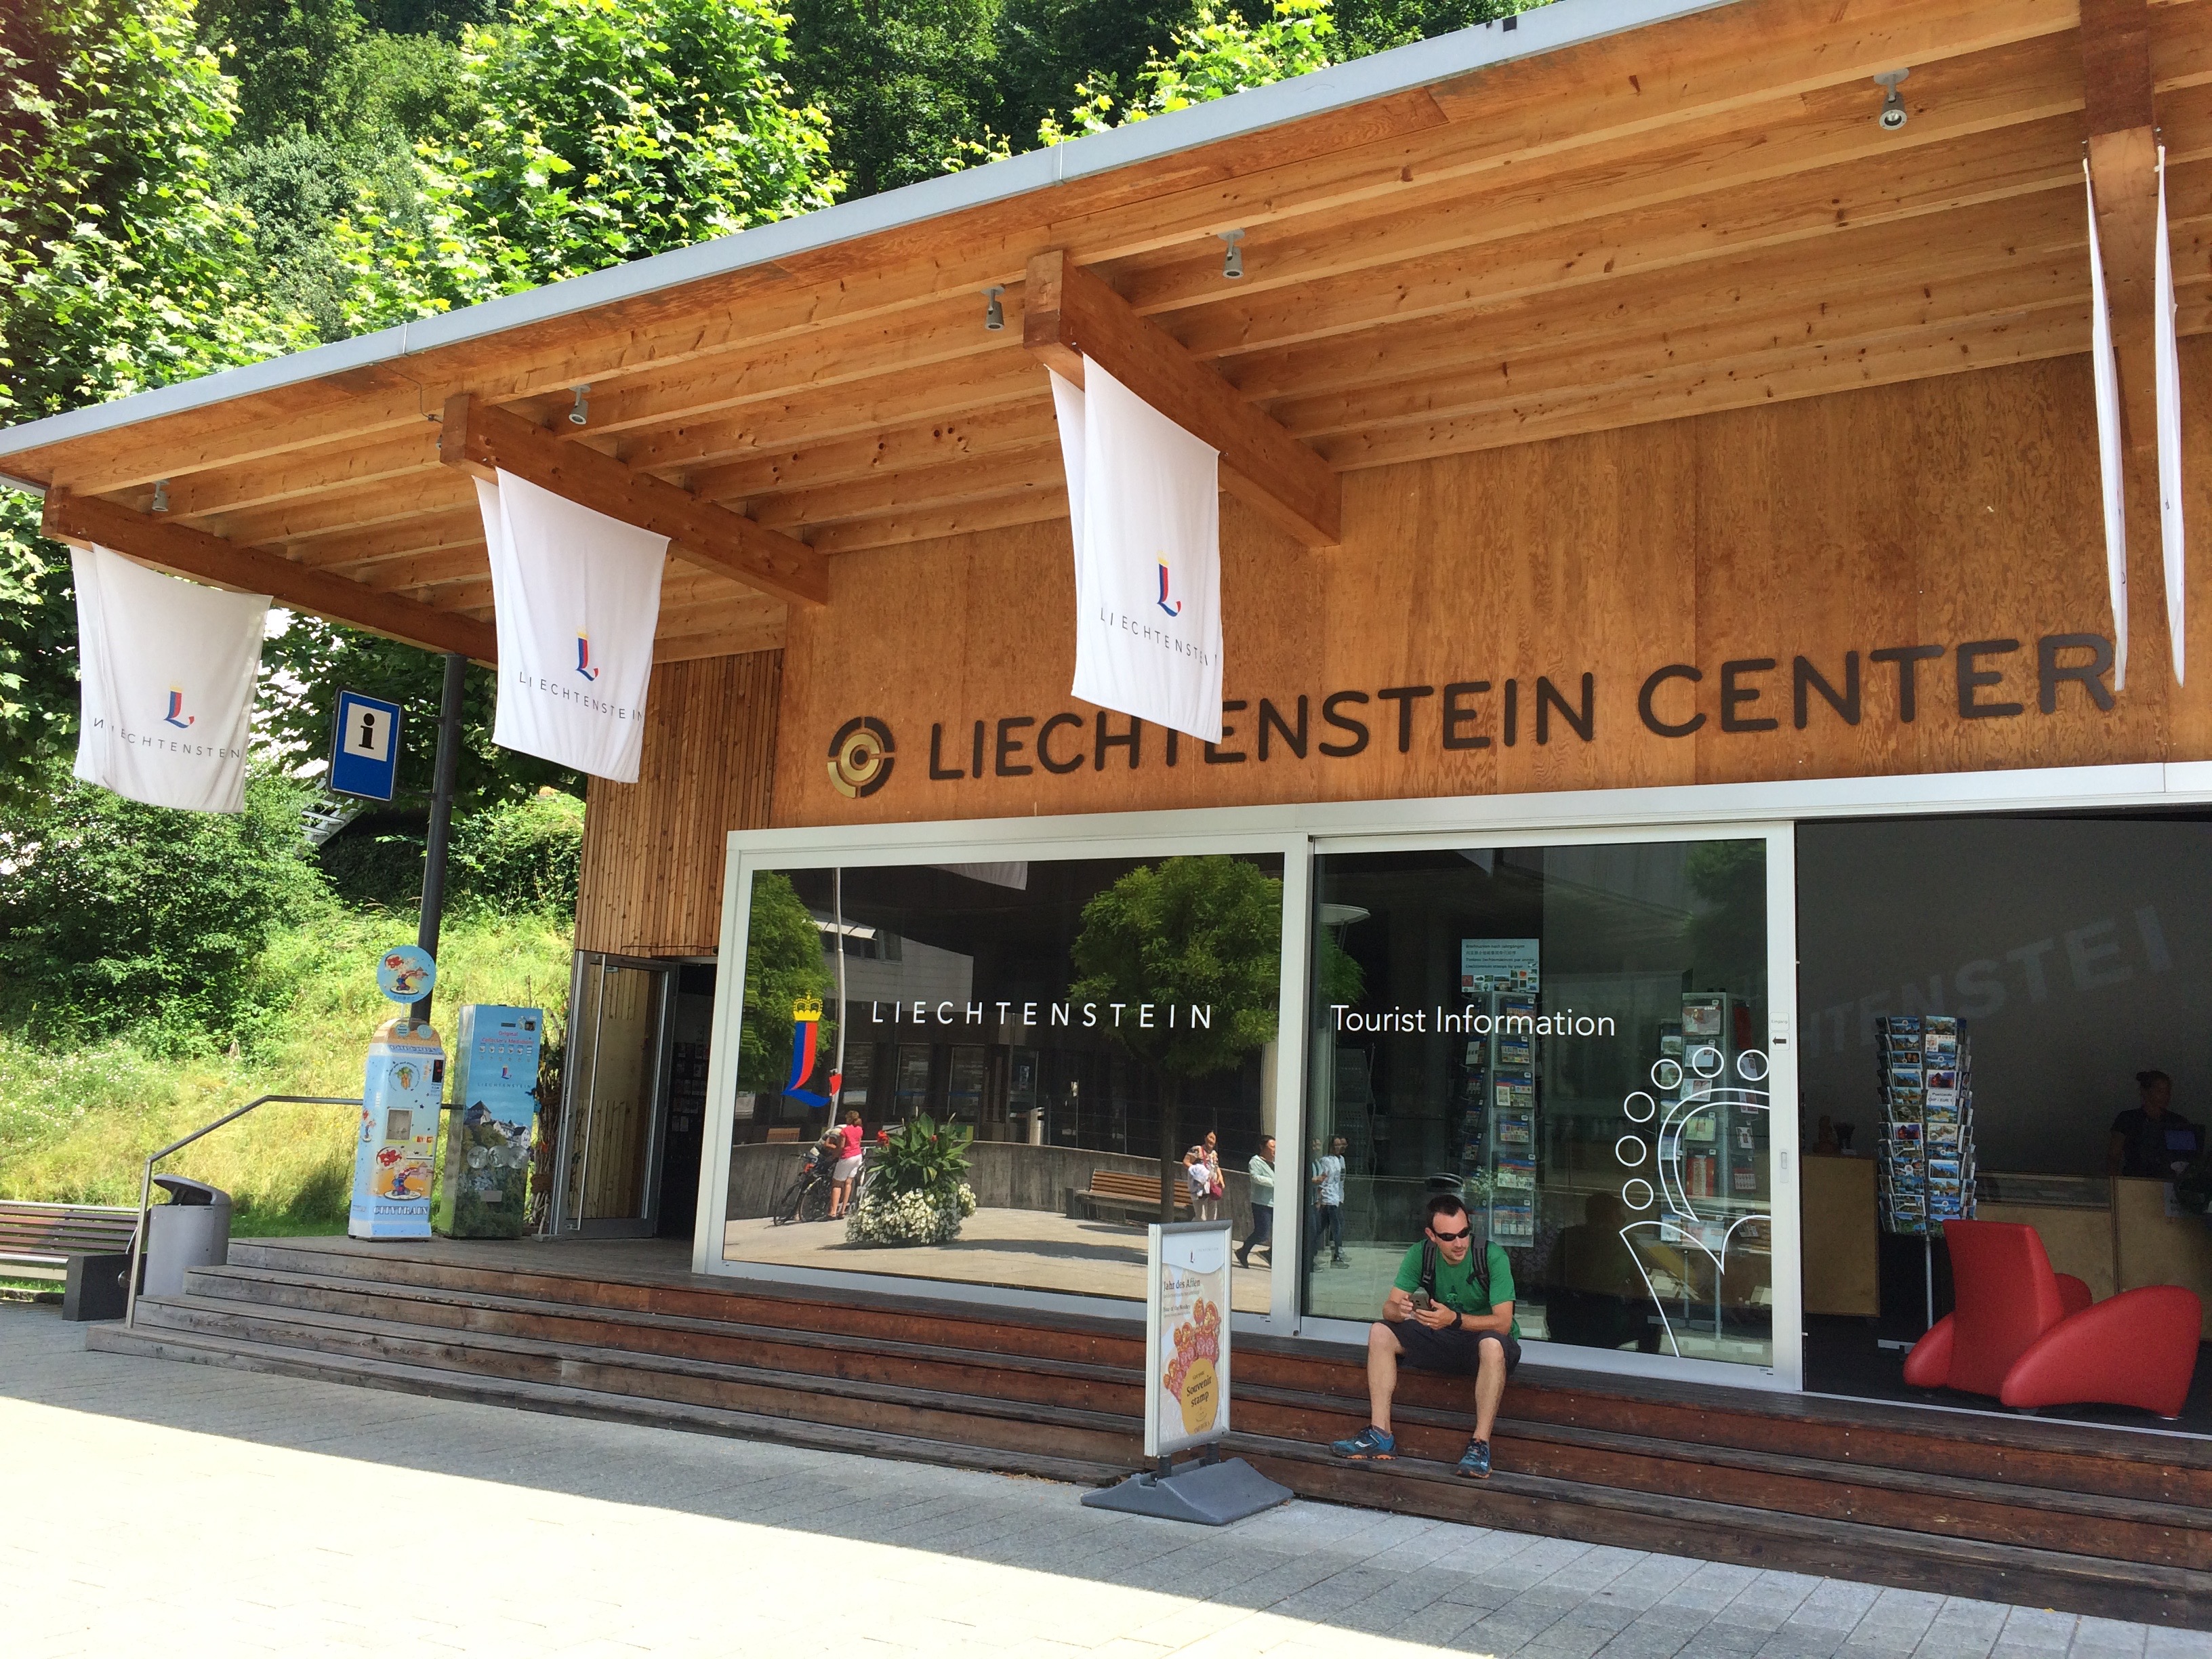
Because there are no airports in Liechtenstein and all its borders are open, there isn’t exactly a “true” passport stamp for the country, except for the €3 passport stamp that can be found at the tourist office.  Both of us actually once faced the problem with running out of passport pages so we didn’t see the need to waste €3 on a stupid stamp.  I guess that’s one method of nickel-and-diming tourists.IMG_4768

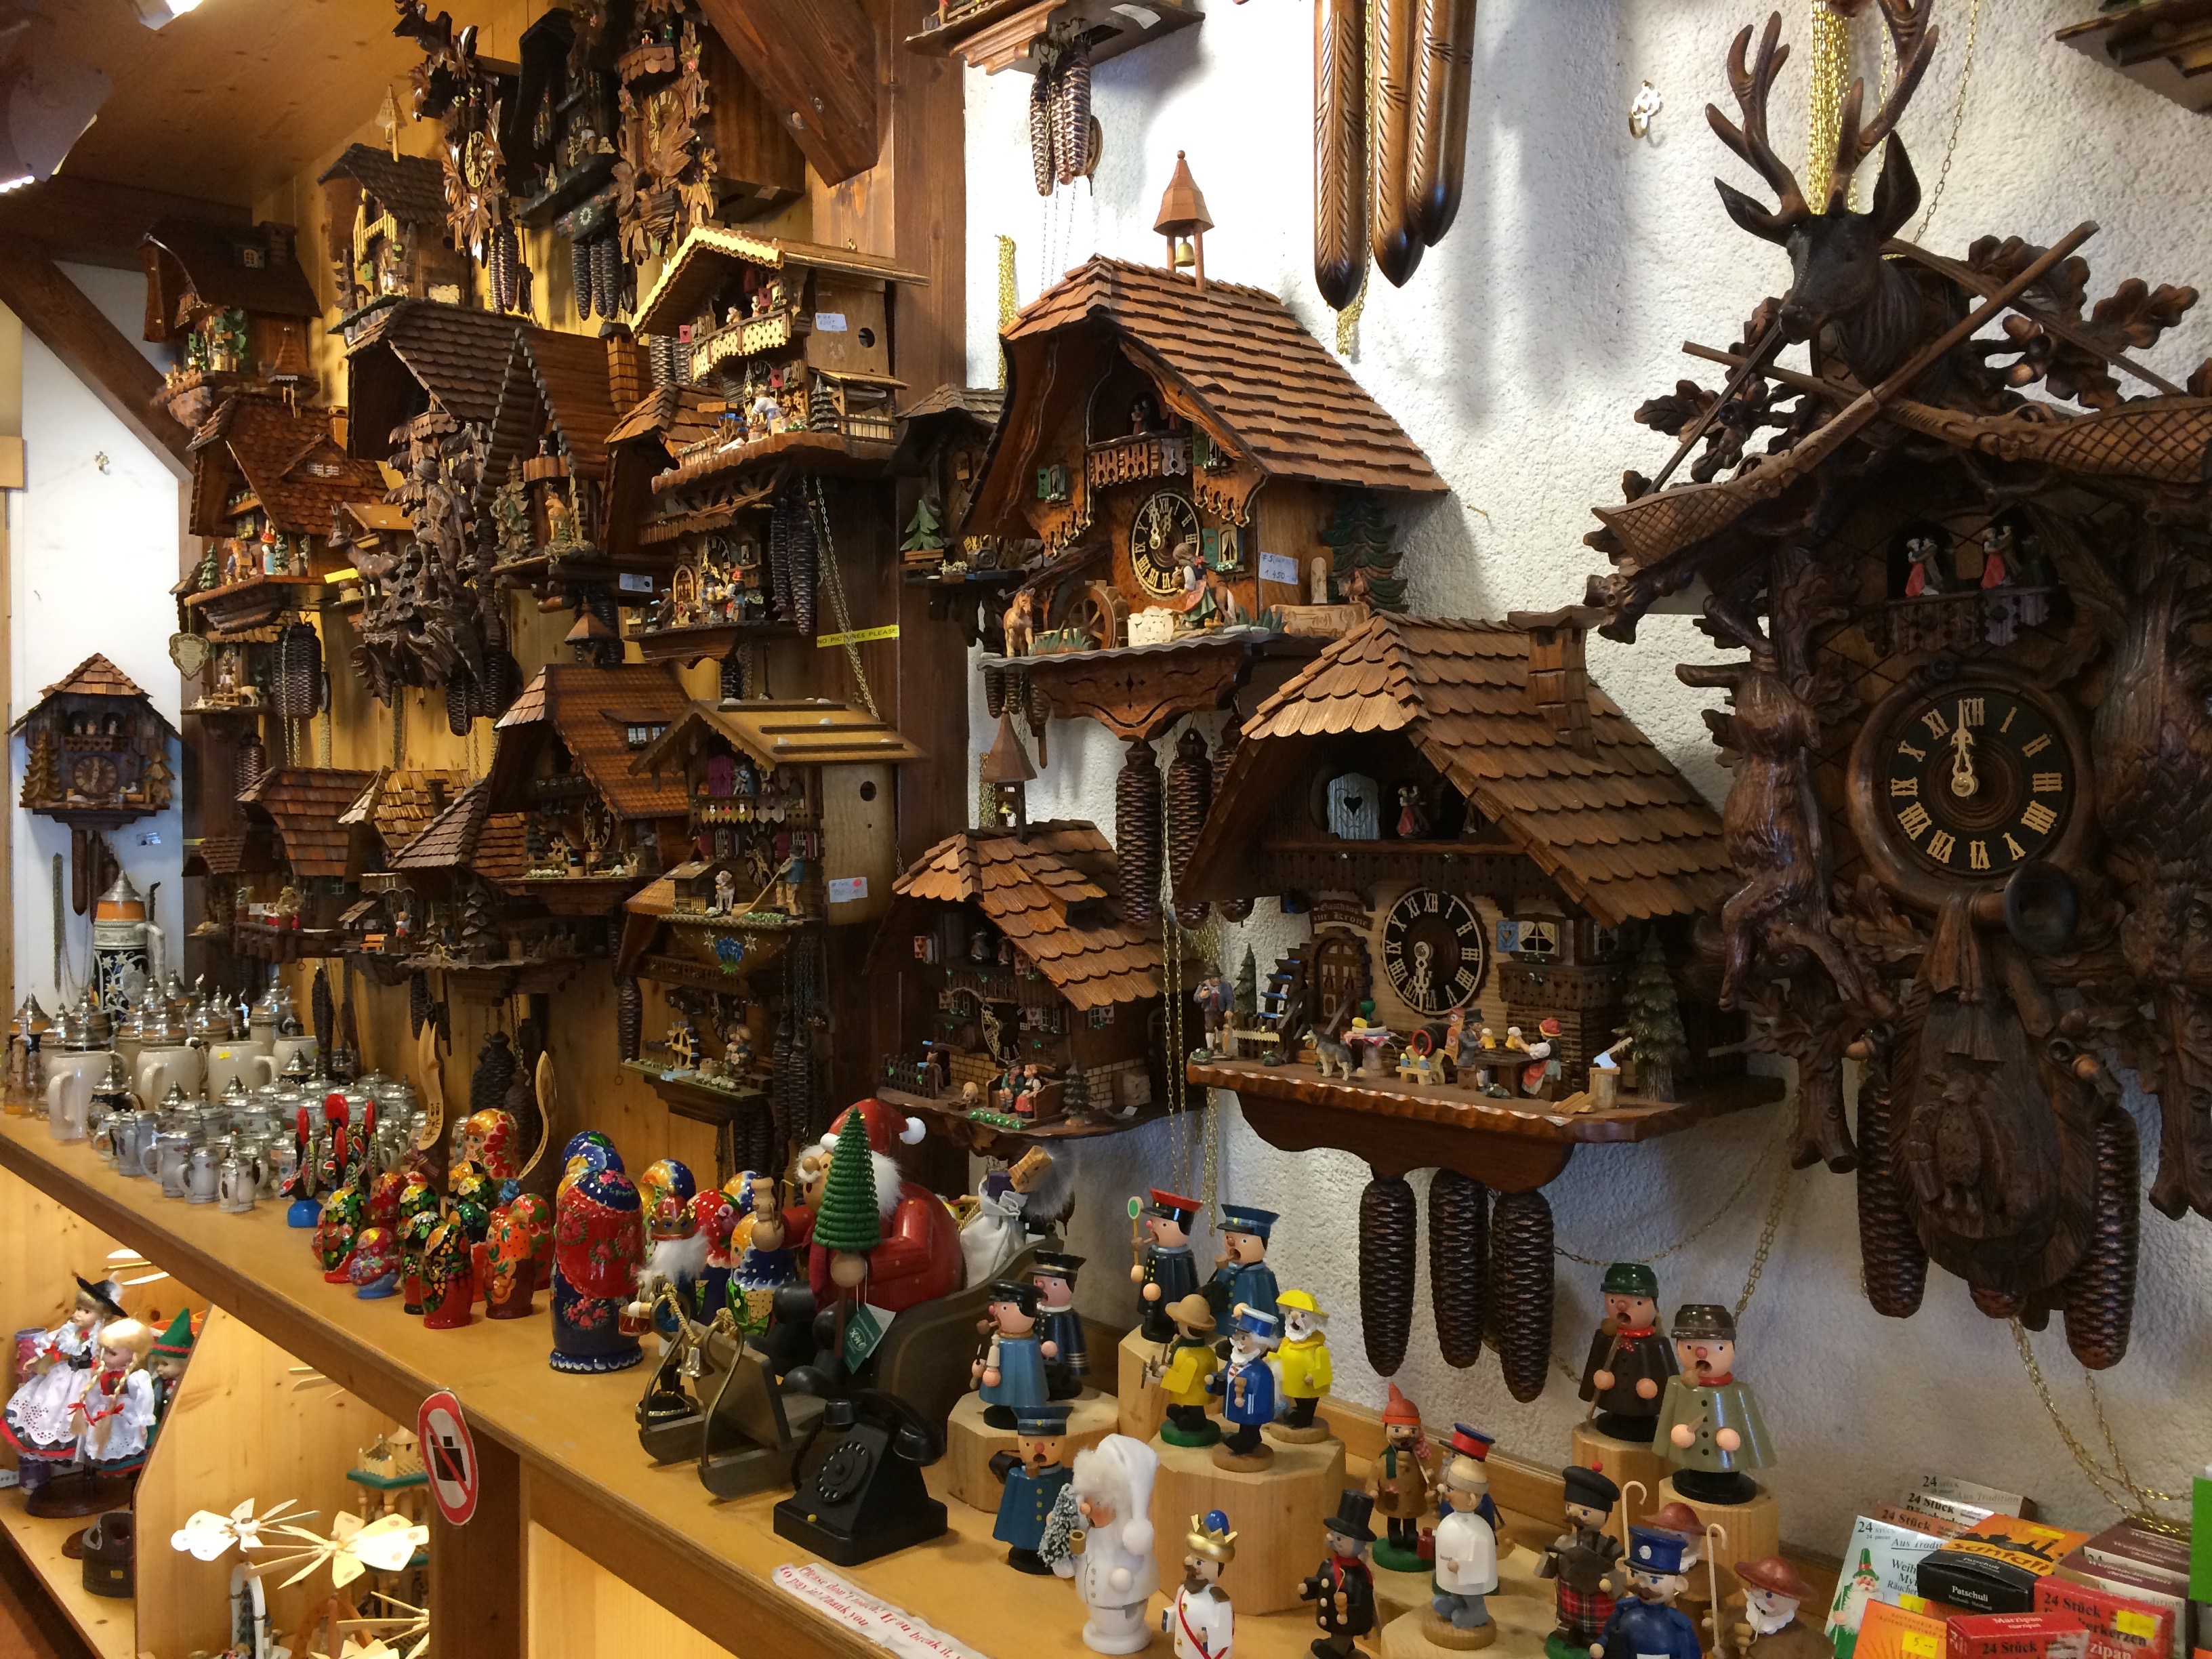
There are no shortage of souvenir shops throughout the pedestrian tourist street, all filled with tourists and well stocked with clock collections.IMG_4767

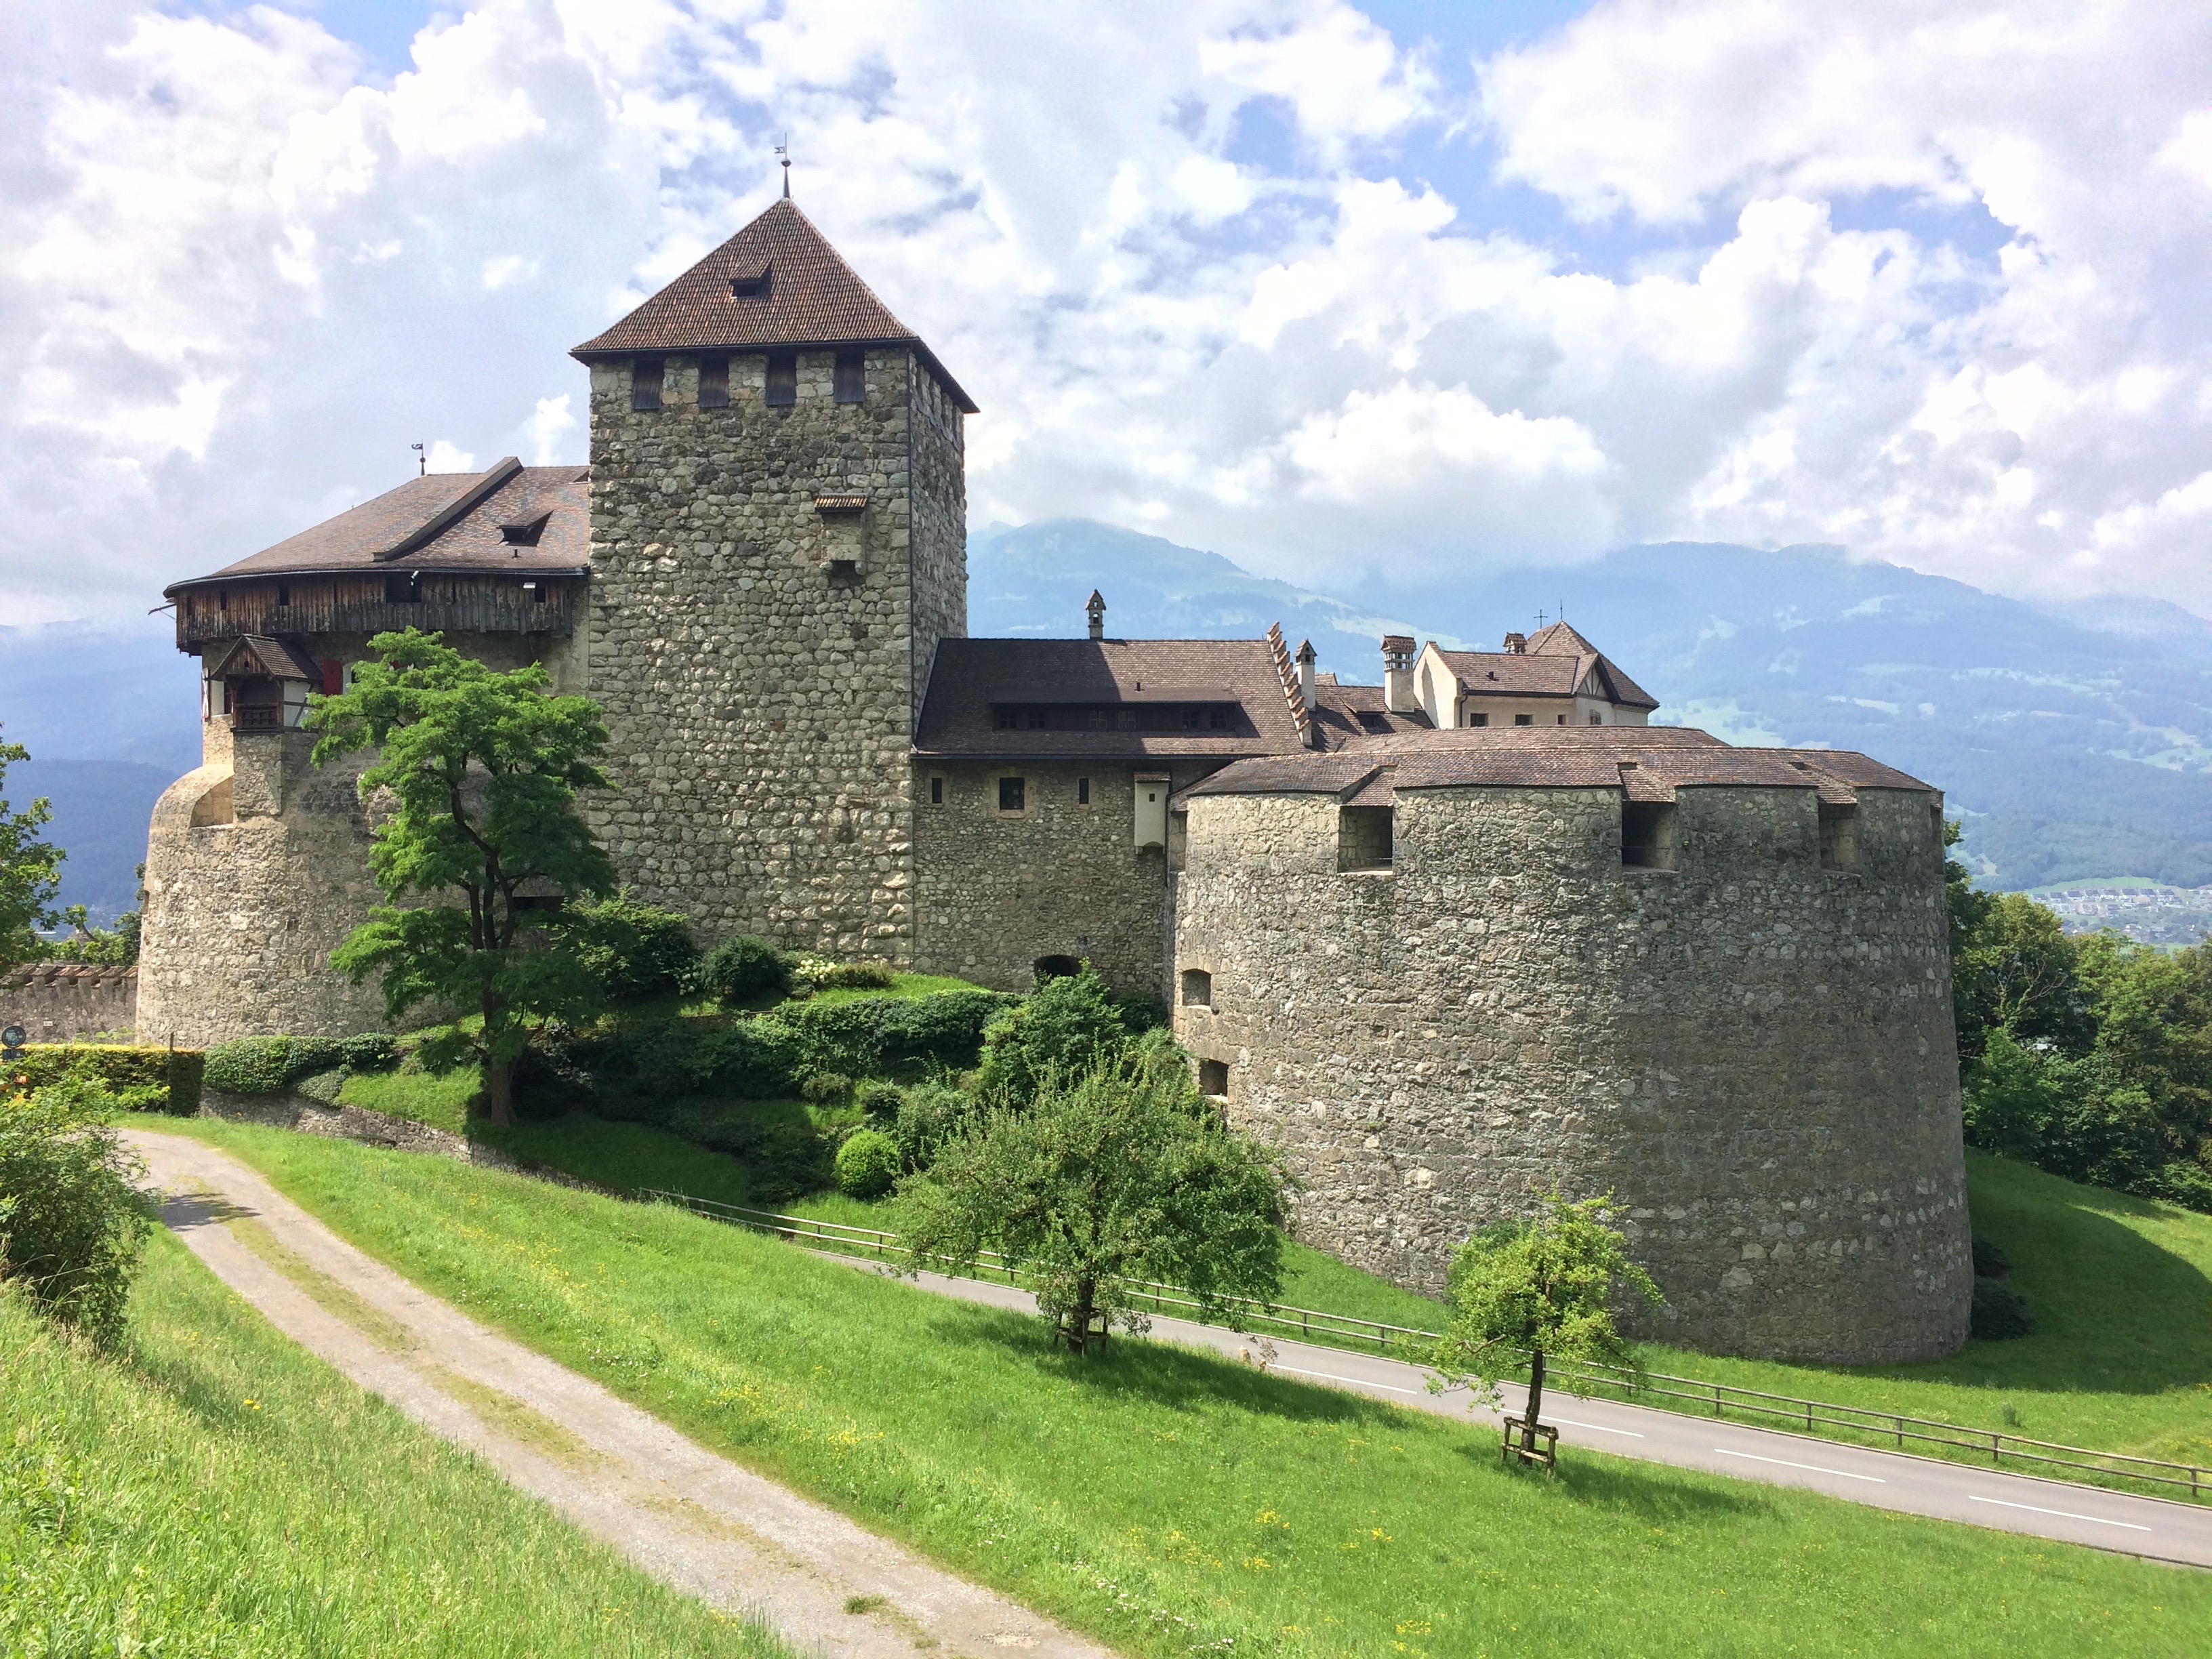
And finally, the Vaduz Castle, home of the royal family, and naturally closed to the public. Cute, but there are definitely cooler castles in Europe!IMG_4765

There were also several museums in Vaduz, but museums aren’t really are thing.

We only needed a couple hours to wander throughout Vaduz.  Now we have bragging rights: We’ve been to Liechtenstein!

Posted in Liechtenstein | Leave a comment